
I Built a “Luxury” Gold iPhone for Way Less Than Caviar
If you’ve watched basically any tech YouTuber over the last few years, you’ve probably seen luxury iPhones. Gold backs, diamonds, skulls, dragons, and price tags that make absolutely no sense. Companies like Caviar are selling these things for nearly $7,000, and some models push well past $10,000.
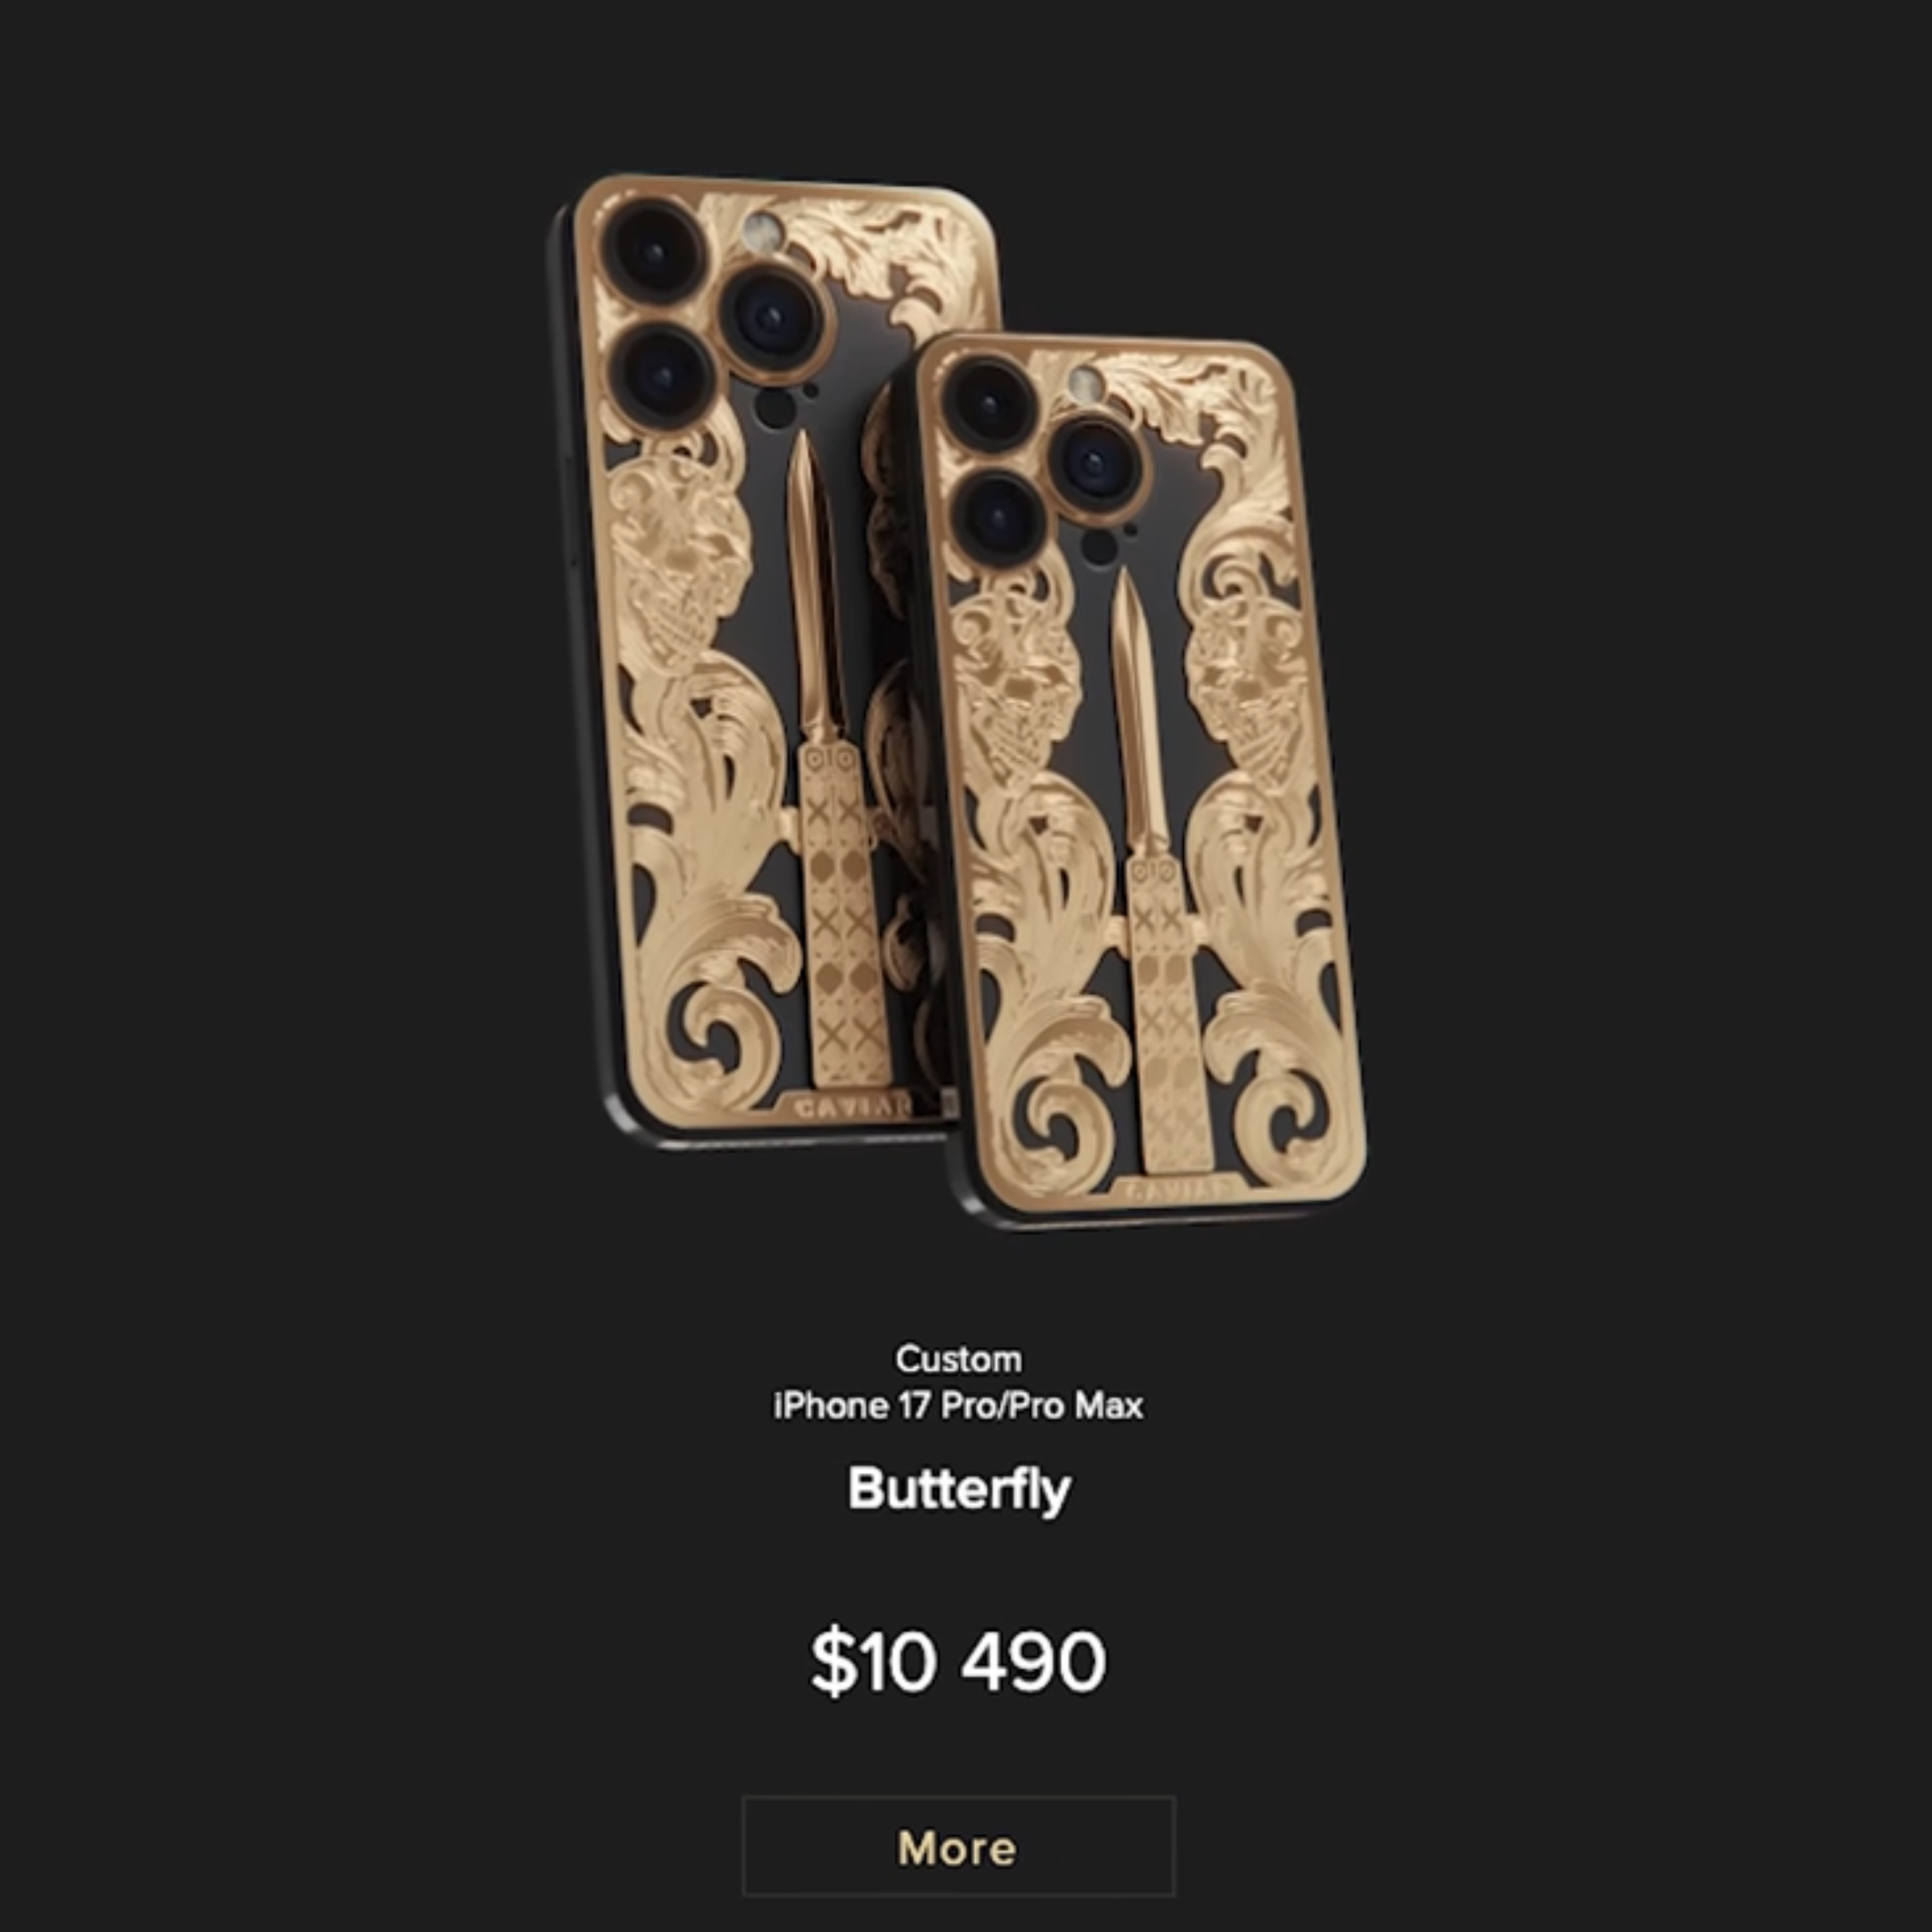


At the end of the day though, it’s still just an iPhone. So I started wondering if it actually made sense to build one myself. Not because it was practical, but because I wanted to see how close you could get without spending the price of a used car.
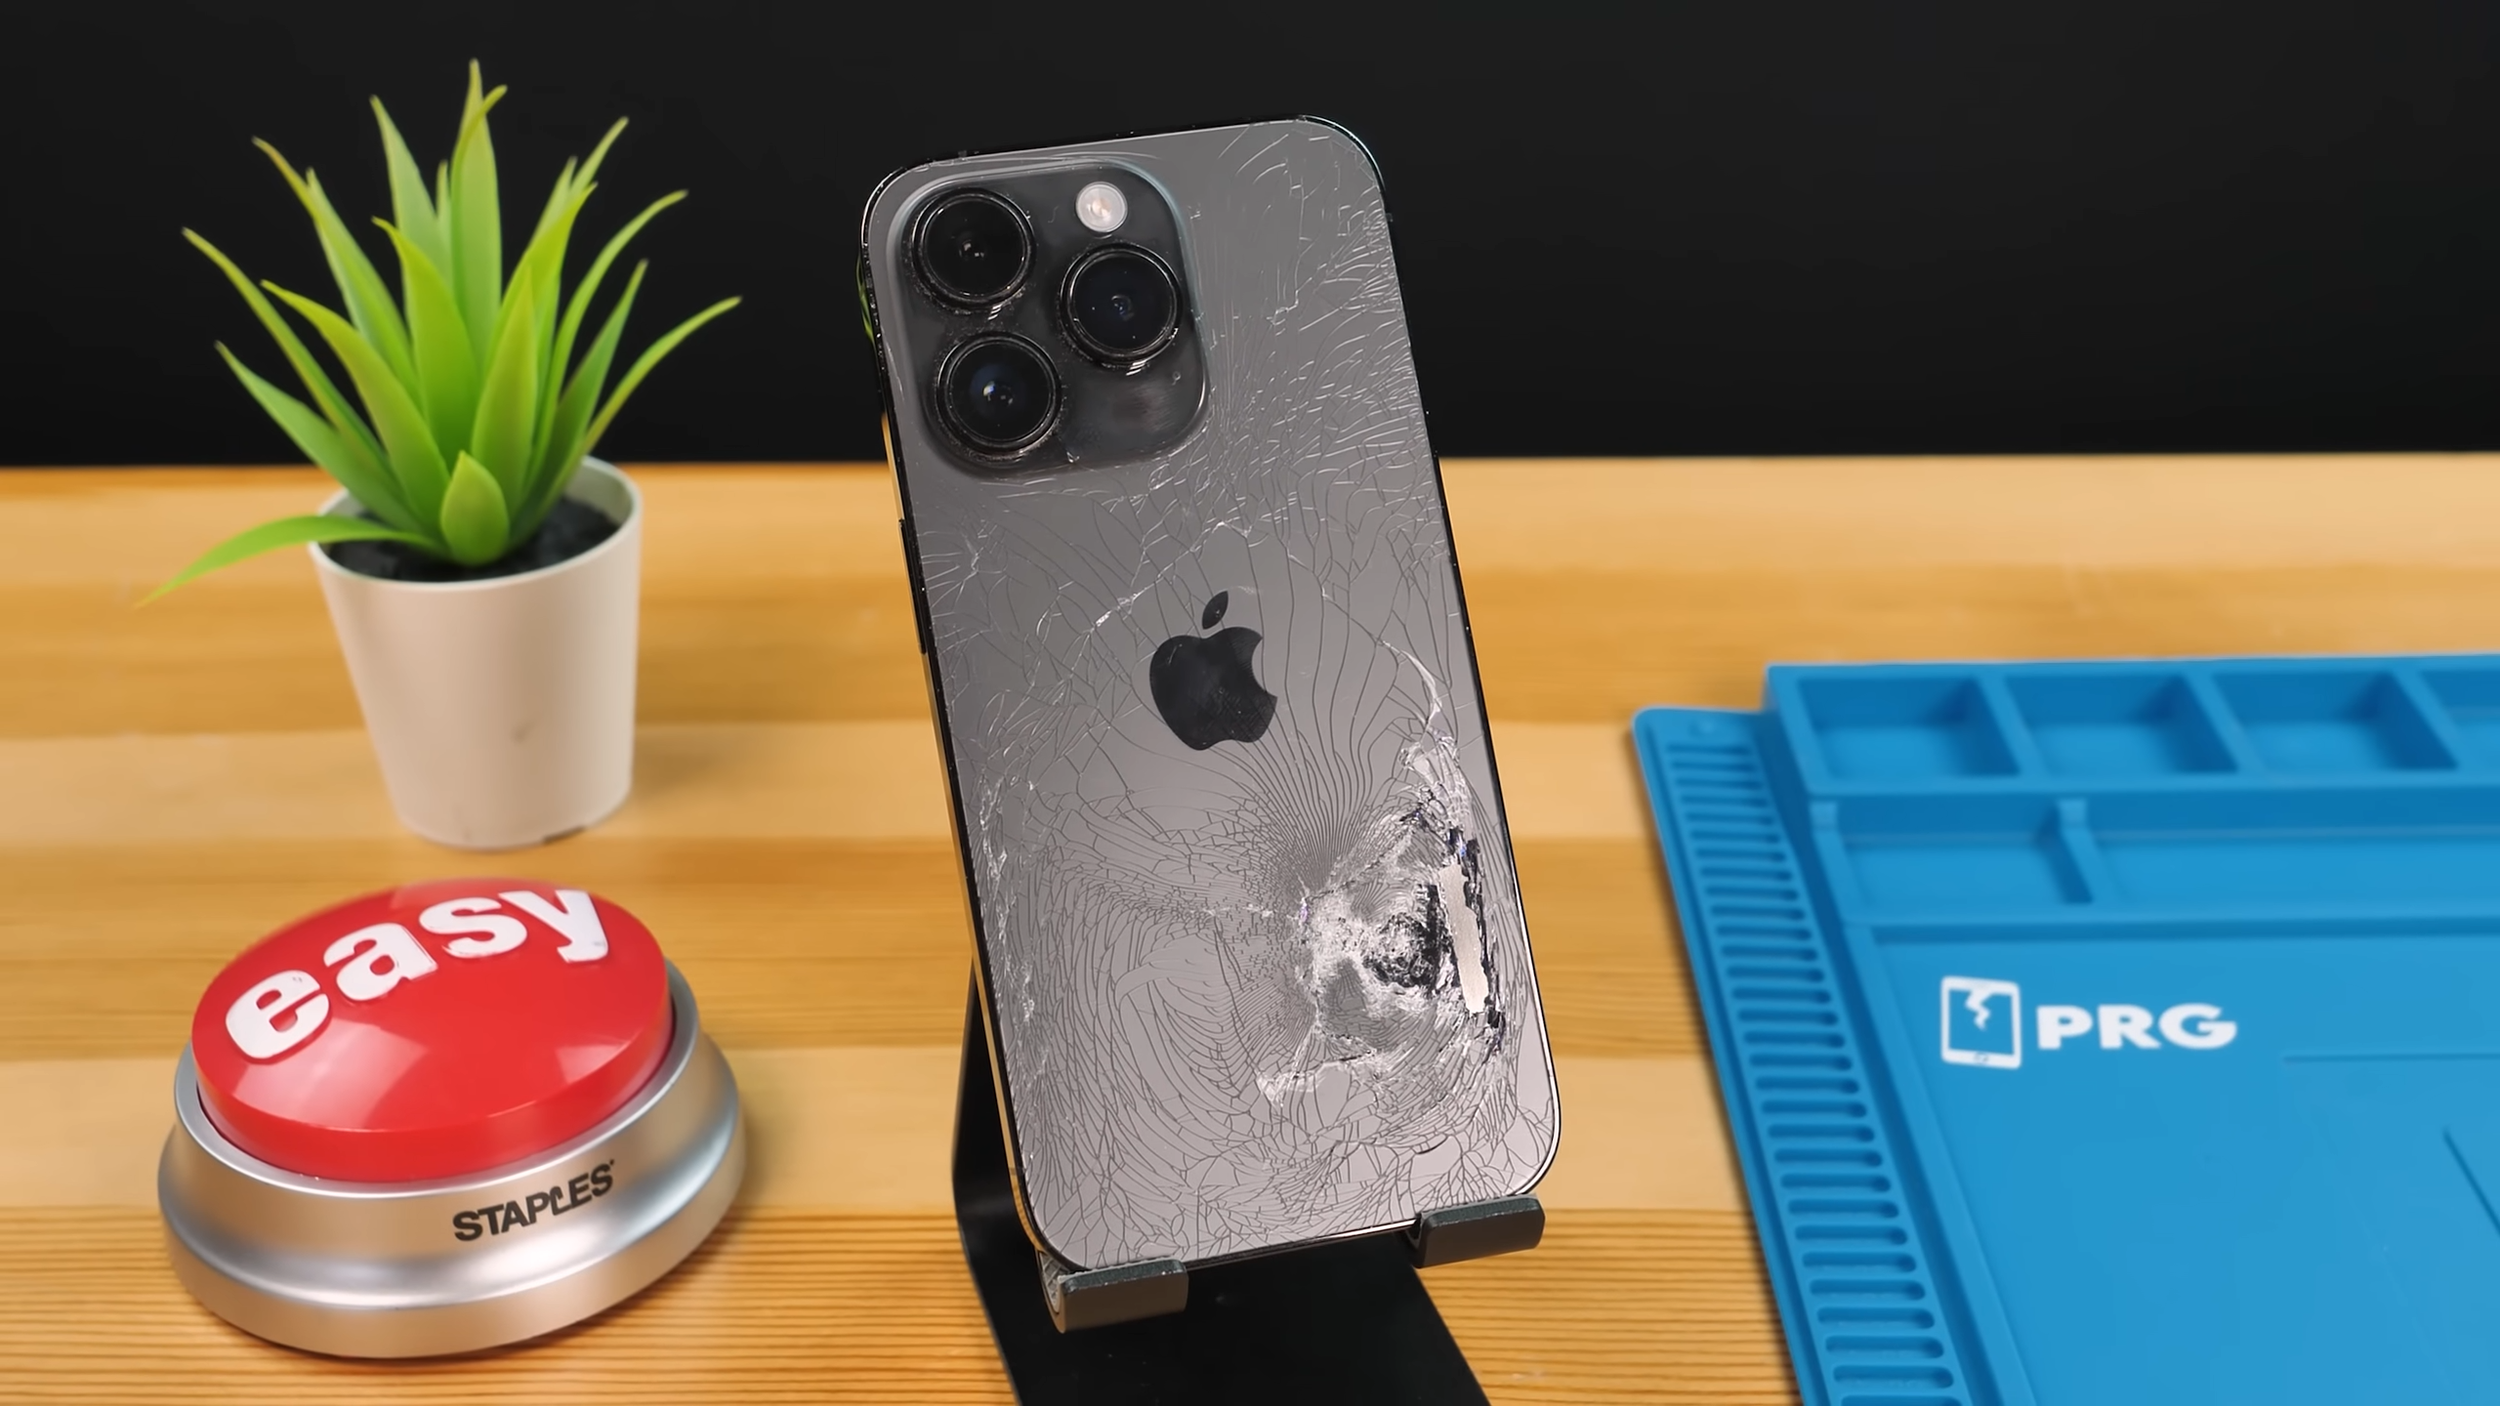
I already had a broken iPhone 14 Pro that I planned on fixing and flipping, which made it the perfect candidate. If this worked, it would technically be something you could try at home too. As long as you have the experience, patience, and tolerance for bad decisions.
A Very Sketchy Luxury Unboxing
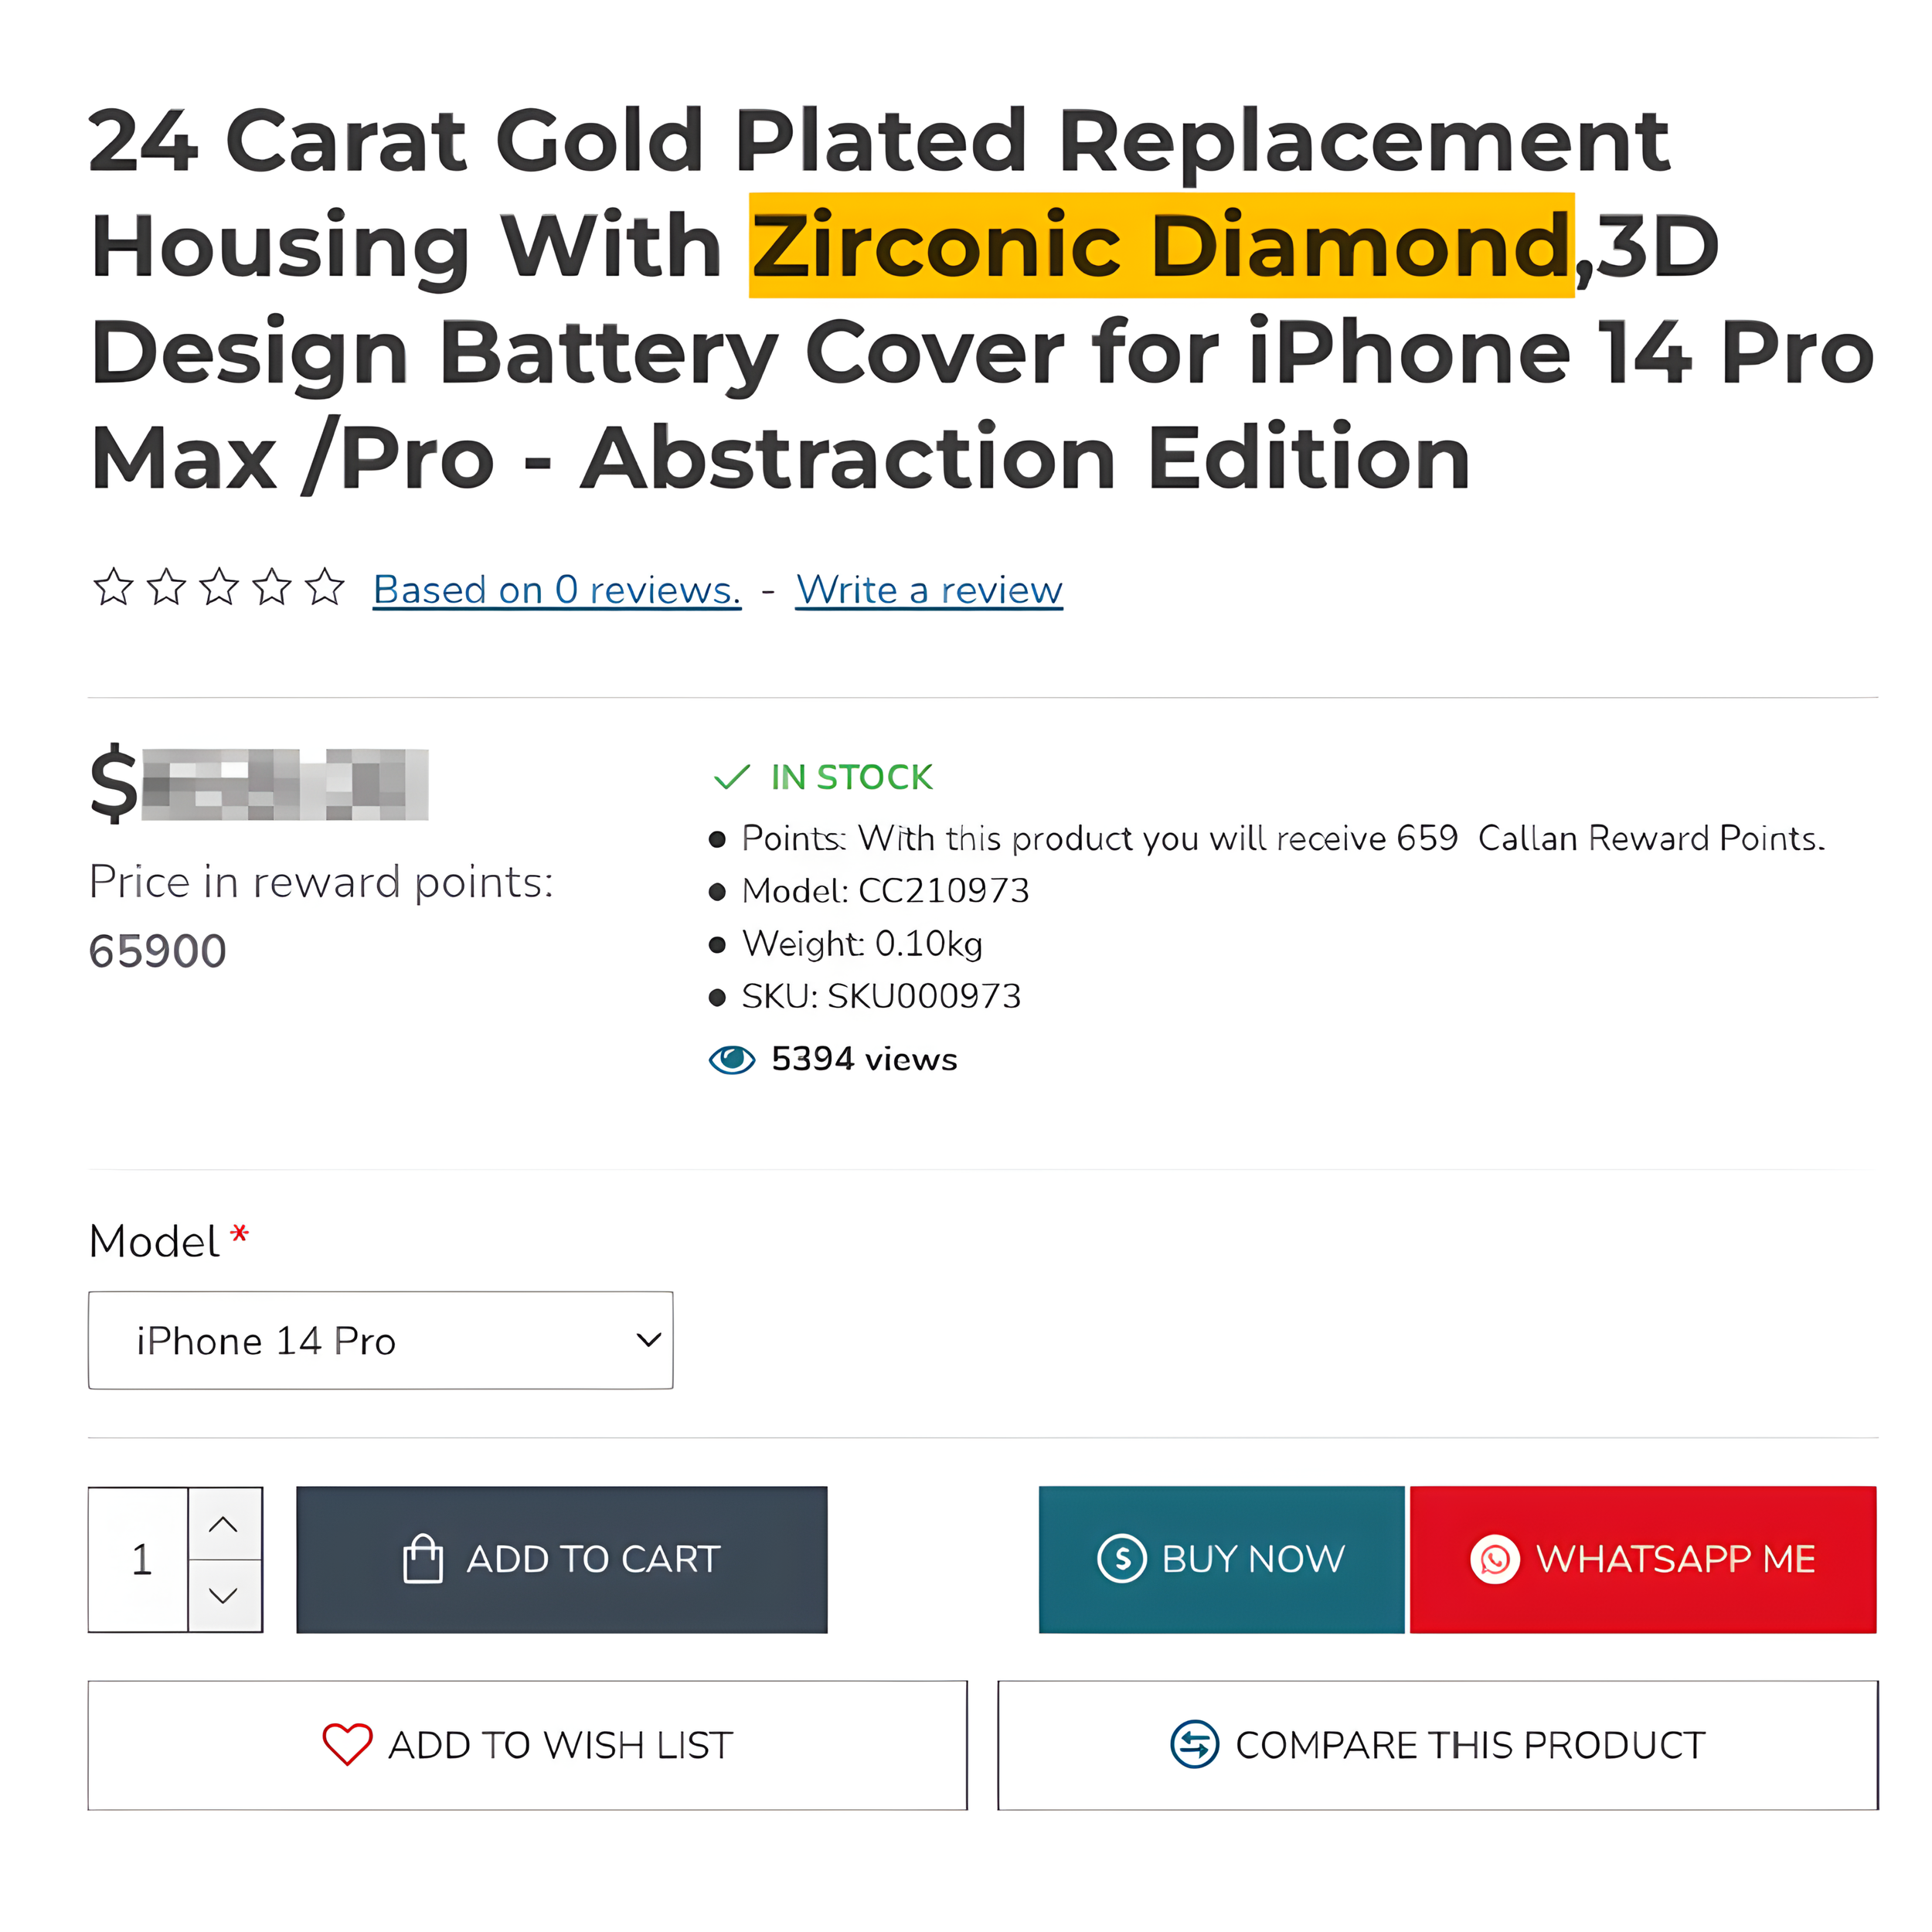
The housing itself wasn’t cheap, but it was still way cheaper than a real luxury phone. I ordered it from a website that felt just sketchy enough to keep things interesting, and I genuinely had no idea what was going to show up.
When the box arrived, I’ll admit, it looked the part. Fancy packaging, textured interior, and the kind of presentation you’d expect from a so-called luxury product.
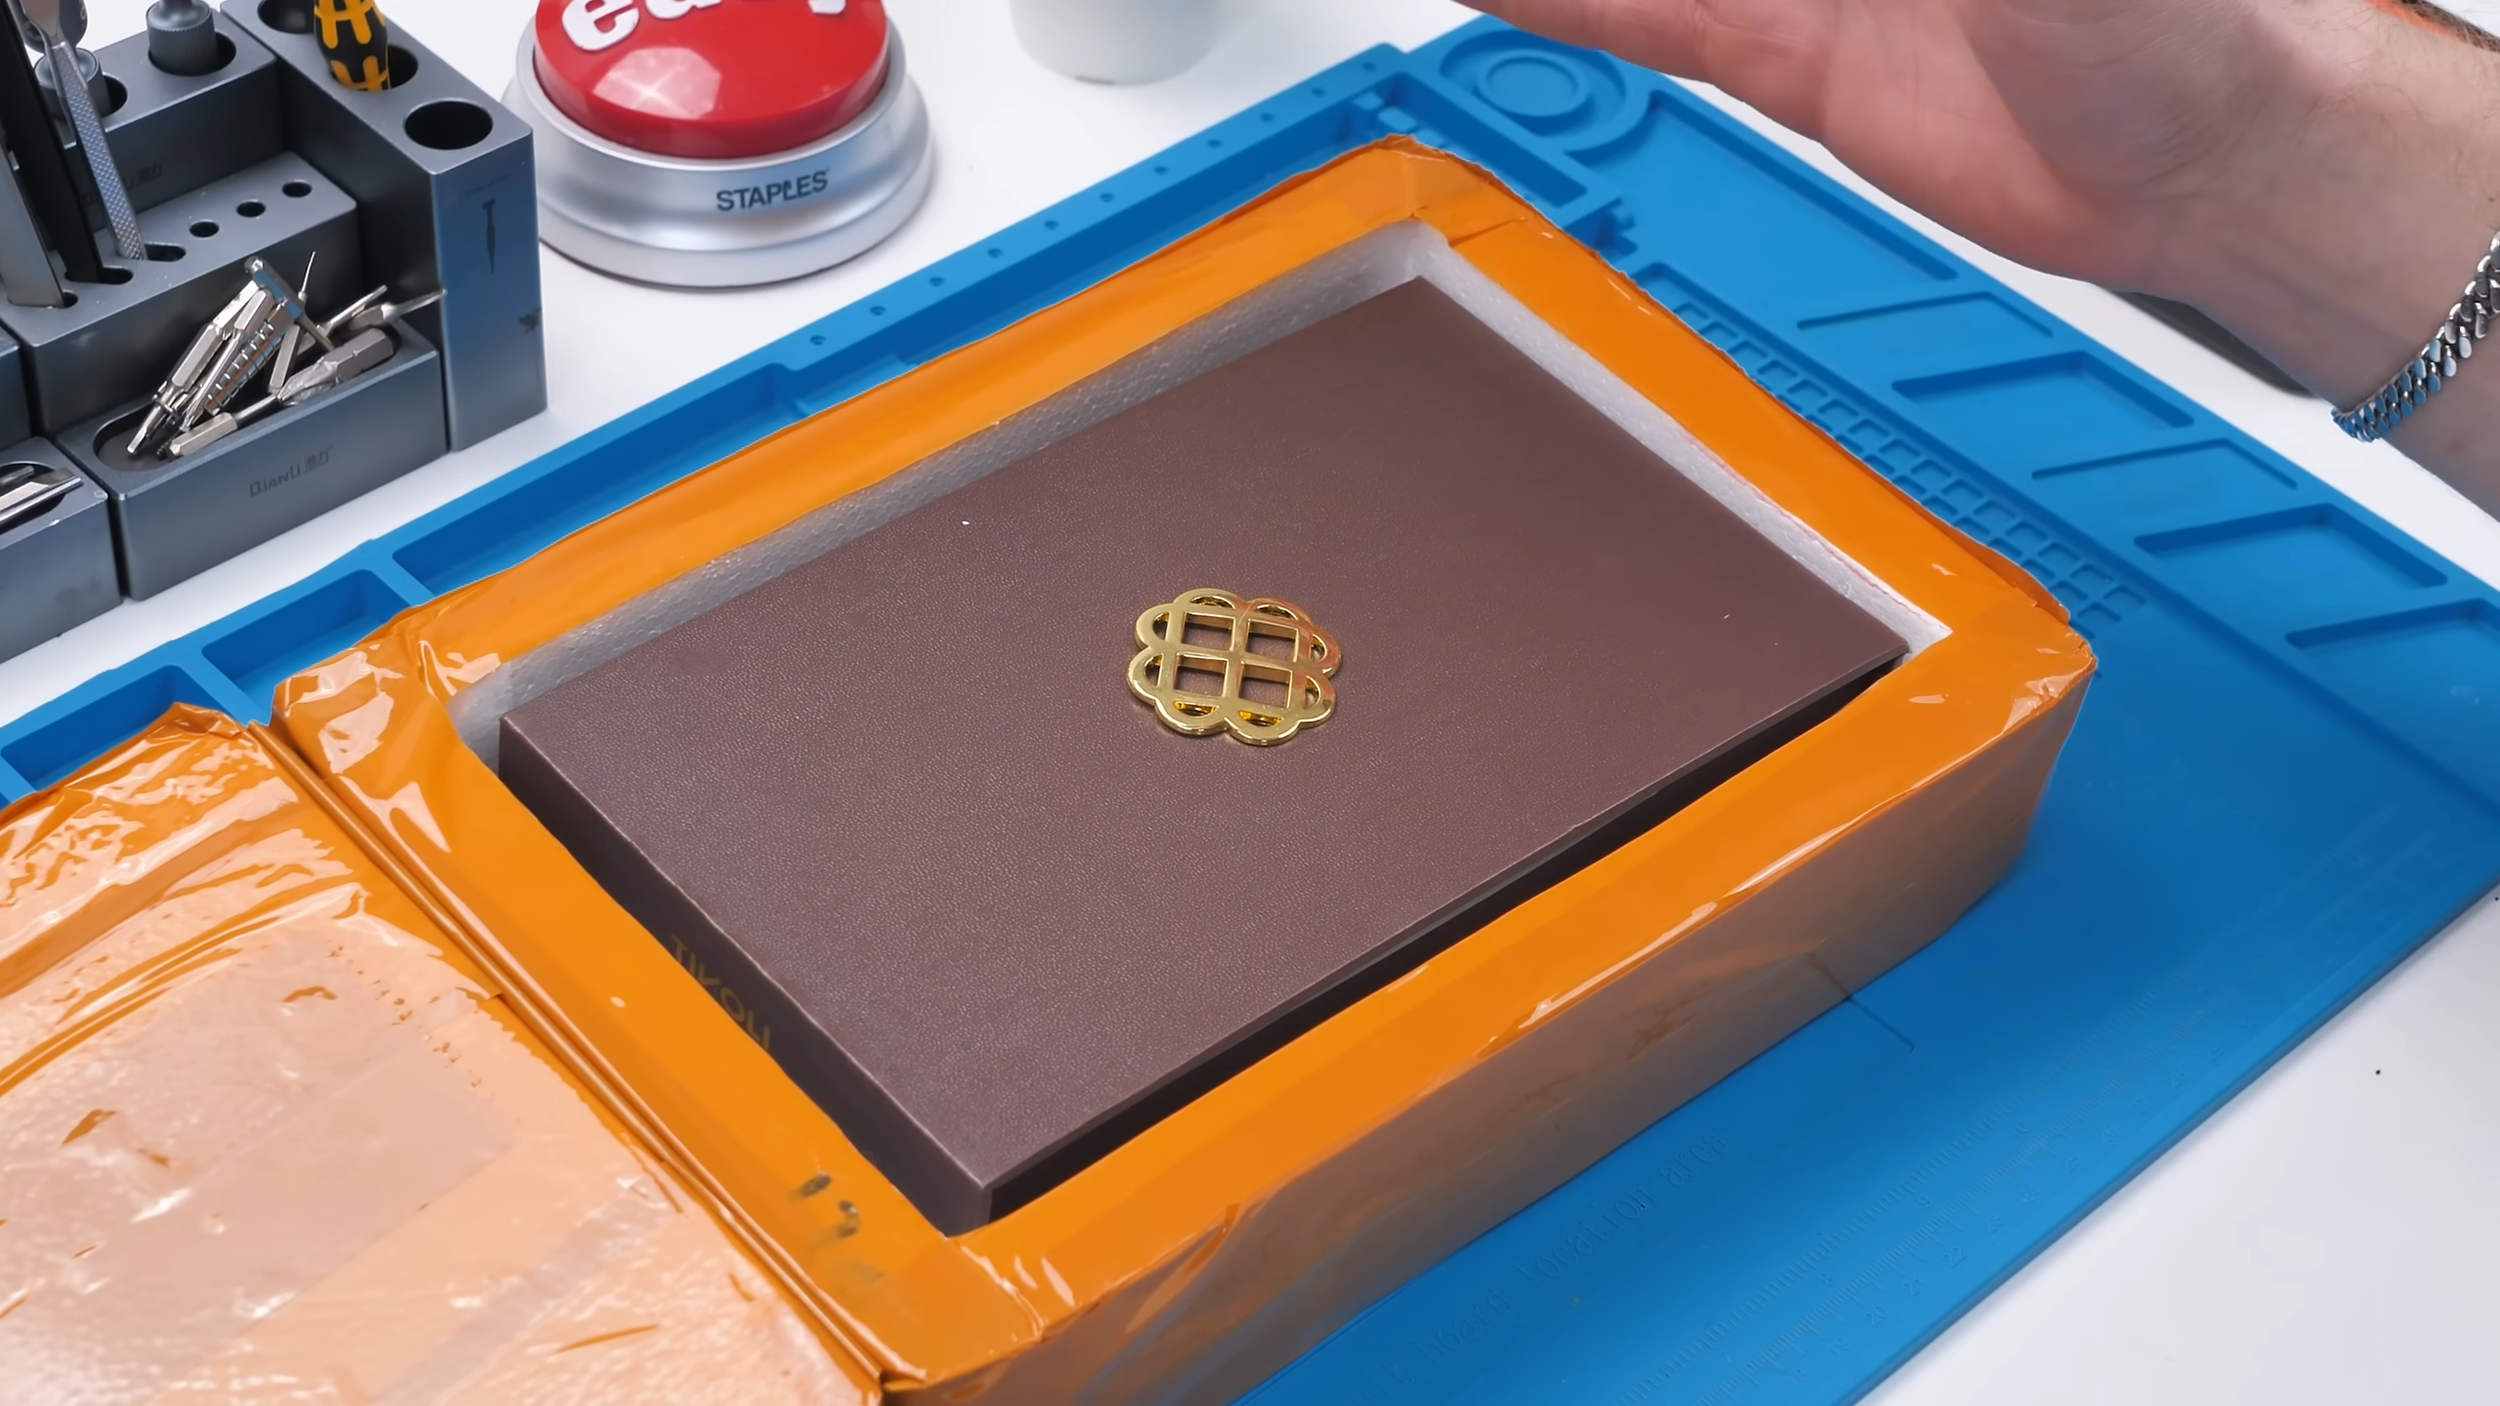


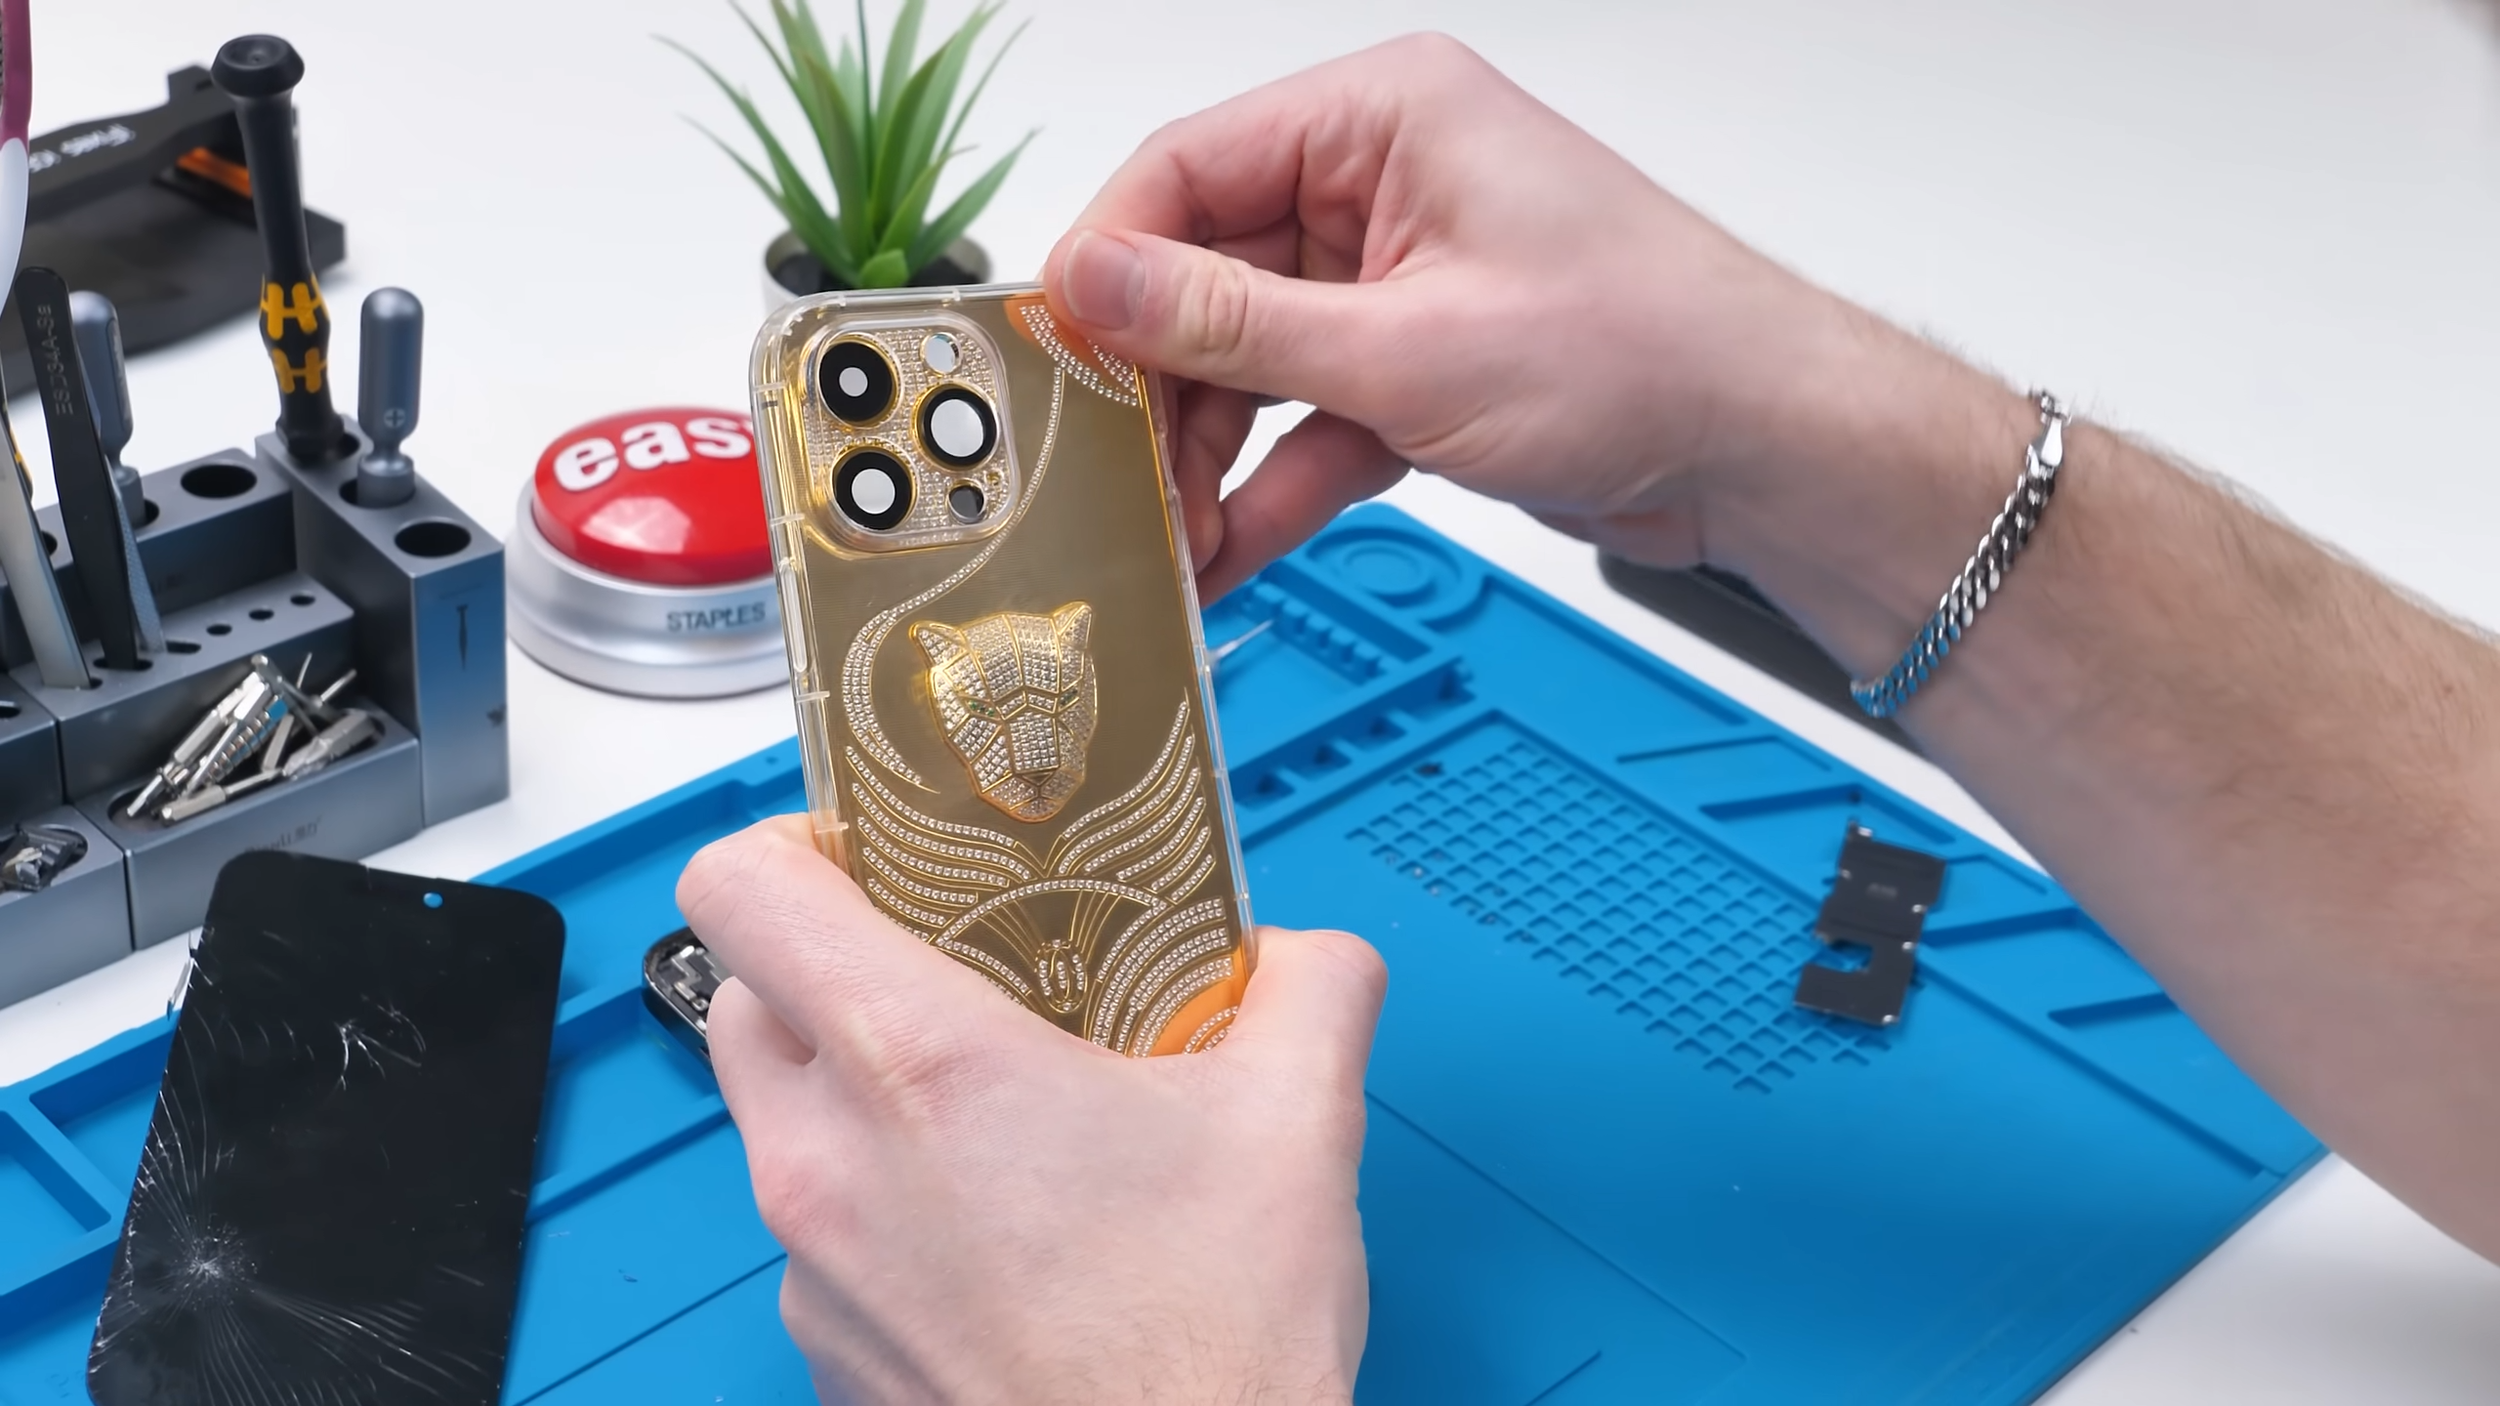
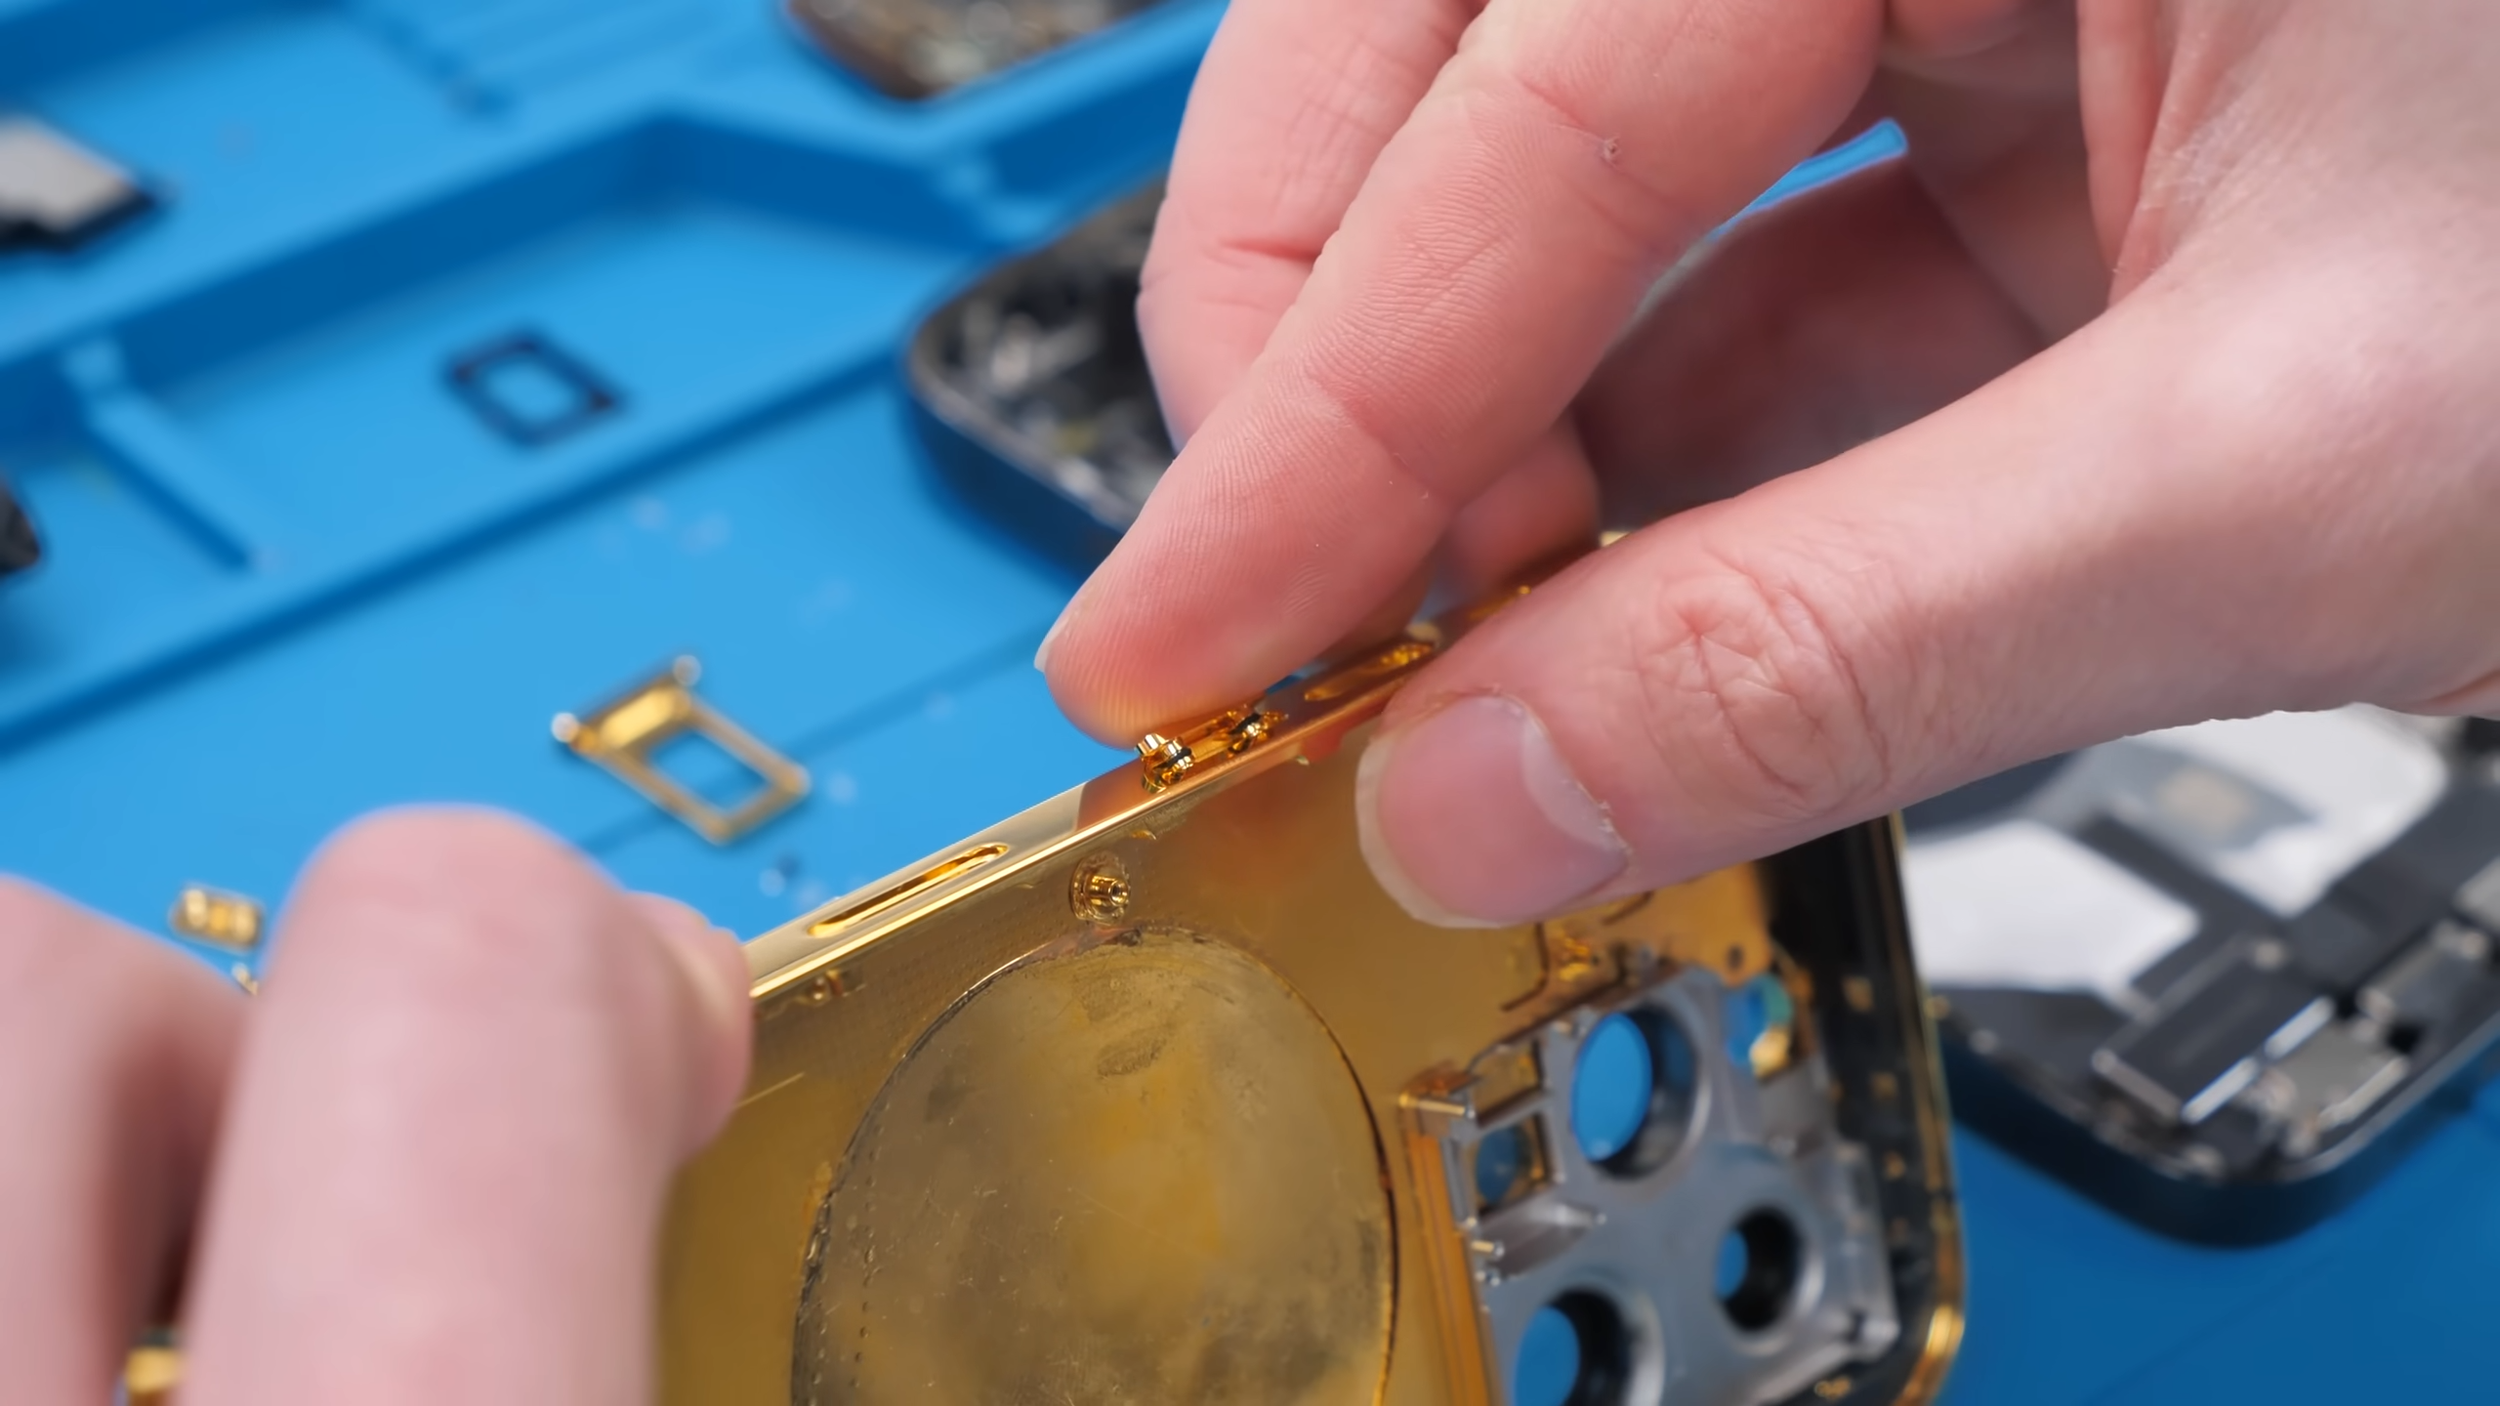
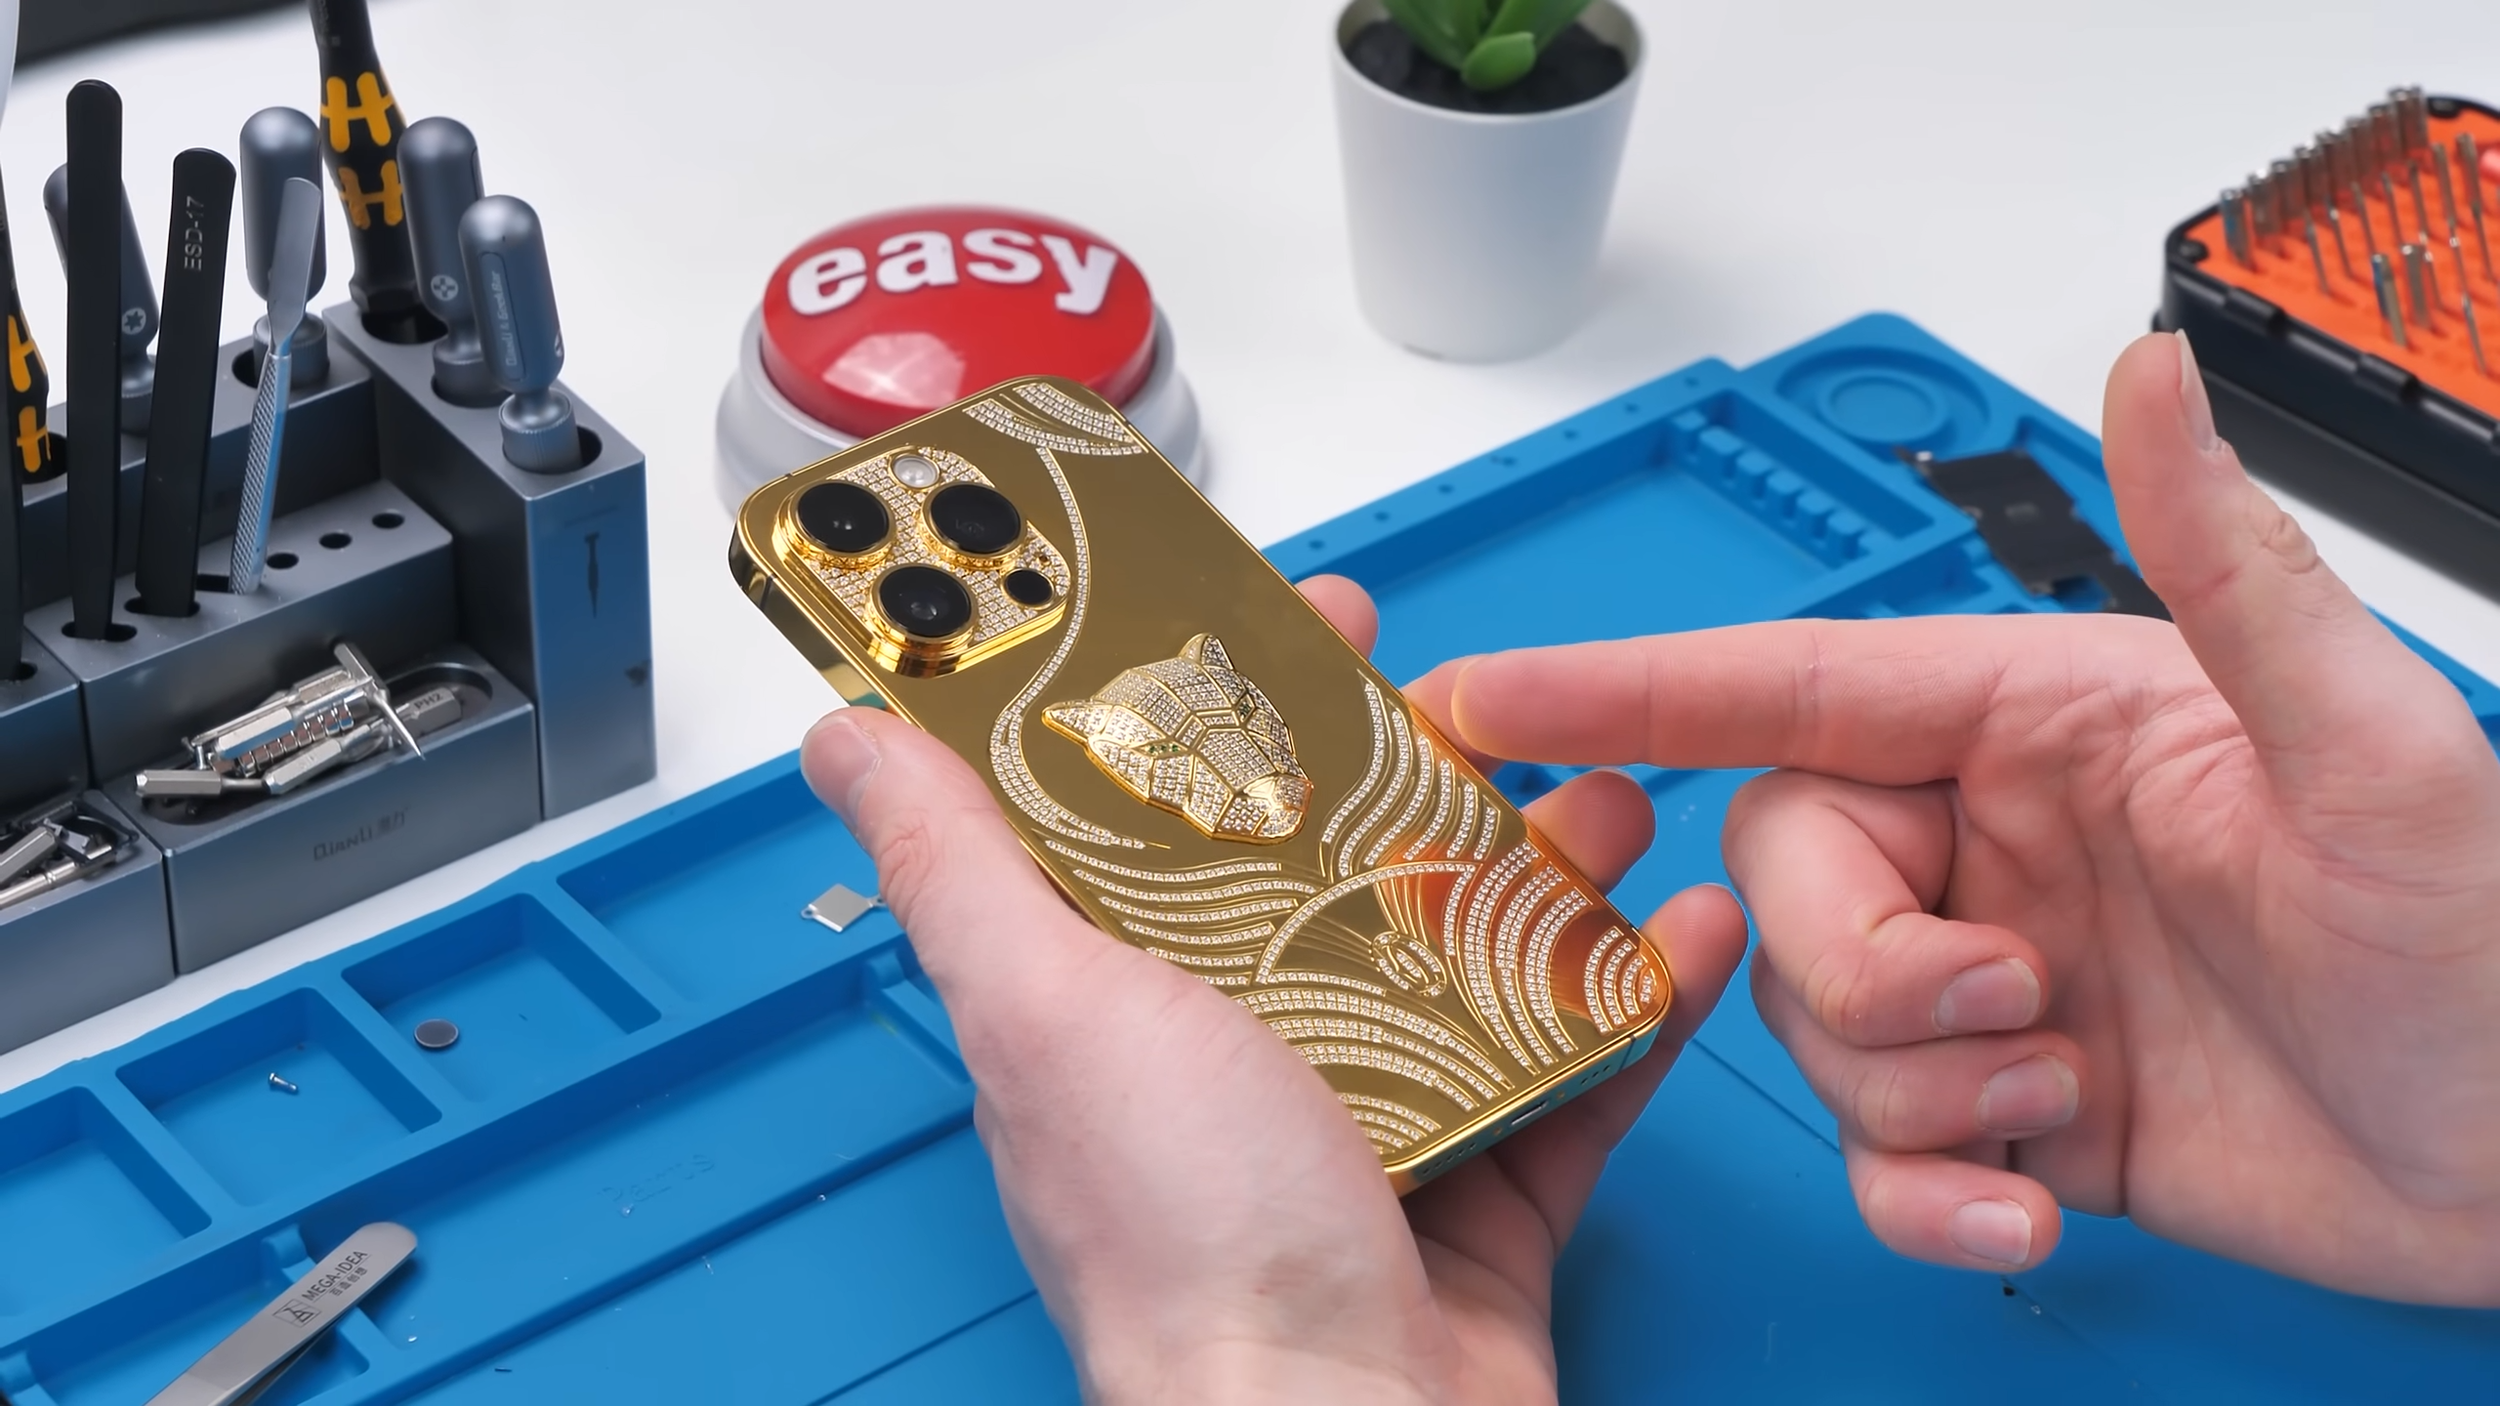
Once I pulled the housing out, the first thing I noticed was the weight. It felt solid, which was a good sign. The back was supposedly 24 karat gold plated, with zirconia stones embedded into it, and for some reason, a very serious-looking cat with green gemstone eyes.
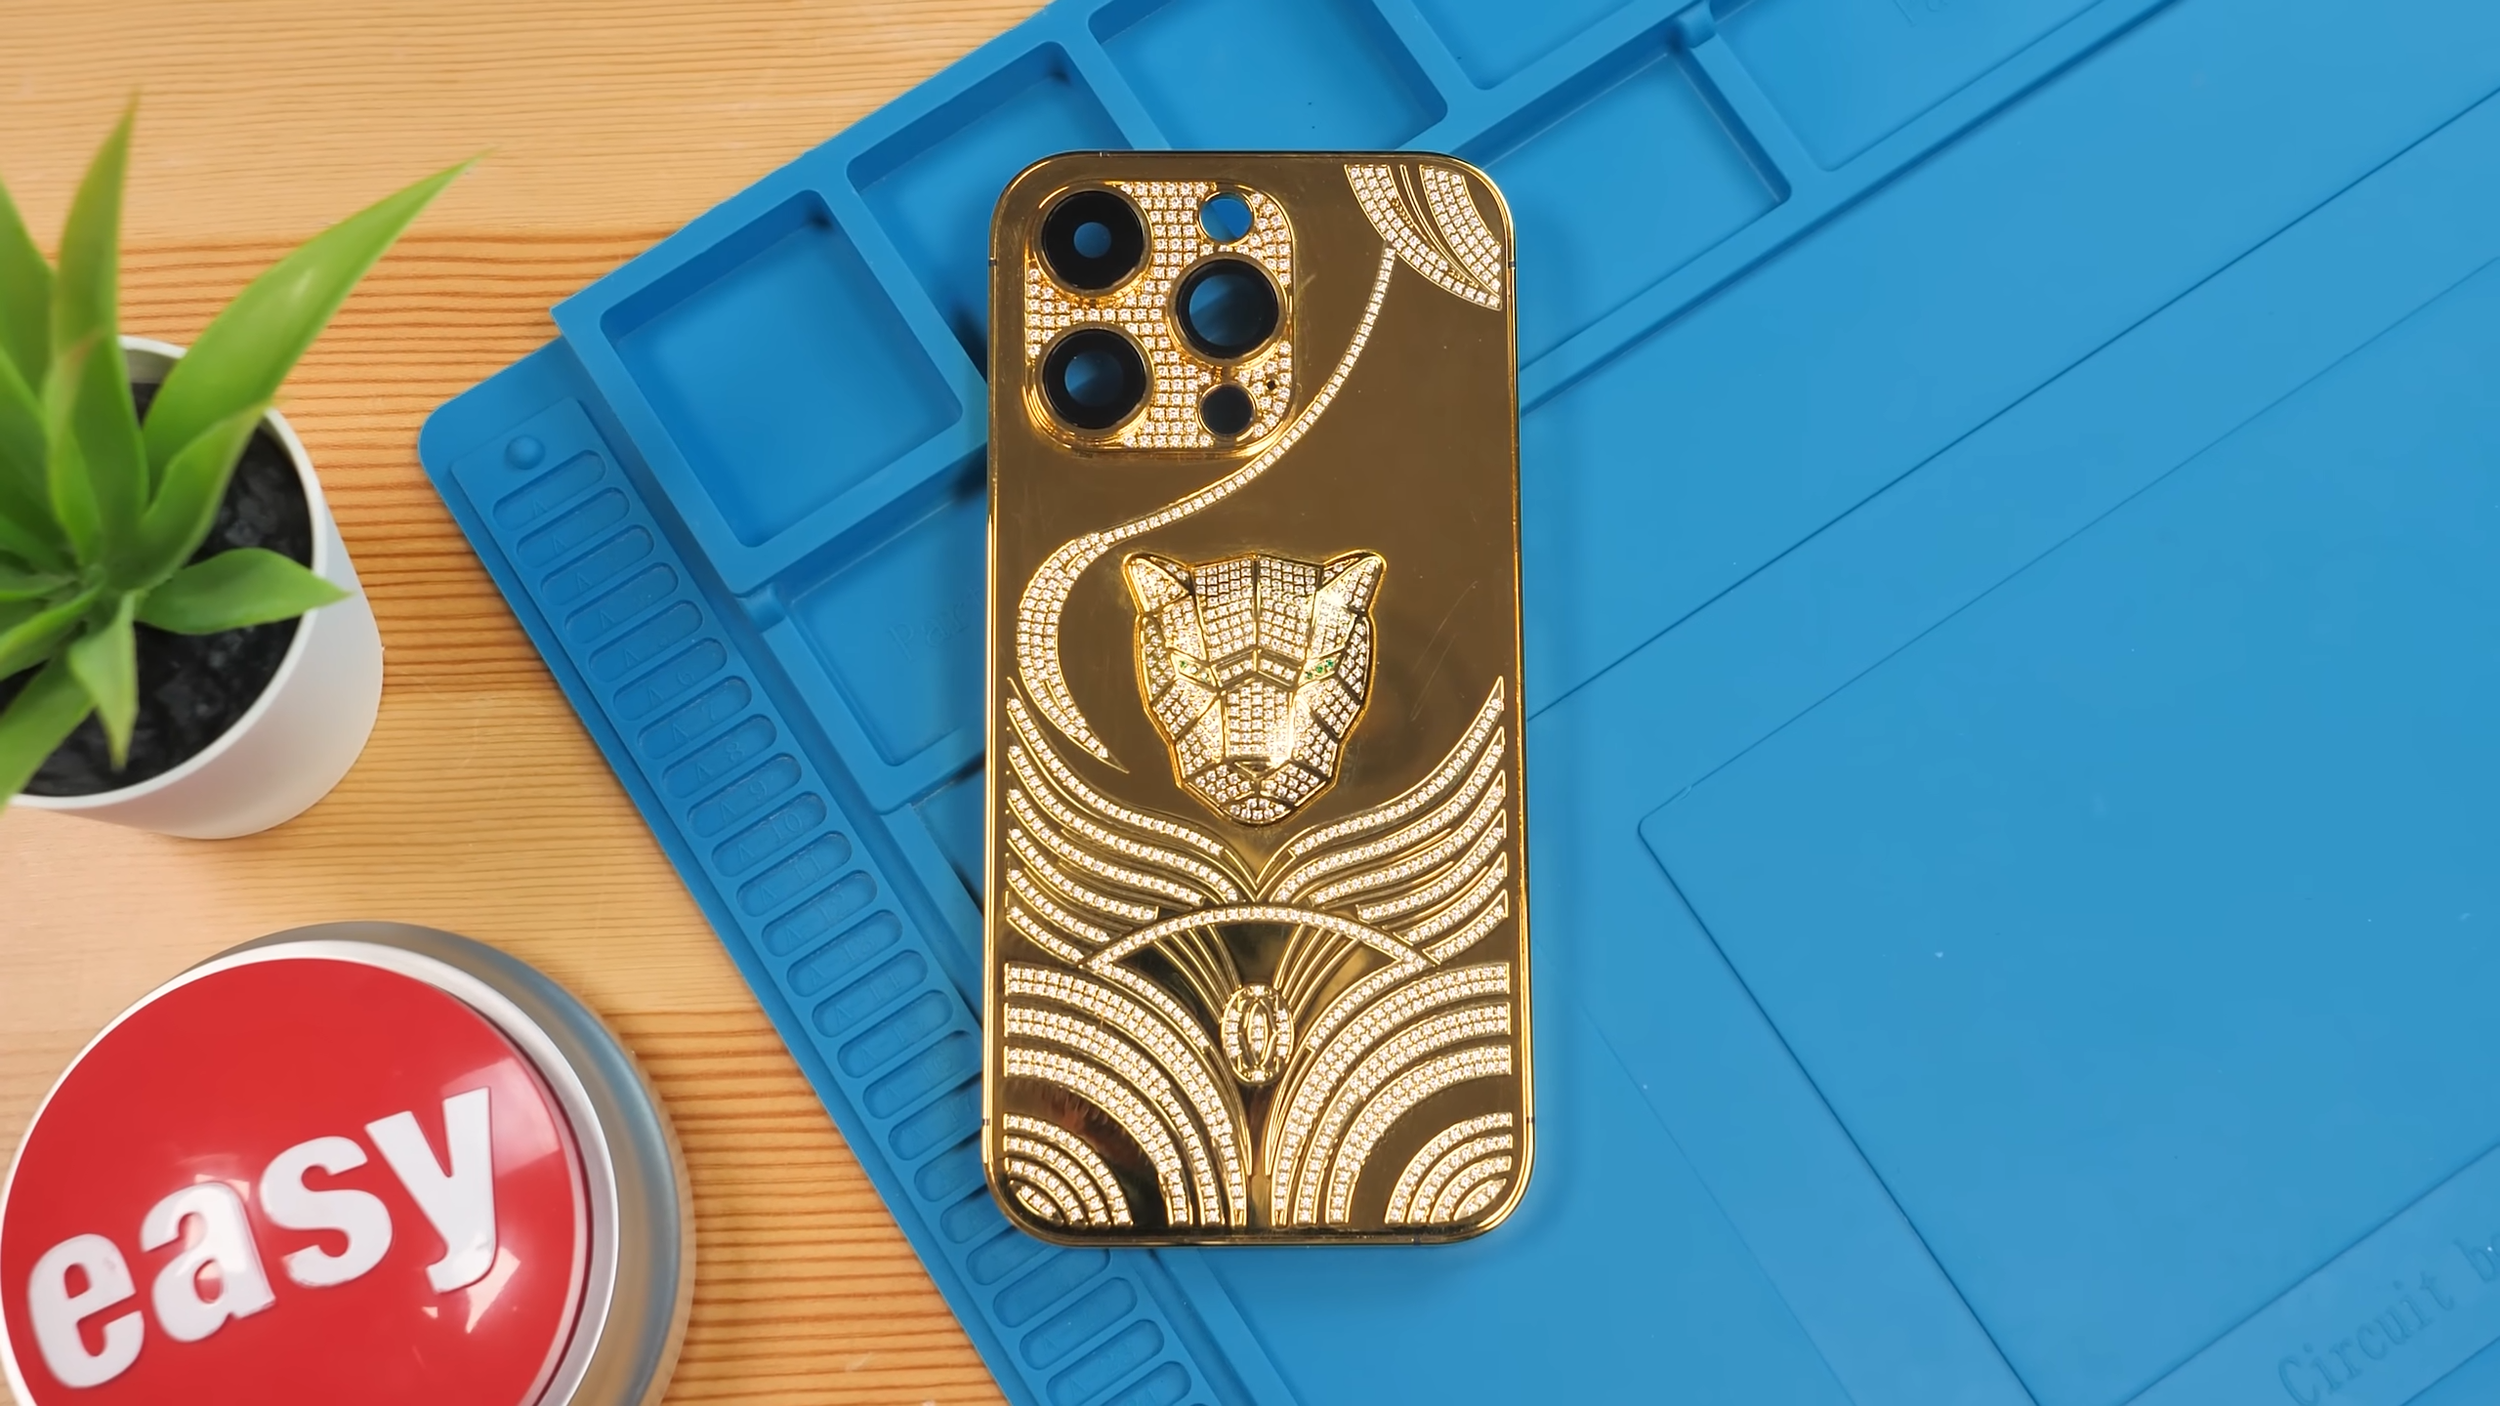
At first glance, the quality seemed decent. Not incredible, but not awful either. That said, I still had a lot of questions. Would wireless charging work? Probably not. Would cellular reception be affected? Hopefully not, since there was plastic around the antenna areas. Either way, the only real way to know was to tear it apart.
Opening the Phone and Immediate Regret
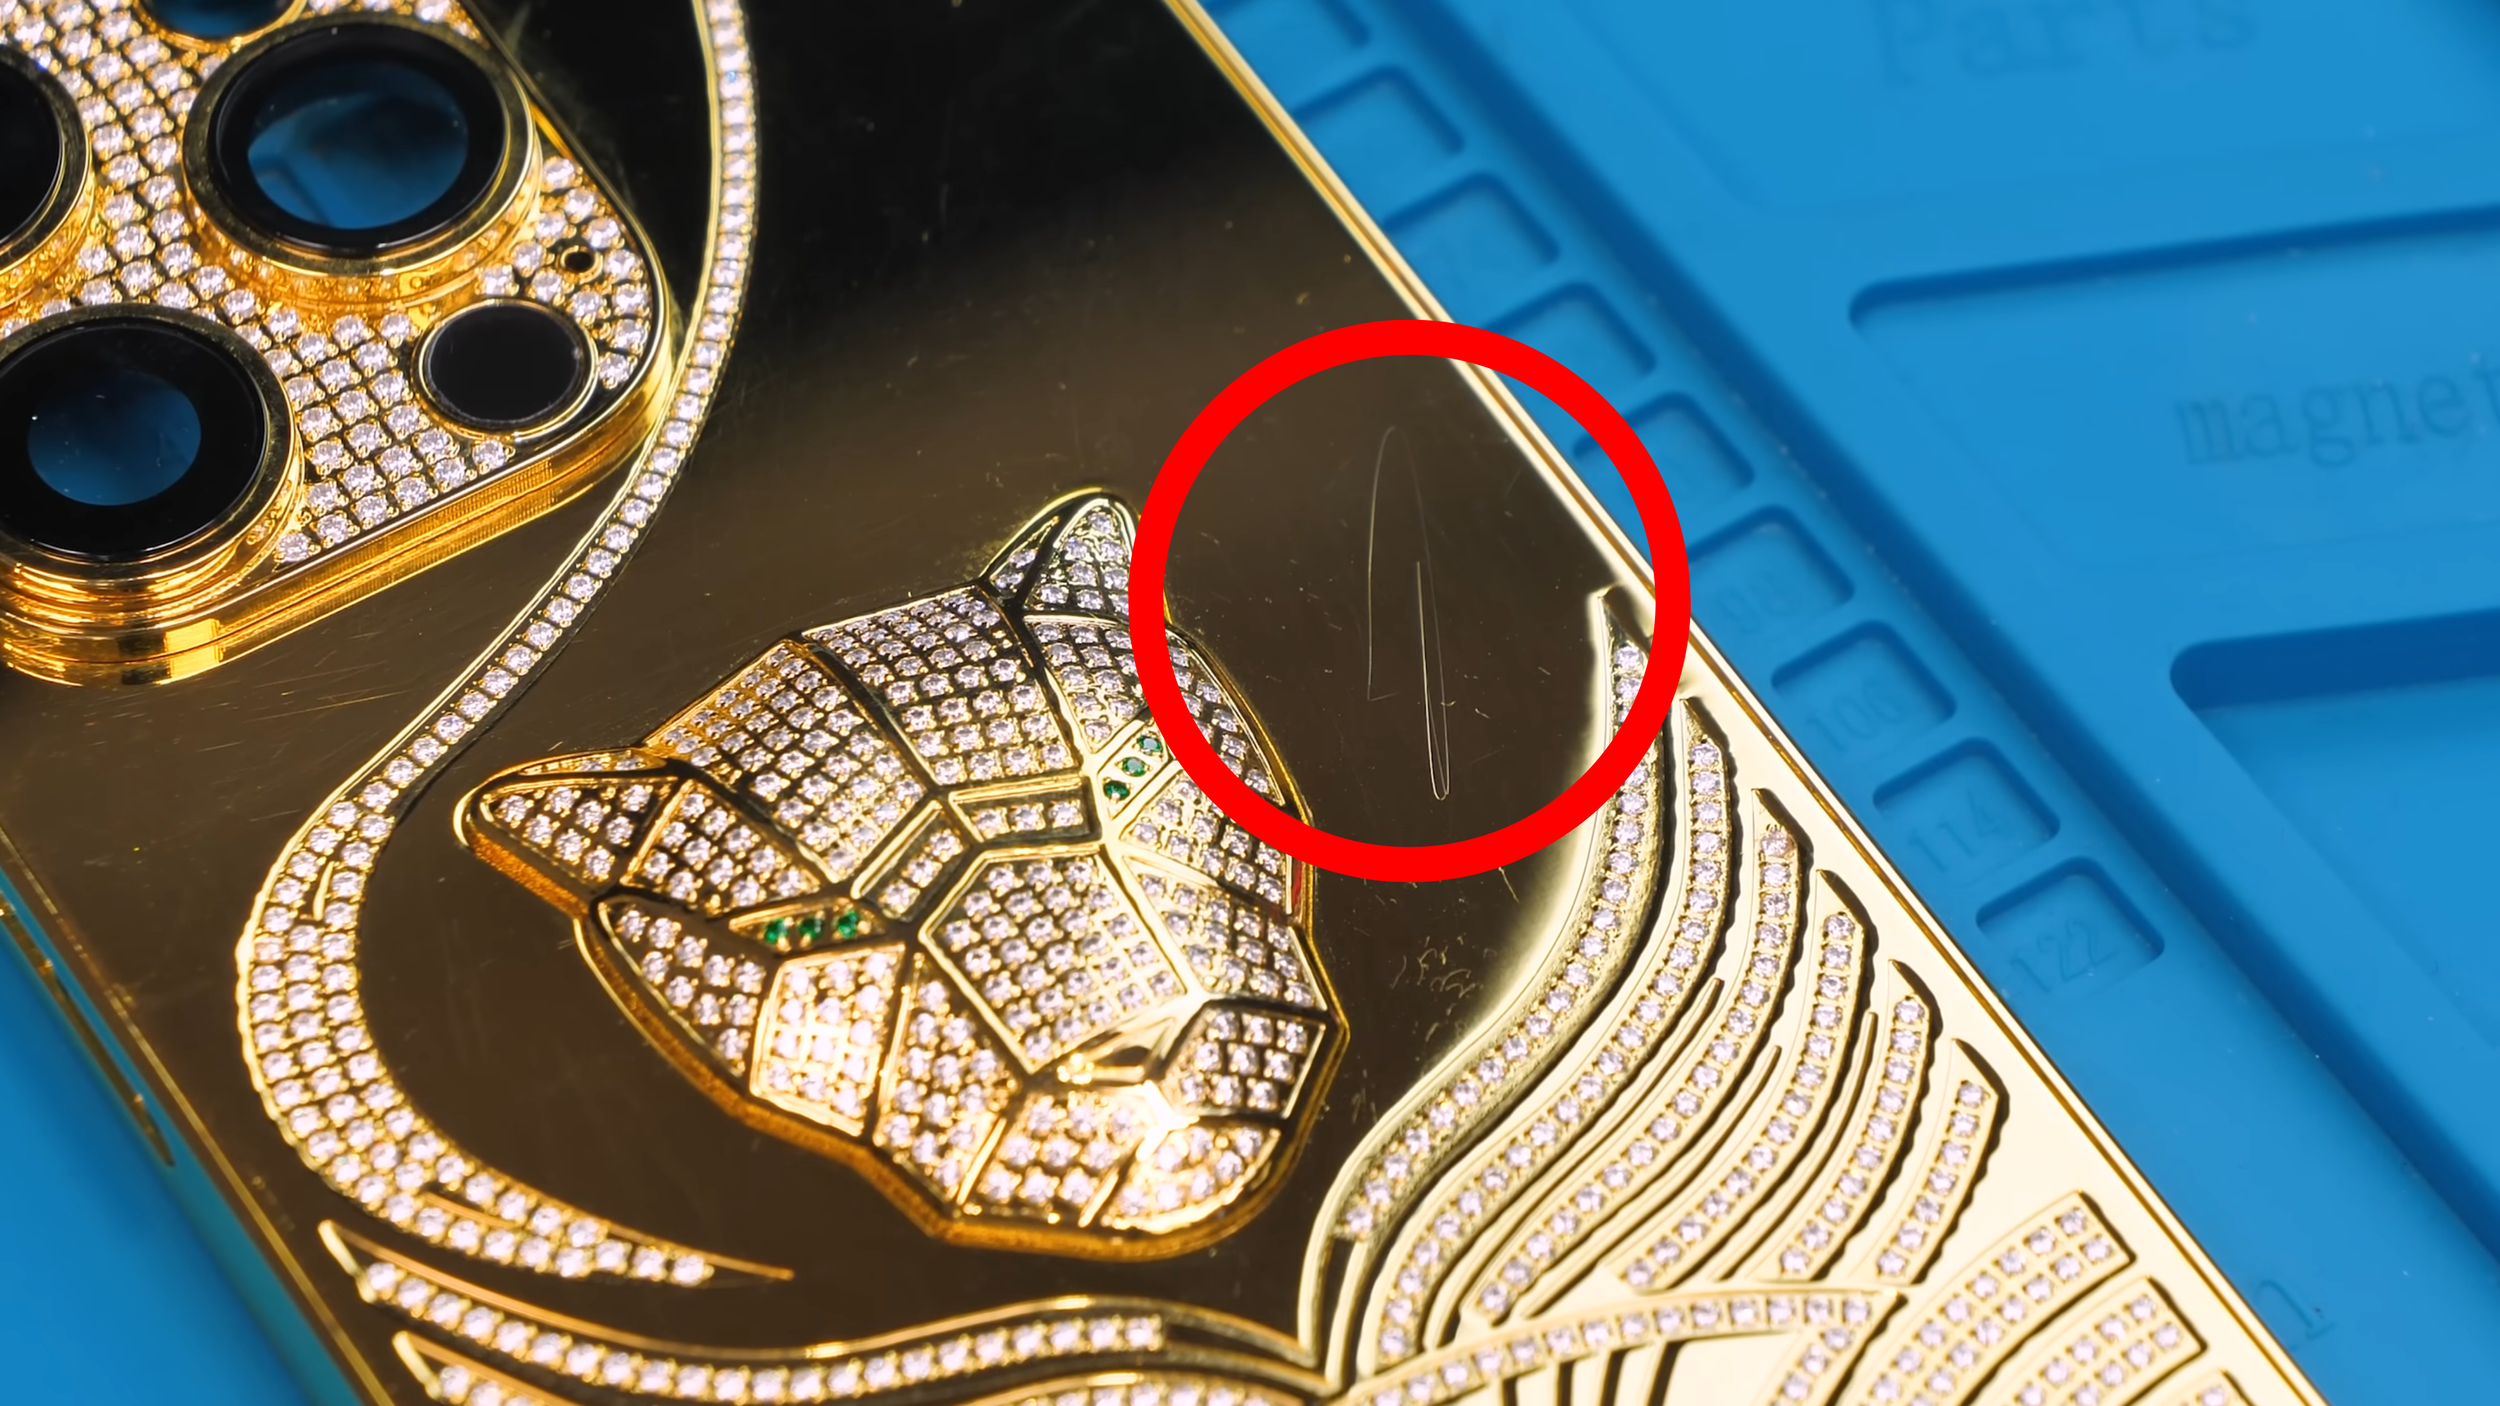
Before I even opened the iPhone 14 Pro, one problem became obvious. This housing scratches insanely easily.
I know gold is a soft metal, but this was scratching from a microfiber cloth. That’s not exactly what you want from something pretending to be a luxury product. From that point on, I had to protect it for the rest of the build just to keep it looking presentable.
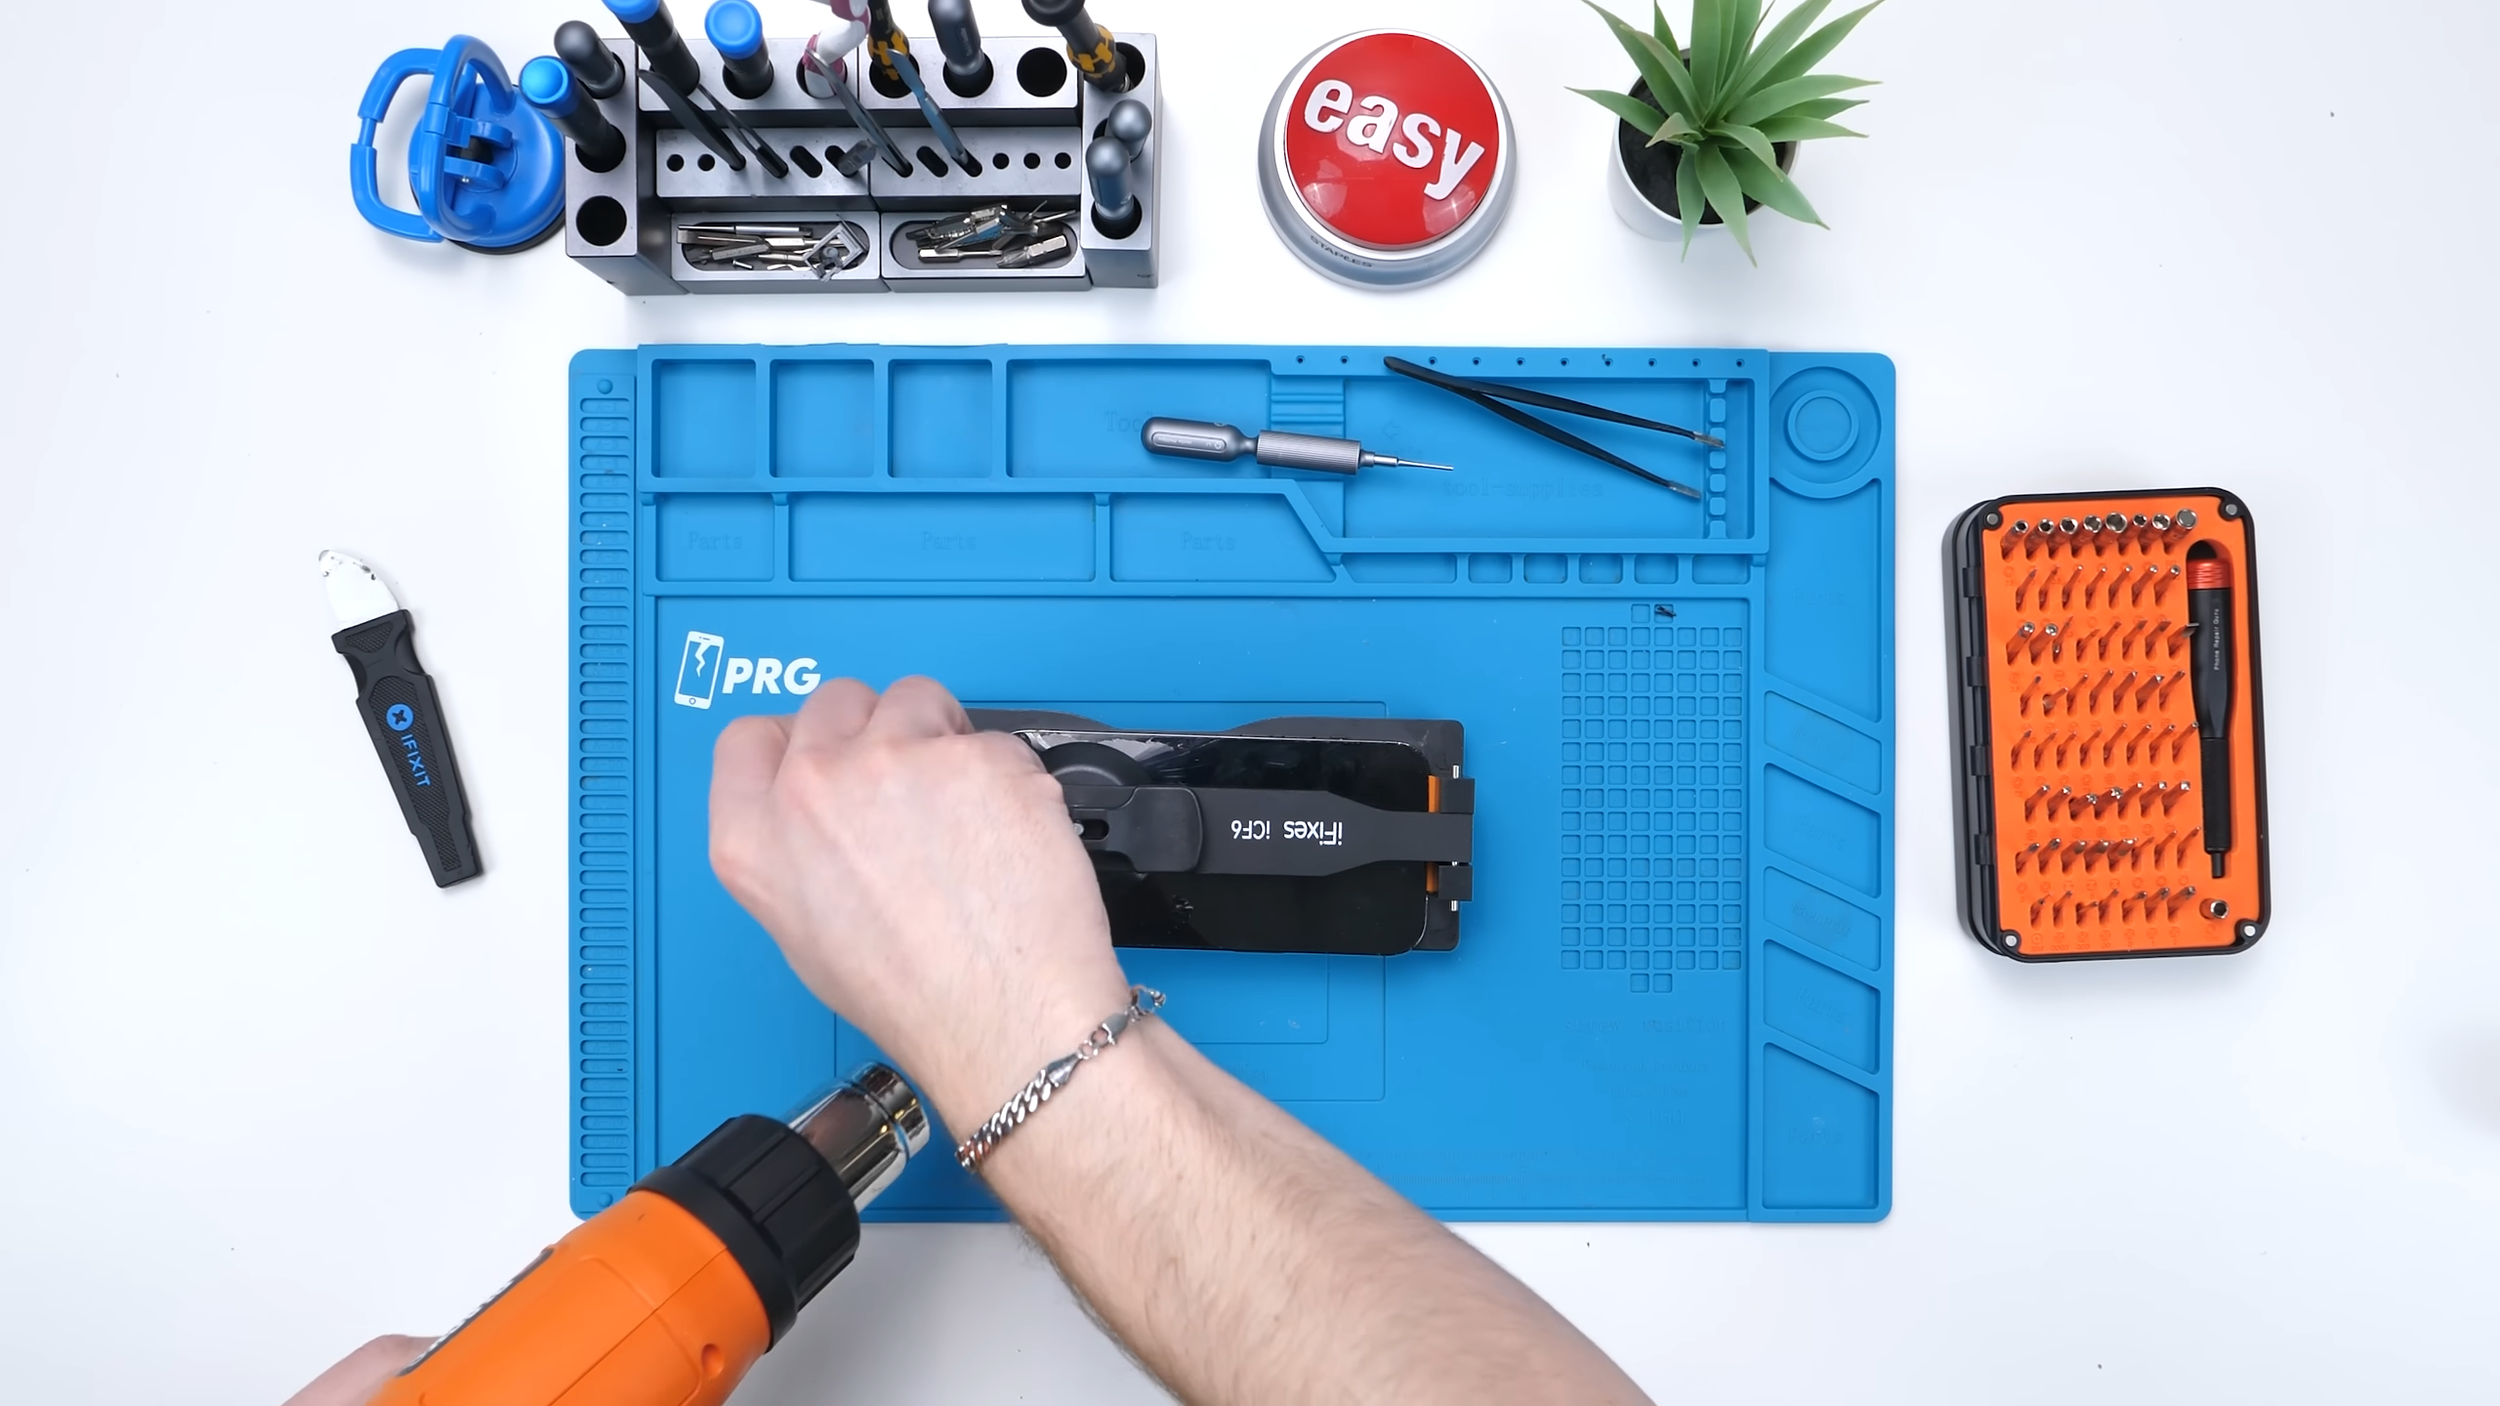
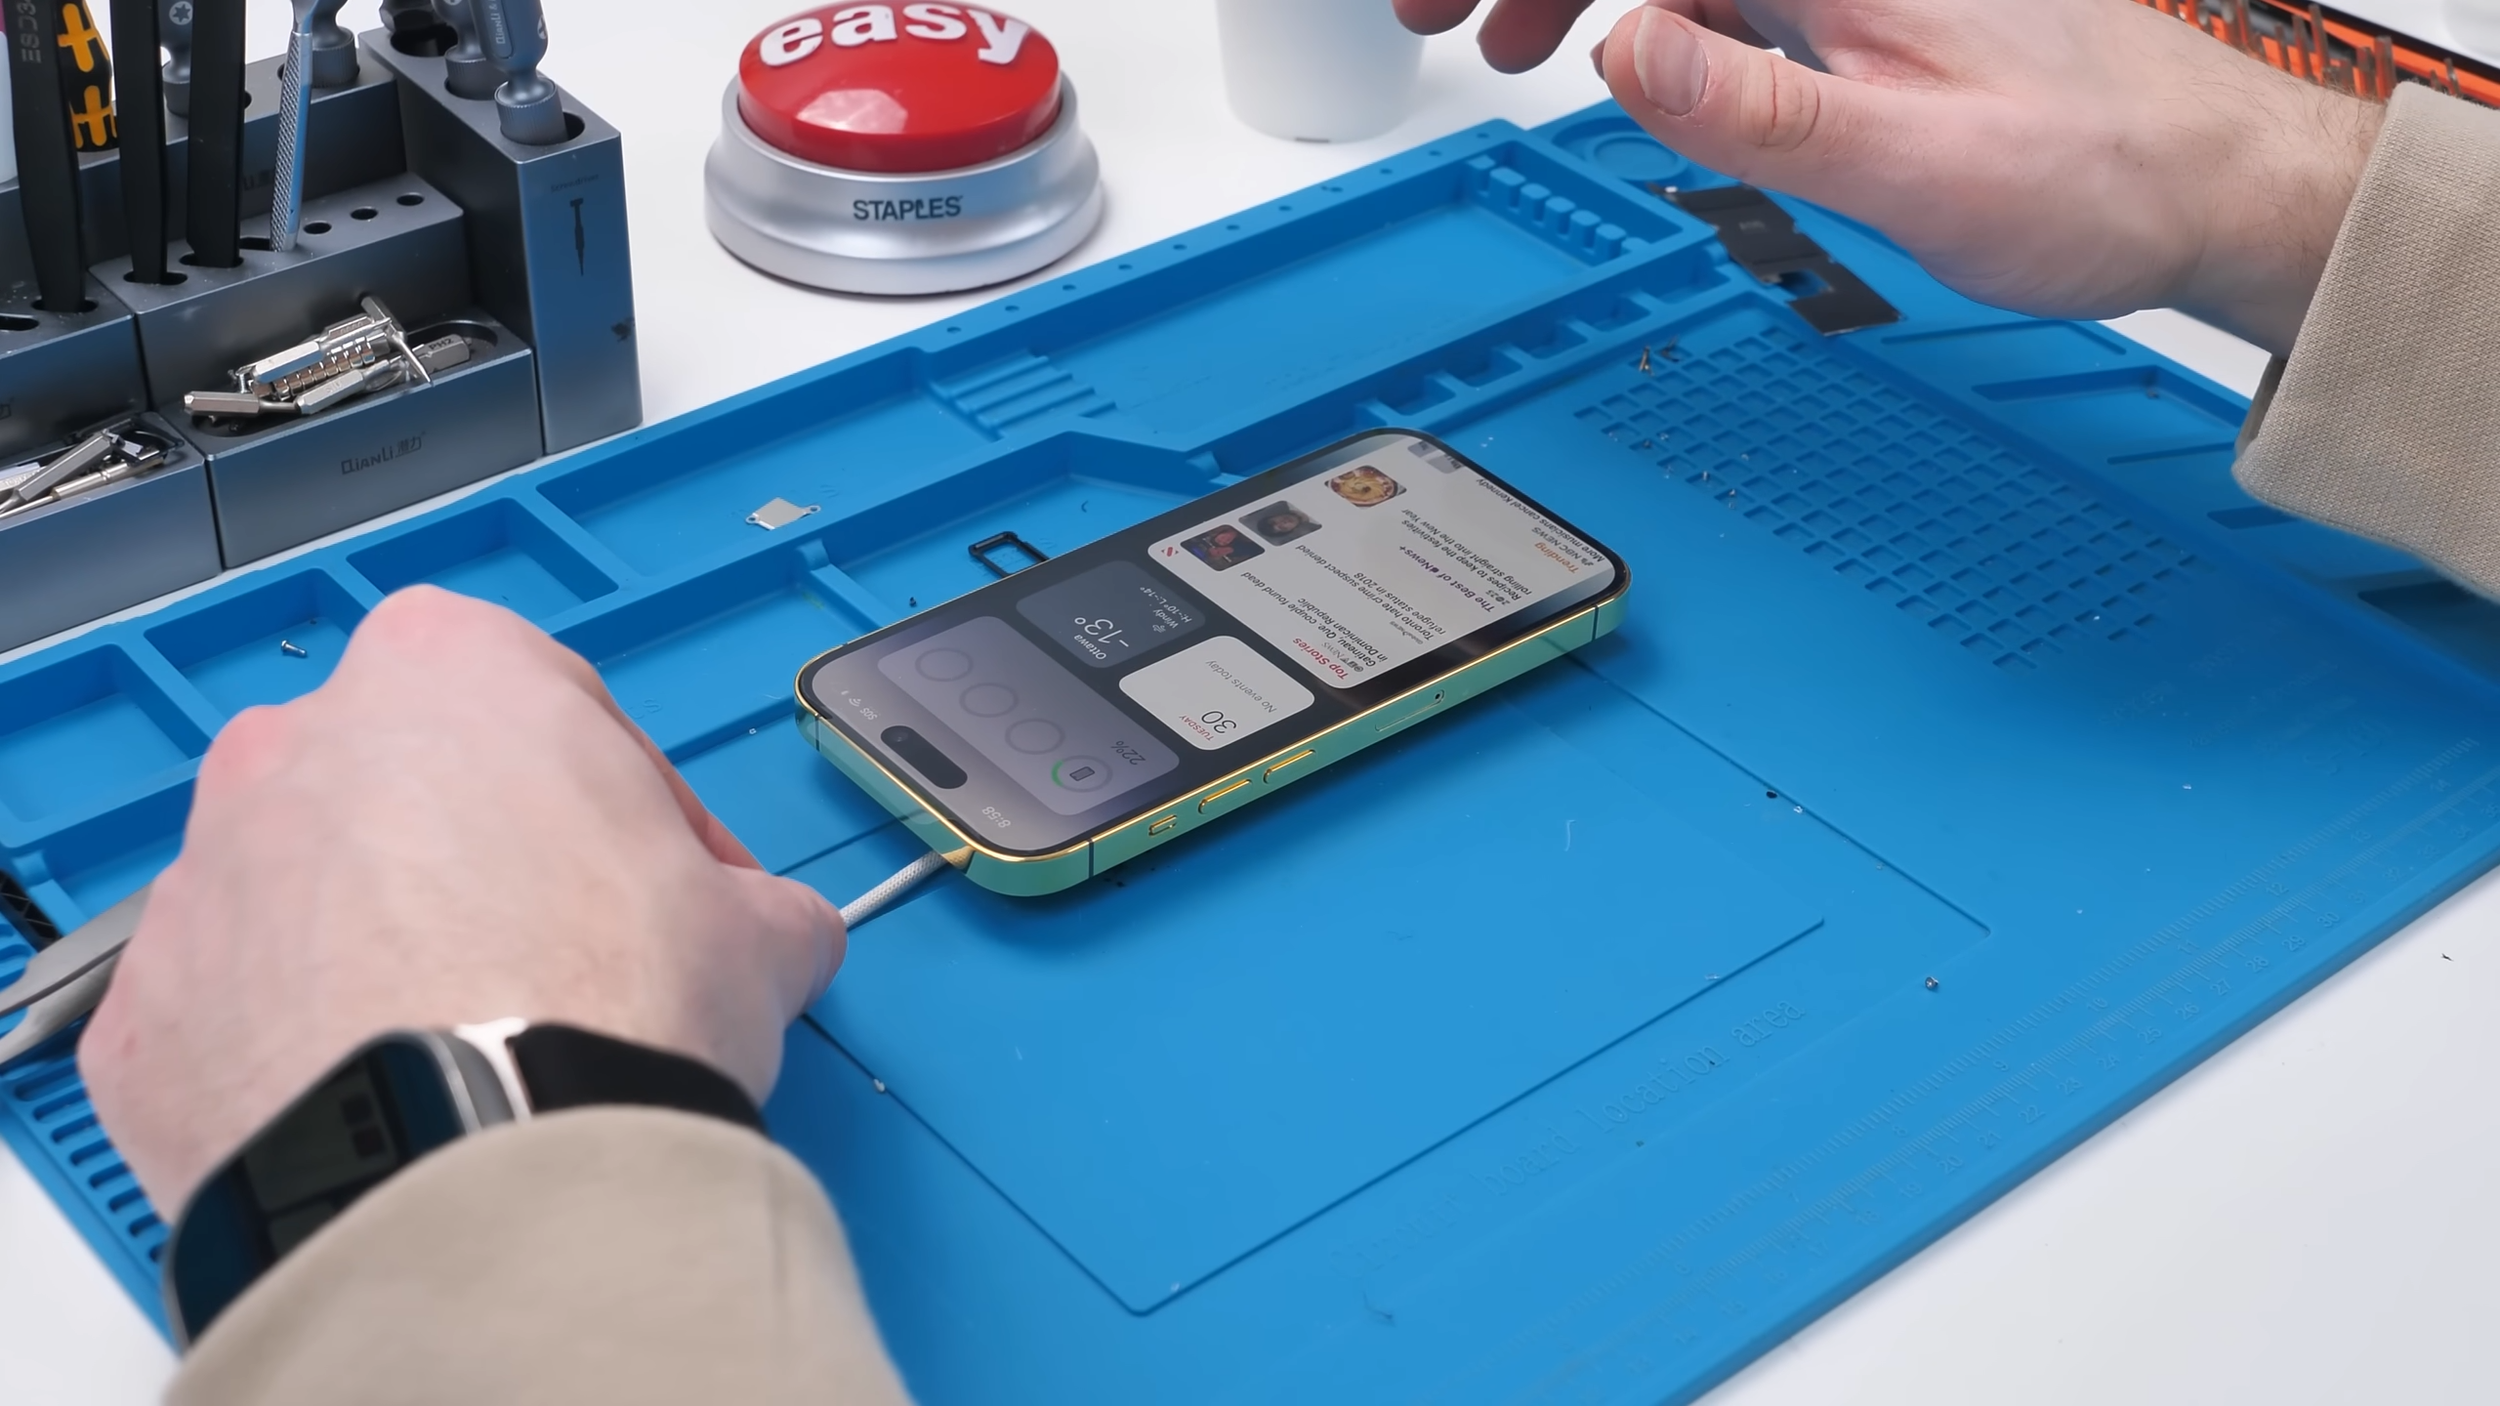
With that concern noted, it was time to actually open the phone.
The first step, like always, was removing the screen so I could disconnect the battery safely. The screen itself was completely destroyed, and I still have no idea what happened to this phone before it ended up in my hands. I was really hoping whatever caused that damage wouldn’t carry over into this build.

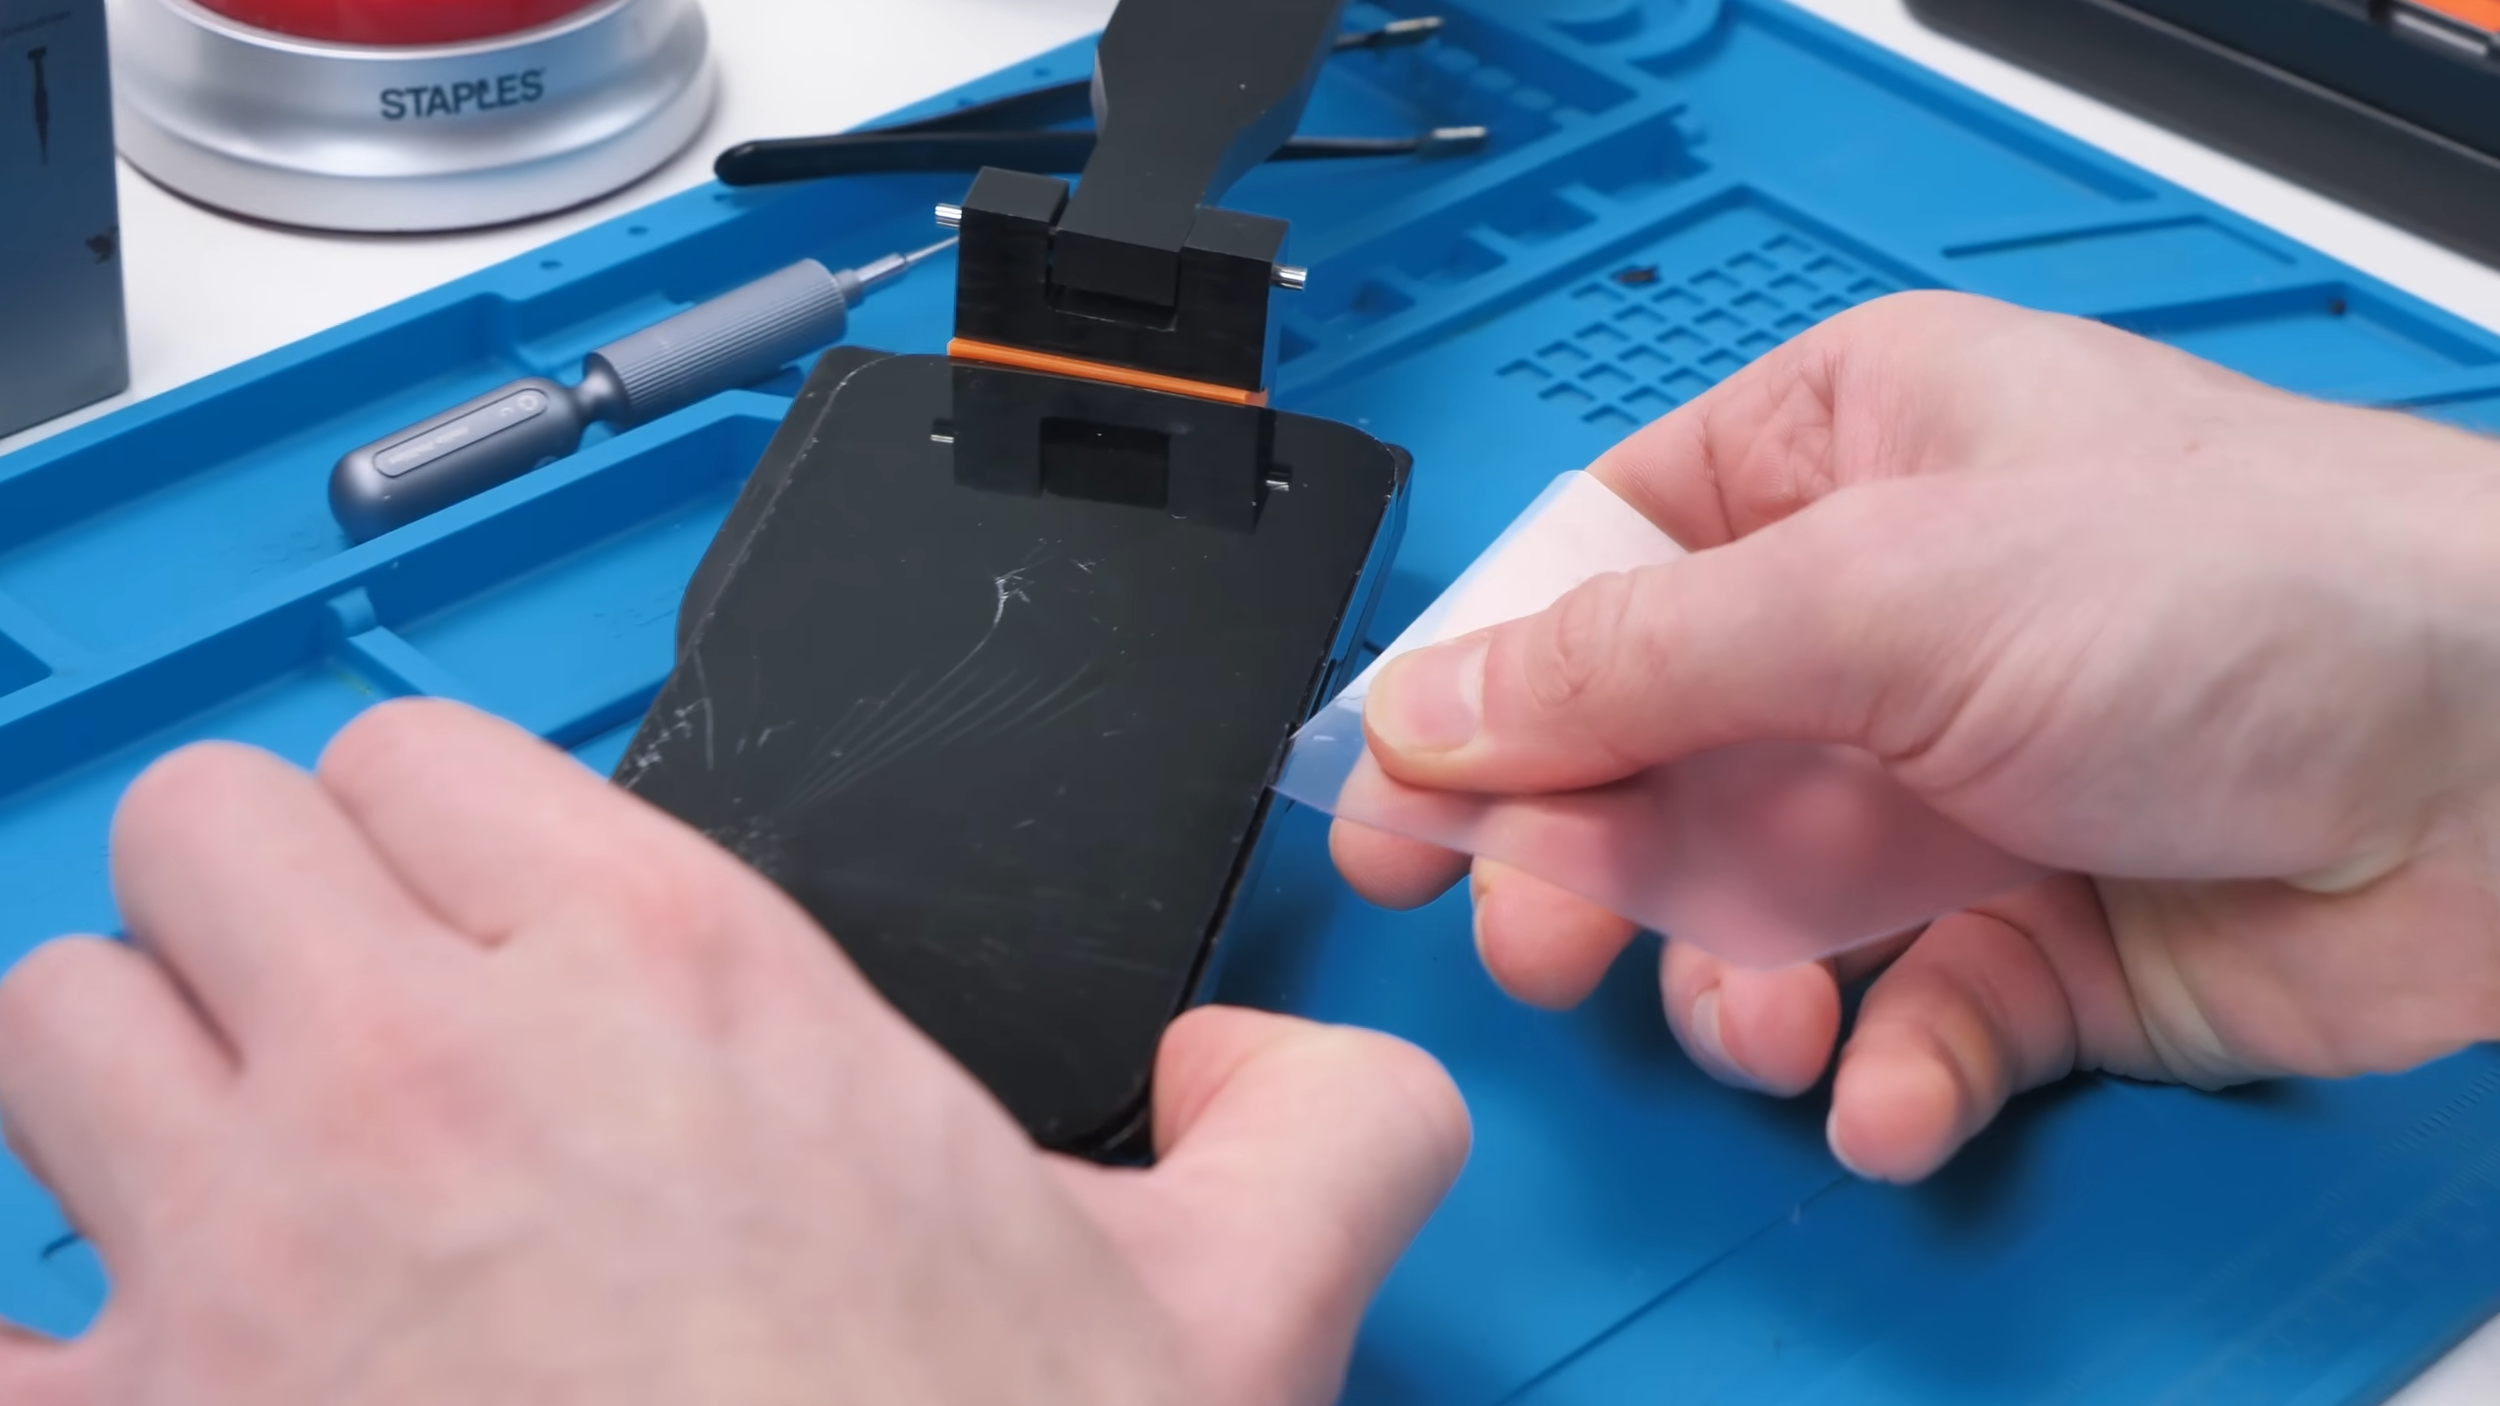
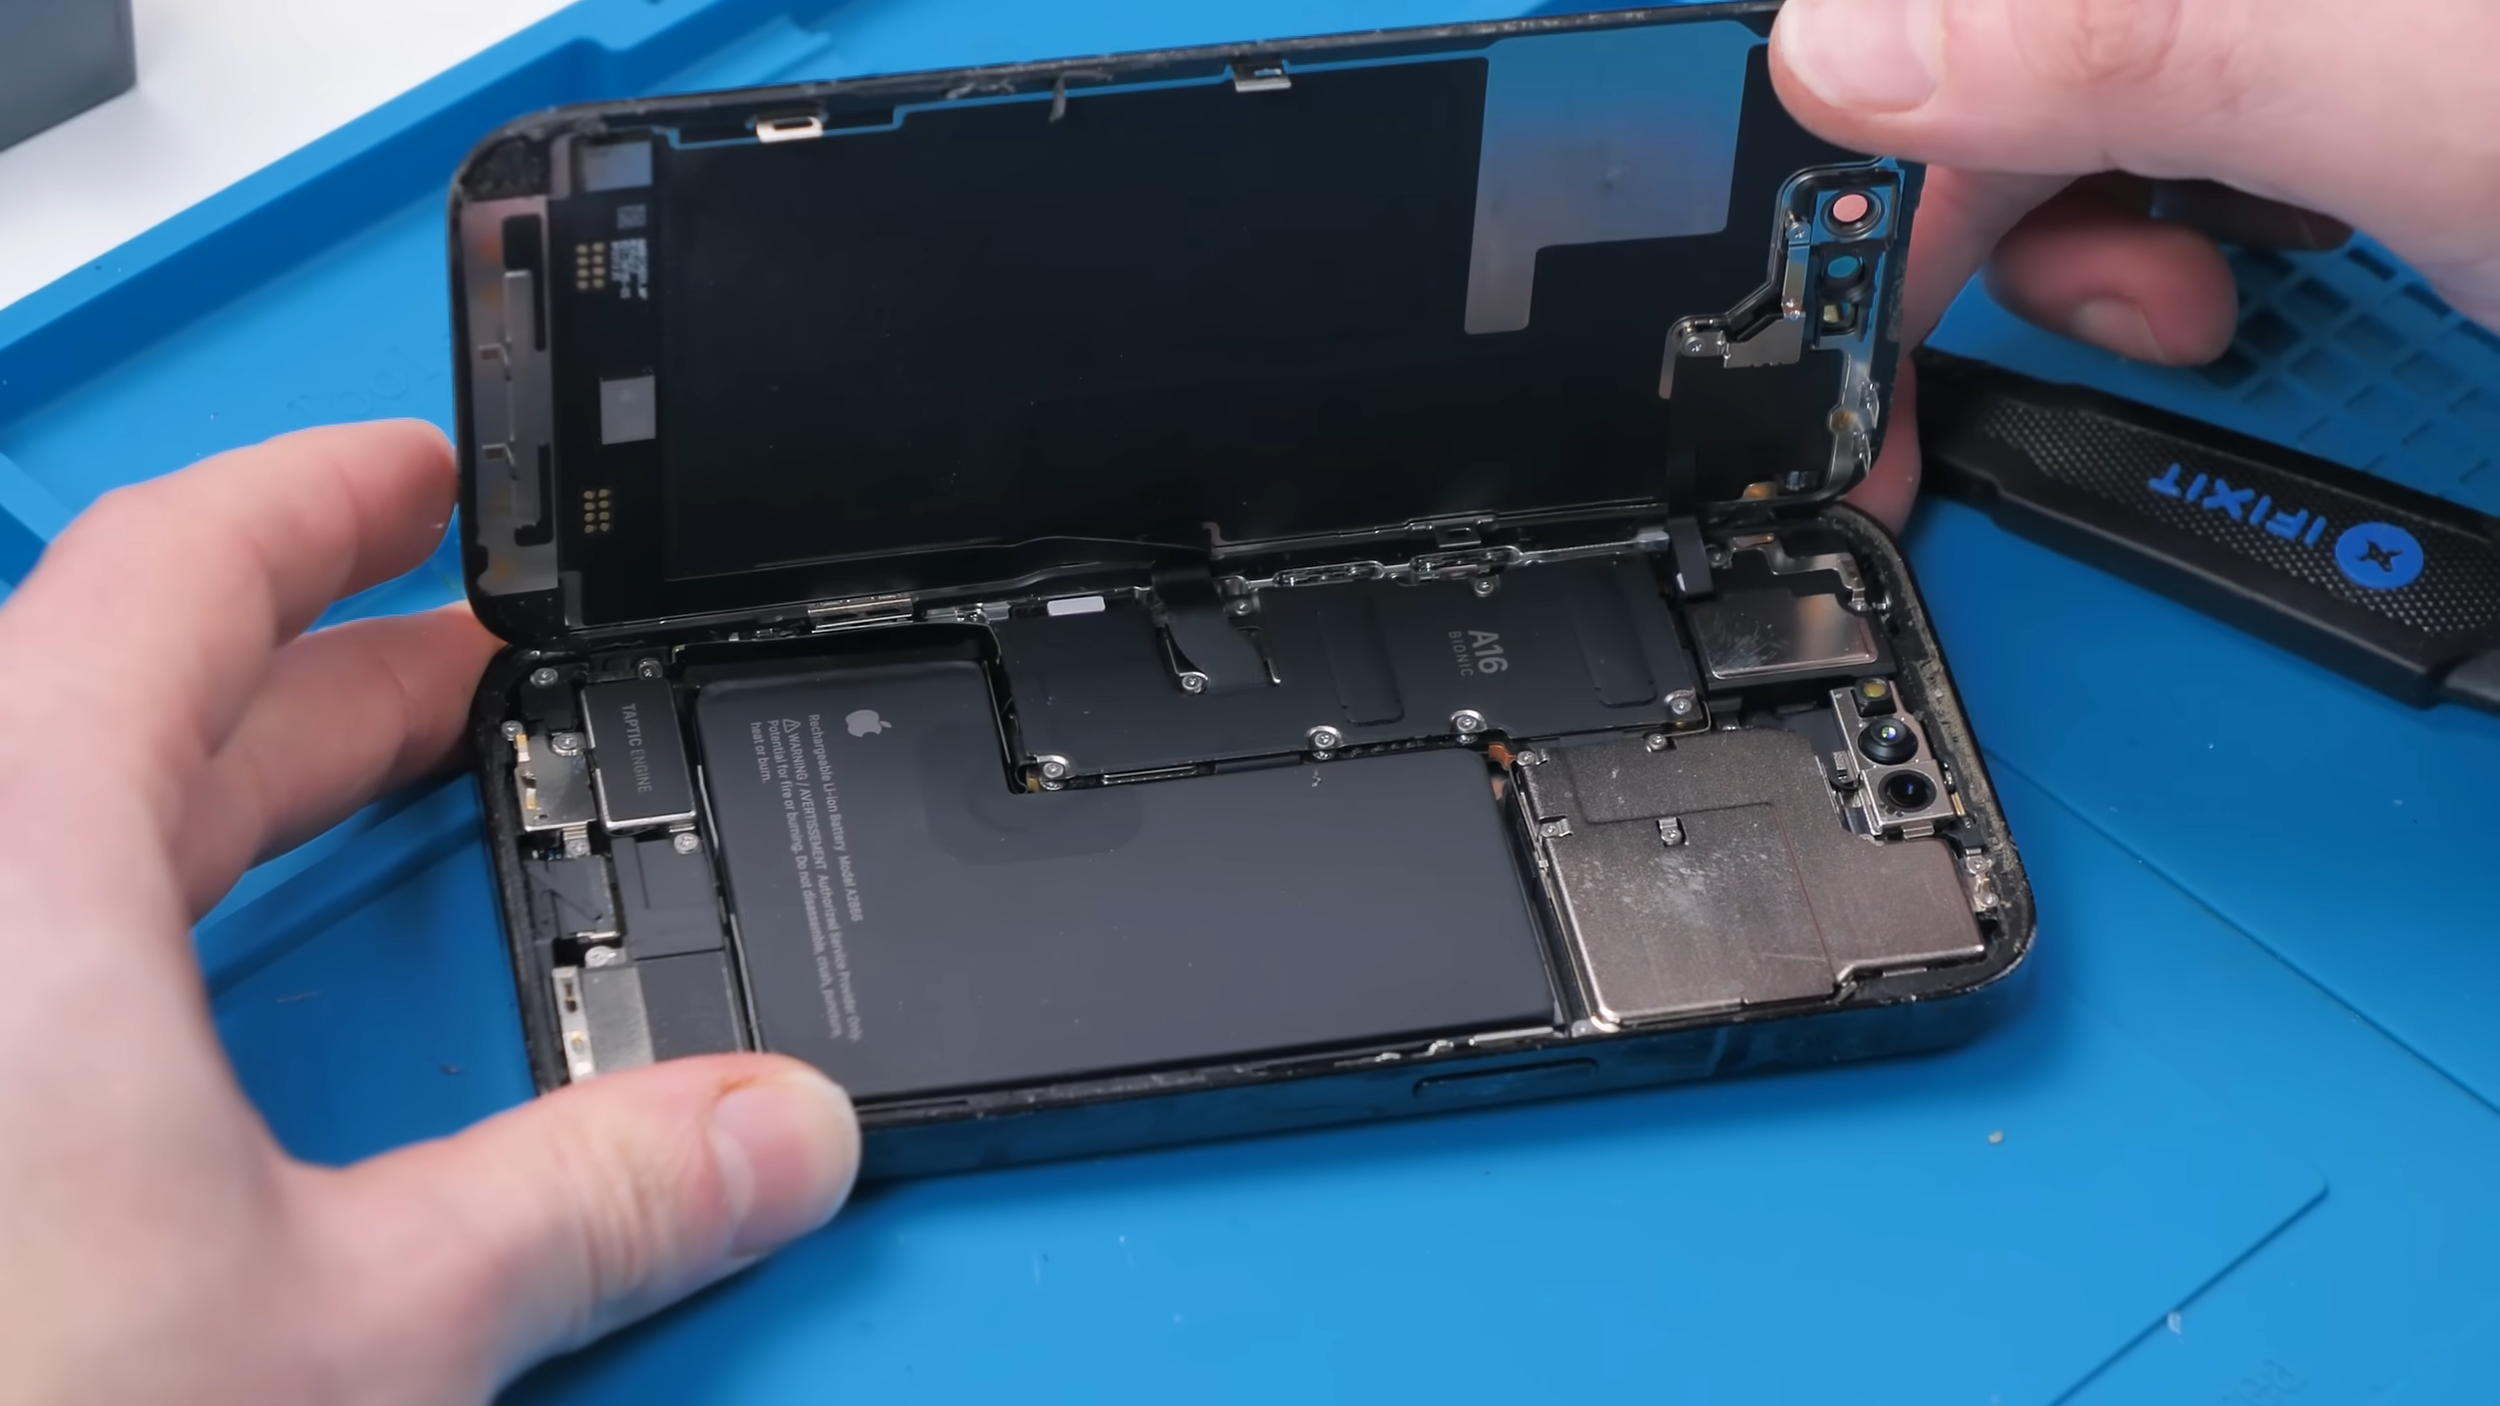
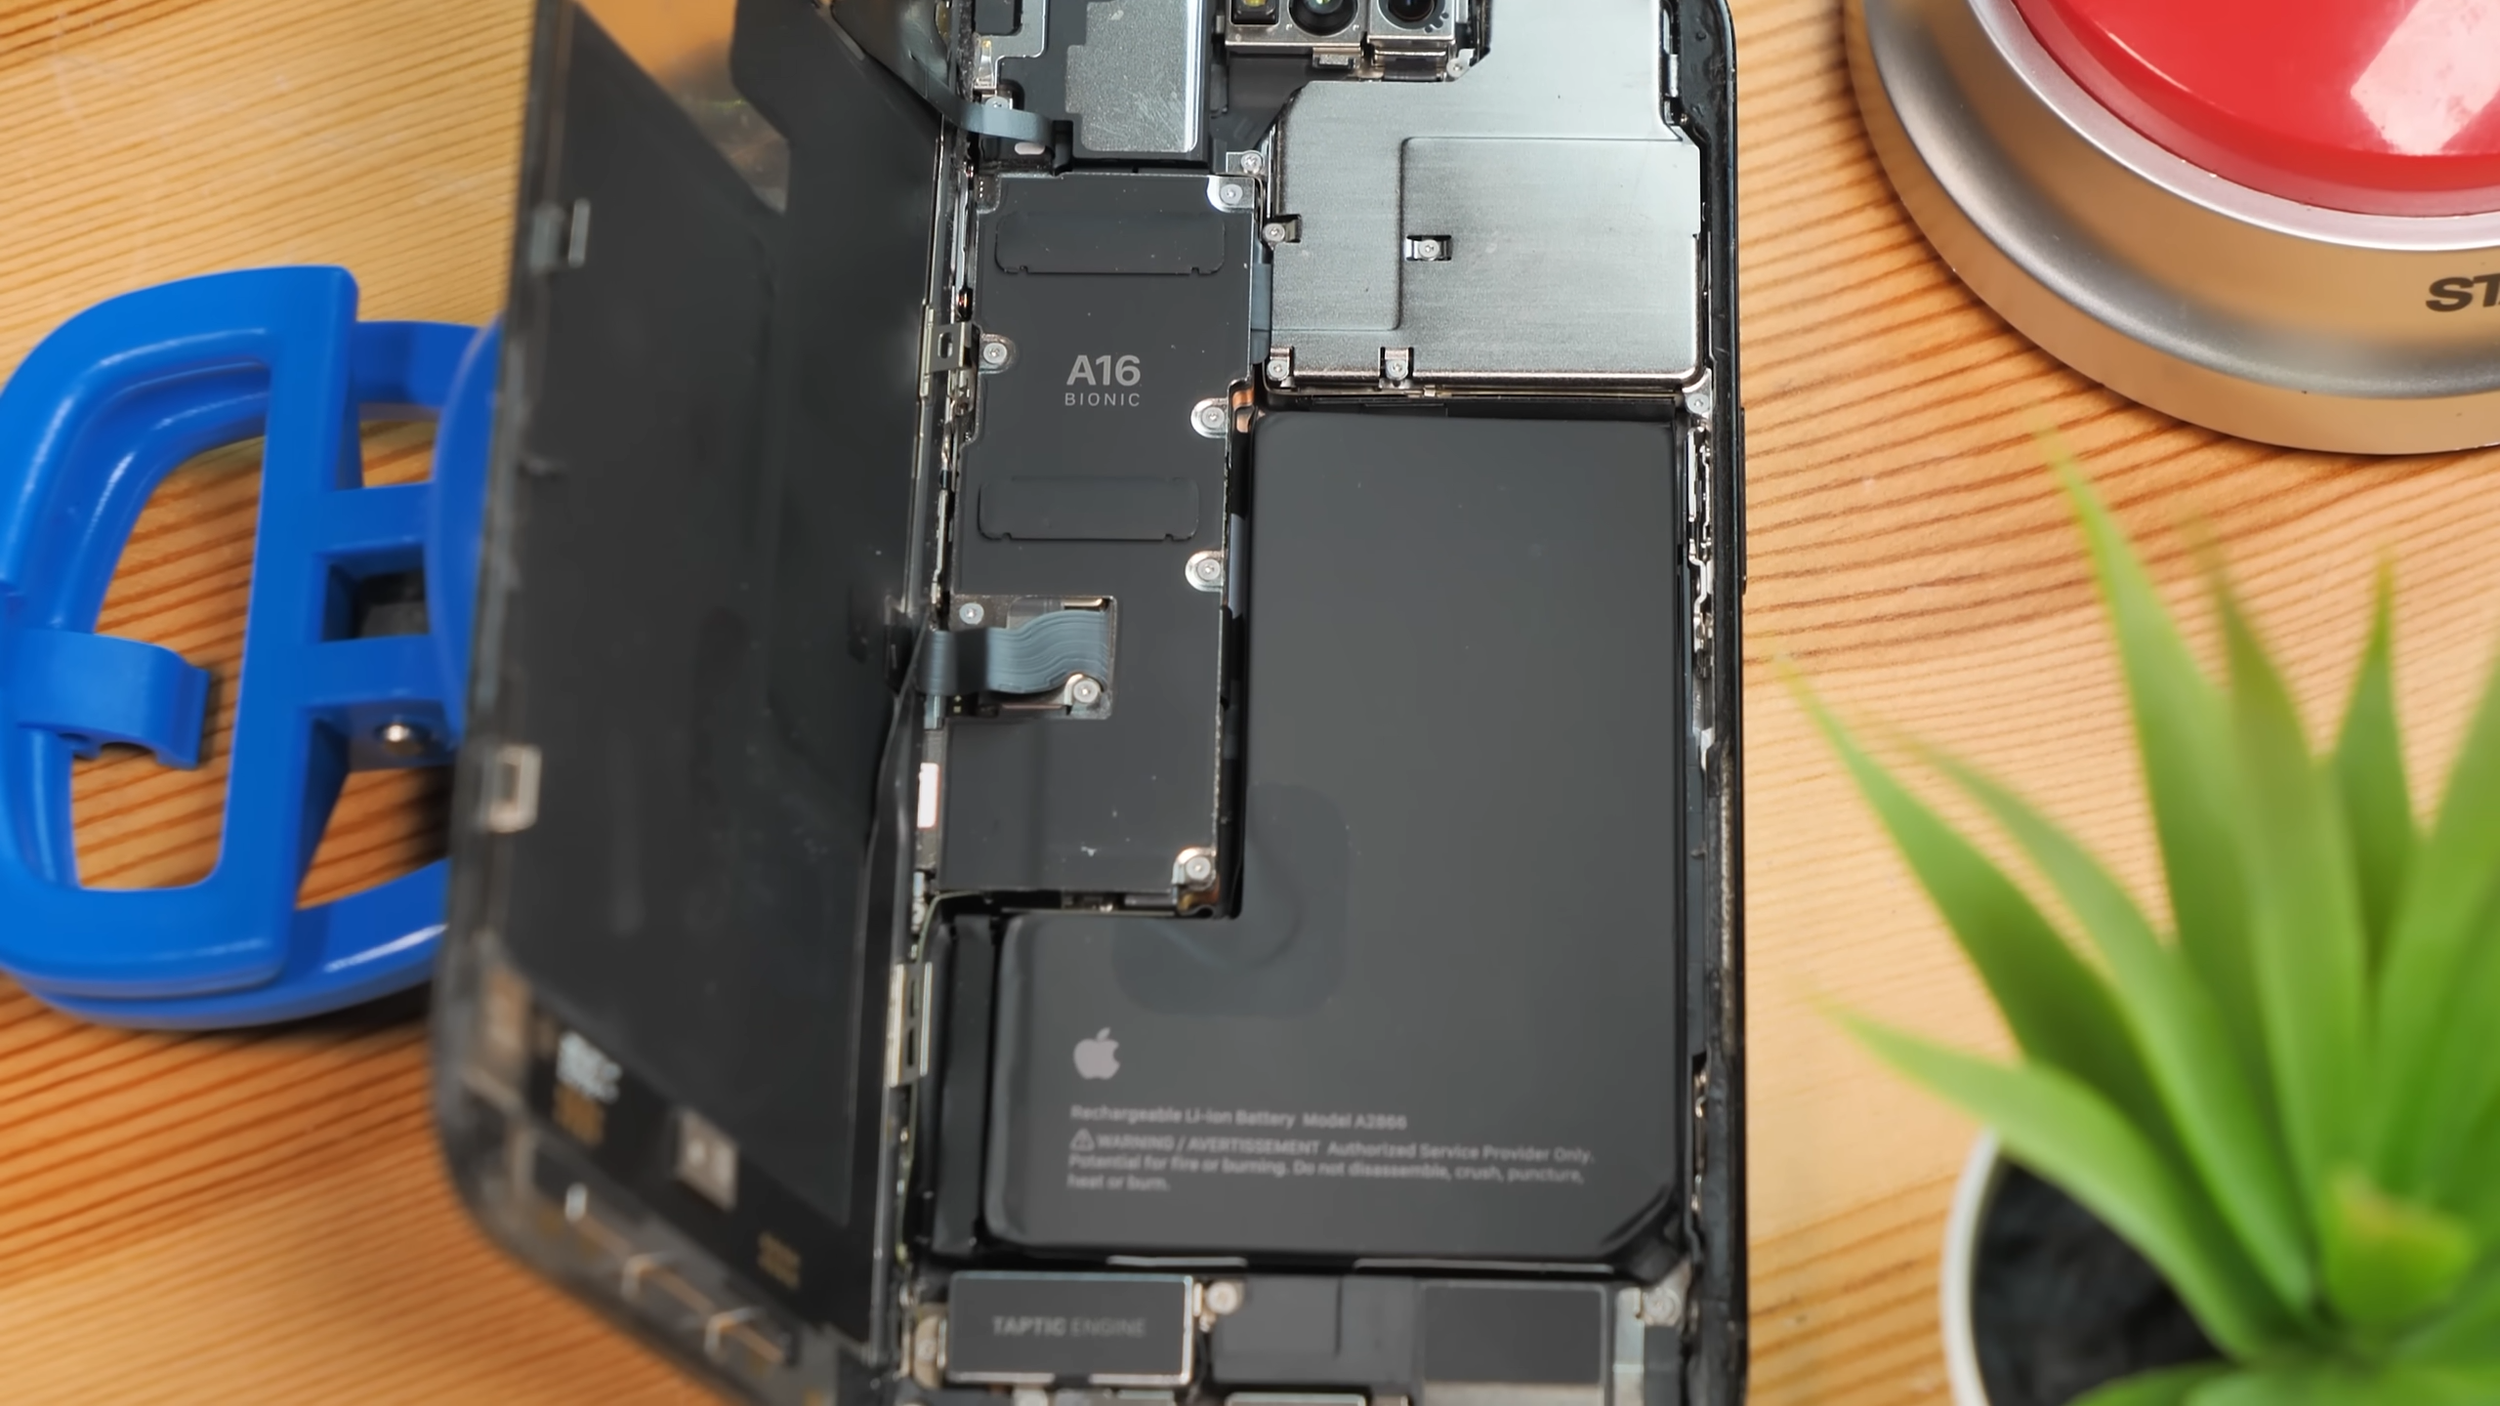
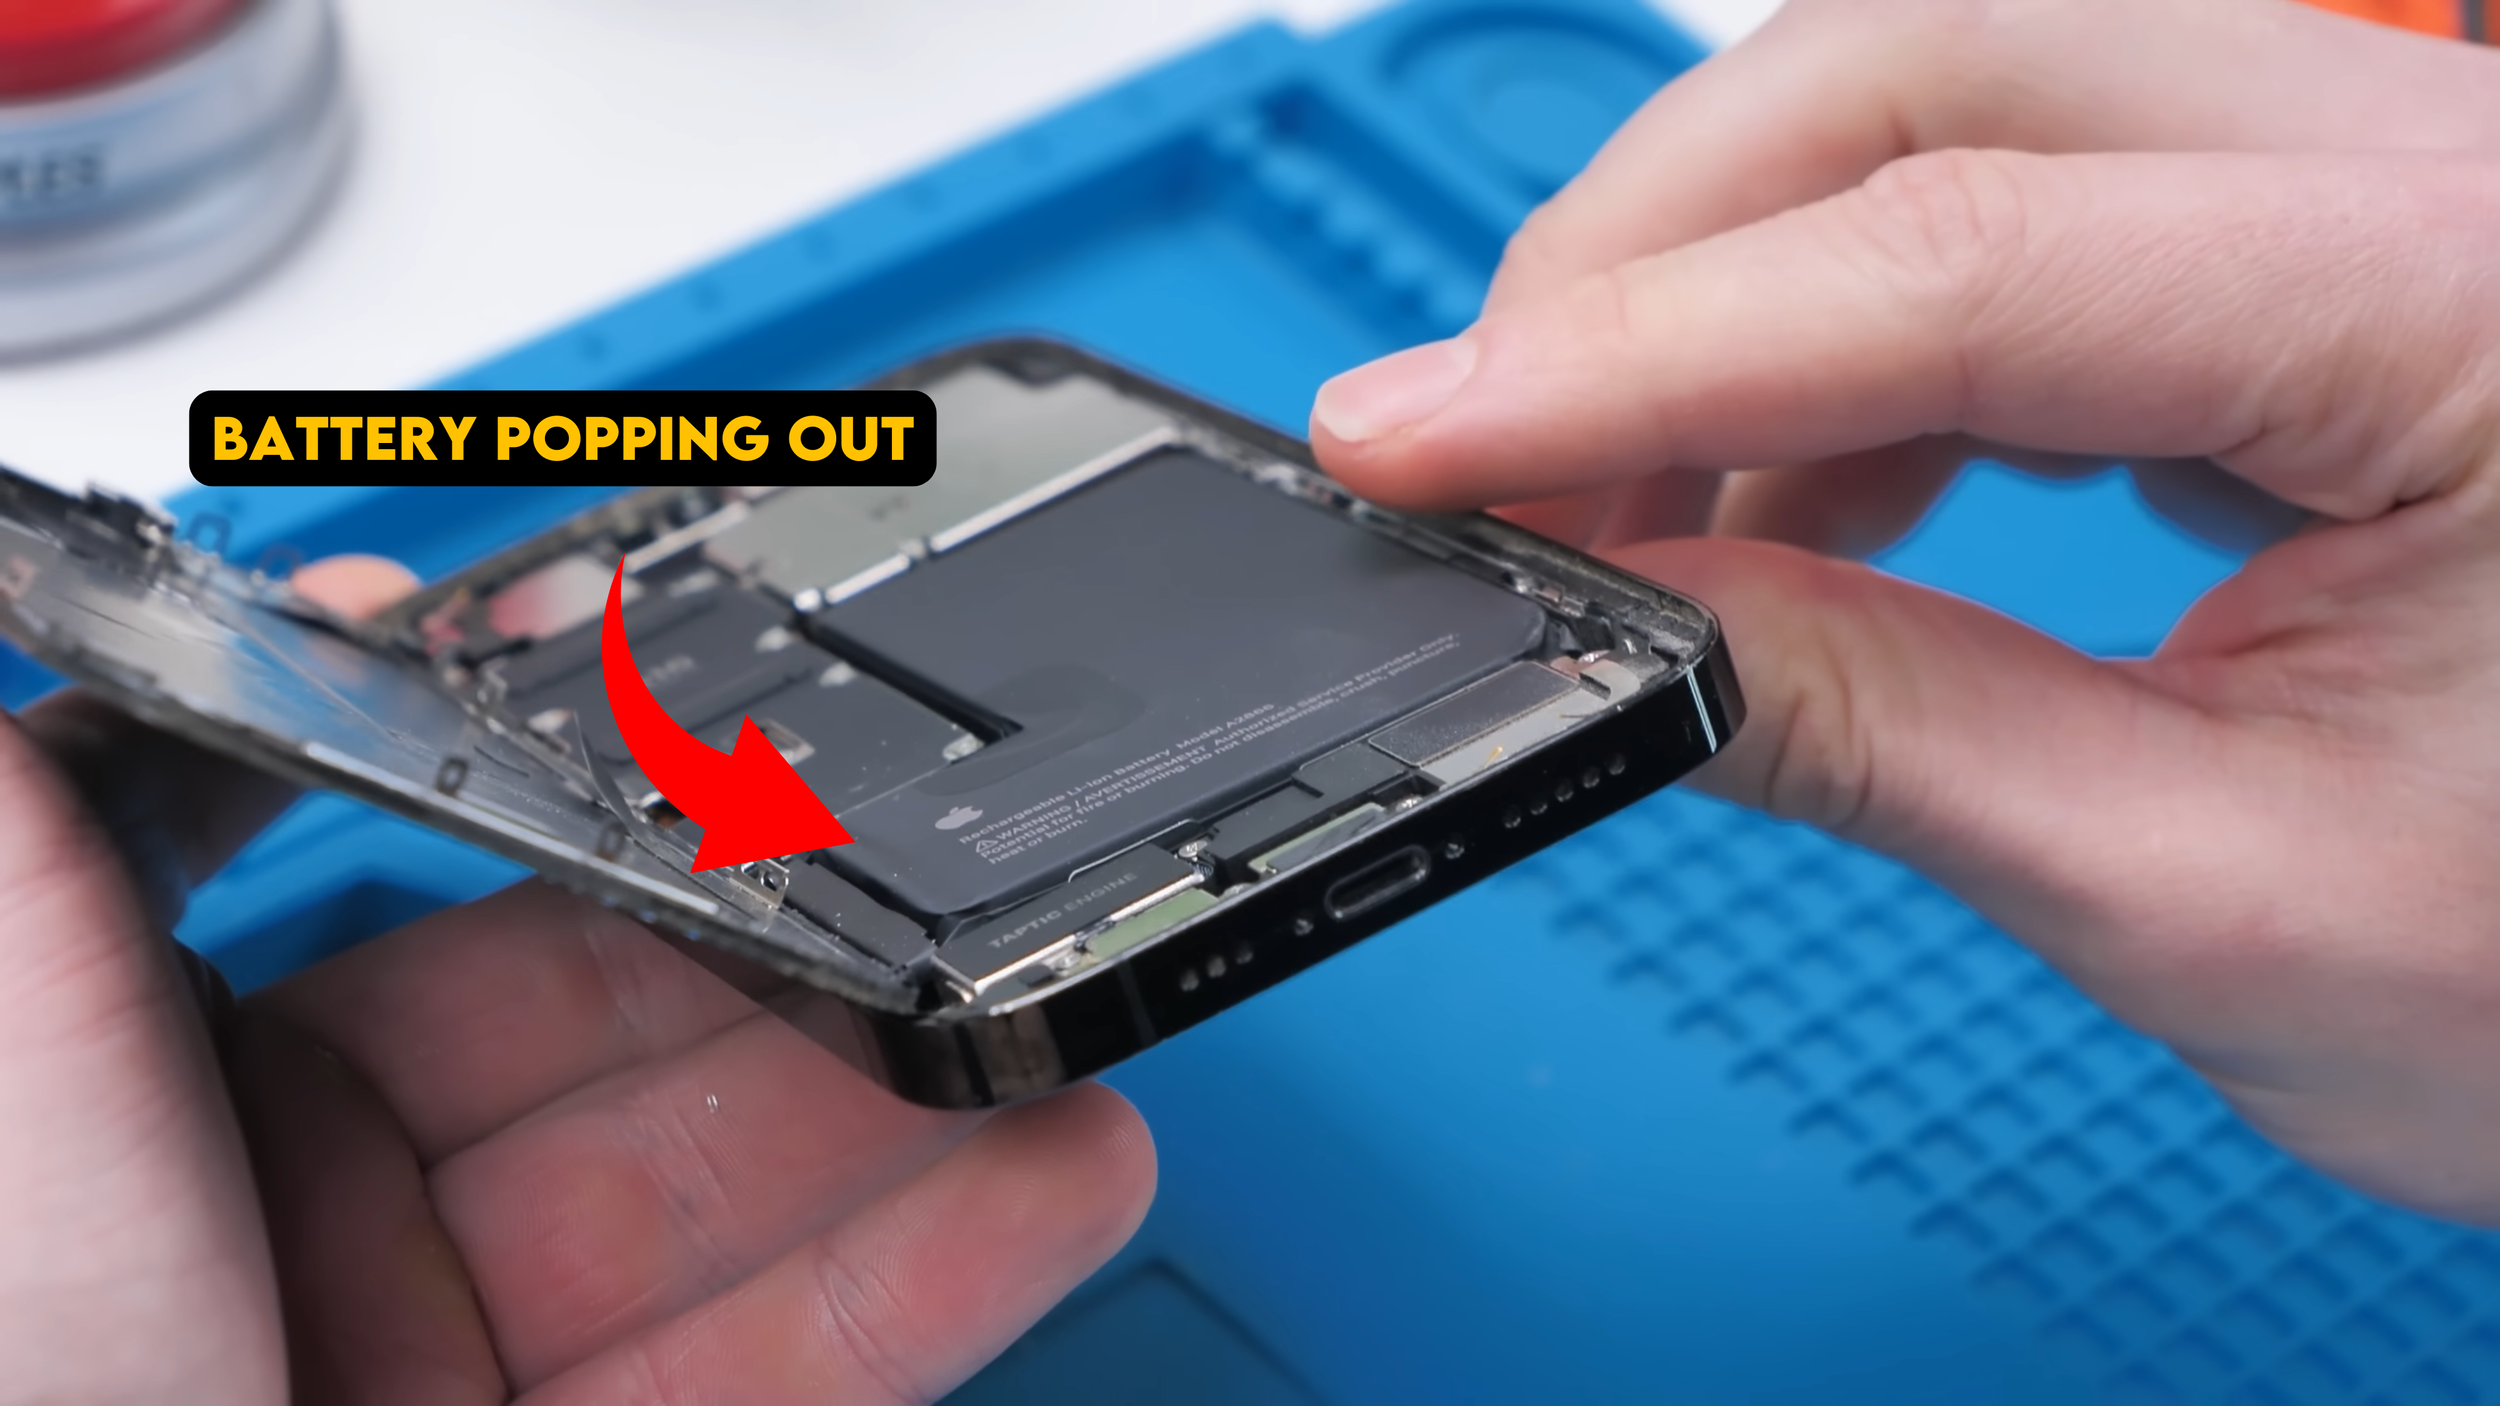
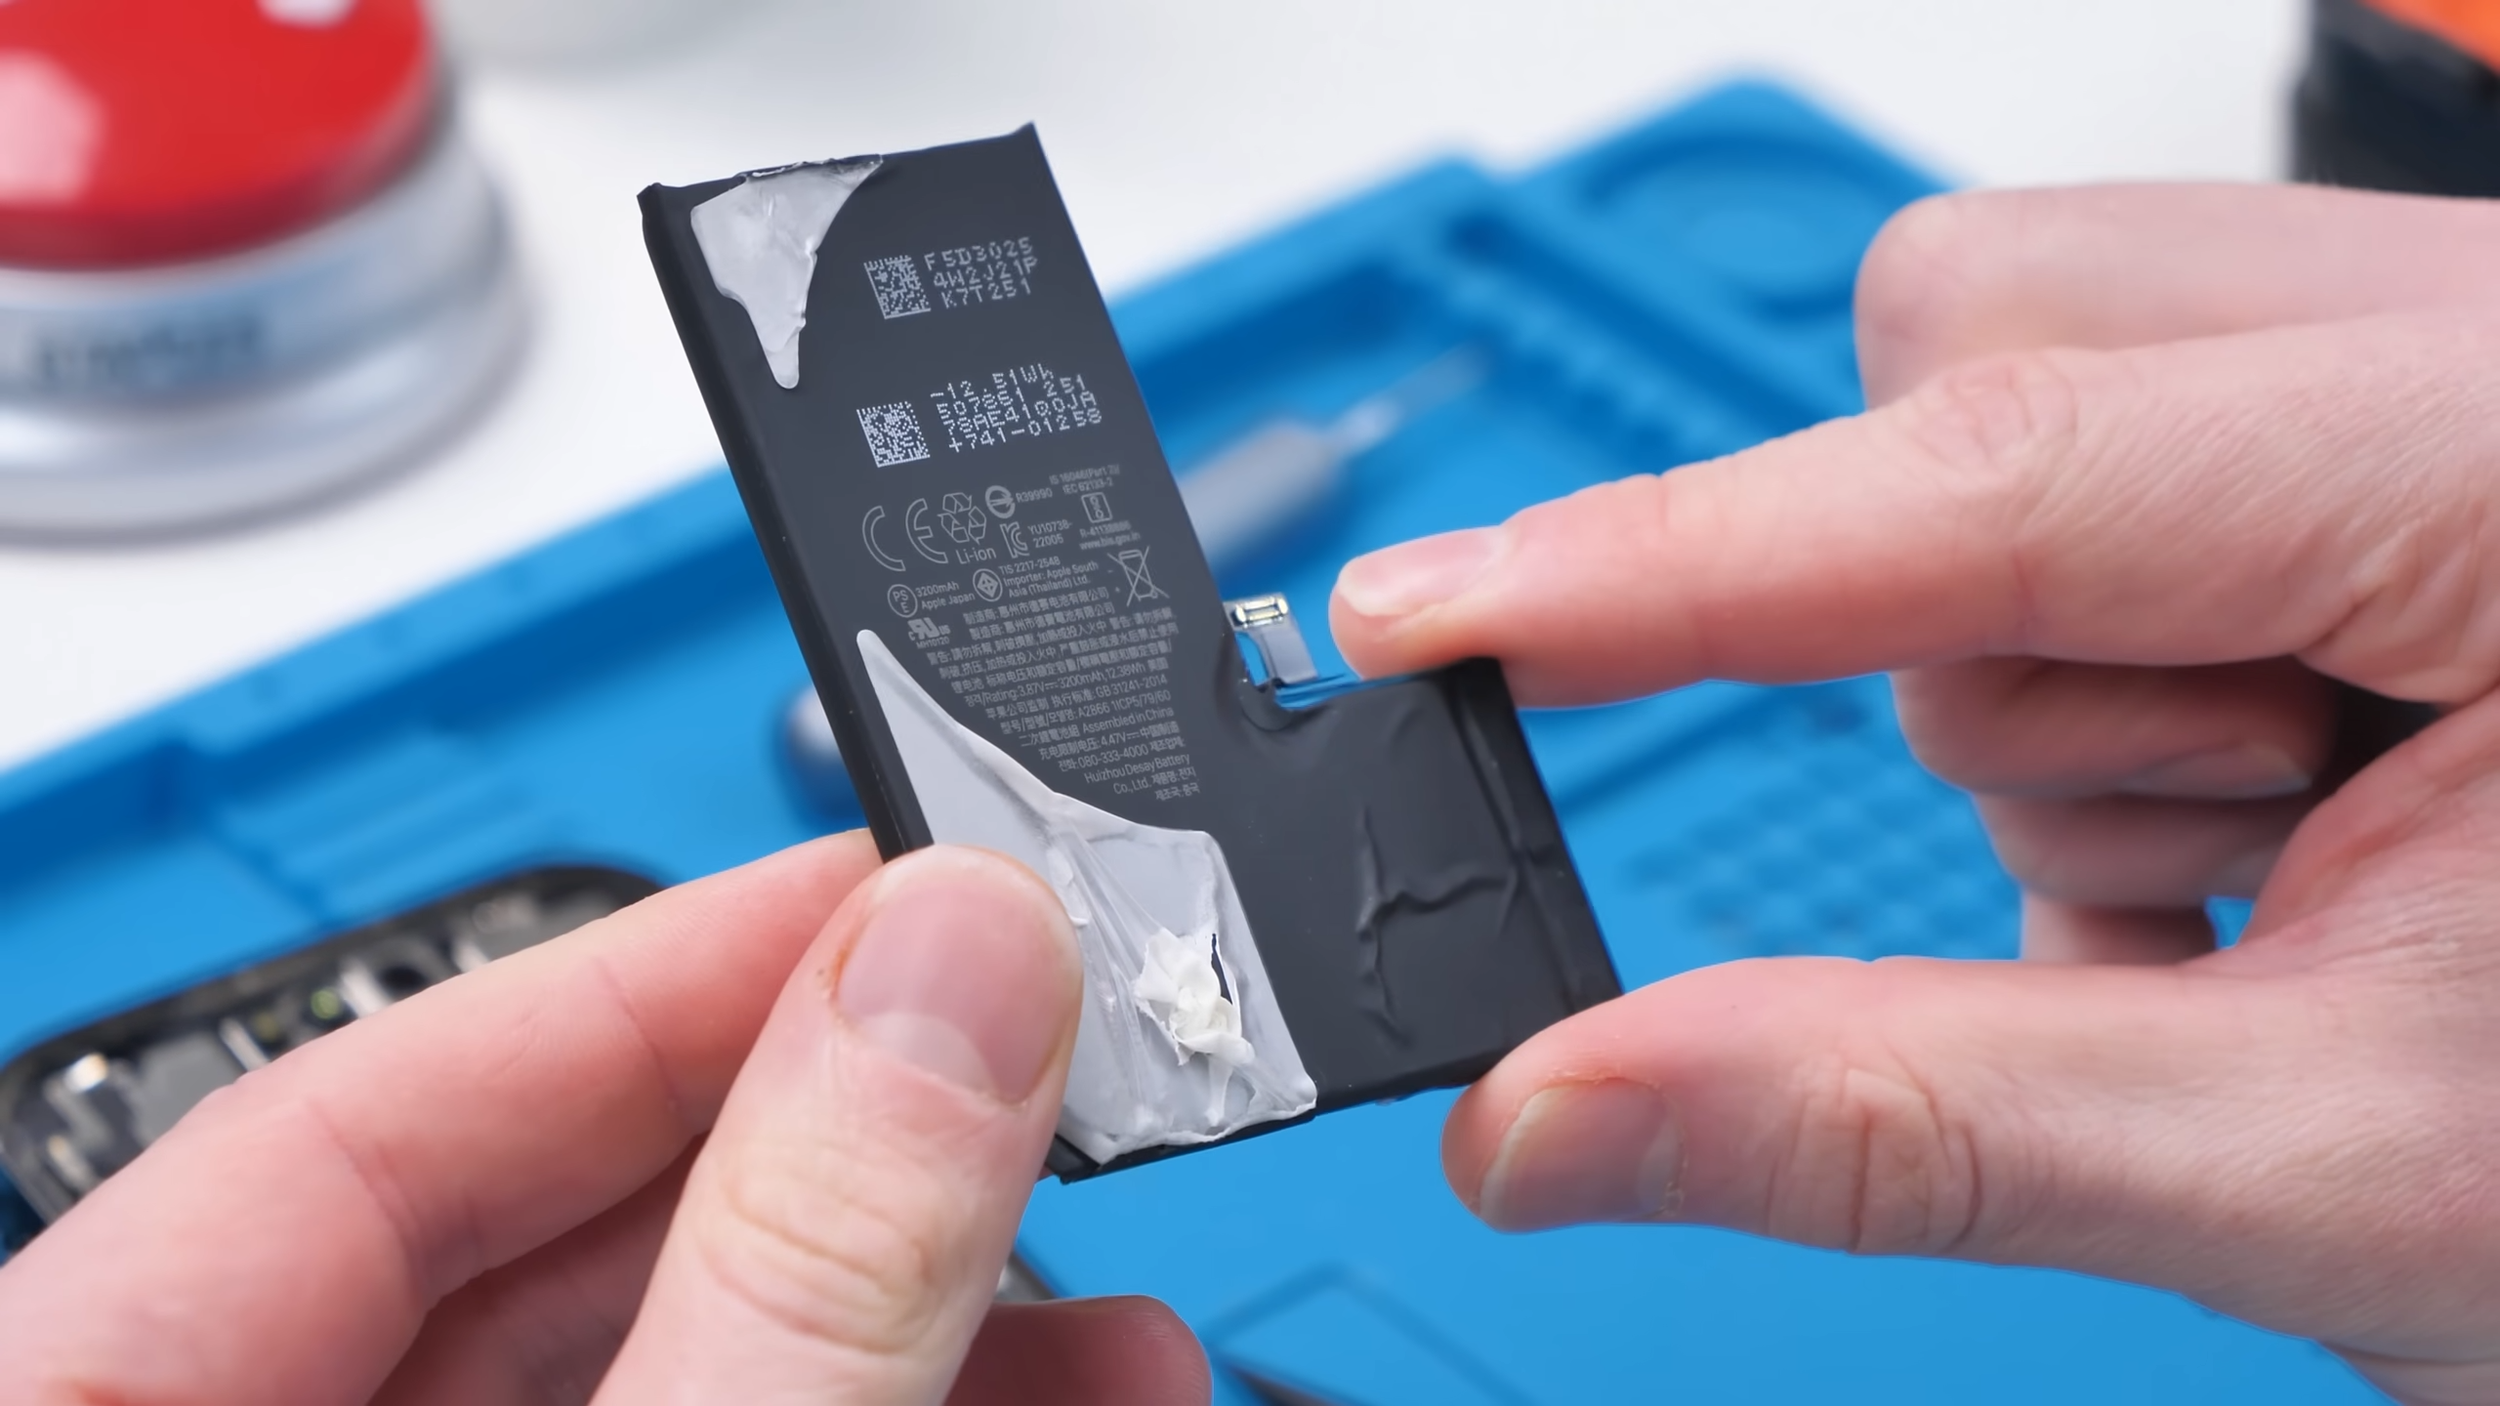
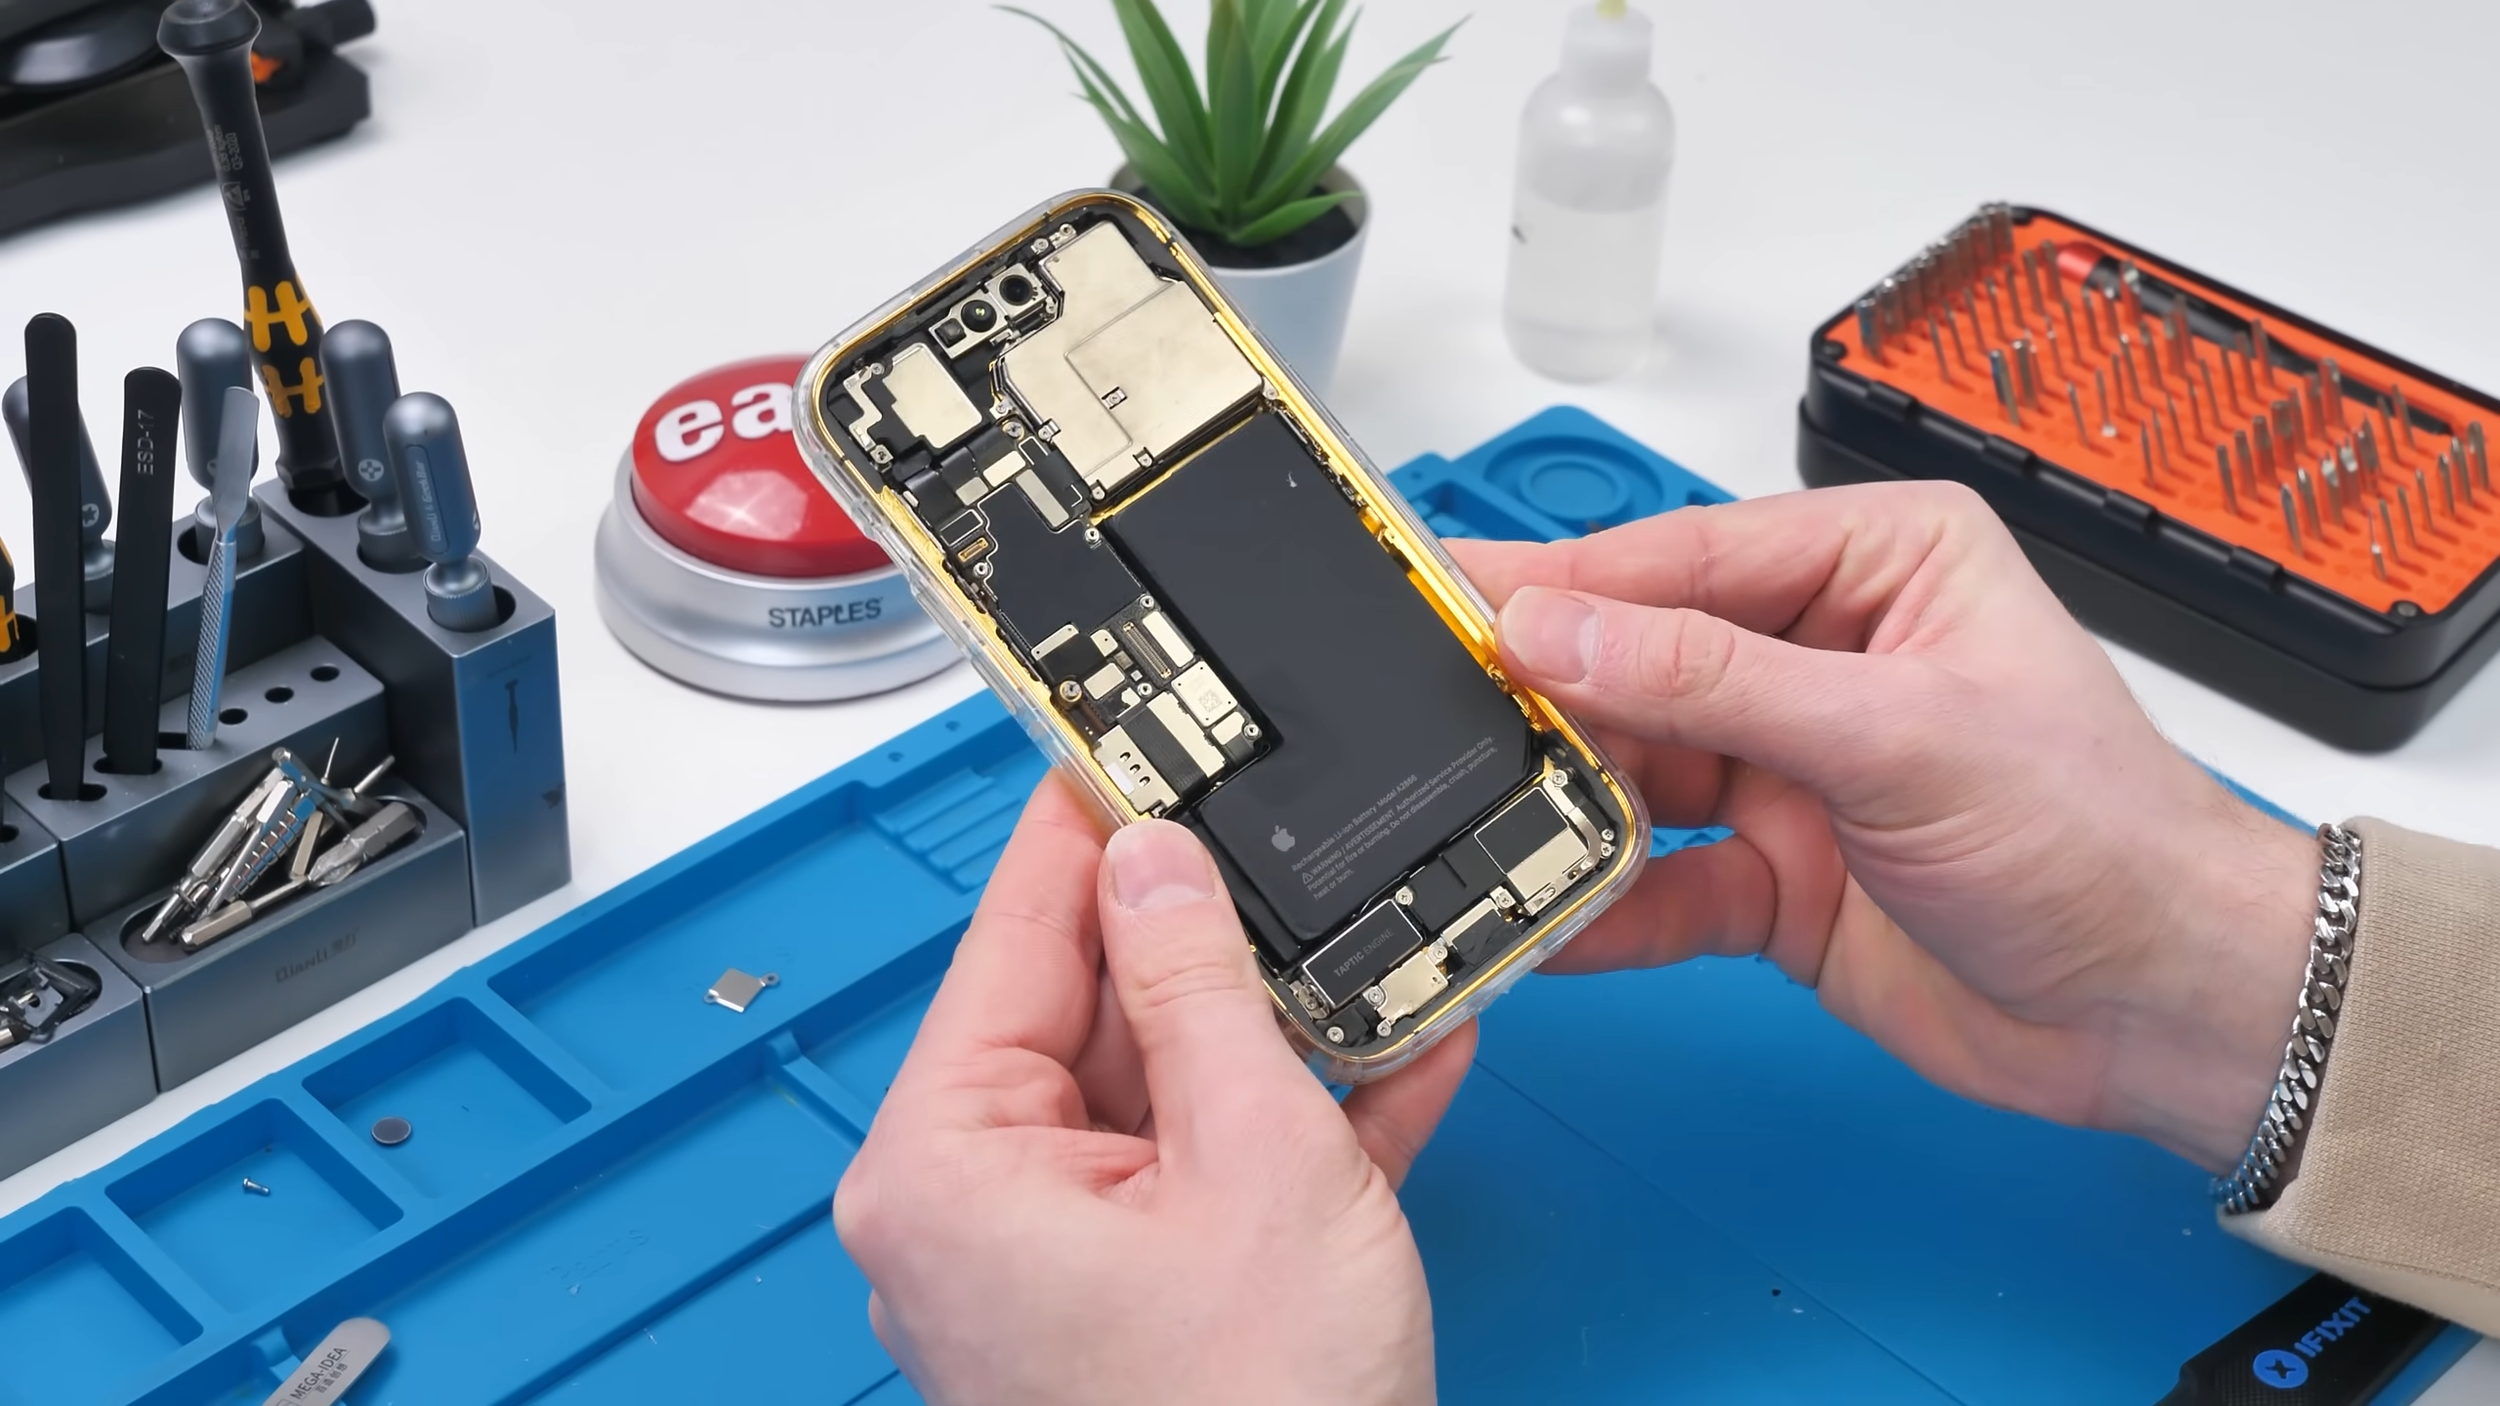
Once the screen was off, I could finally get a good look inside. All the components appeared to be OEM, which is exactly what I wanted. The only thing that stood out was the battery. It had popped loose inside the phone, likely from a hard impact, but thankfully it didn’t appear to be pierced. As long as that wasn’t damaged, we were still okay.
Stripping the Phone Down Completely
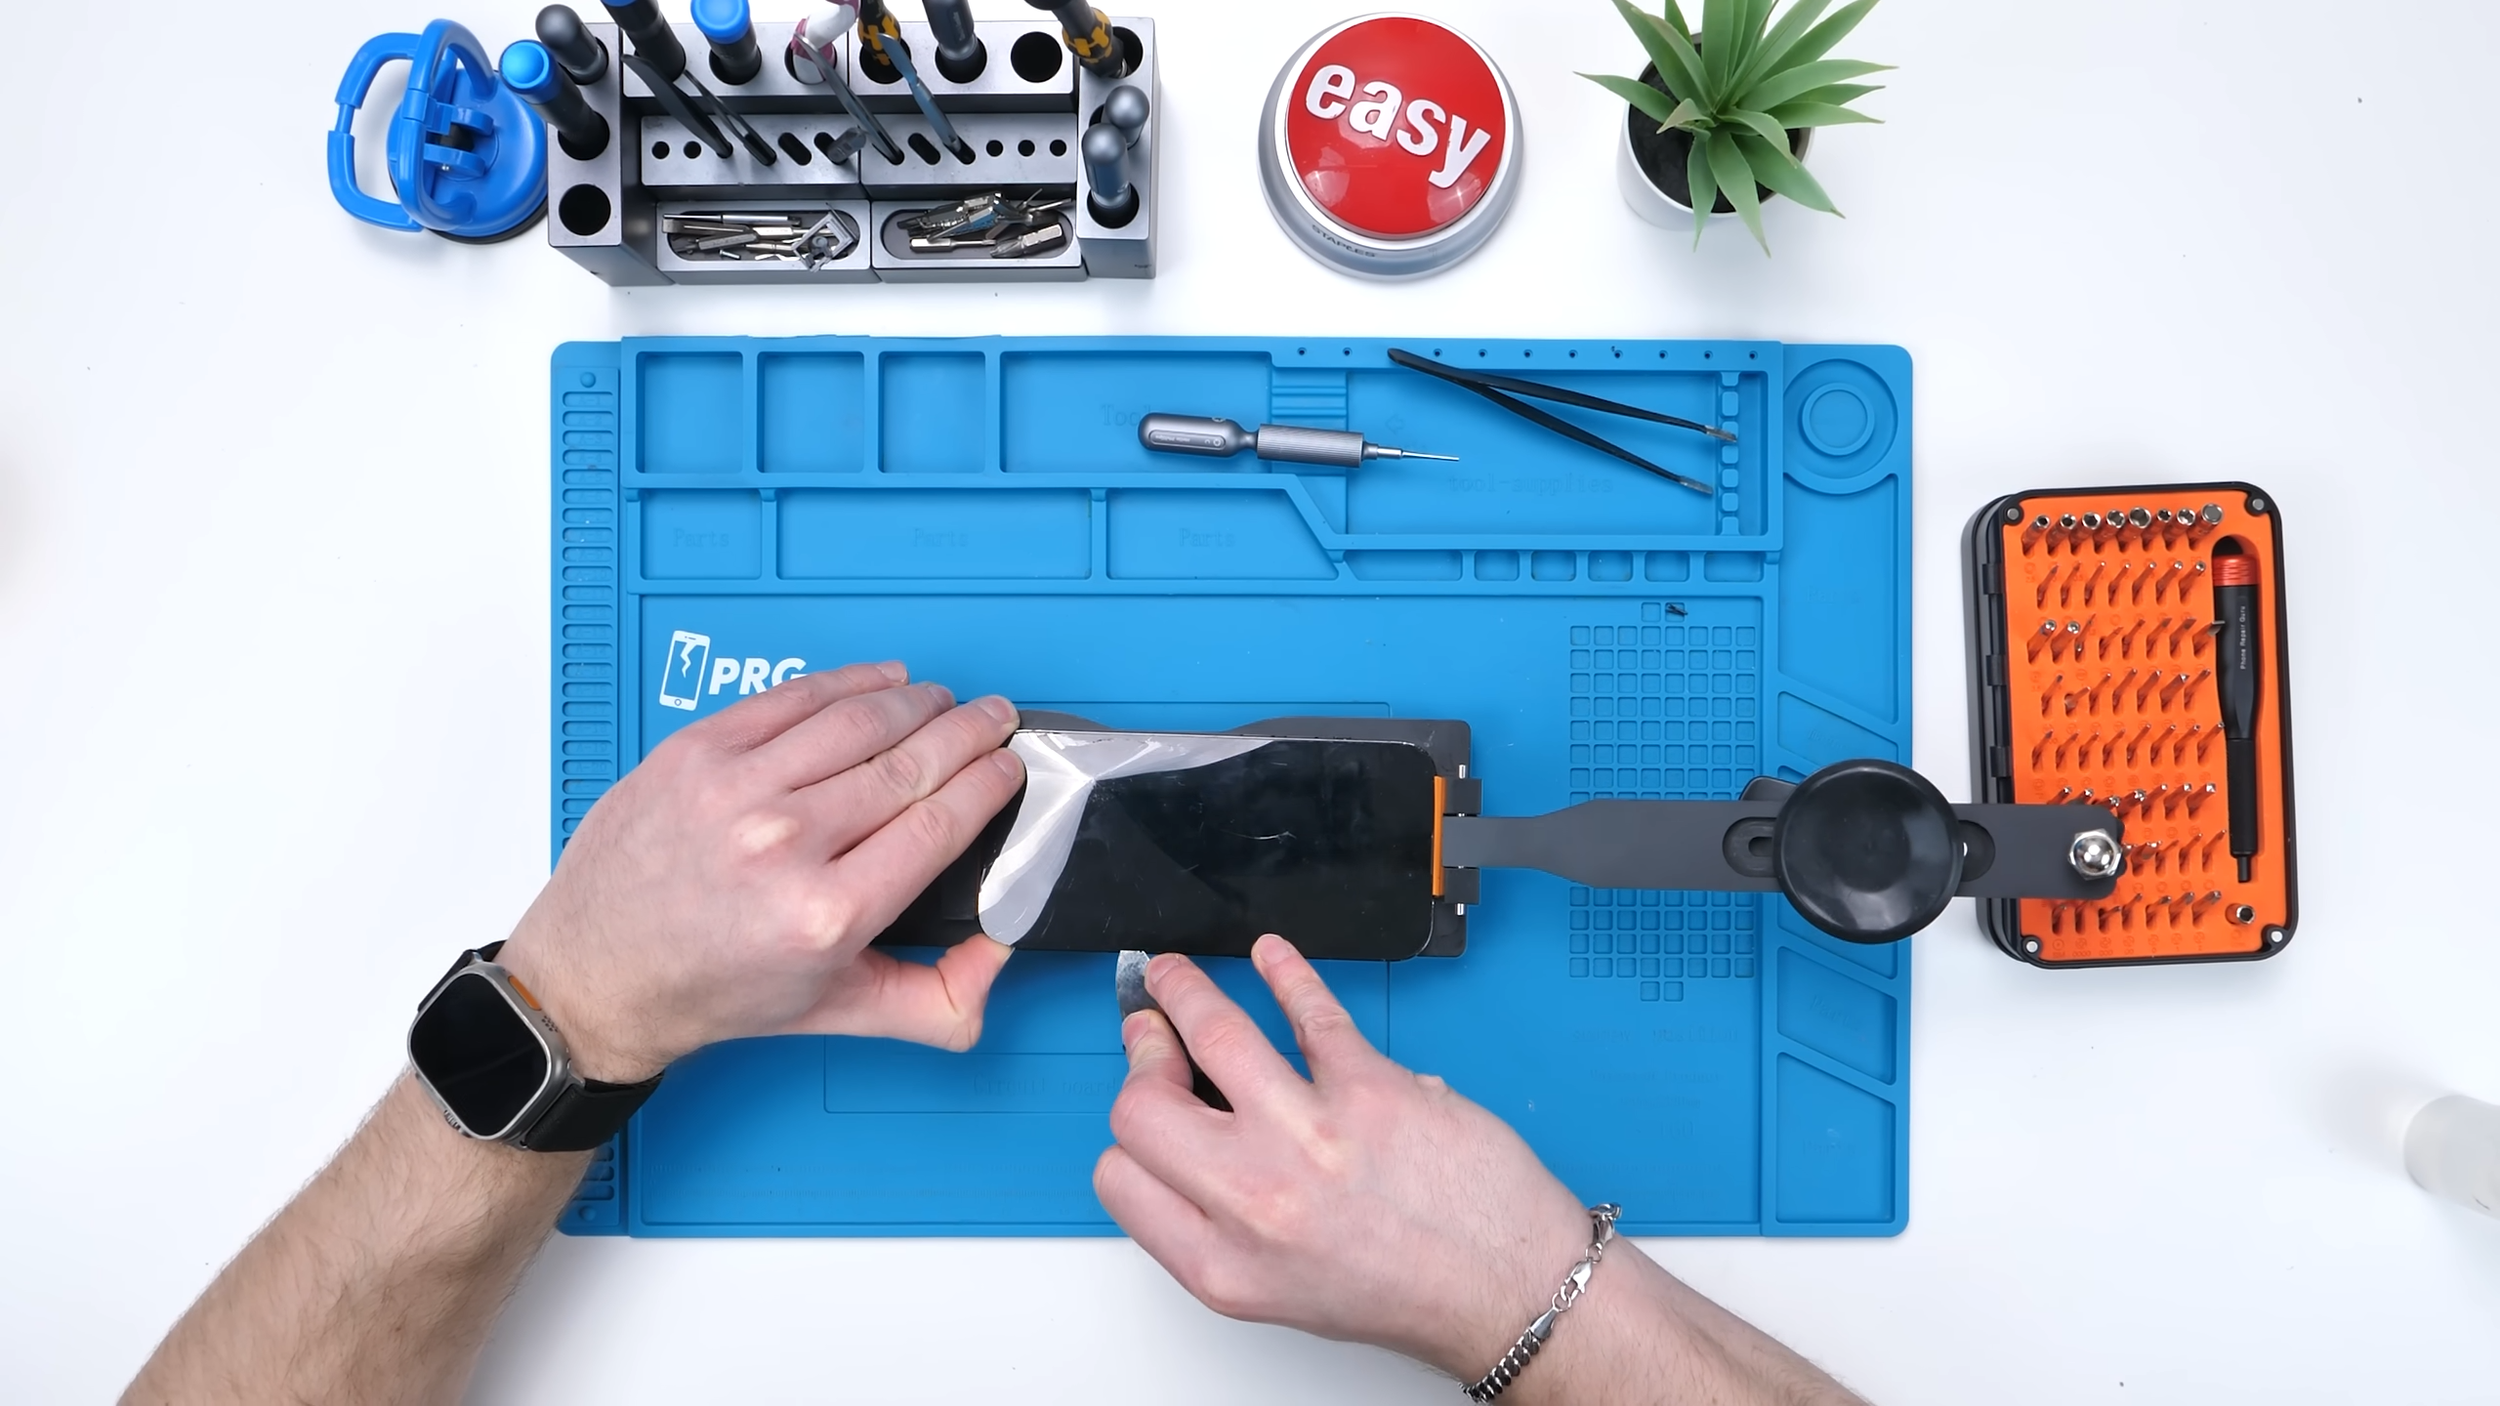
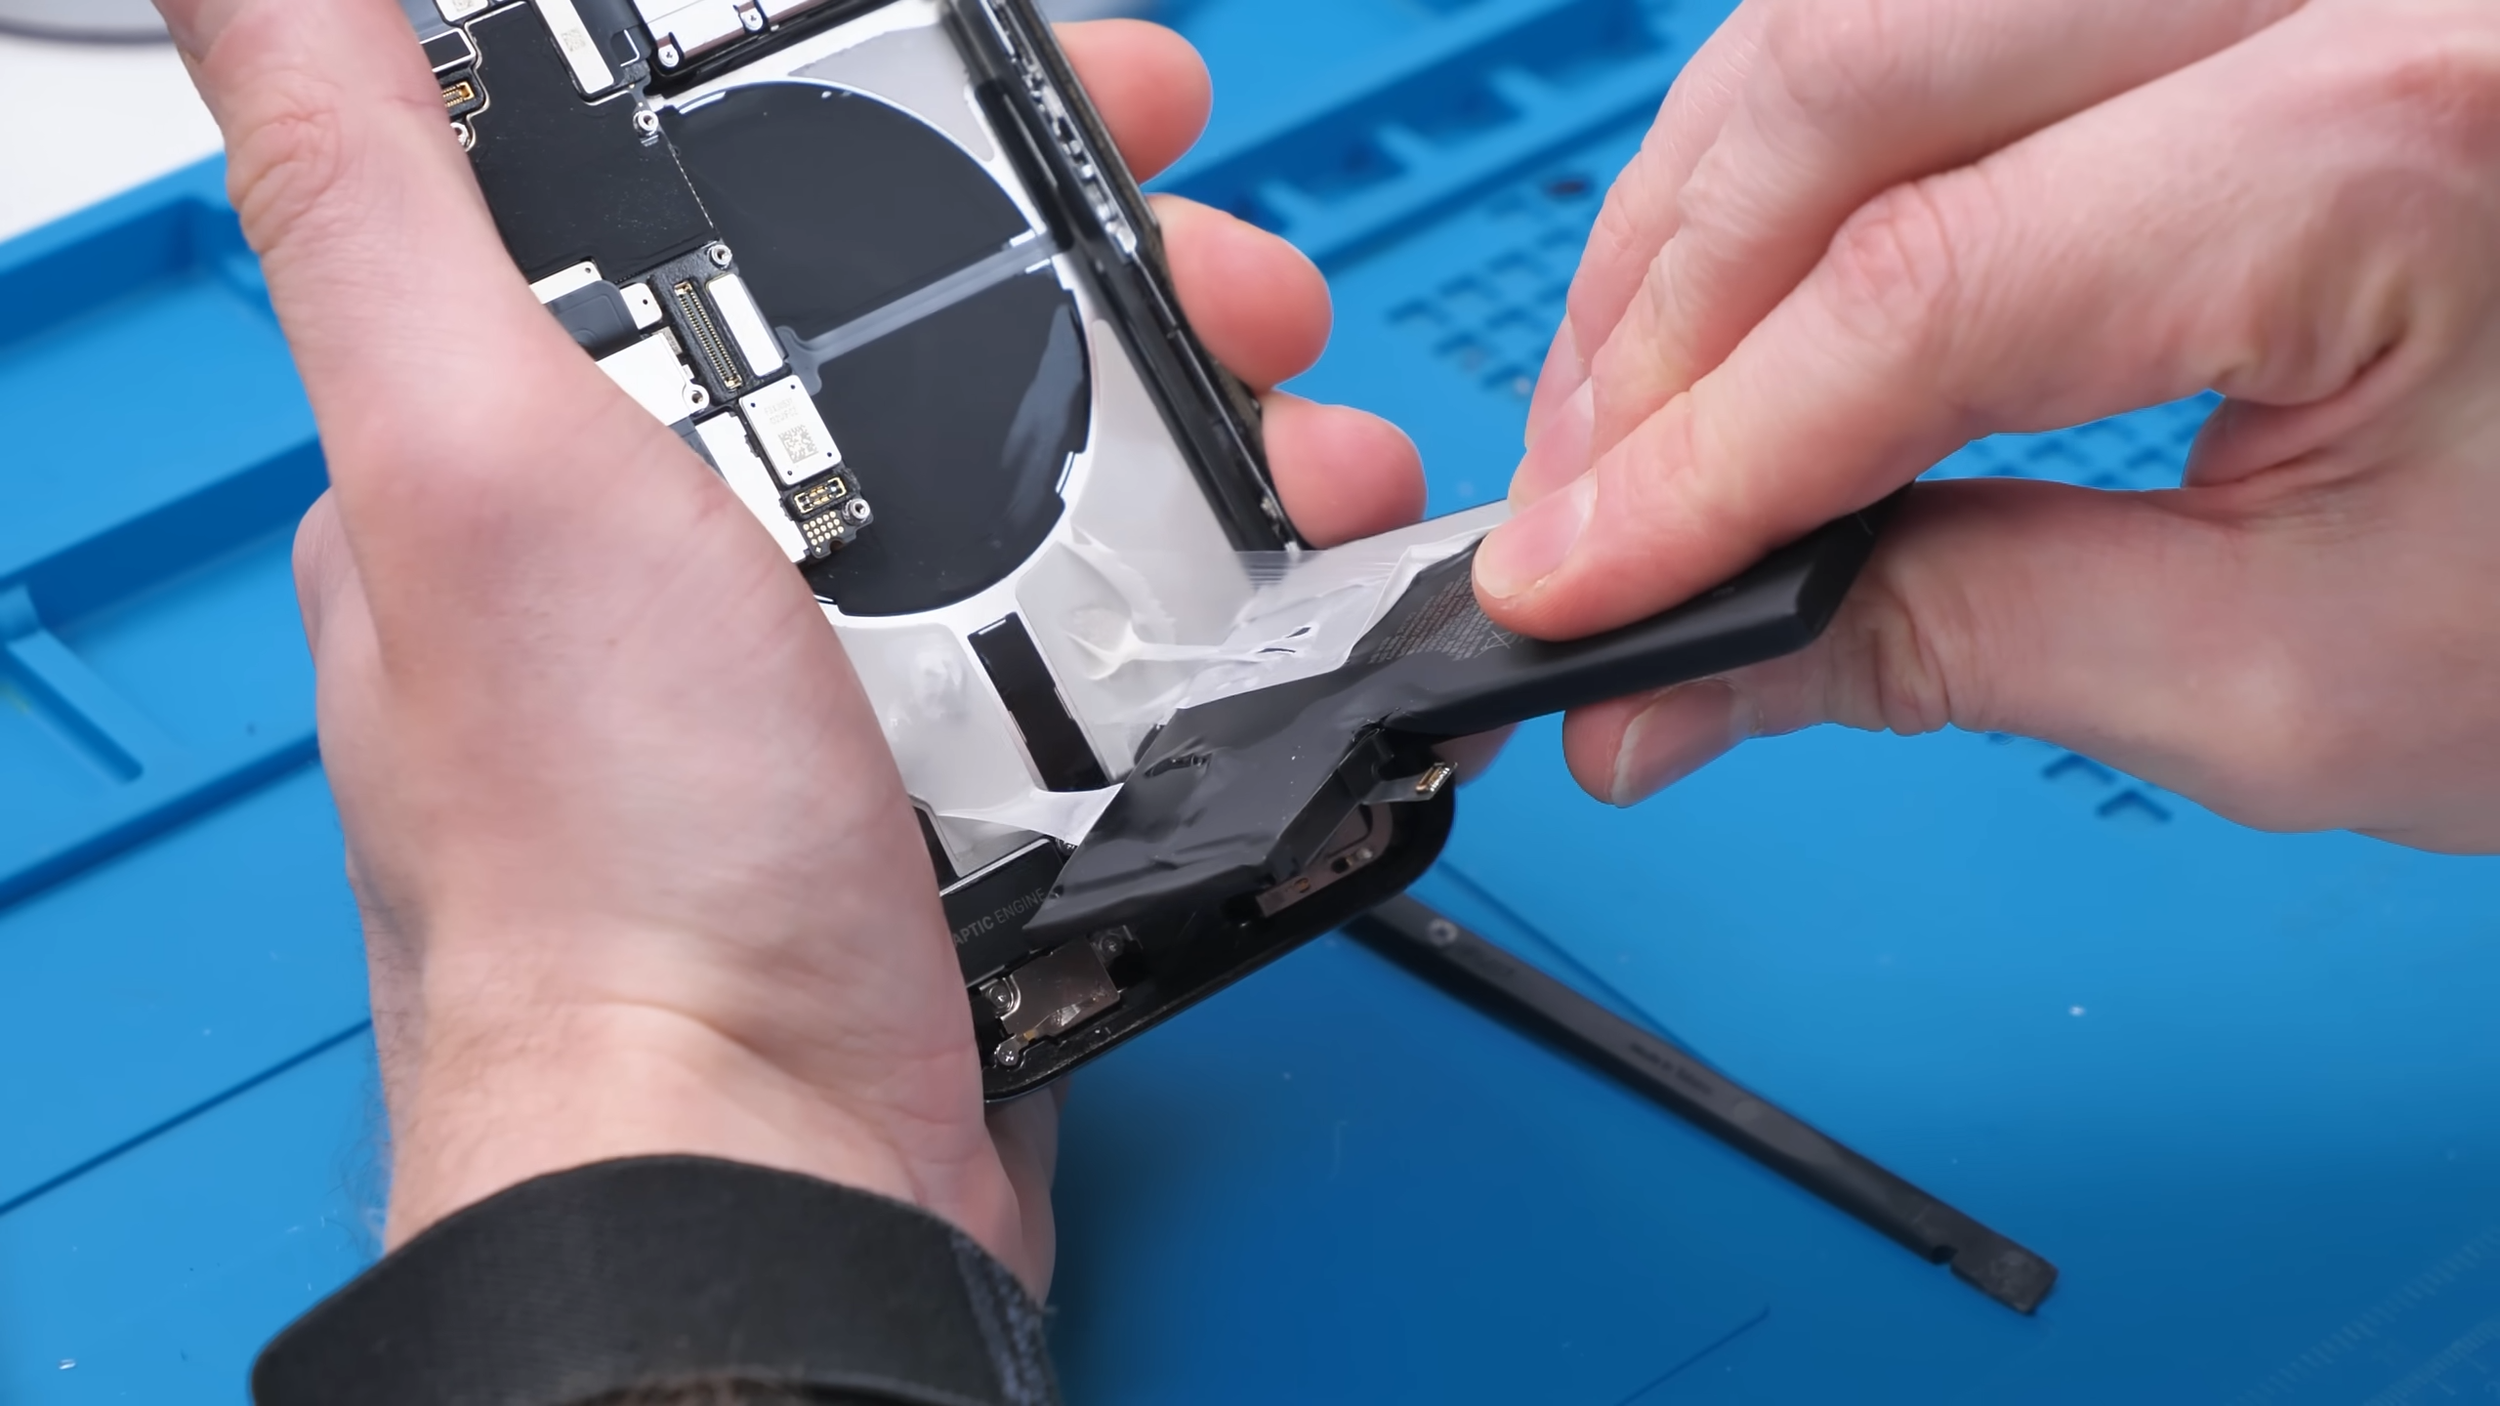
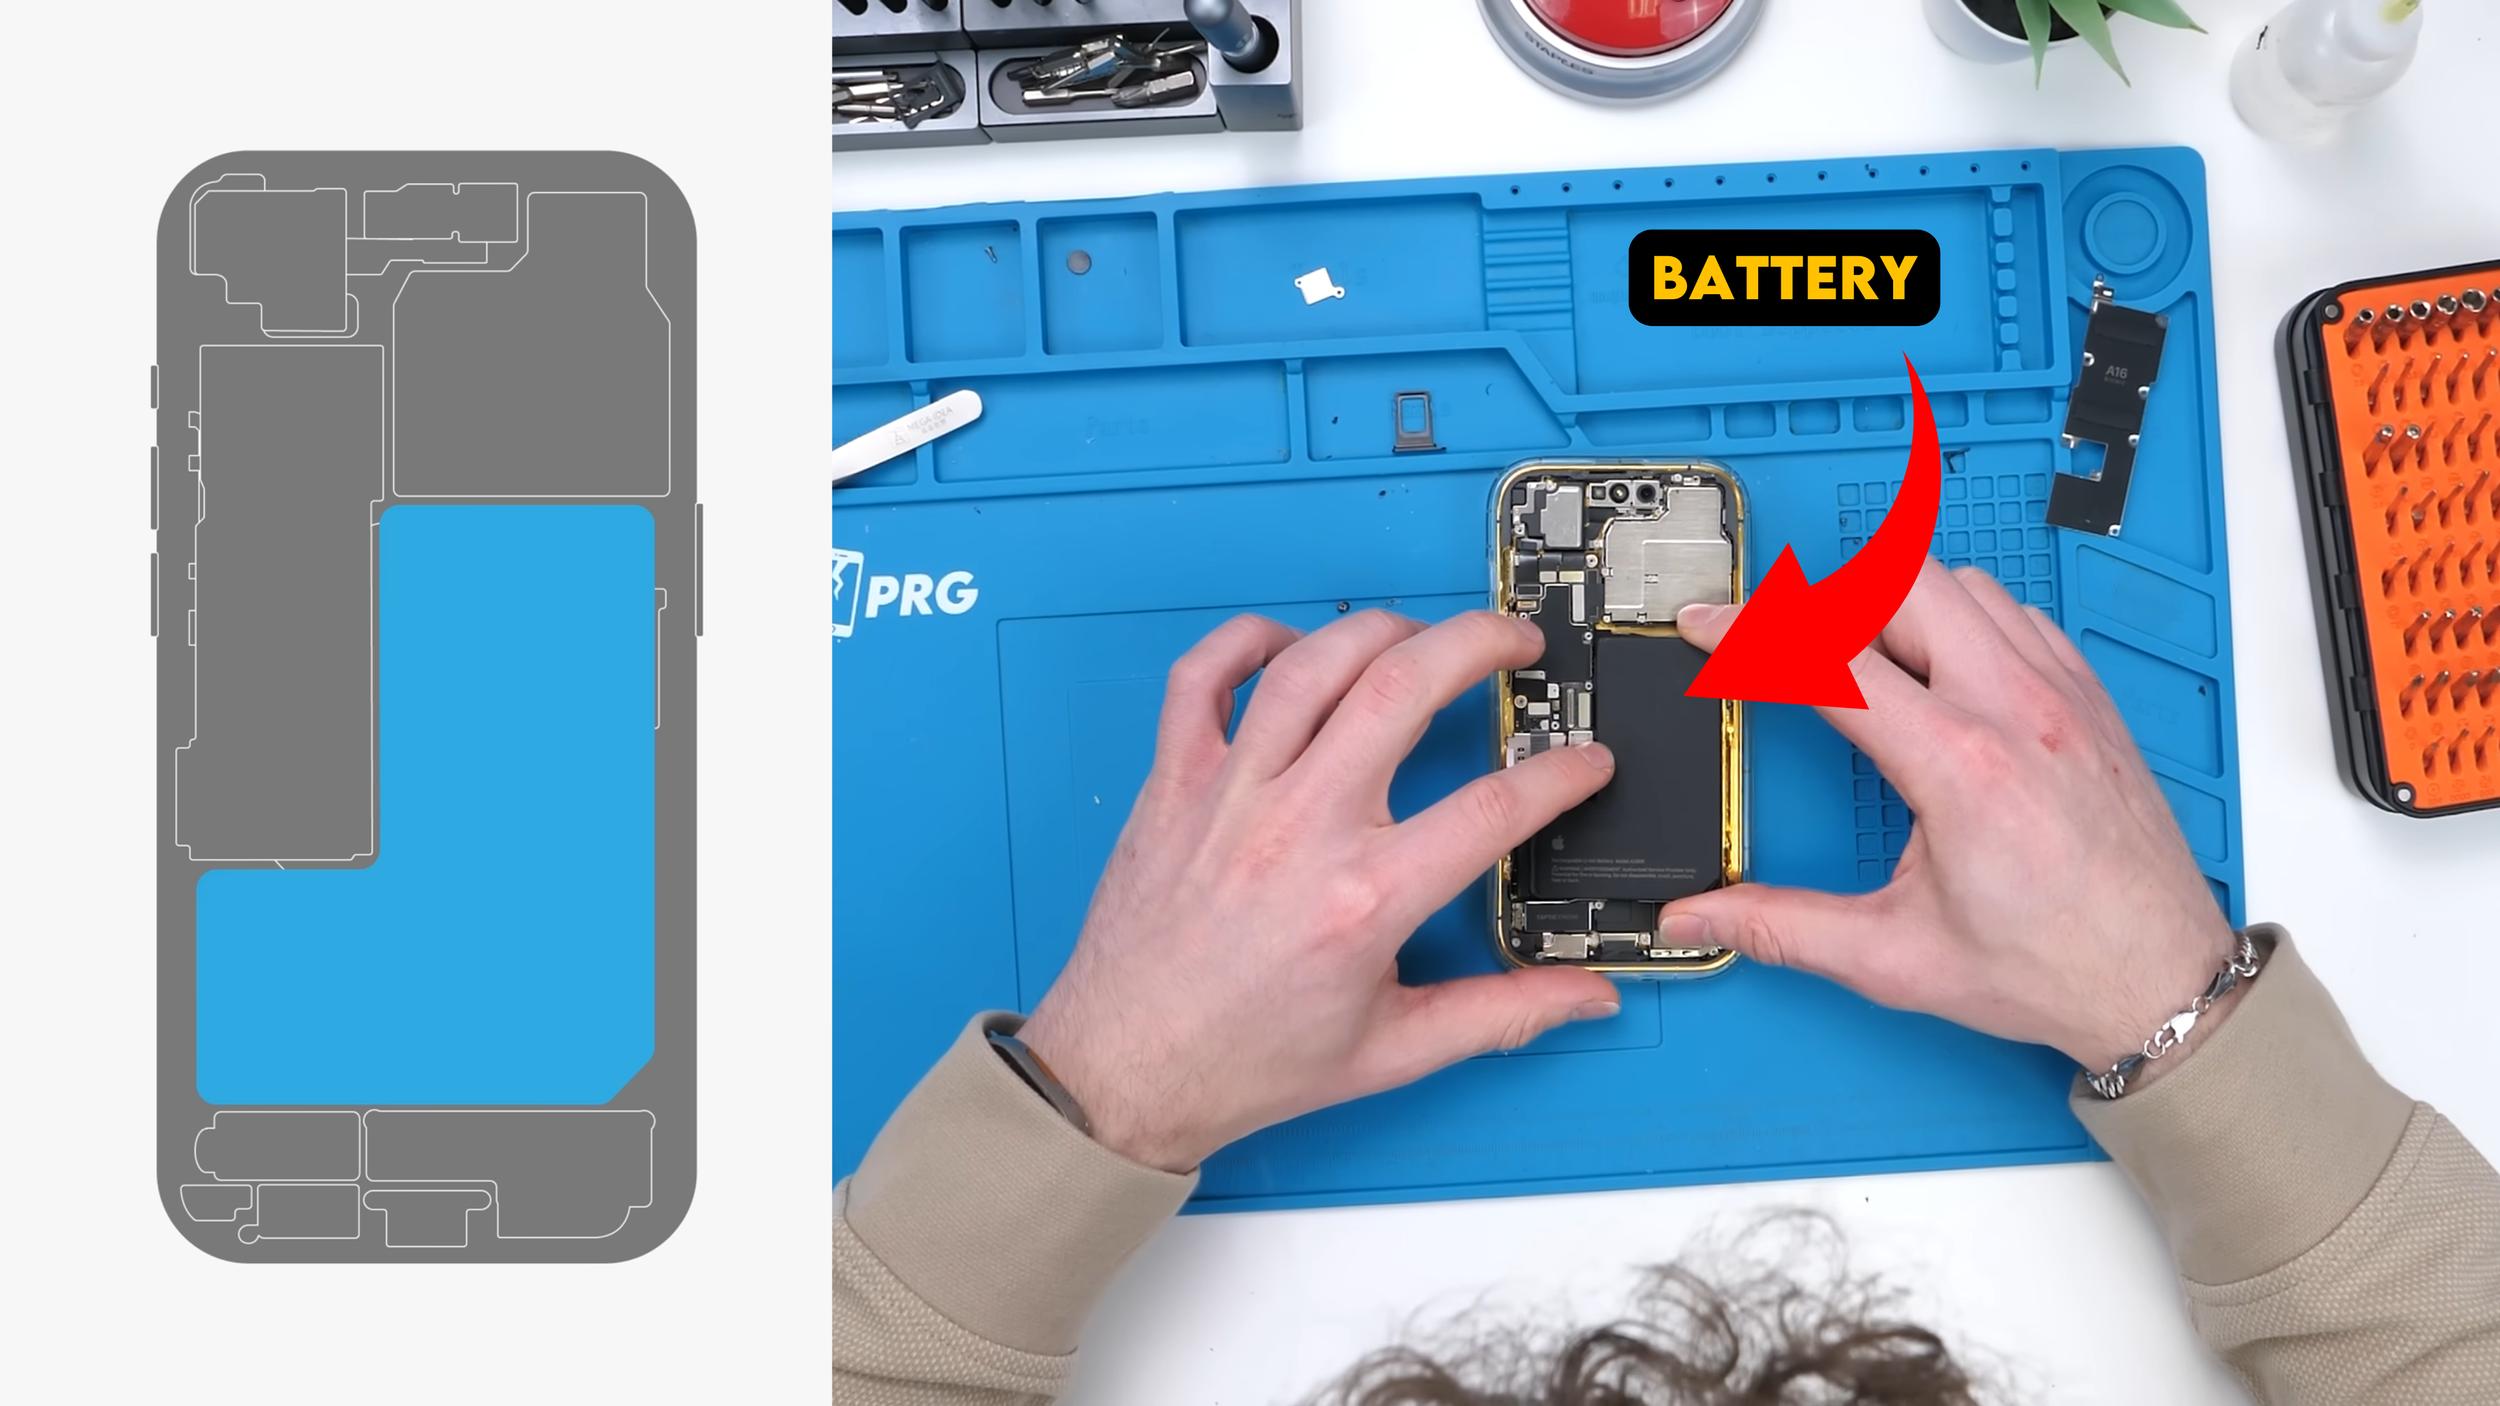
The battery had to come out first so I could access everything underneath it. A bit of isopropyl alcohol at the top and bottom loosened the adhesive, which is still my favorite way to remove these batteries. I avoid using the pull tabs whenever possible because they almost never come out cleanly.
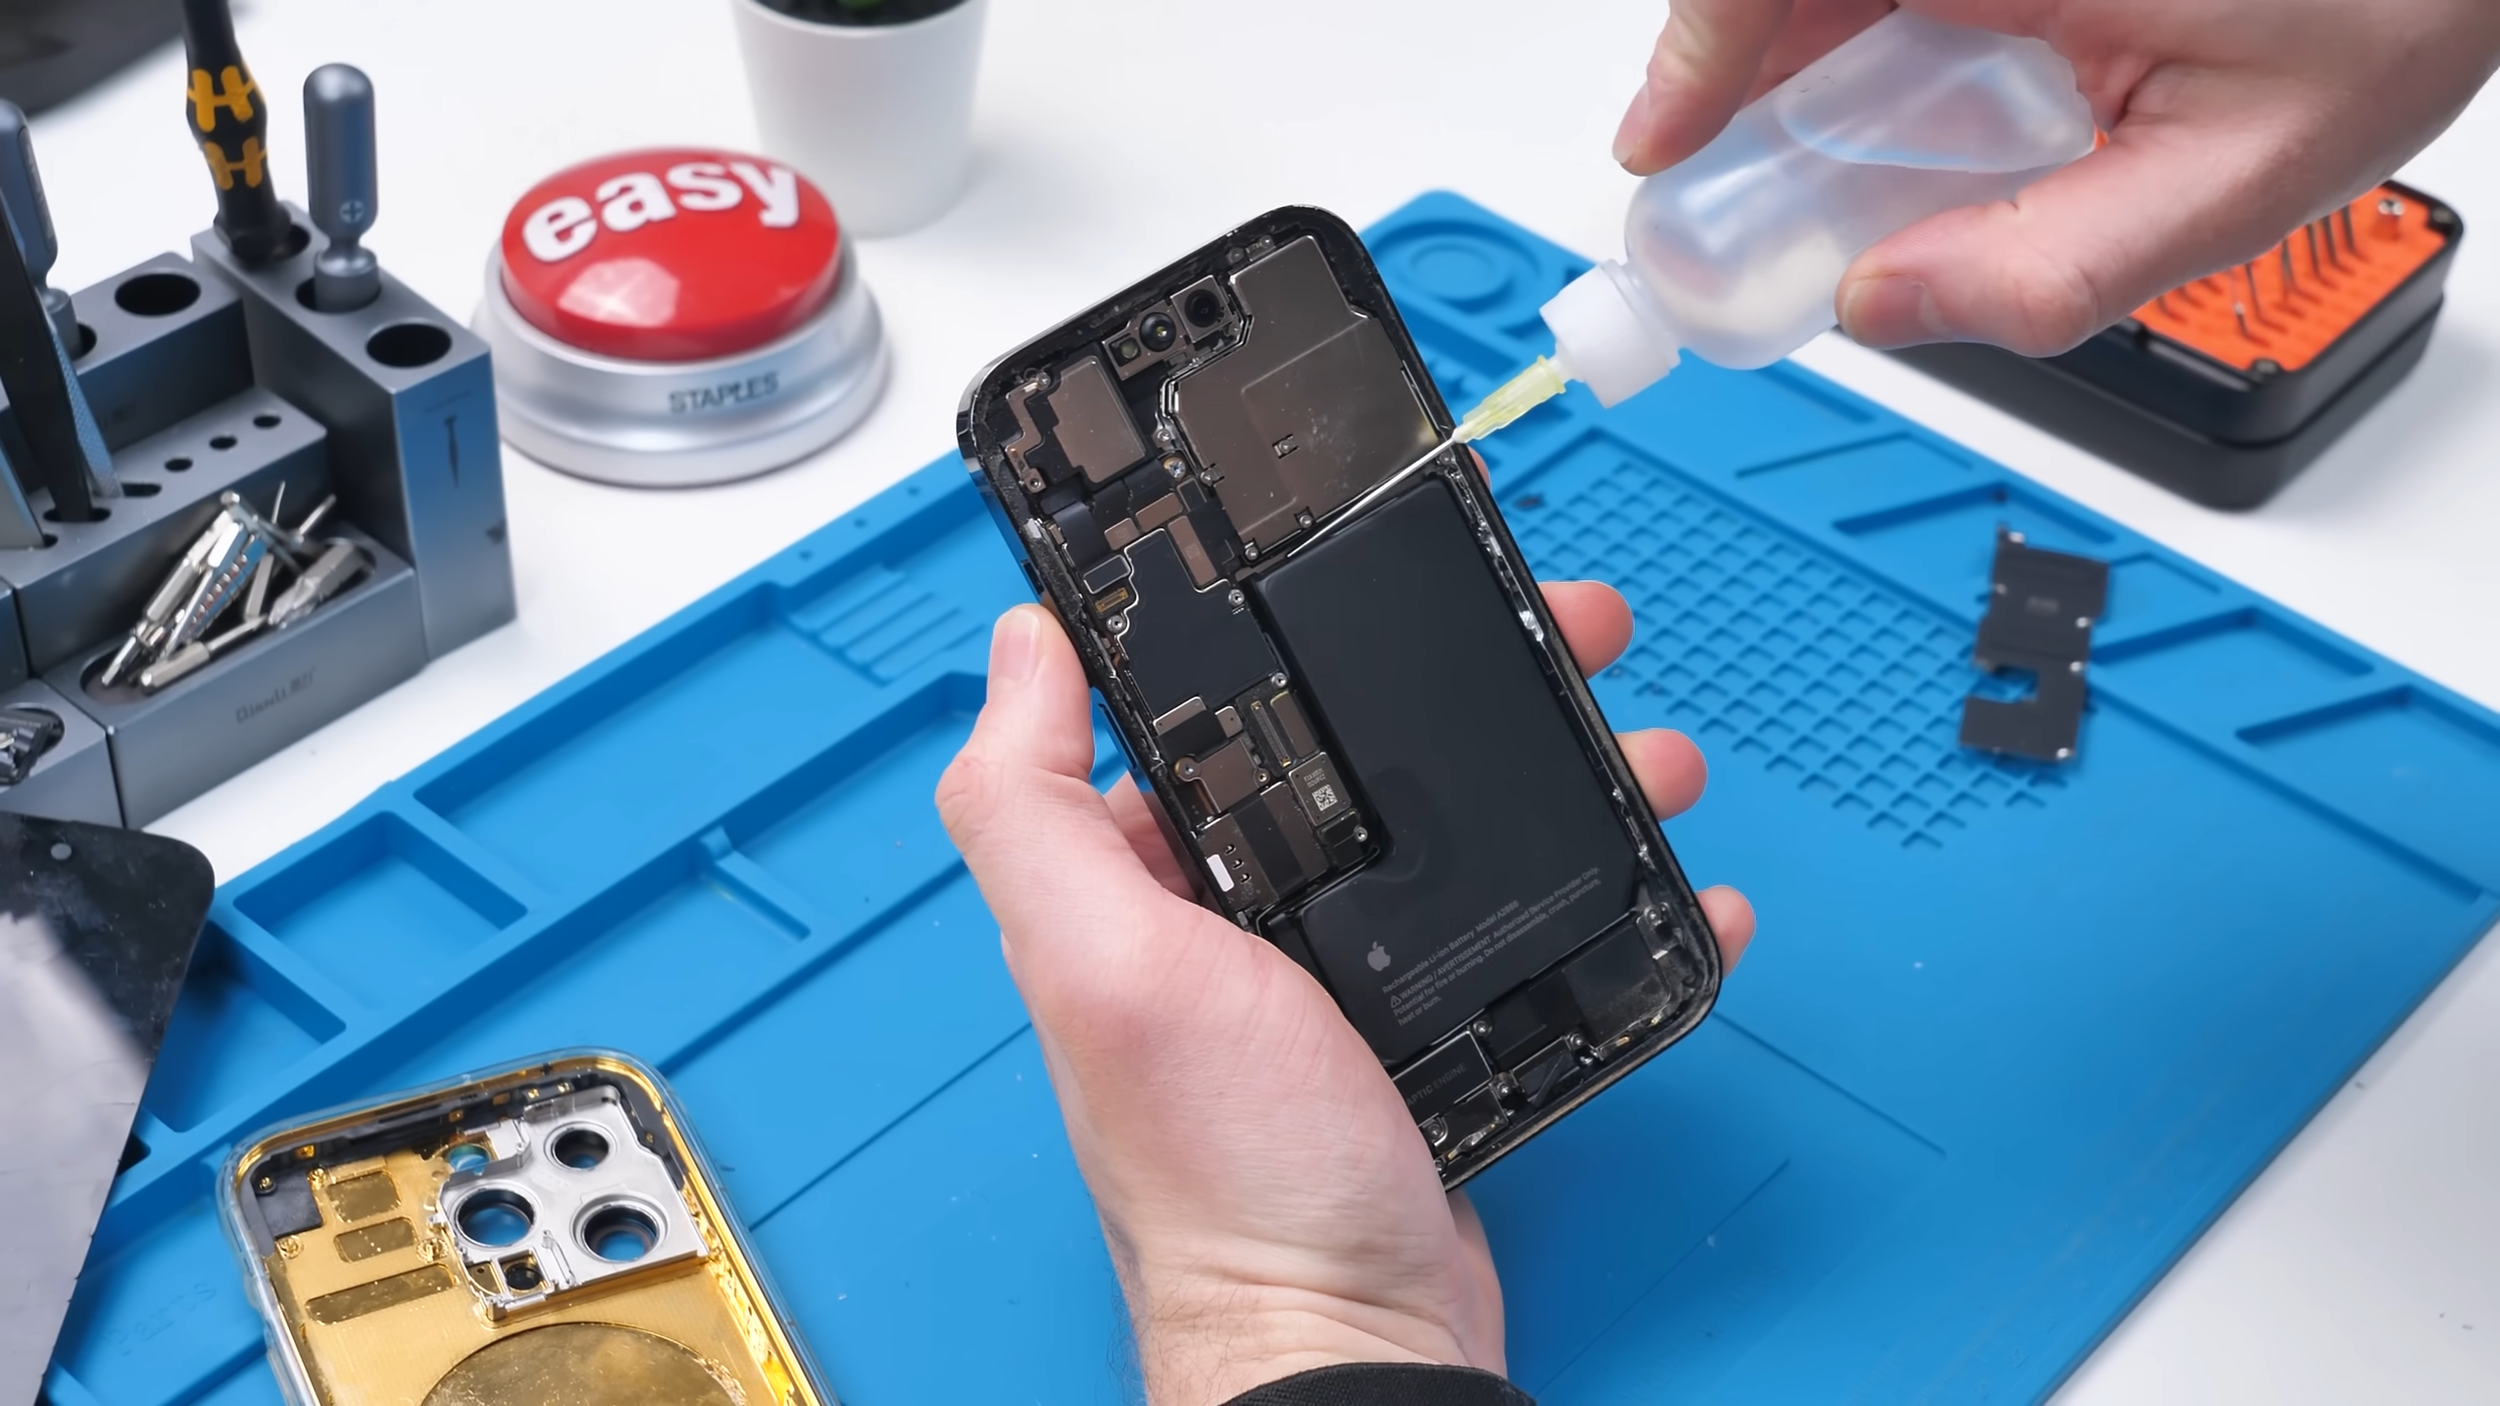
With the battery disconnected, the teardown really began.
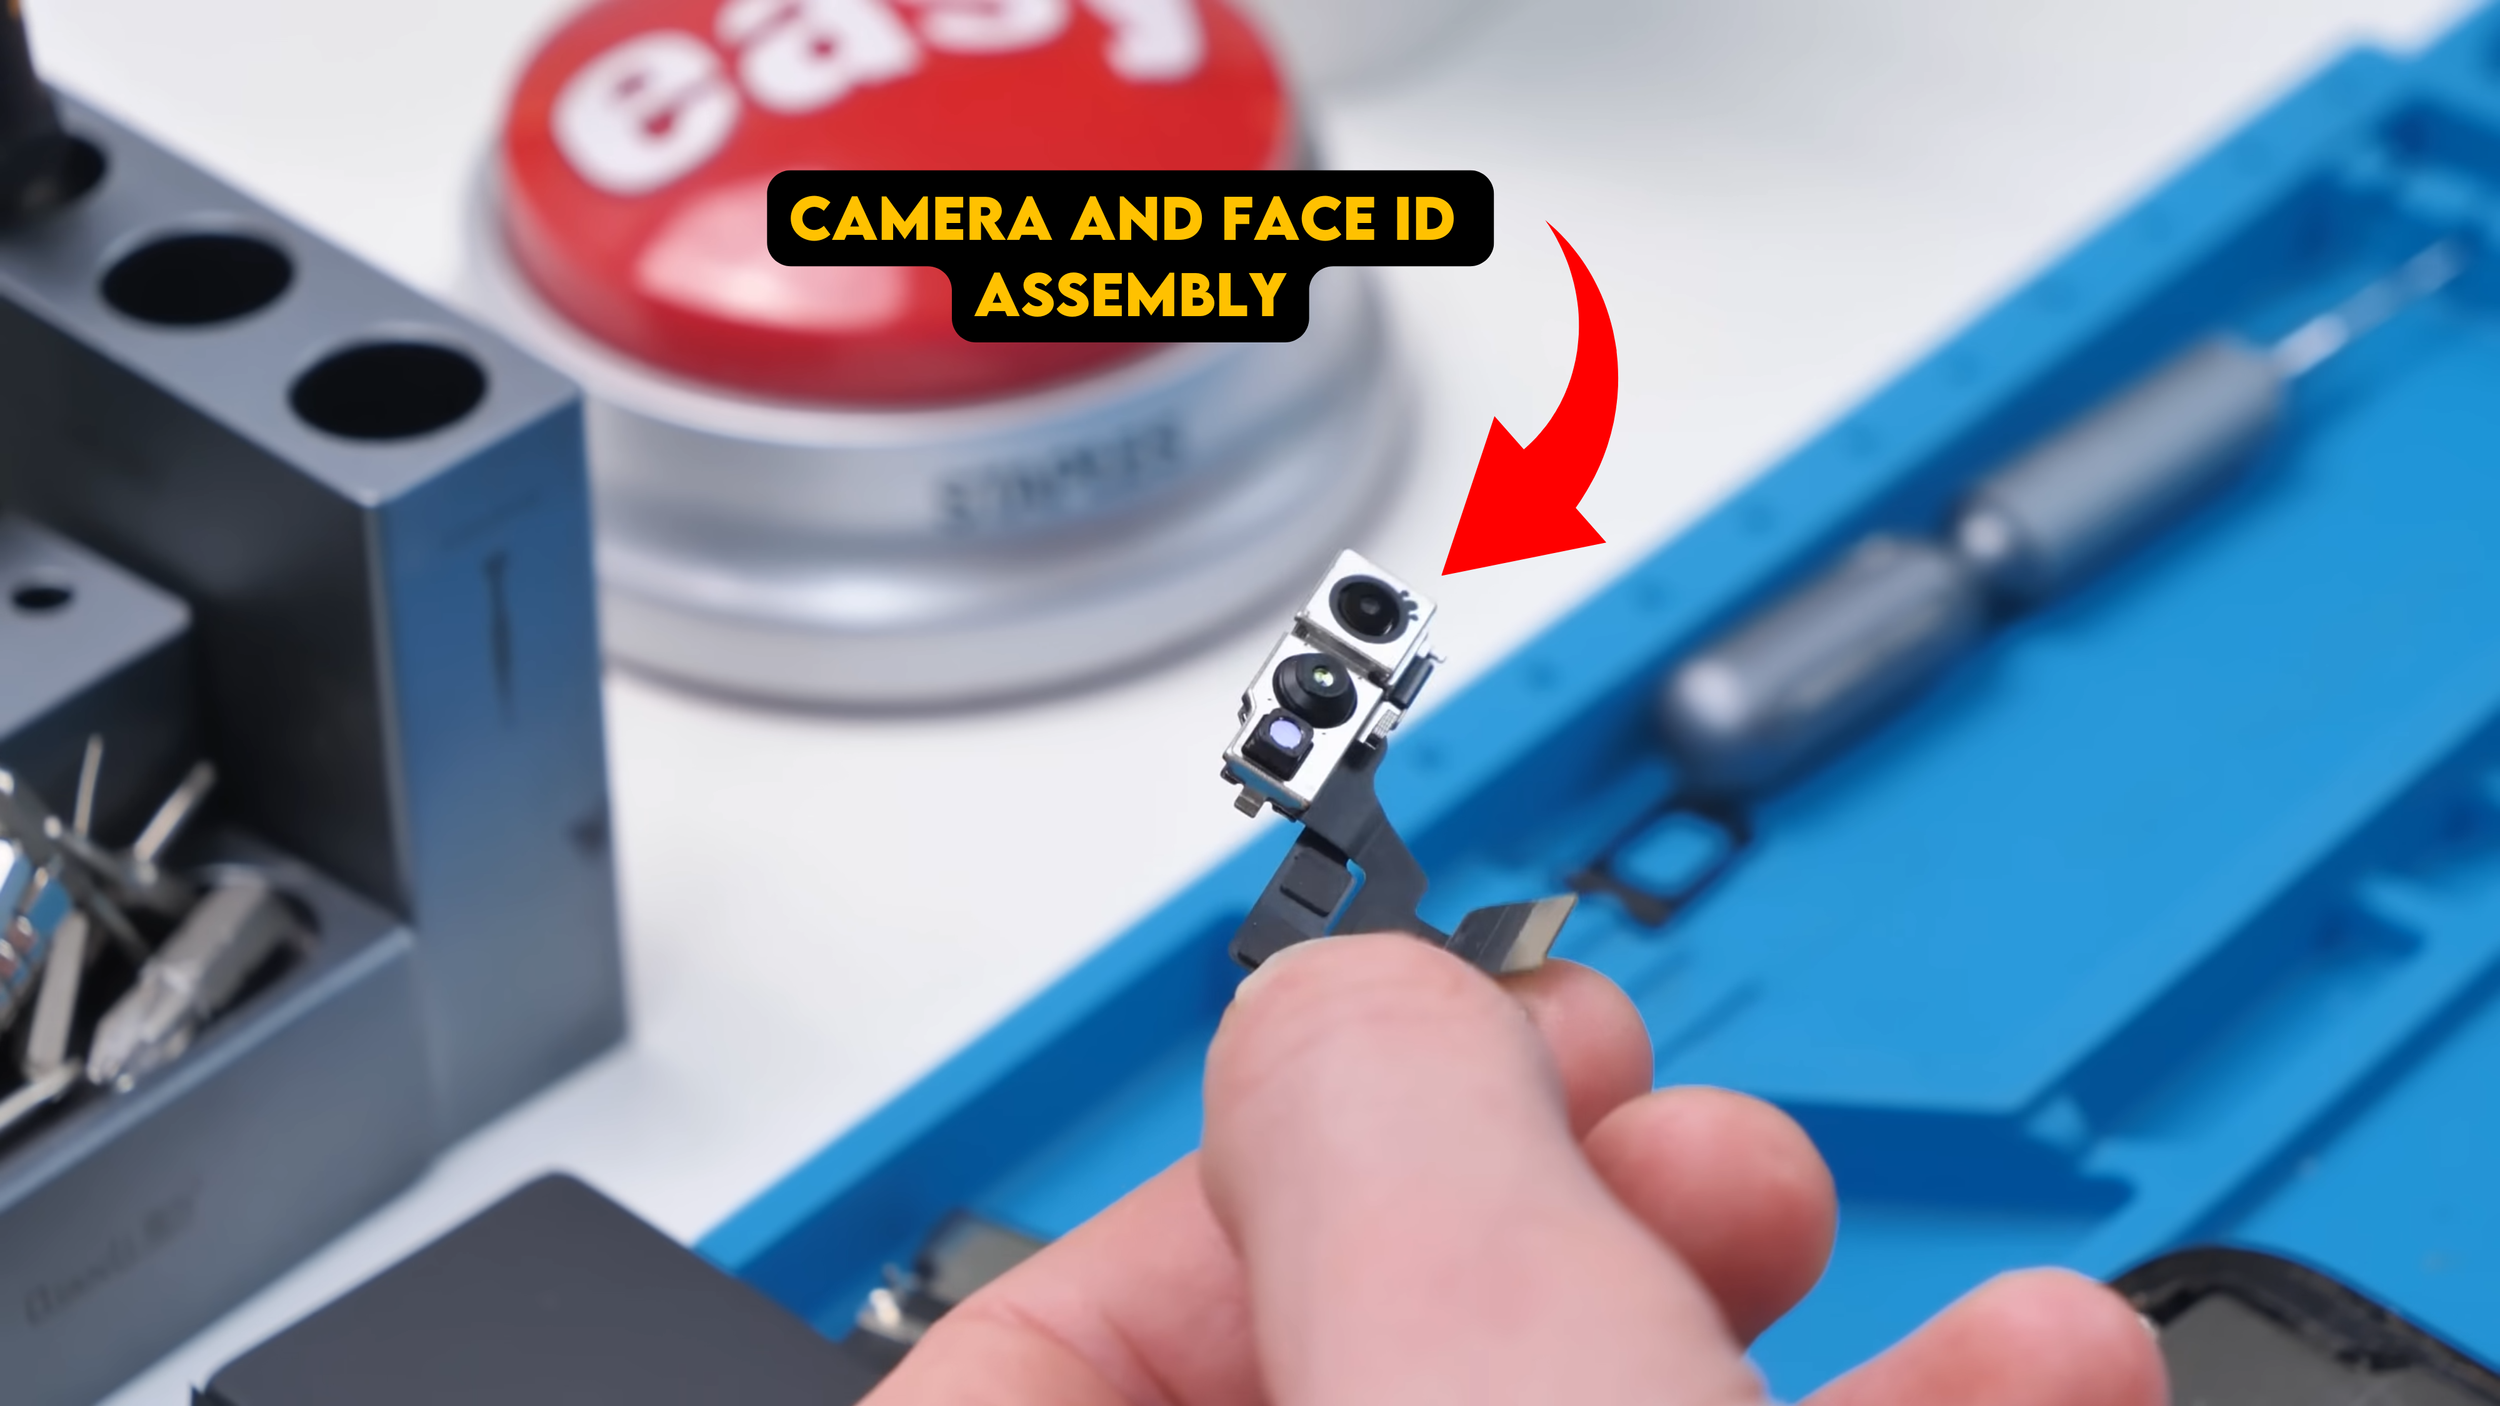
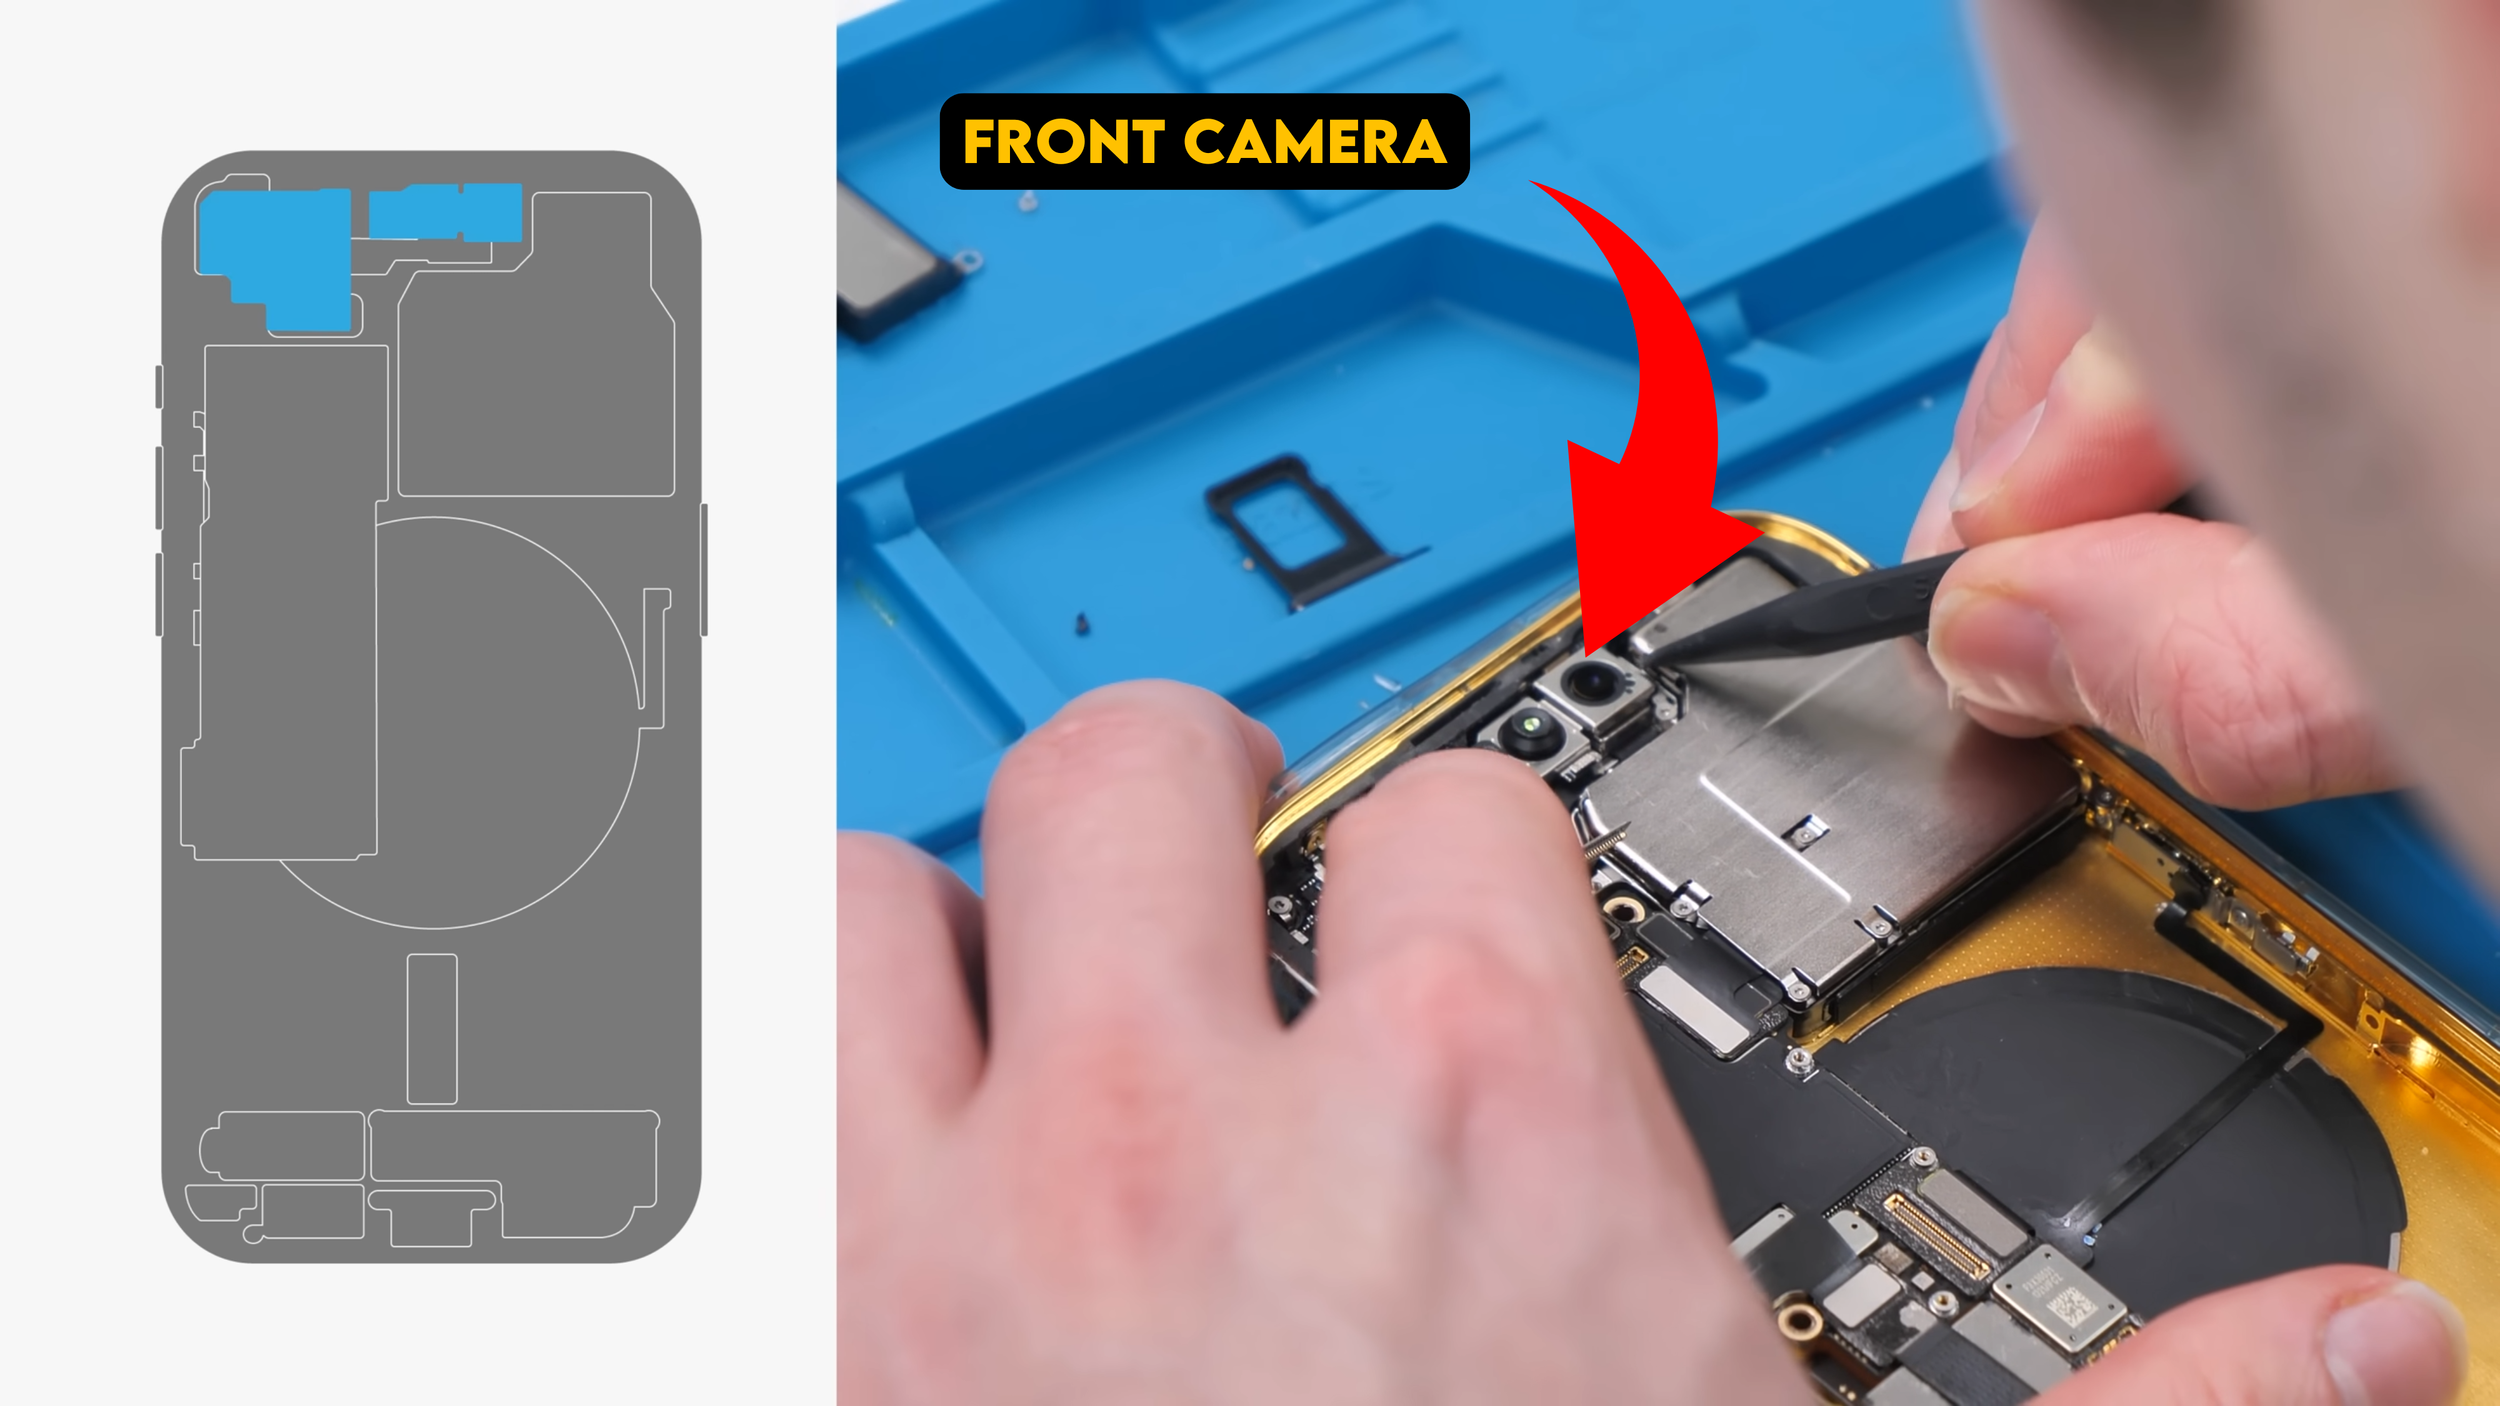
I popped out the SIM tray and started disconnecting everything else on the motherboard. Components like the front camera and Face ID assembly had to come out early, since they’re incredibly sensitive to dust and debris. One mistake there can permanently ruin Face ID.
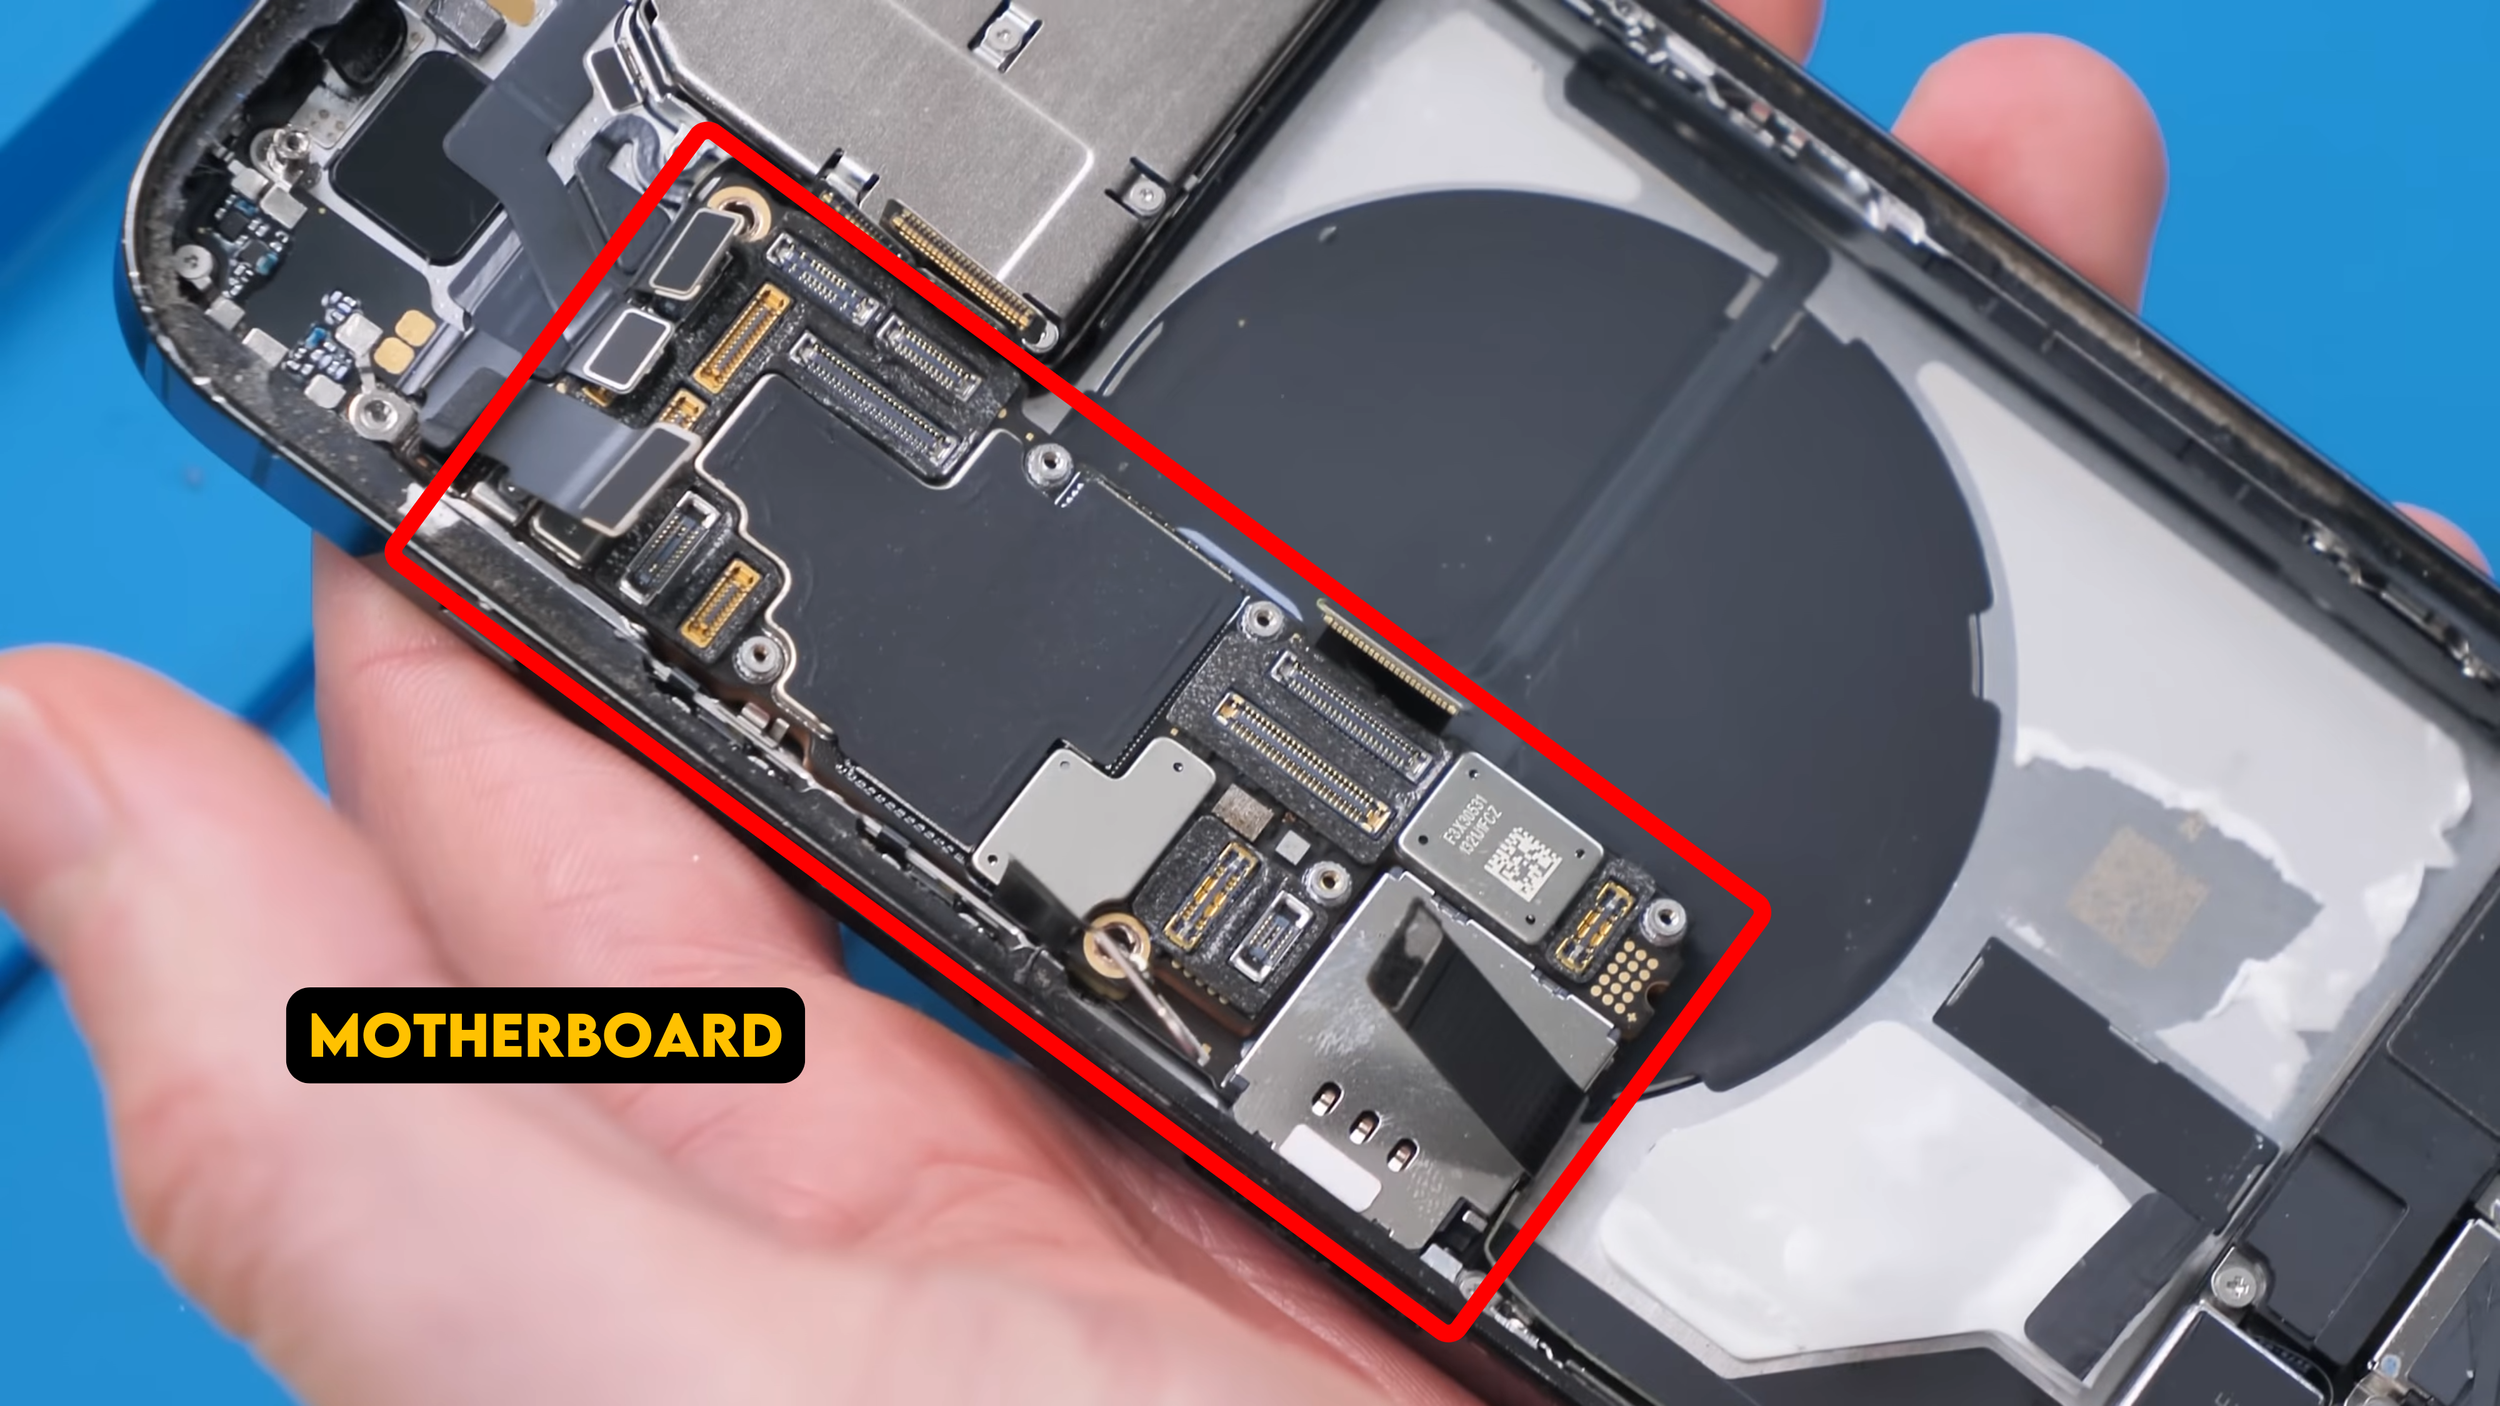
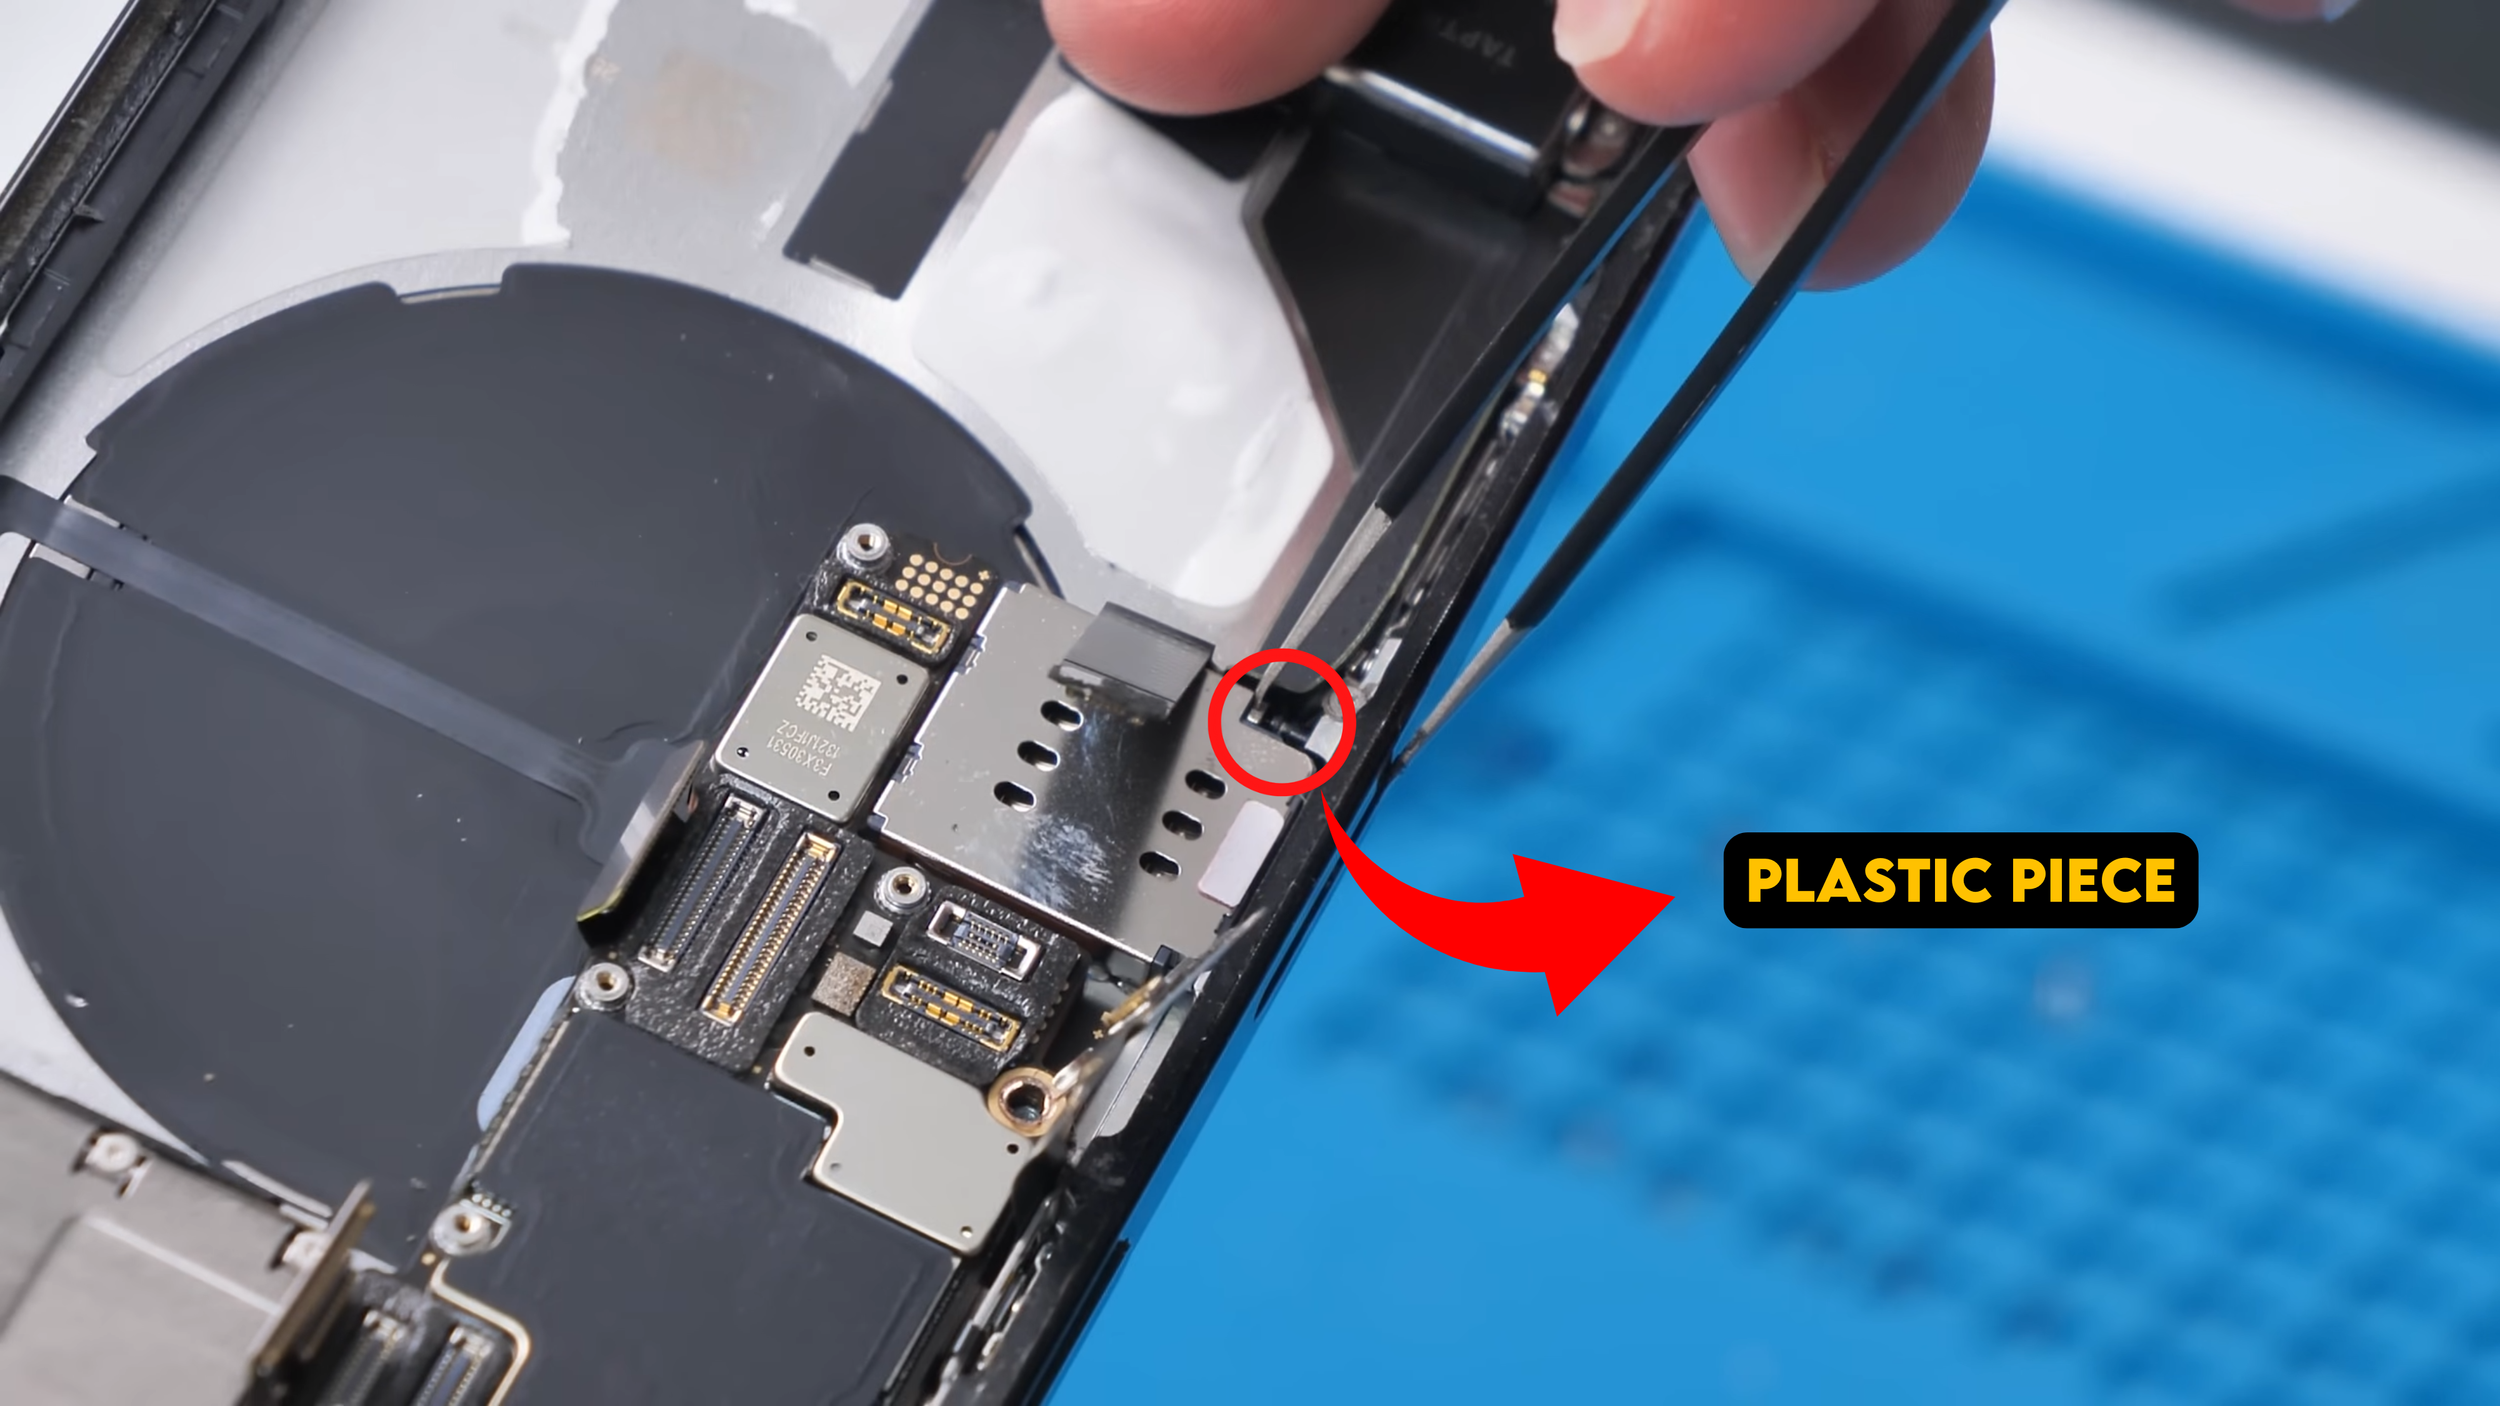
After that, the motherboard itself could finally be removed. One small detail that’s easy to miss is the plastic piece that pushes the SIM tray out. If it isn’t pushed in first, it can get in the way and make the board much harder to remove.
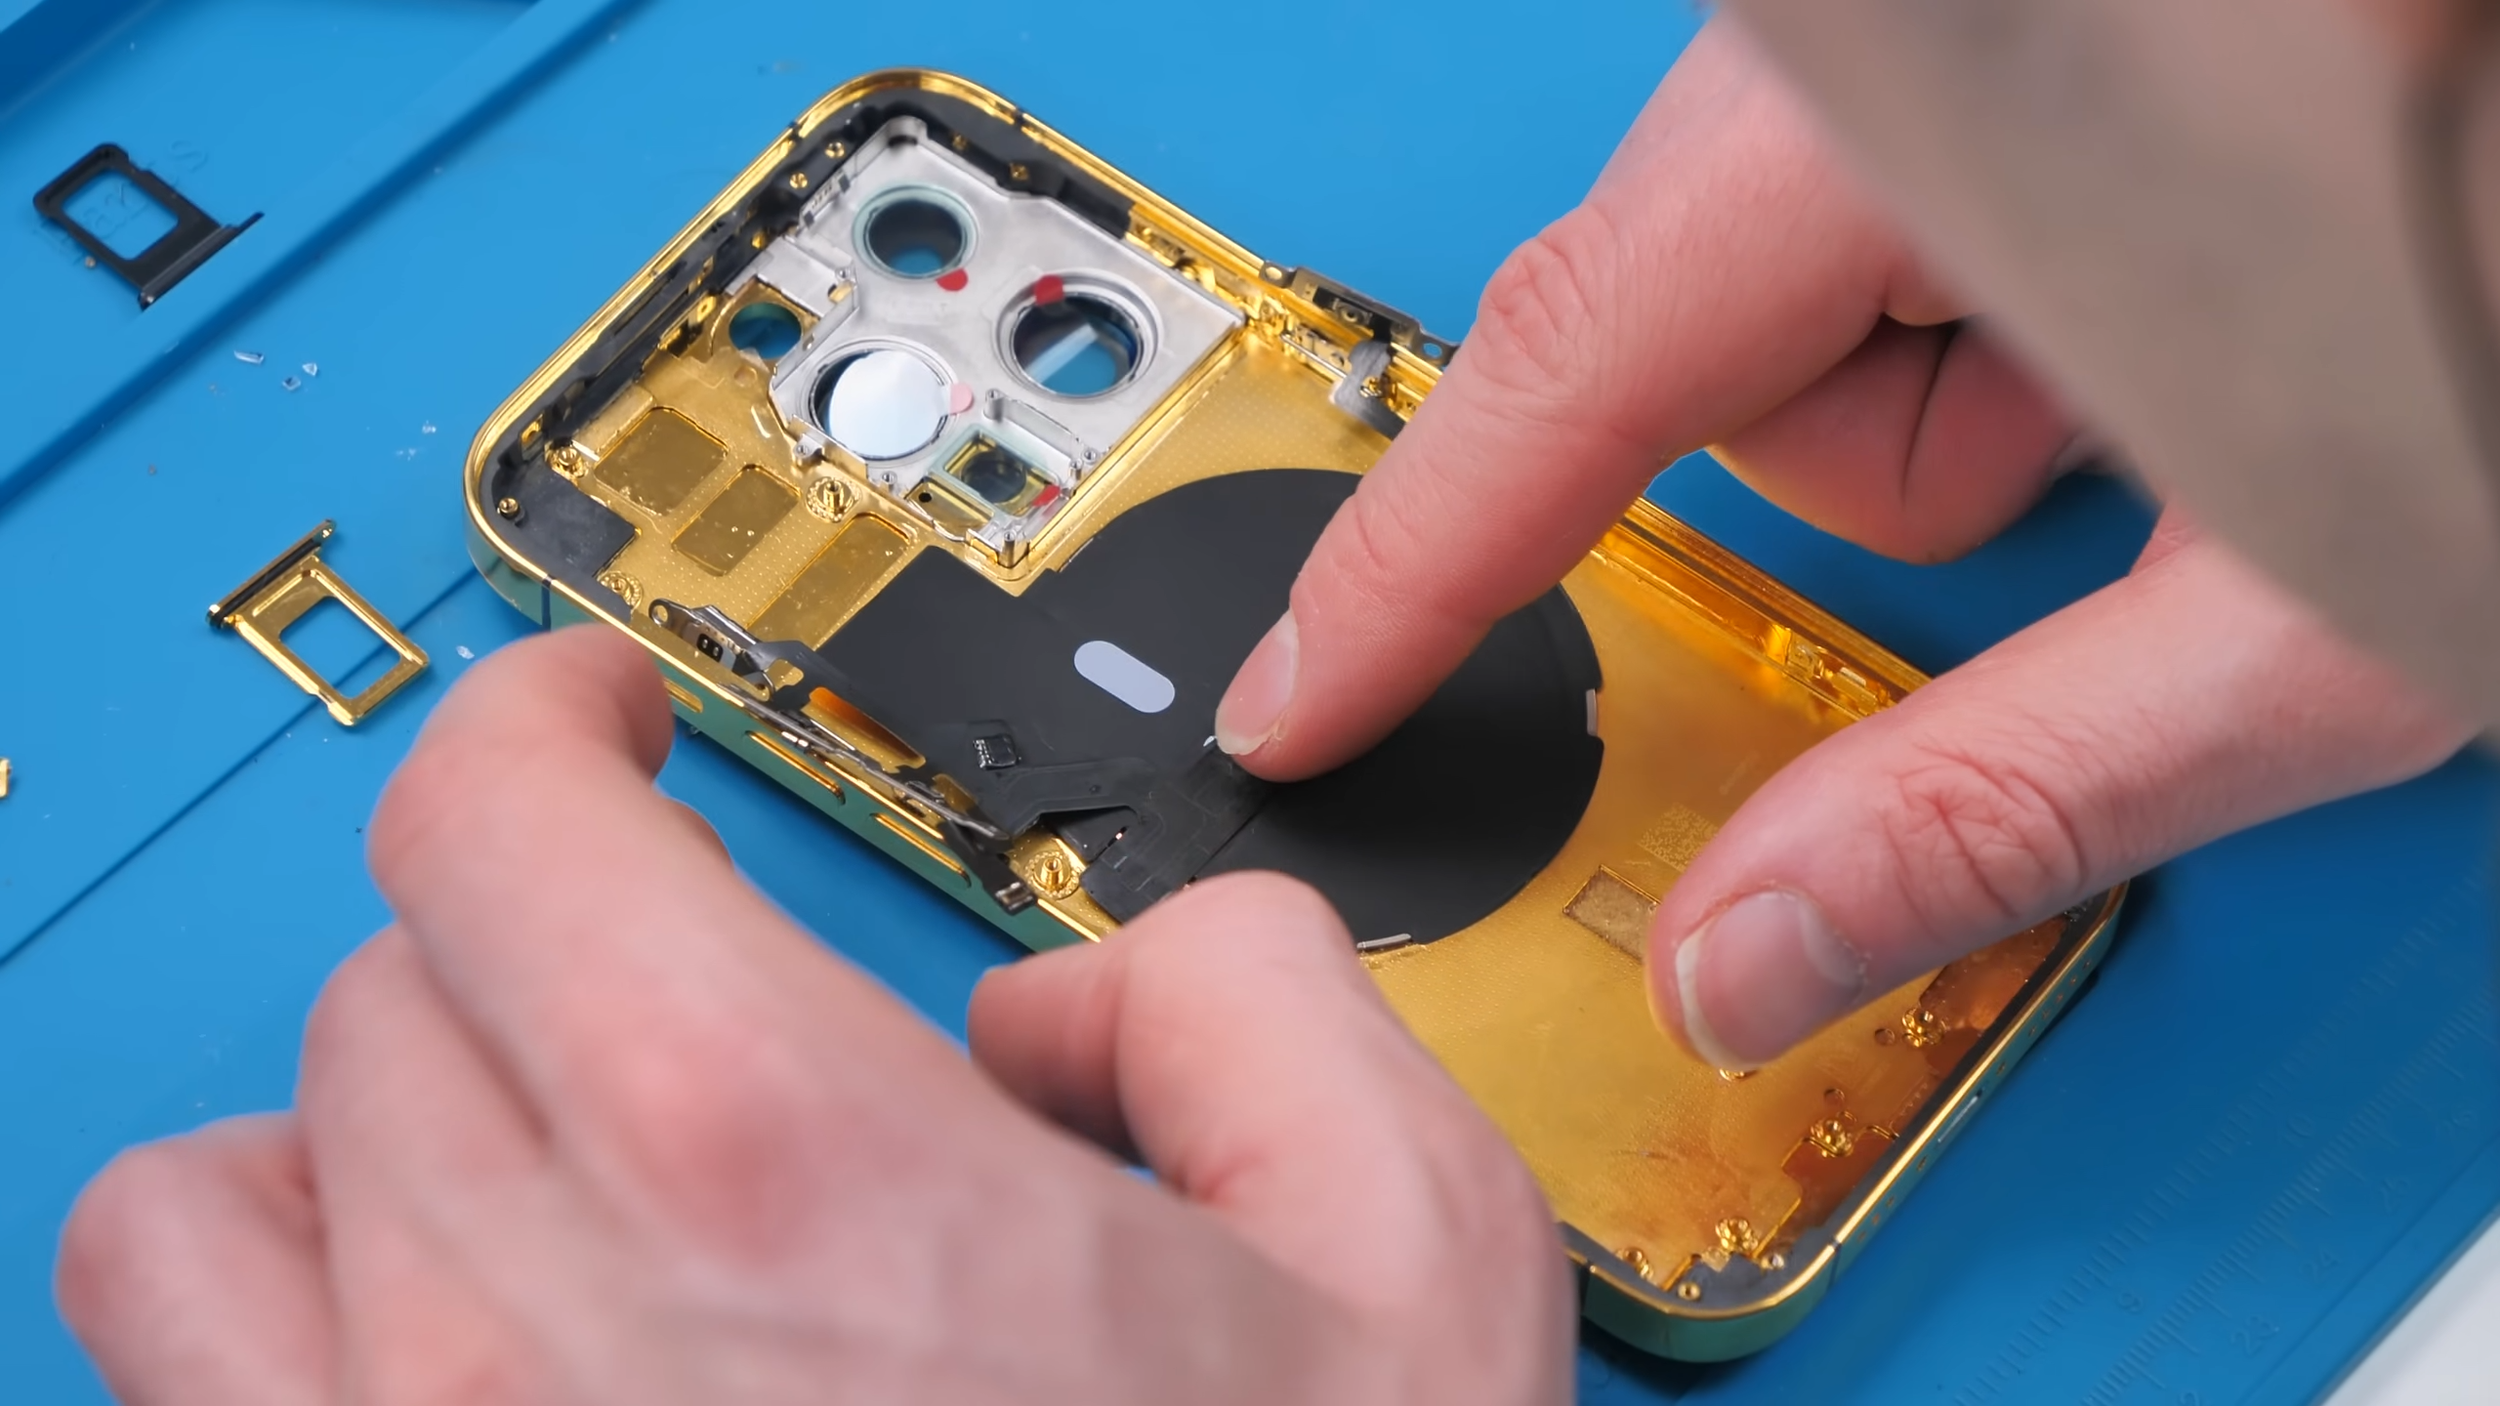
With the motherboard out, I could start working on the buttons and wireless charging assembly.
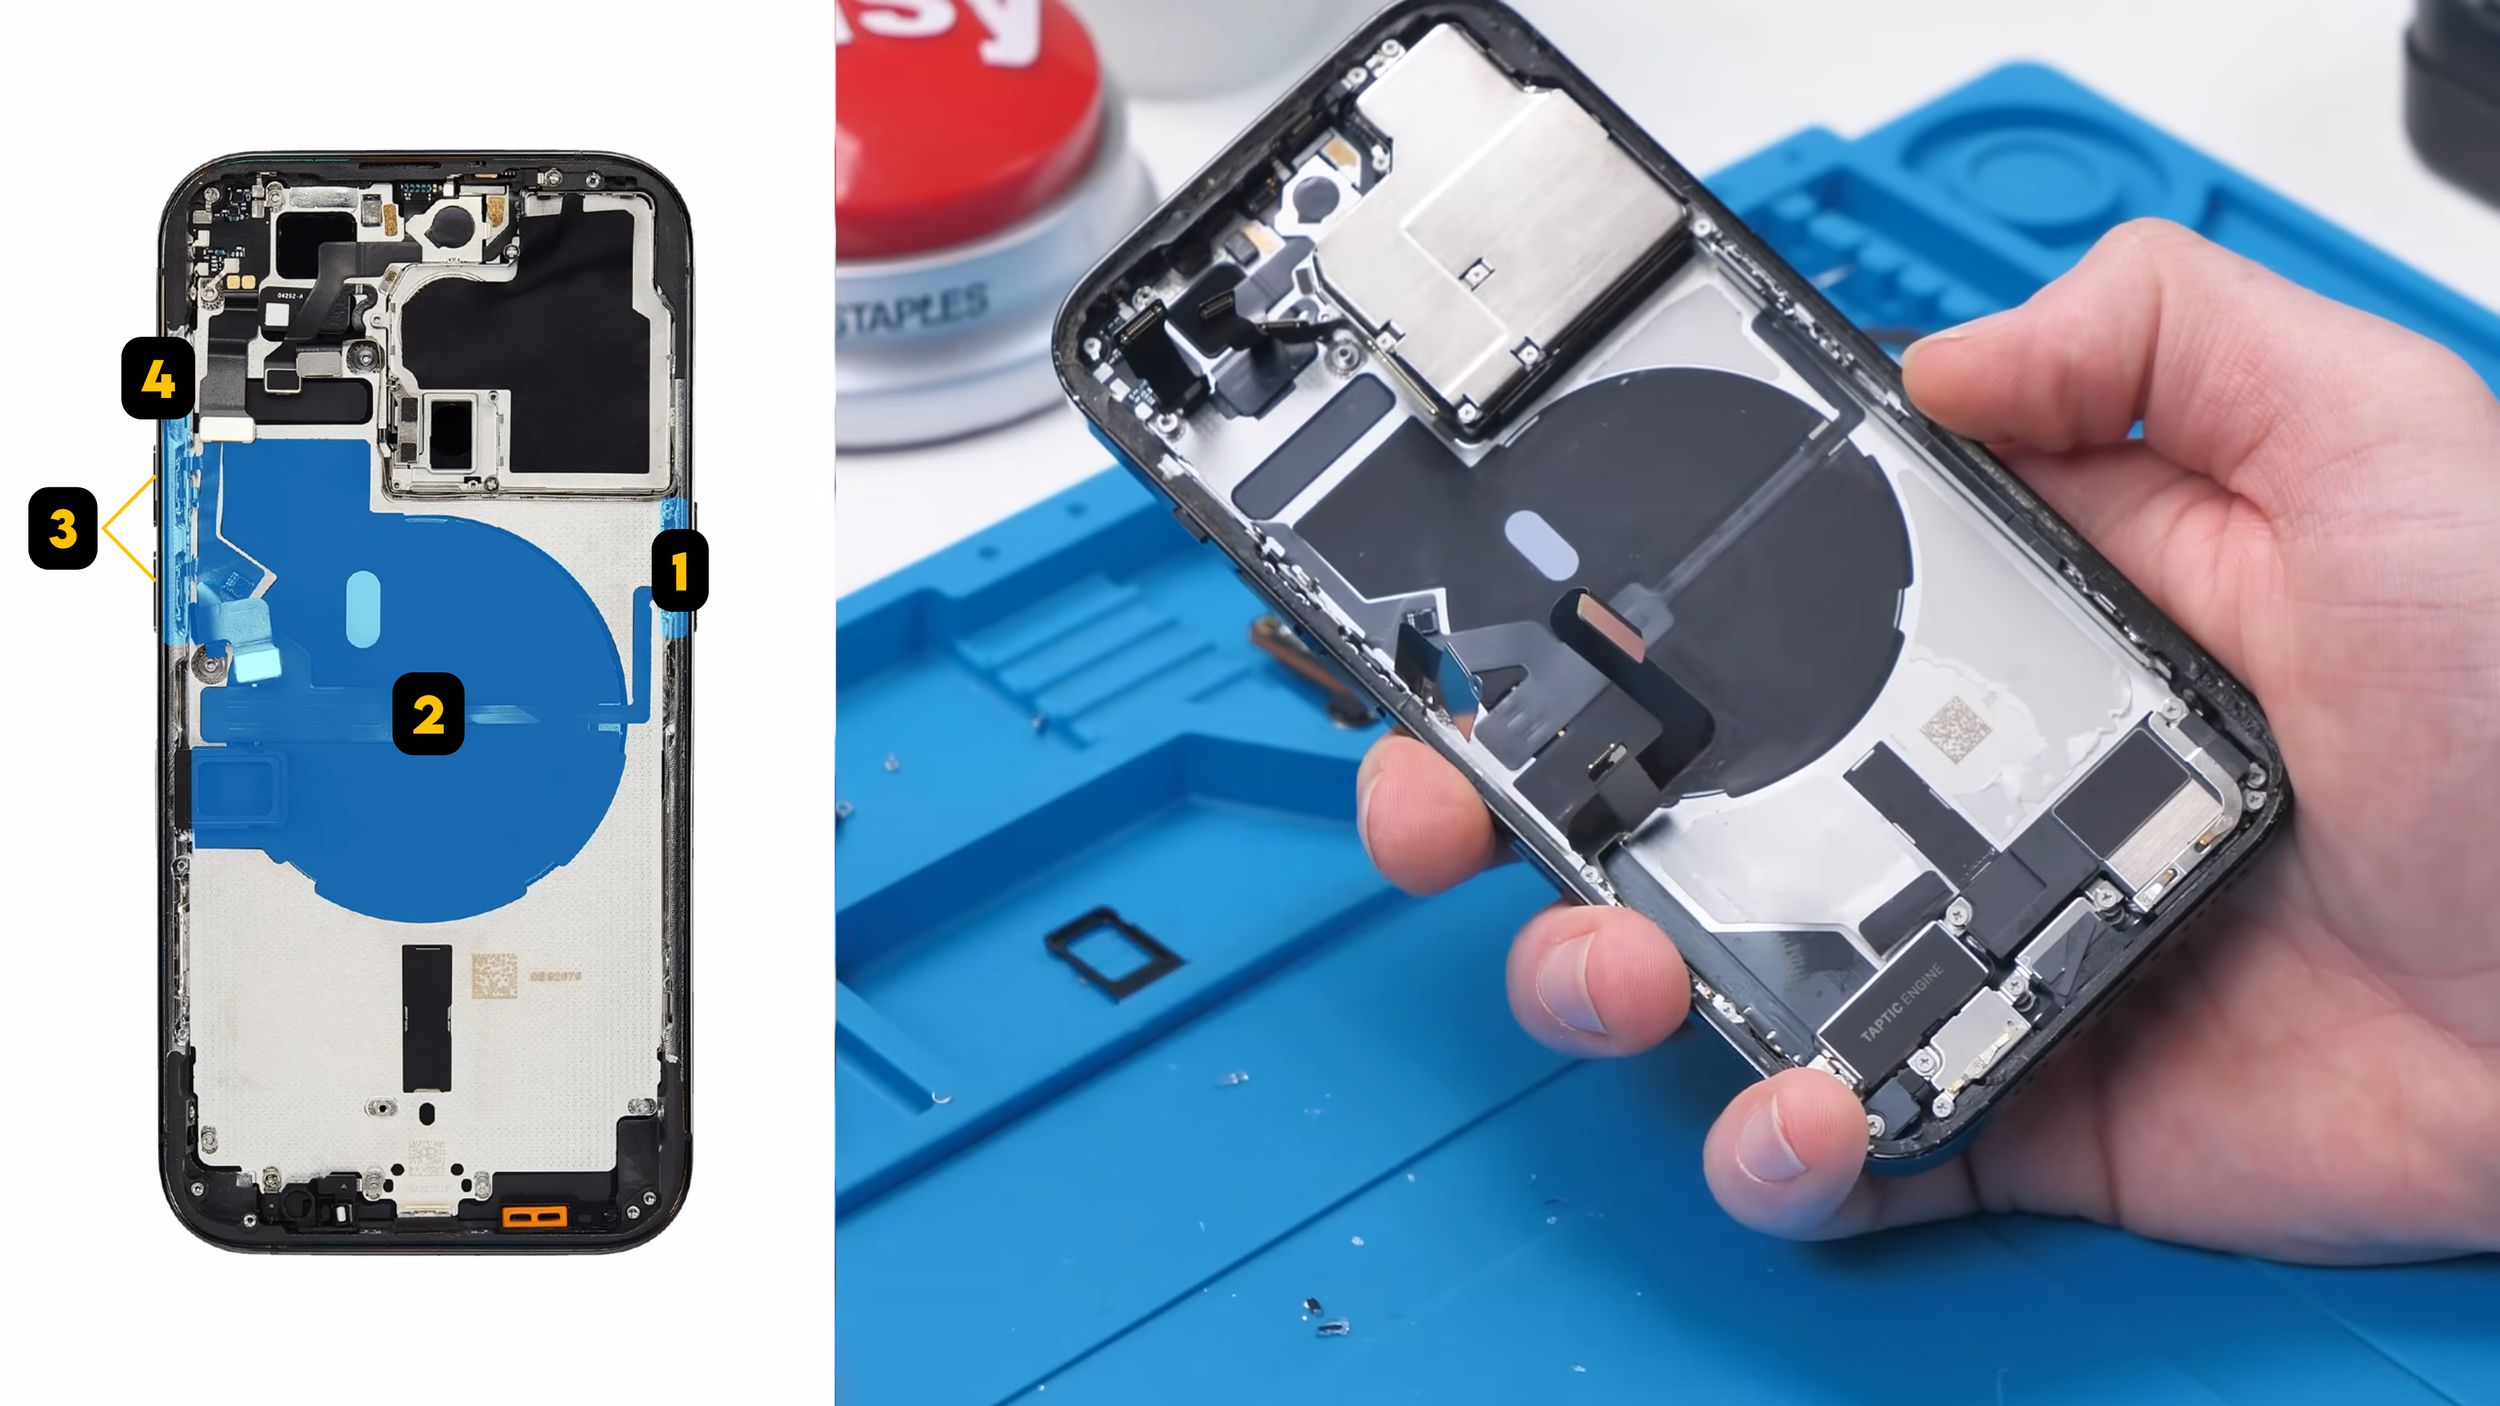
The (1) power button connects to the (2) wireless charging coil, which connects to the MagSafe magnets, which then connect to the (3) volume buttons and (4) mute switch.
Removing all of that without tearing a cable or bending something is way harder than it looks.
Transferring Buttons and MagSafe
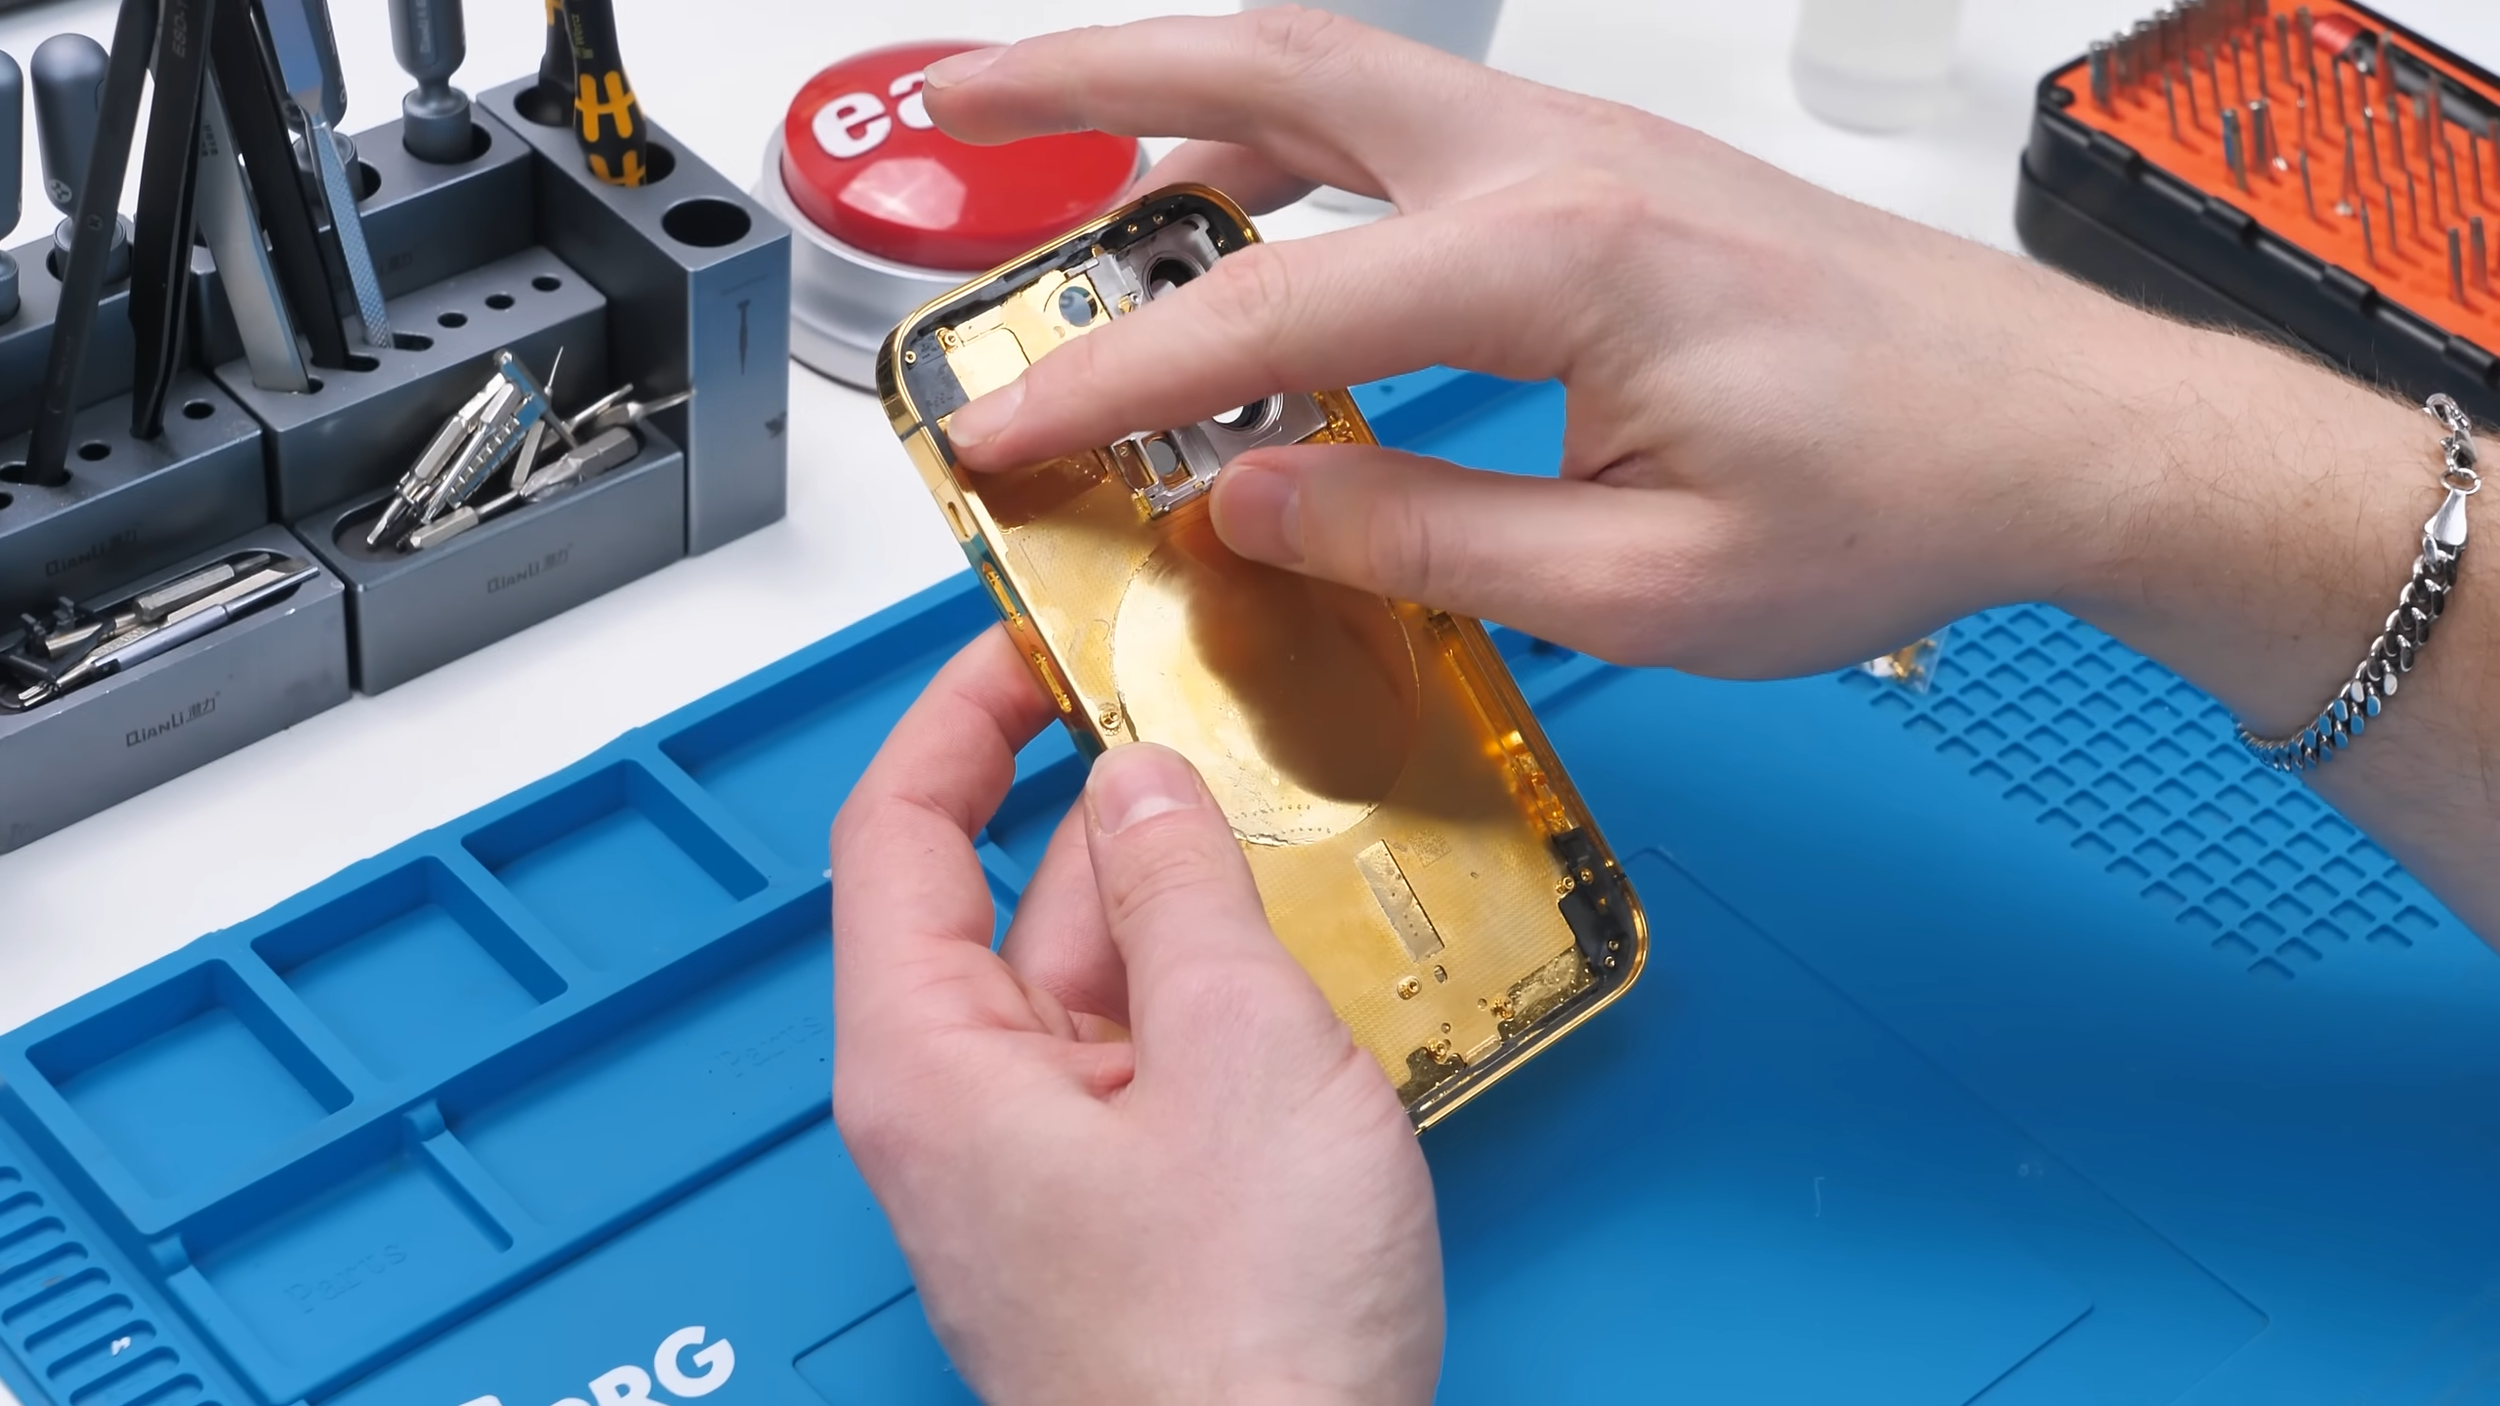
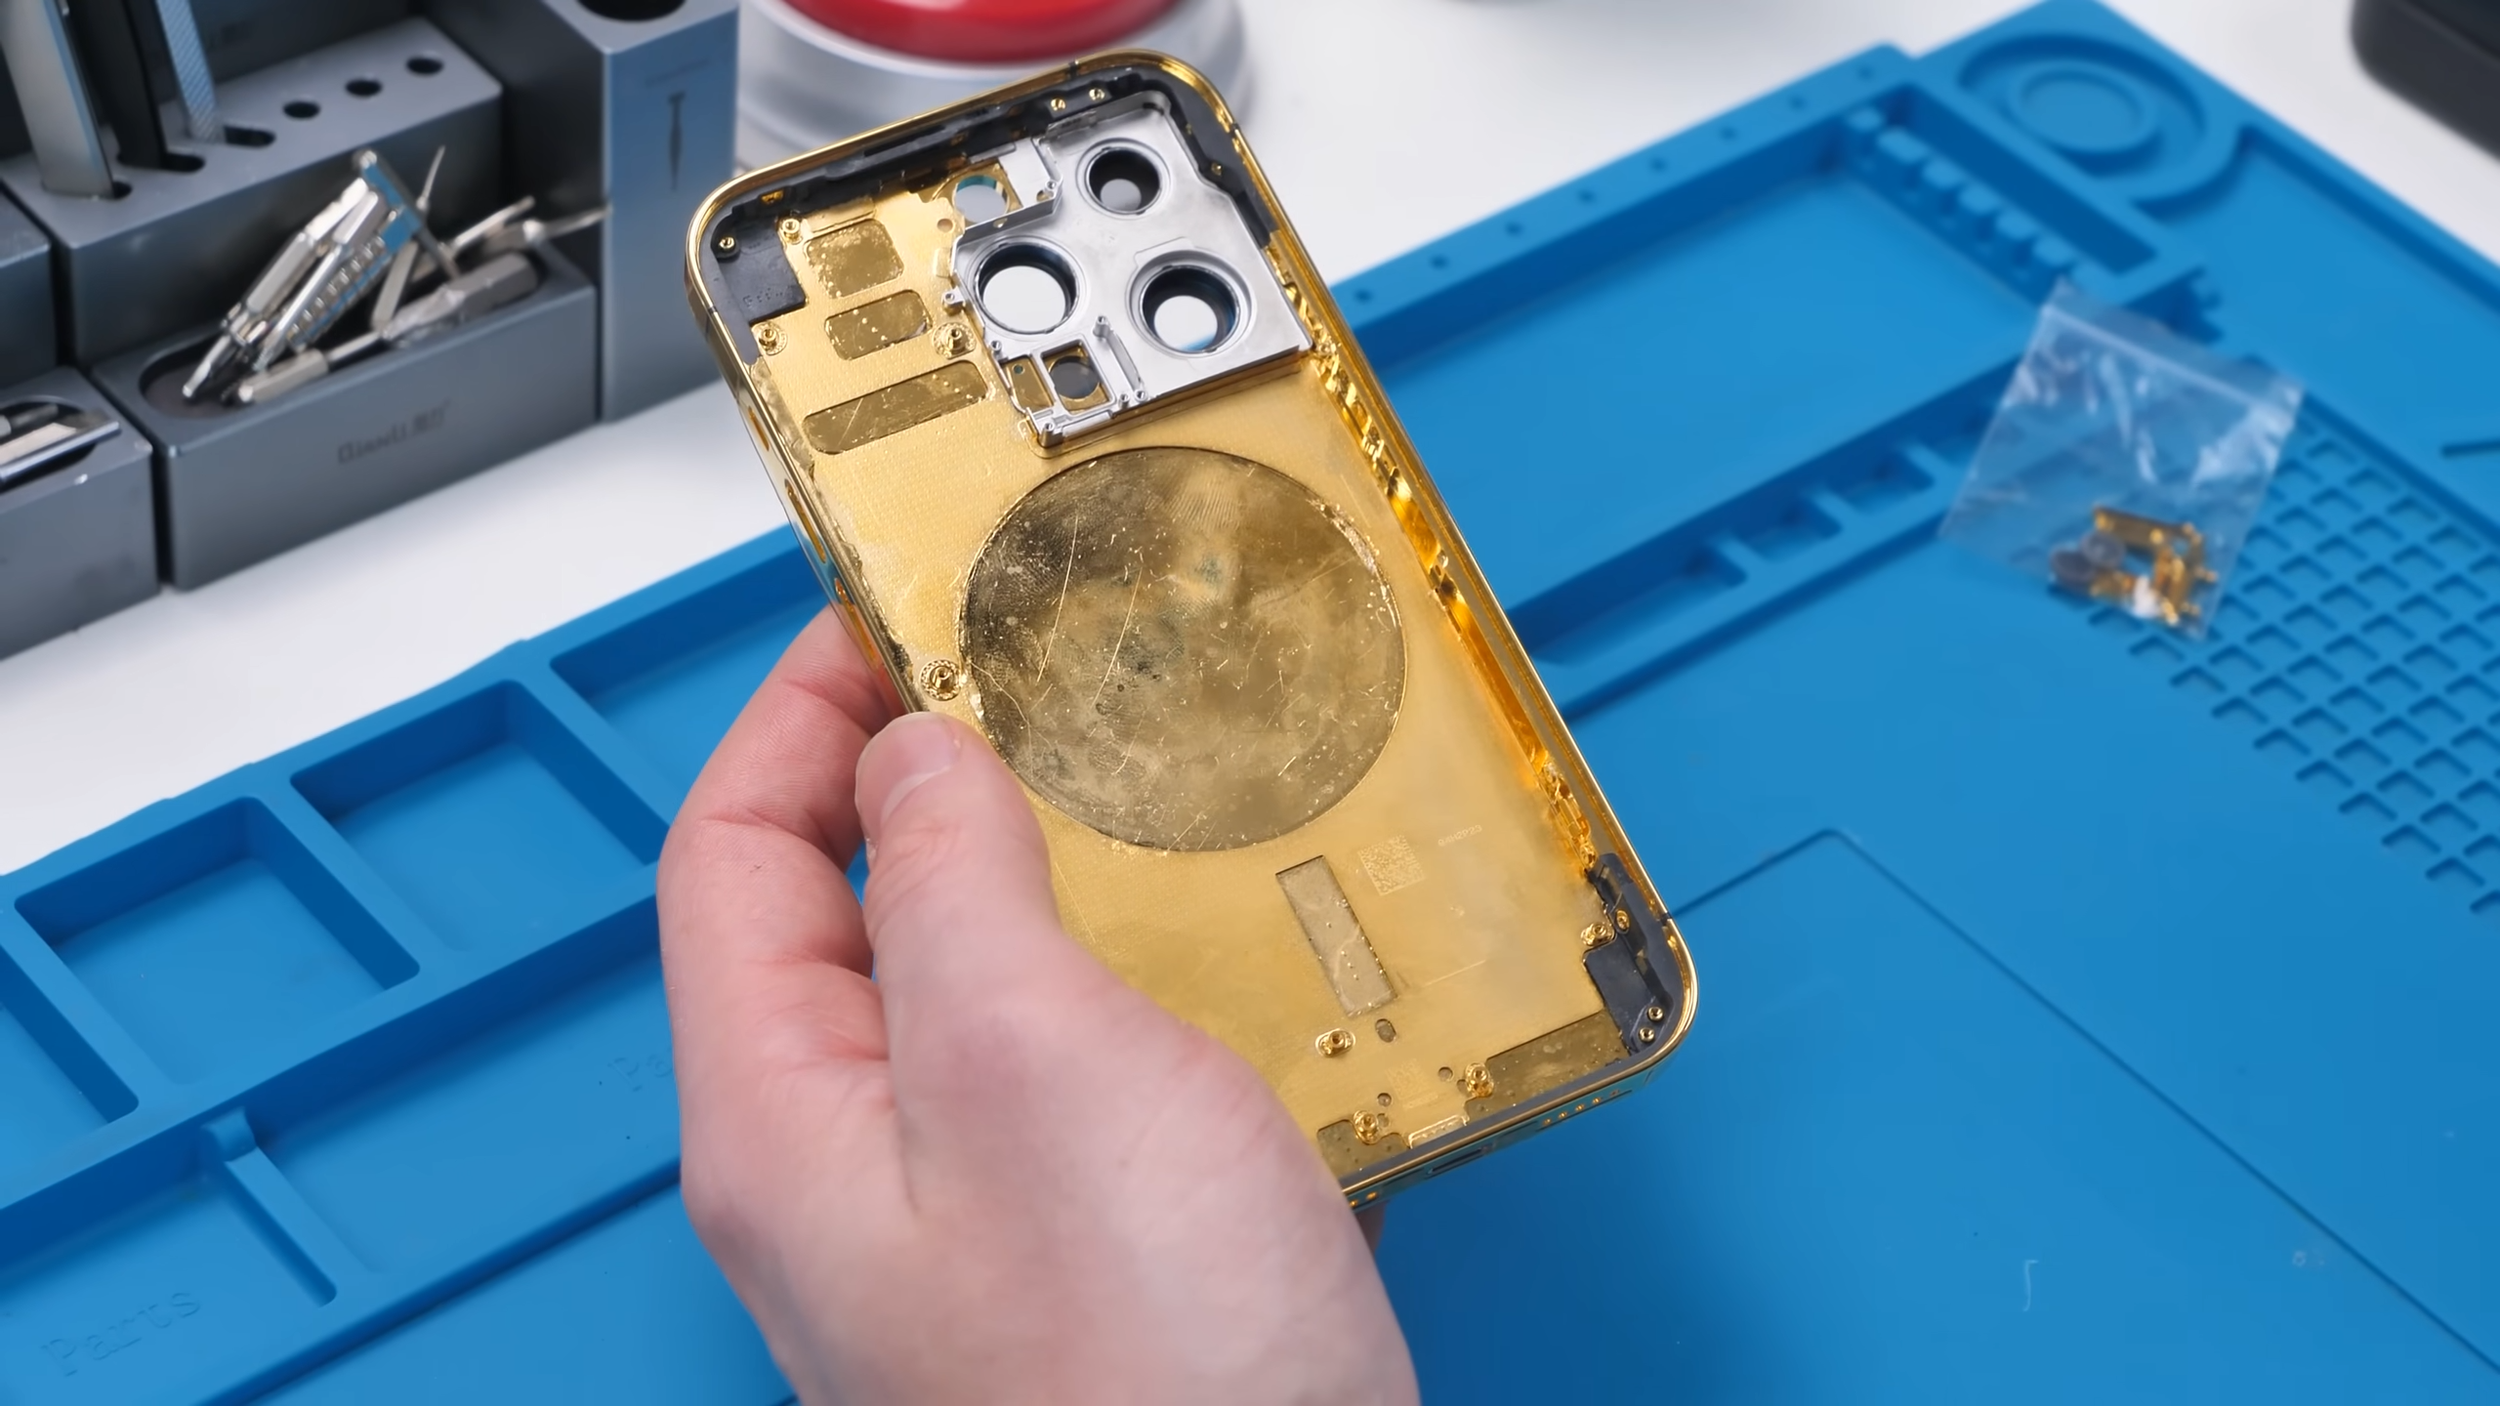
To move the MagSafe magnets and wireless charging coil, I had to heat the back of the original housing and use a MagSafe puck to pull everything off evenly. It took a long time, things got very hot, and there was more than a little bit of smoke, but somehow it all came off in one piece.
Removing the button assemblies requires a lot of patience. Each button relies on tiny metal bars and plates that act as mechanical locks, and reinstalling them on the new housing is surprisingly frustrating.
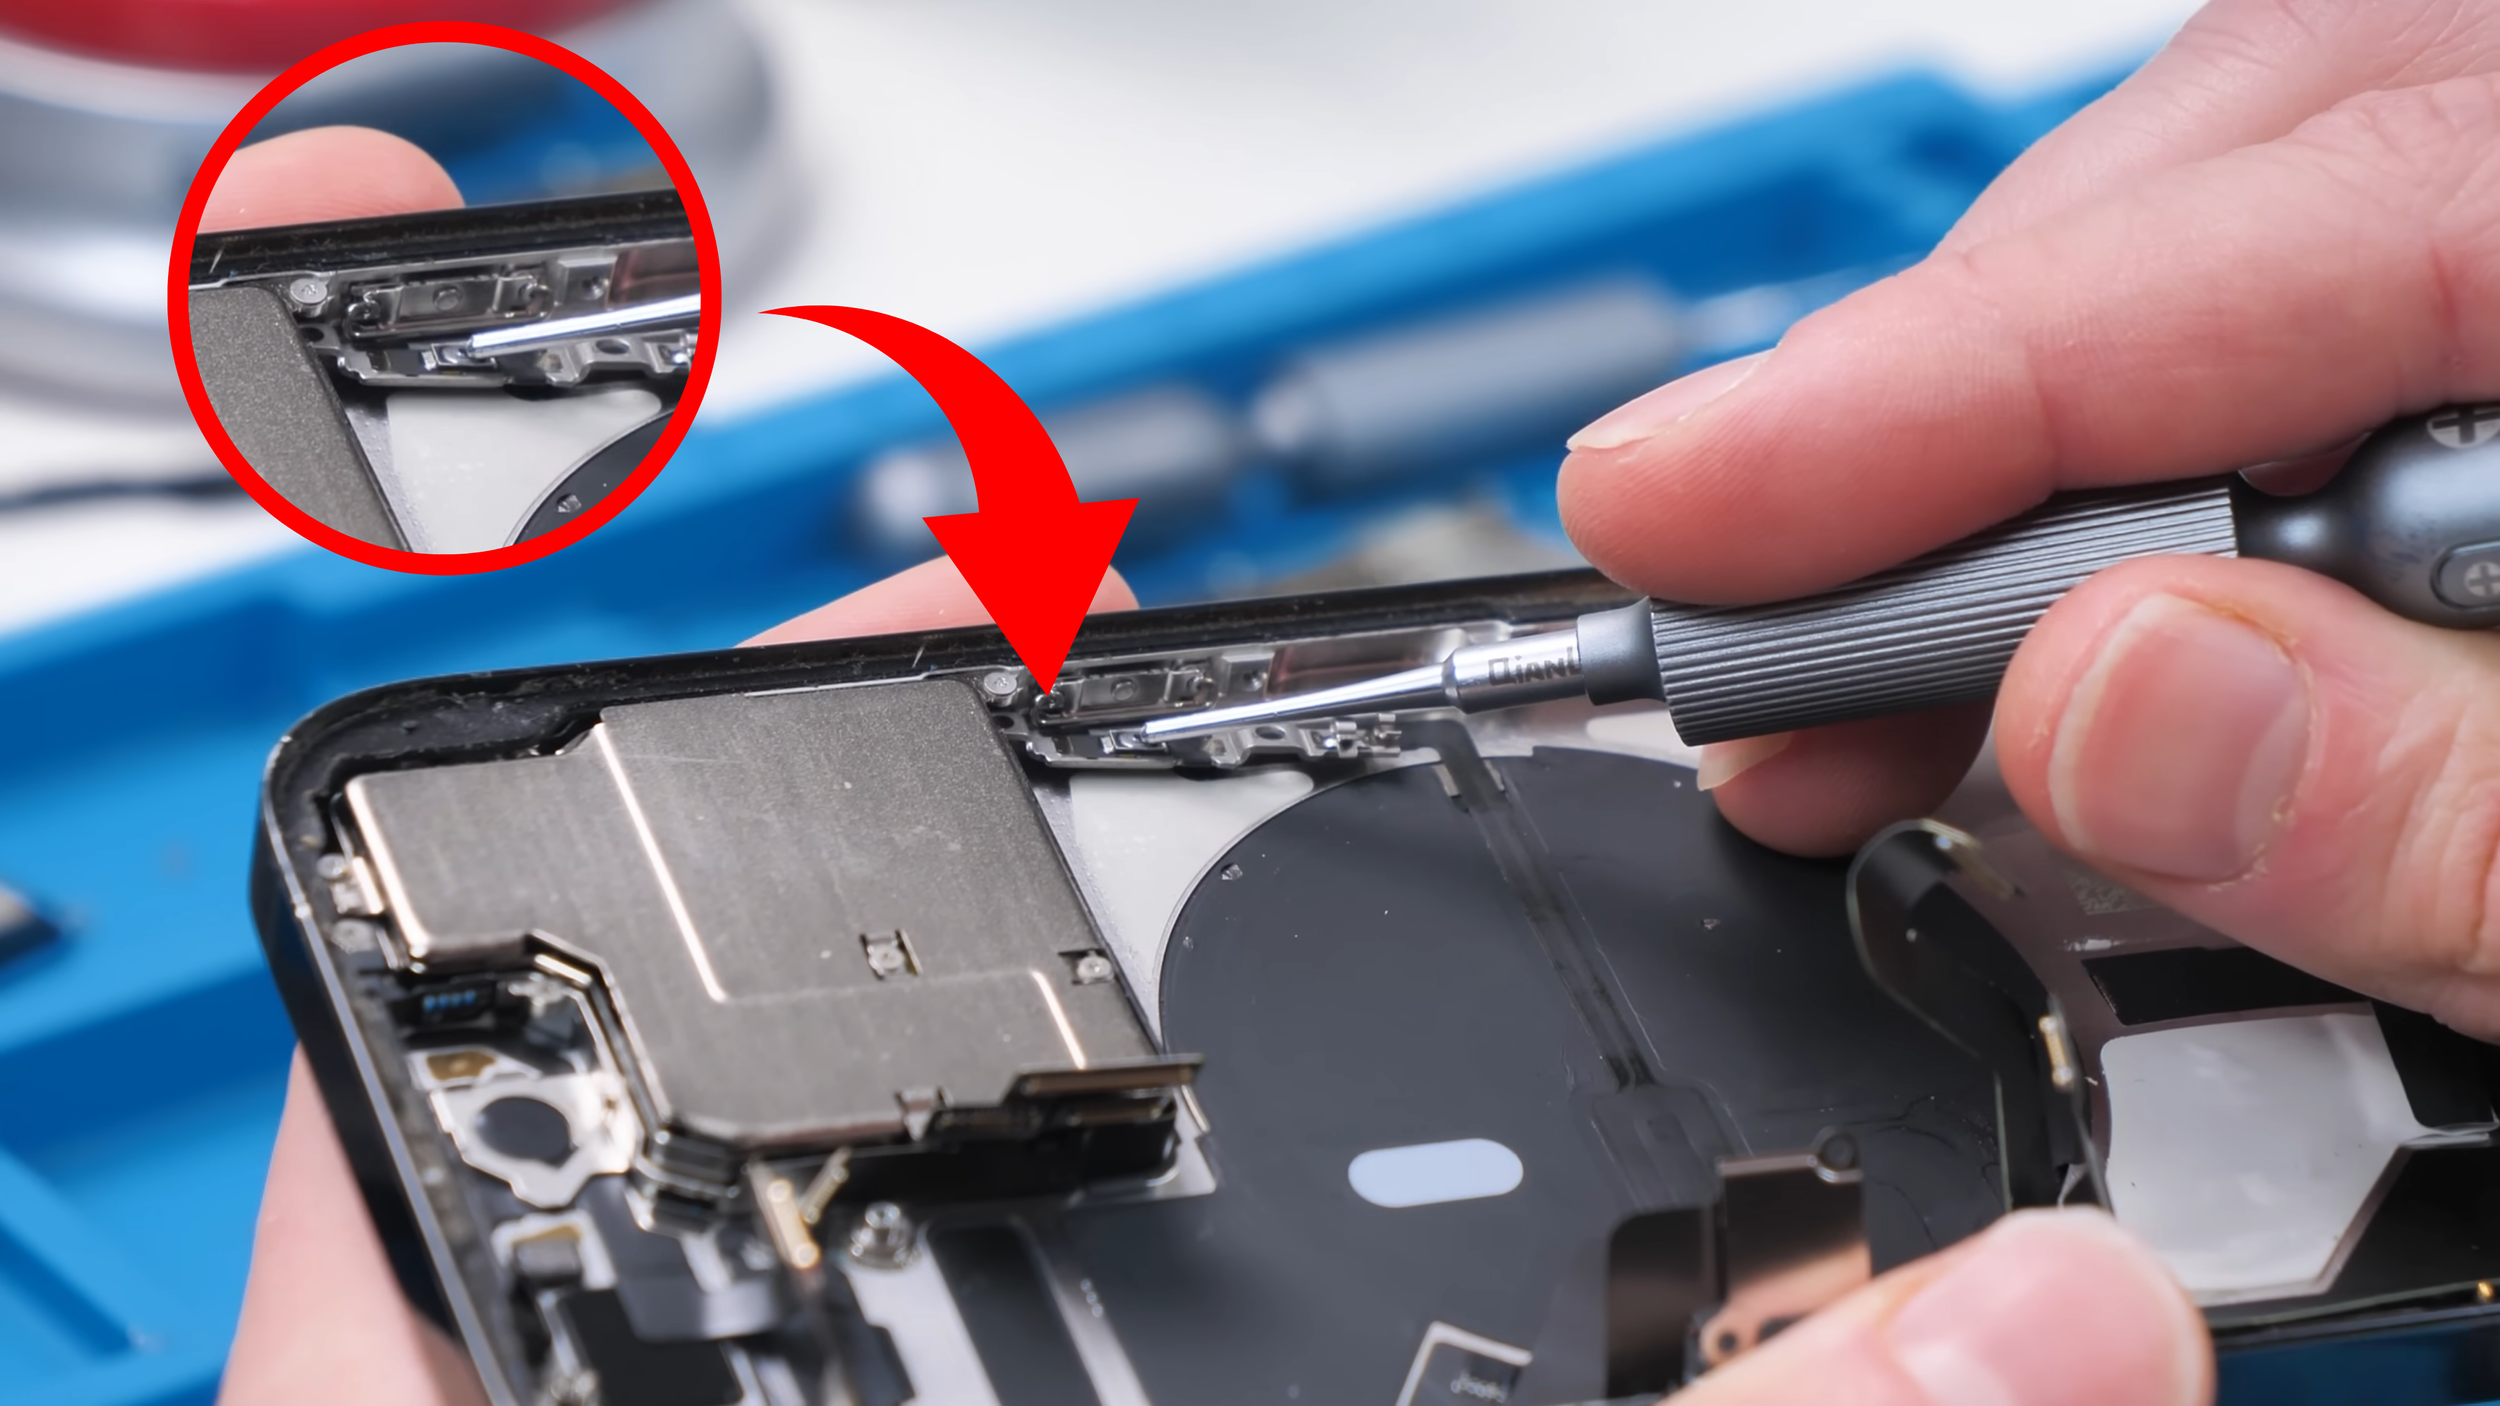
The gold housing came with matching gold buttons, which meant transferring those internal locking mechanisms over one by one. I make it look easy now, but when I first started doing repairs like this, it was incredibly annoying.
The mute switch was especially stubborn and wouldn’t seat properly until the wireless charging coil was installed. Once it finally clicked into place though, it was a huge relief.
Missing Parts and Small Surprises
Once I started reinstalling components, I noticed something that almost stopped the build.
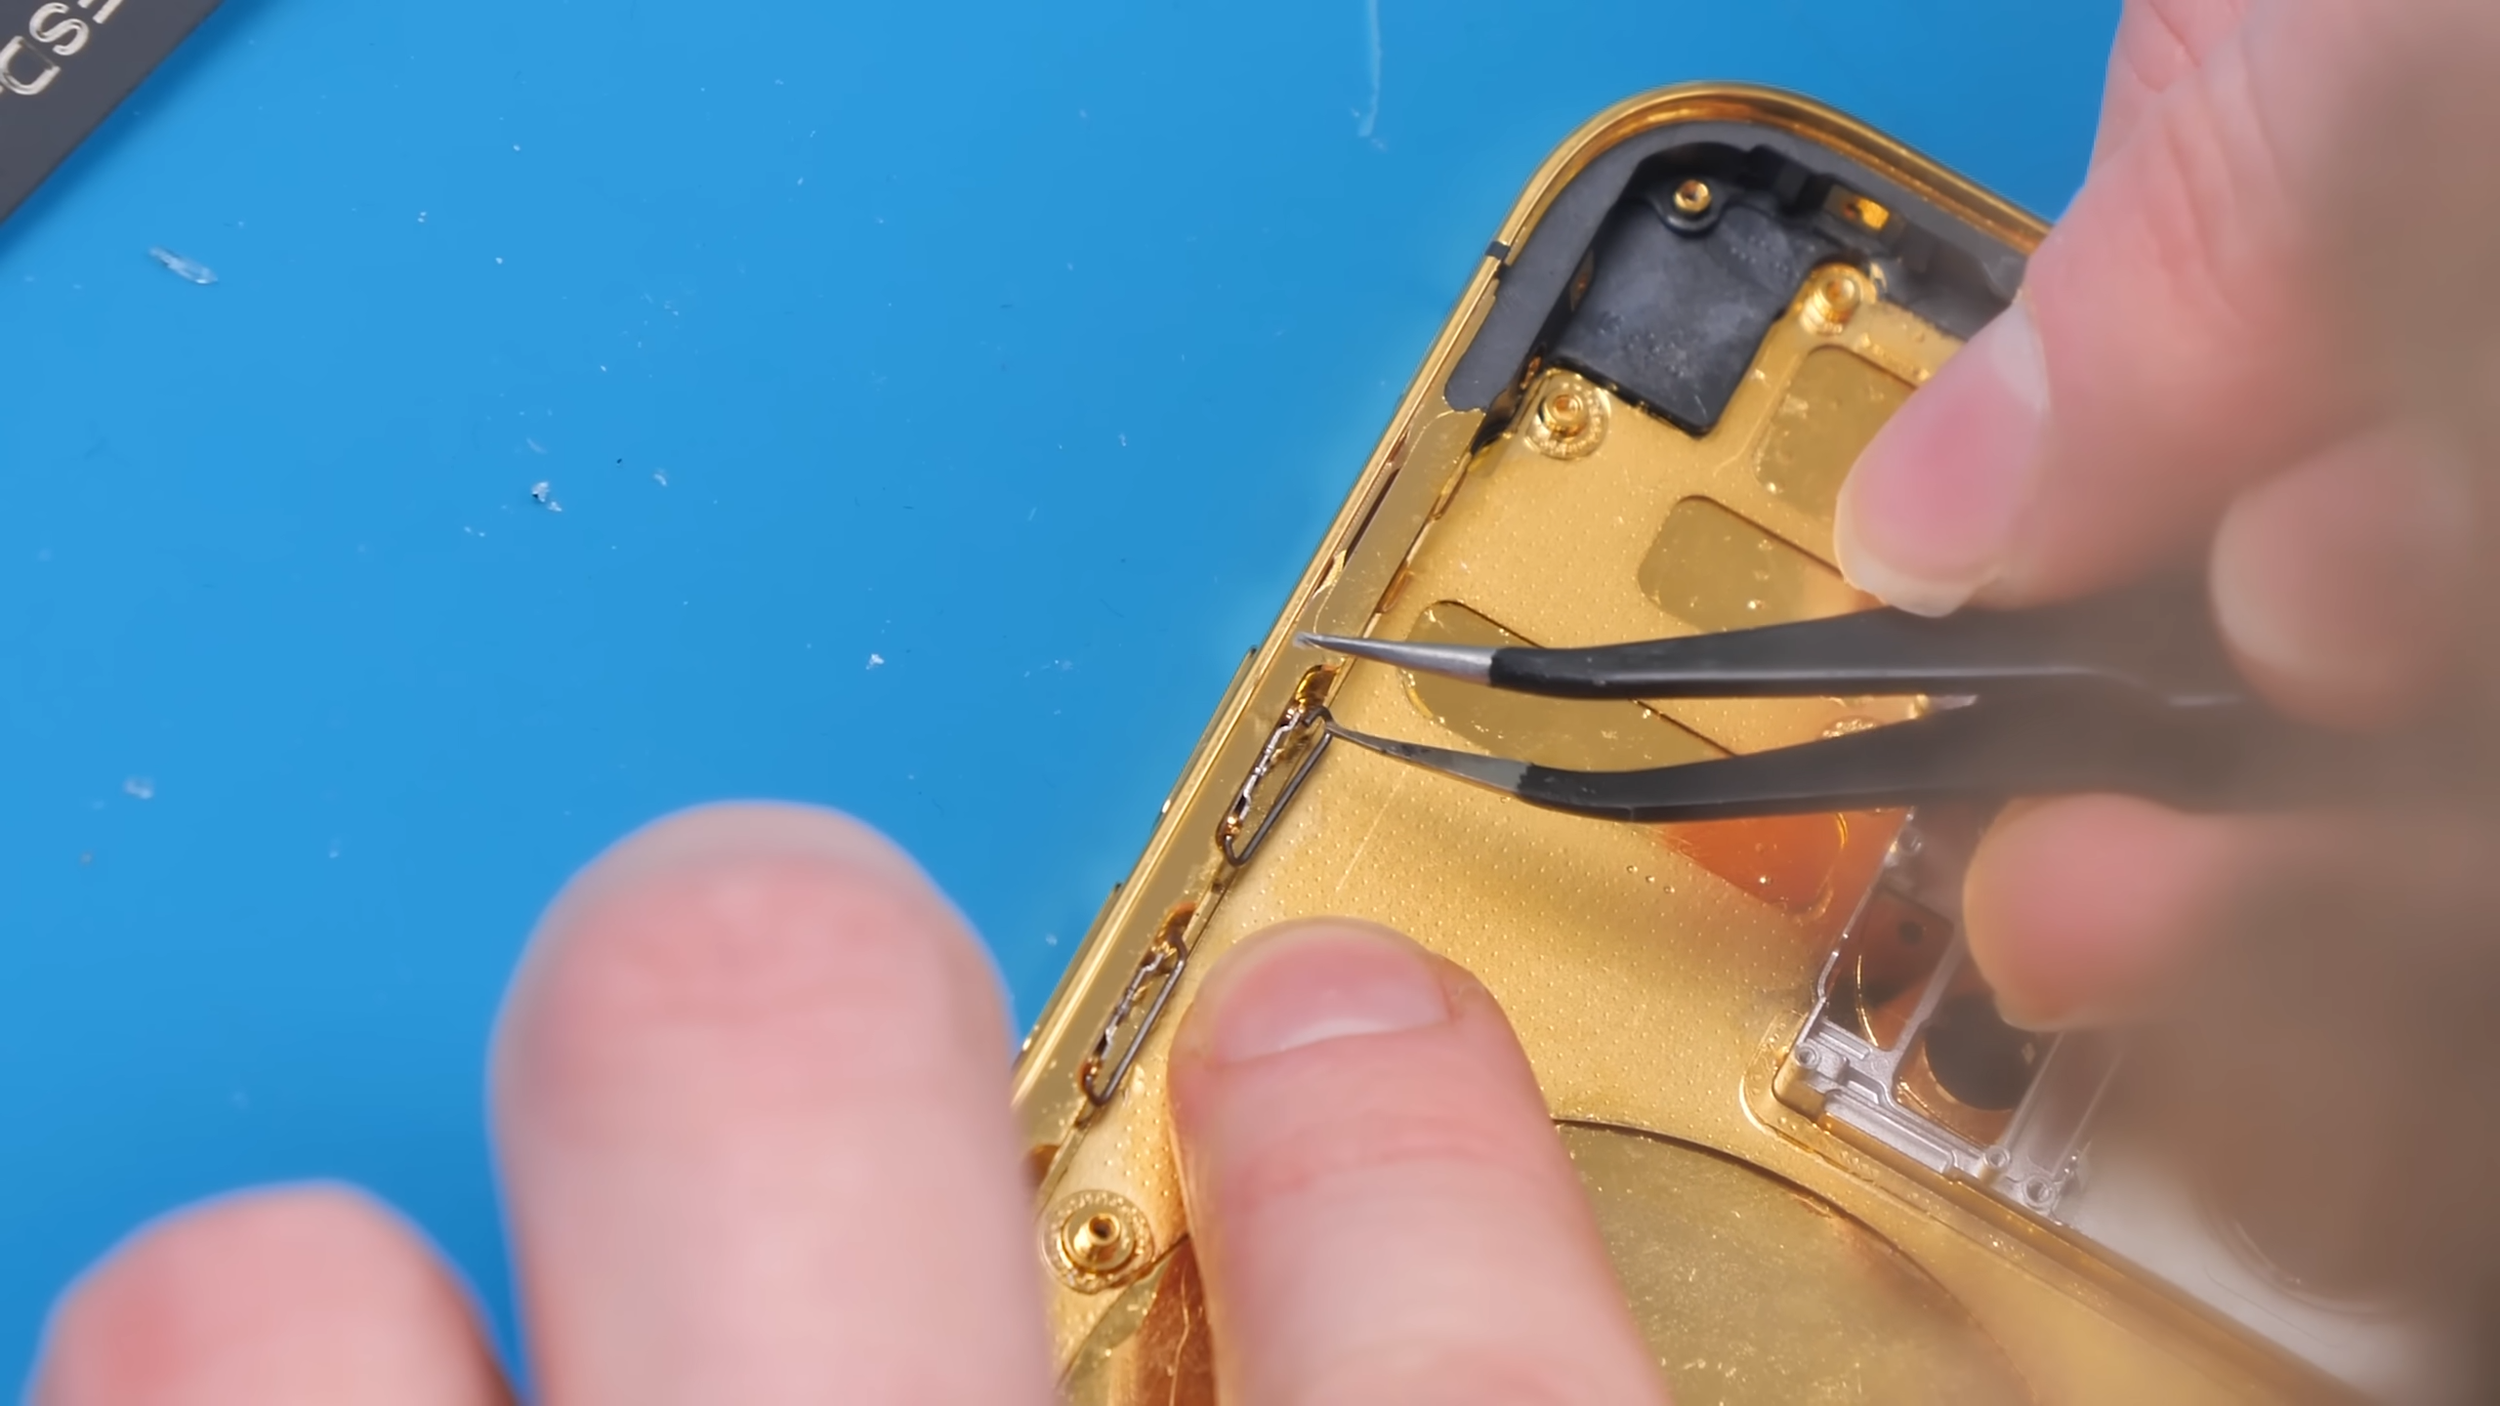
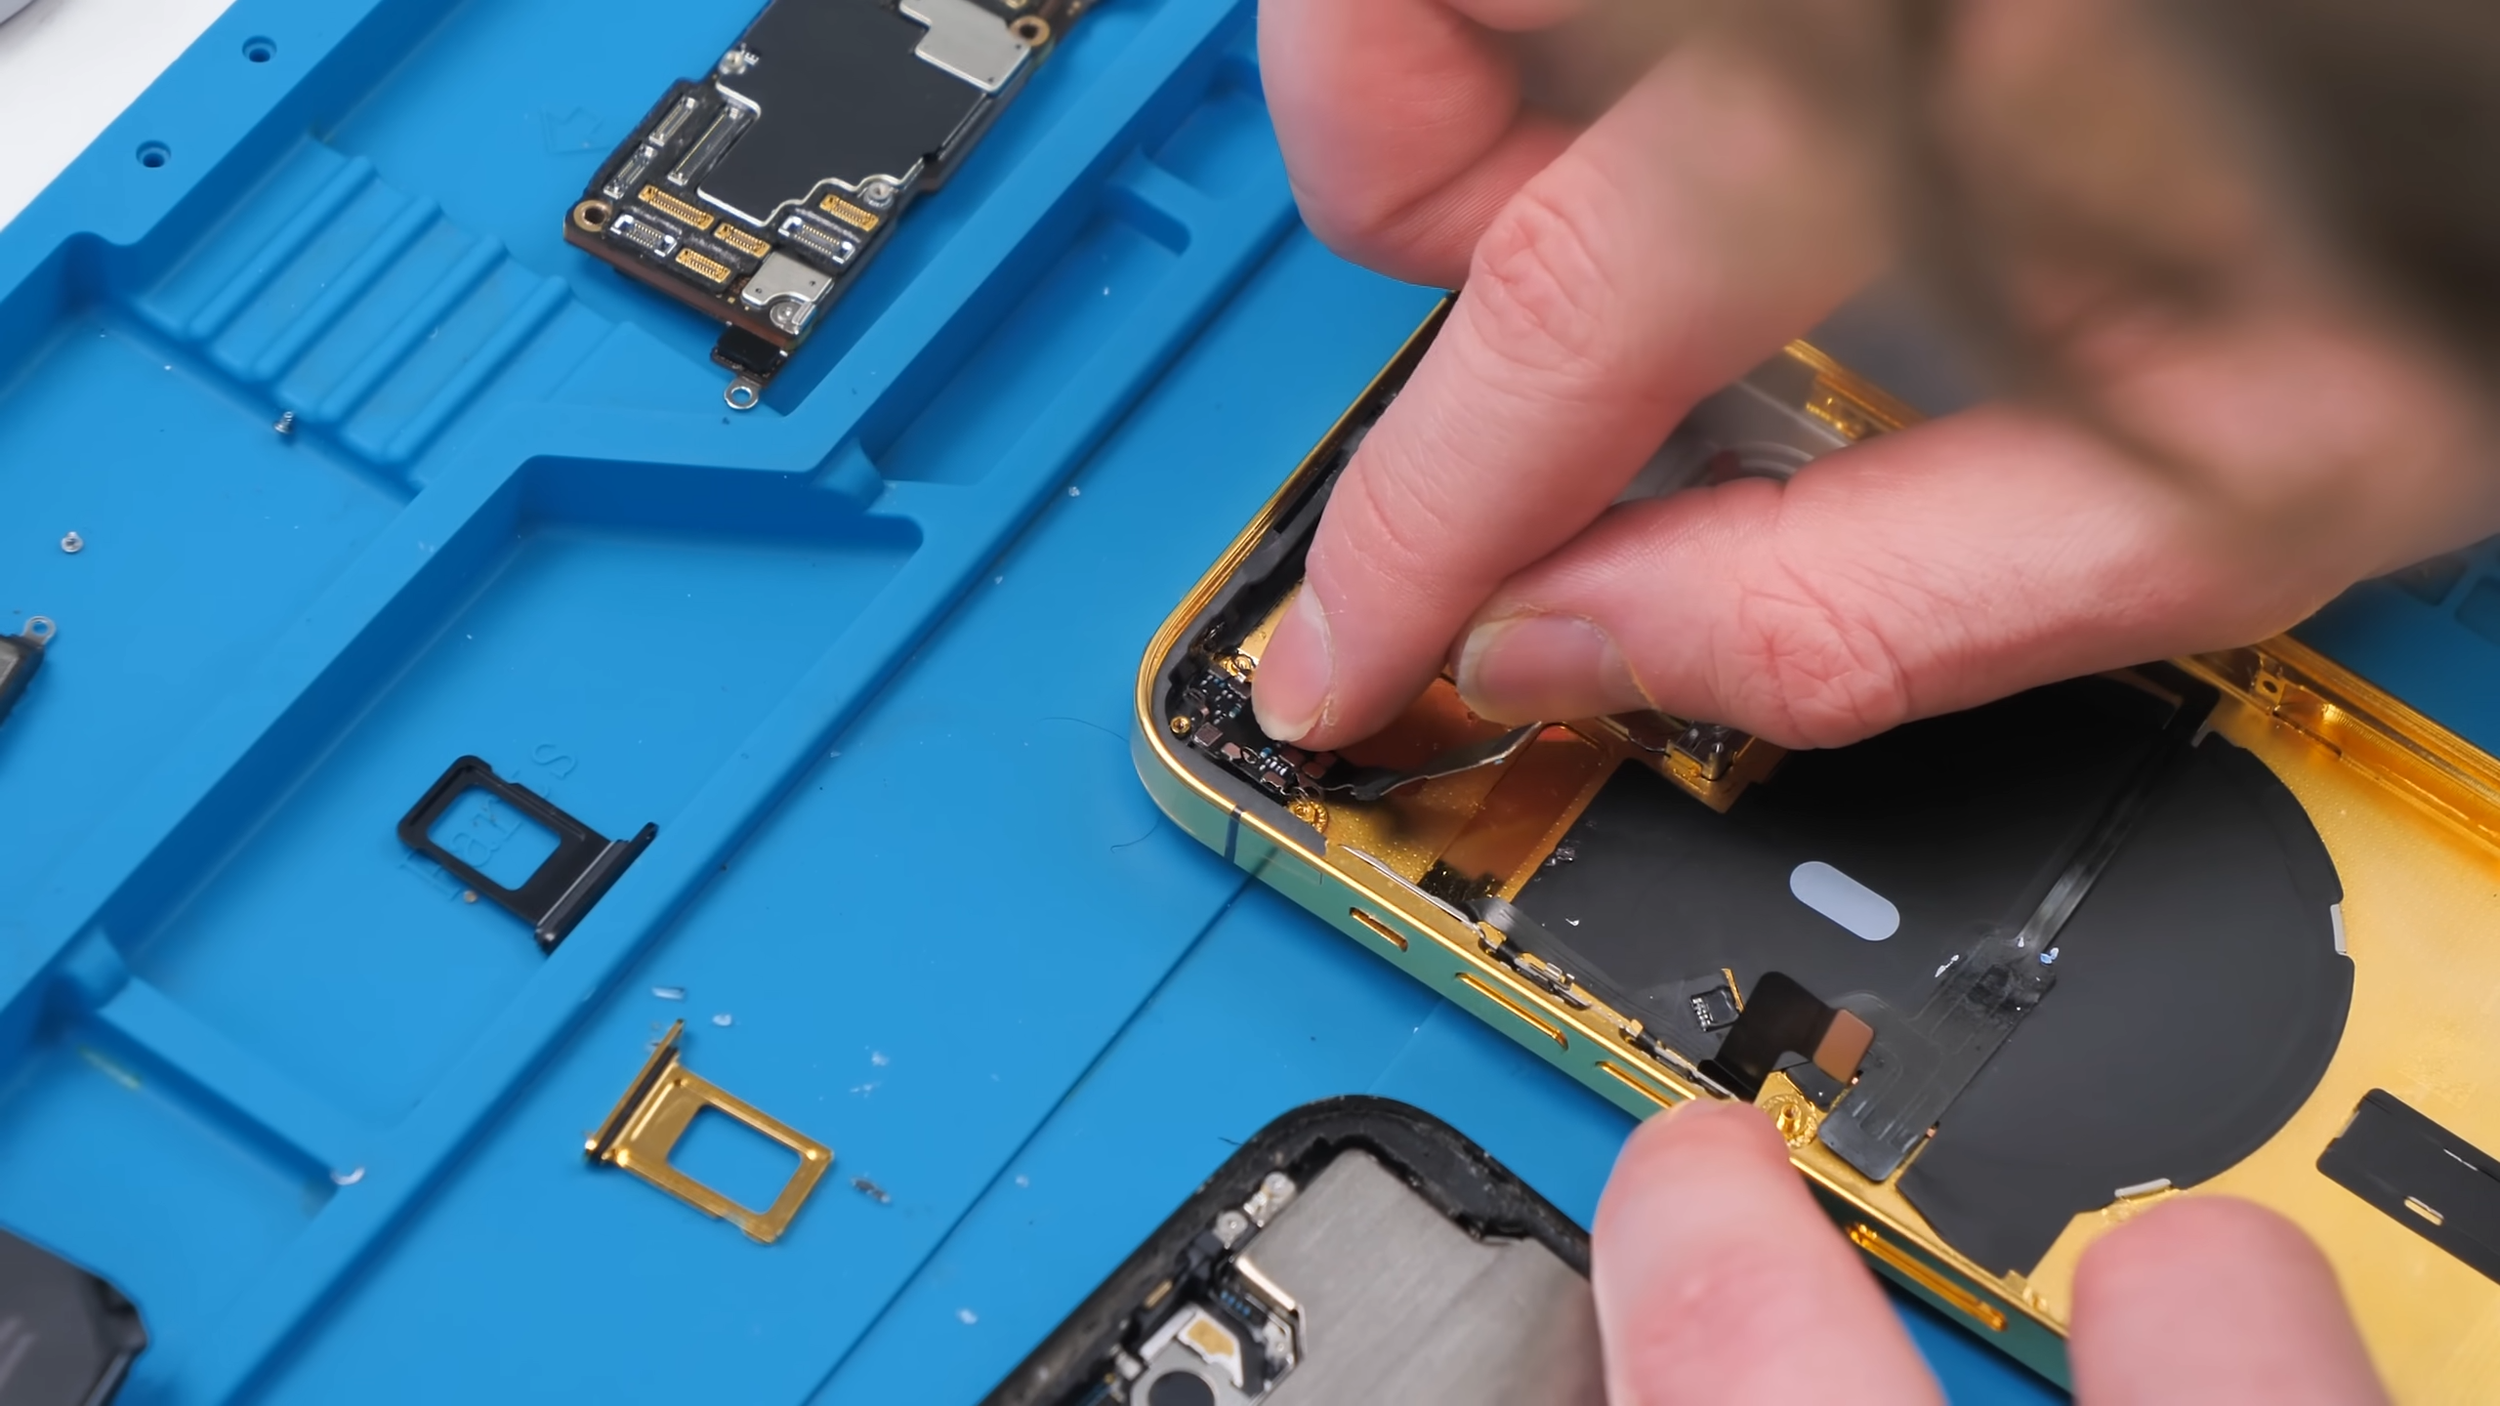
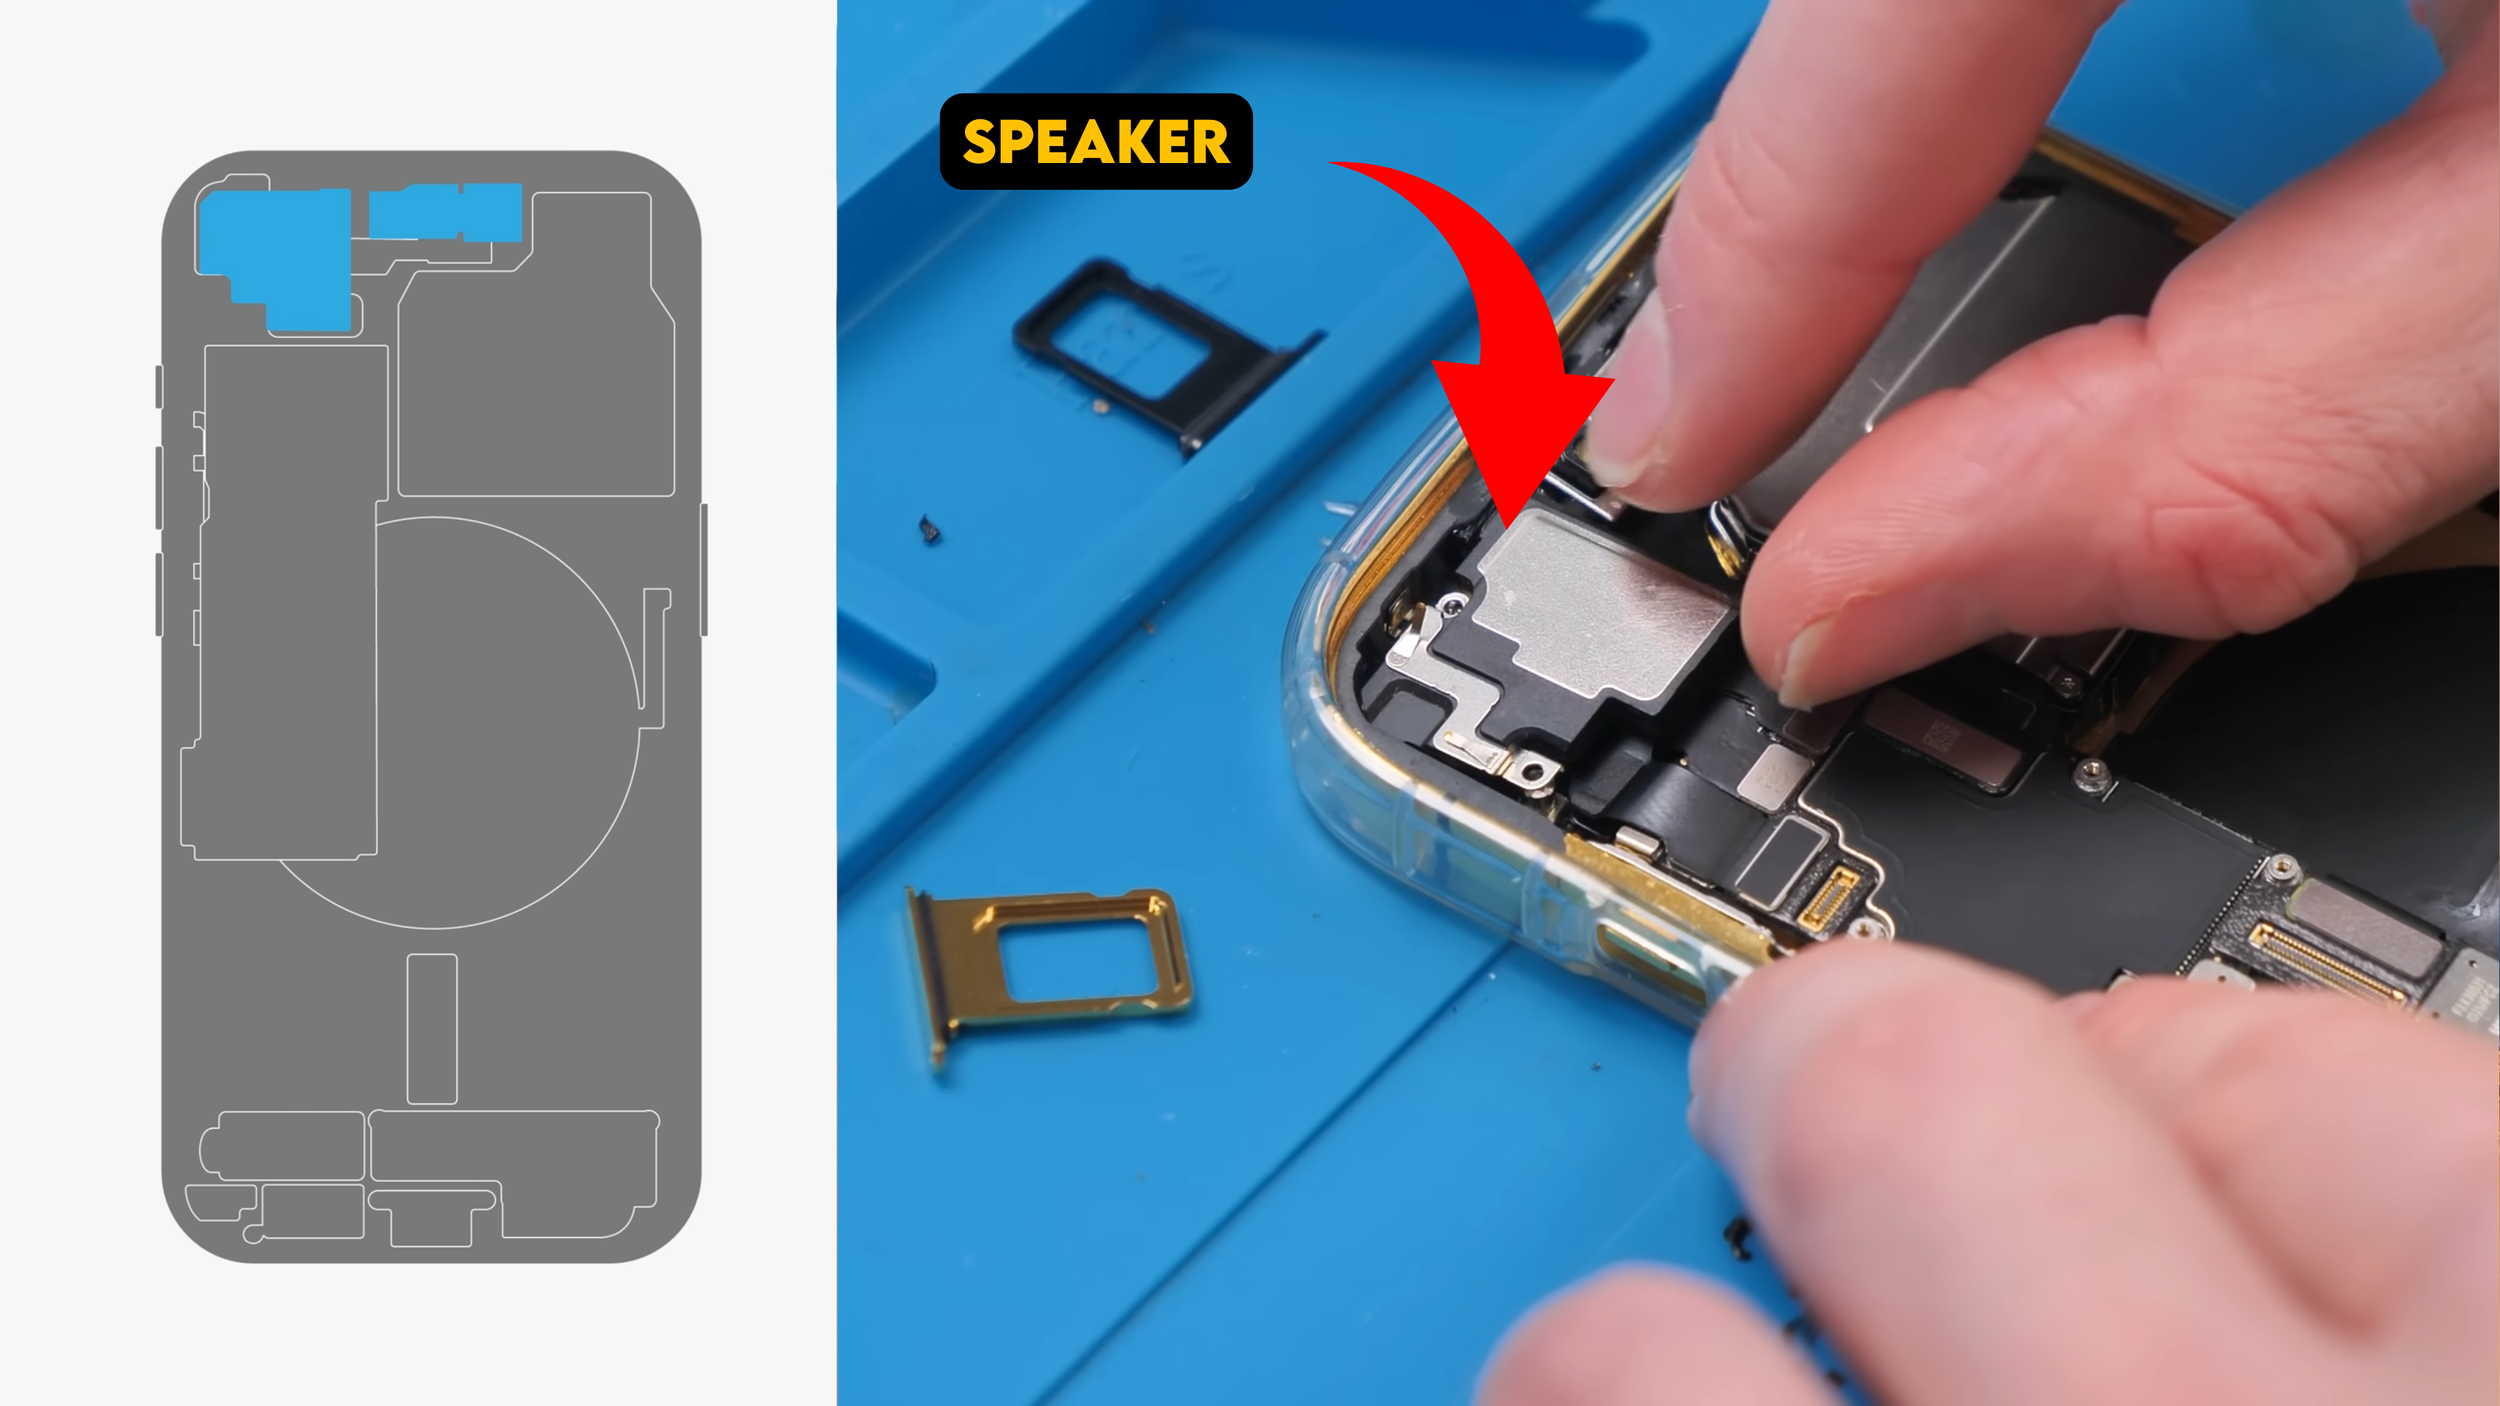
The new housing didn’t include the bottom dust mesh for the speaker or microphone. That mesh is the only thing preventing dust and debris from getting inside the phone through those holes.
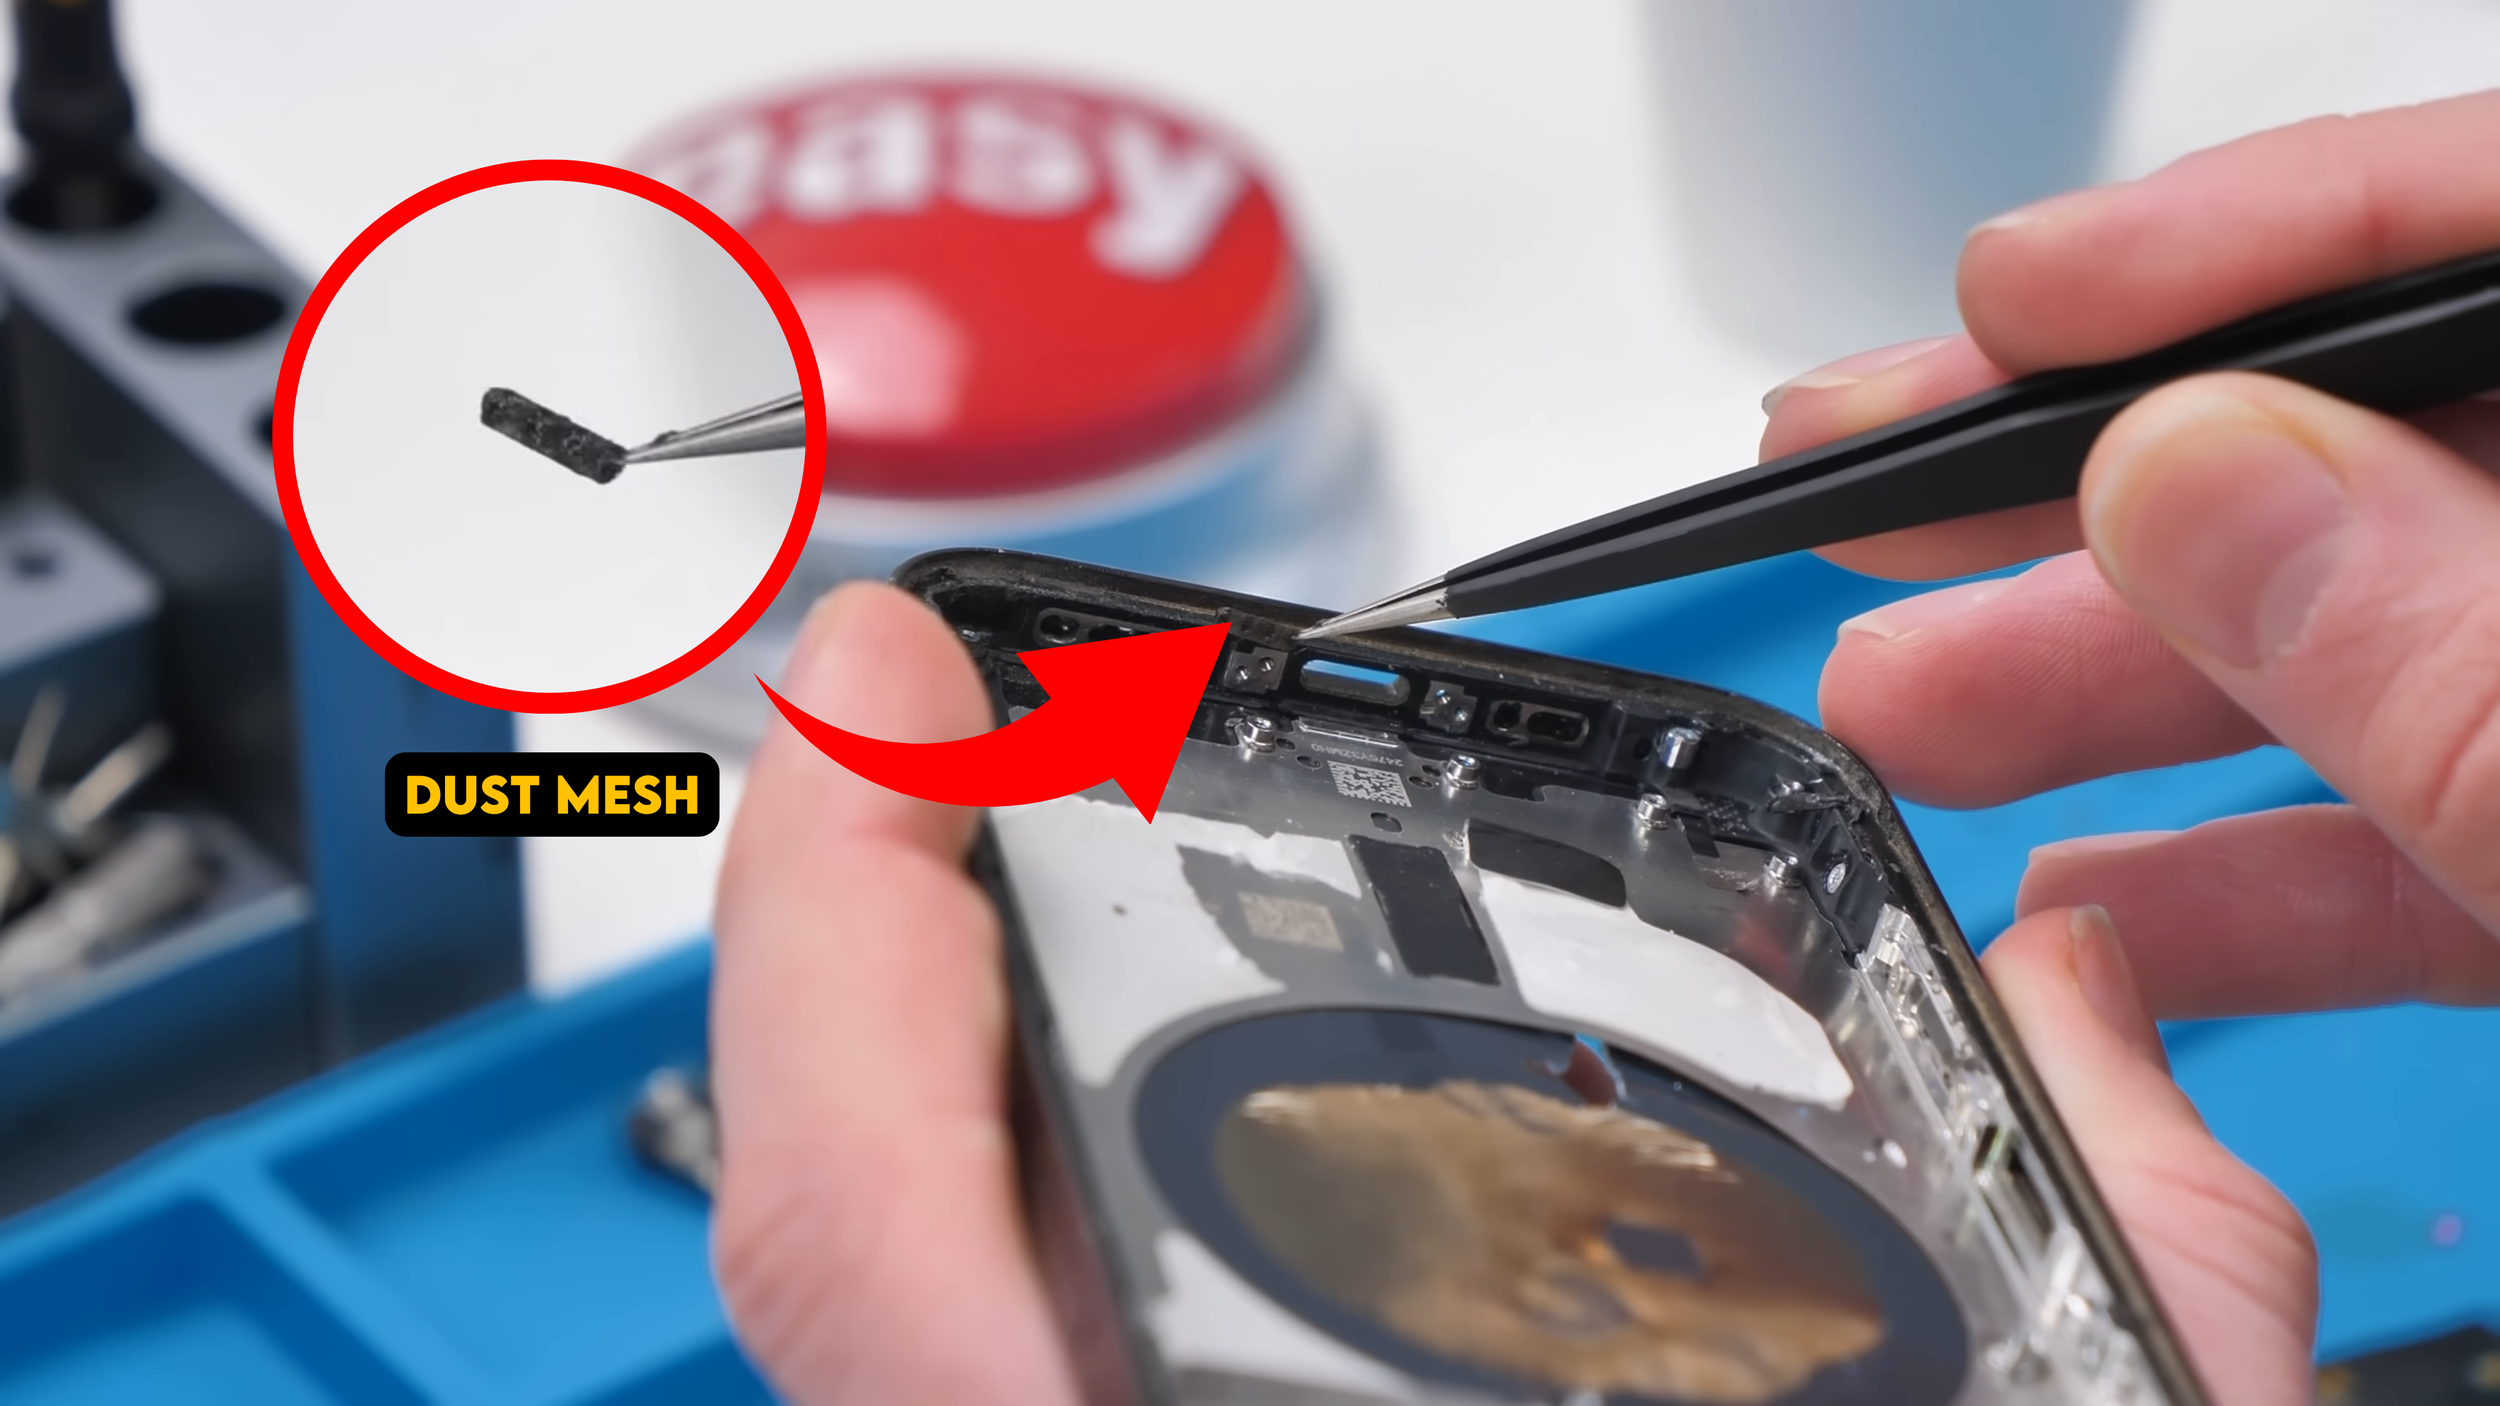
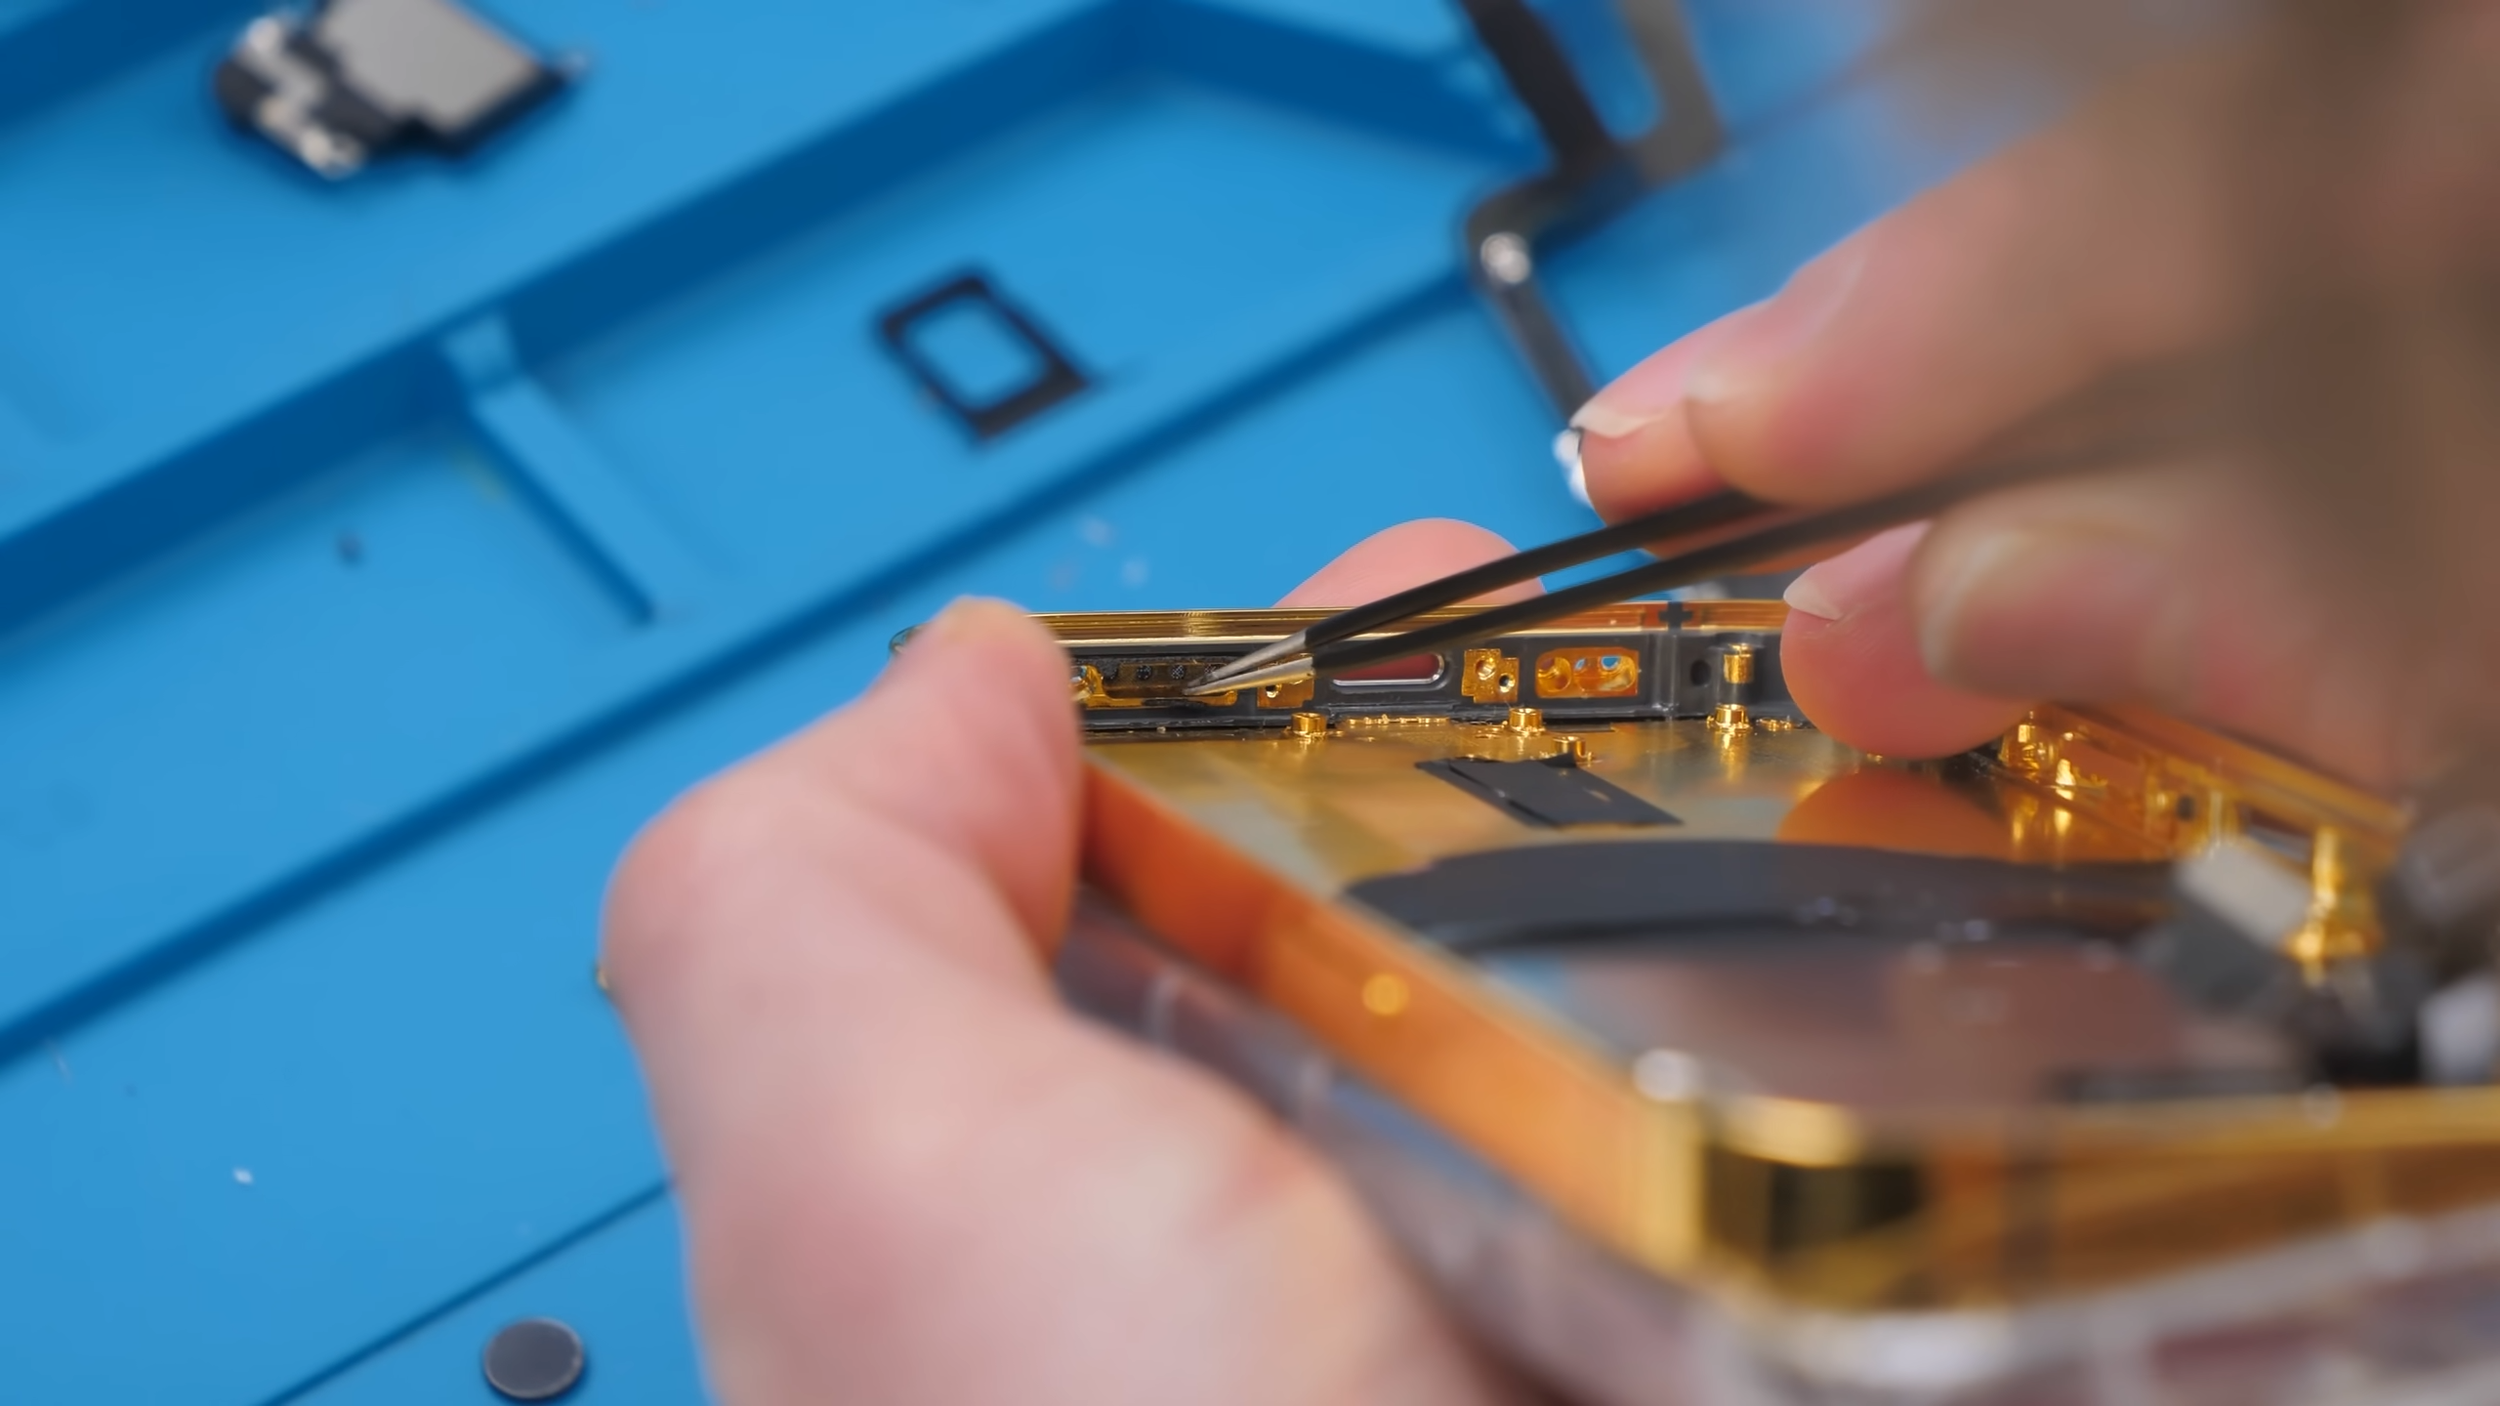
That meant I had to carefully extract the mesh from the old housing and transfer it over manually. It’s a delicate and tedious process, but skipping it wasn’t an option.
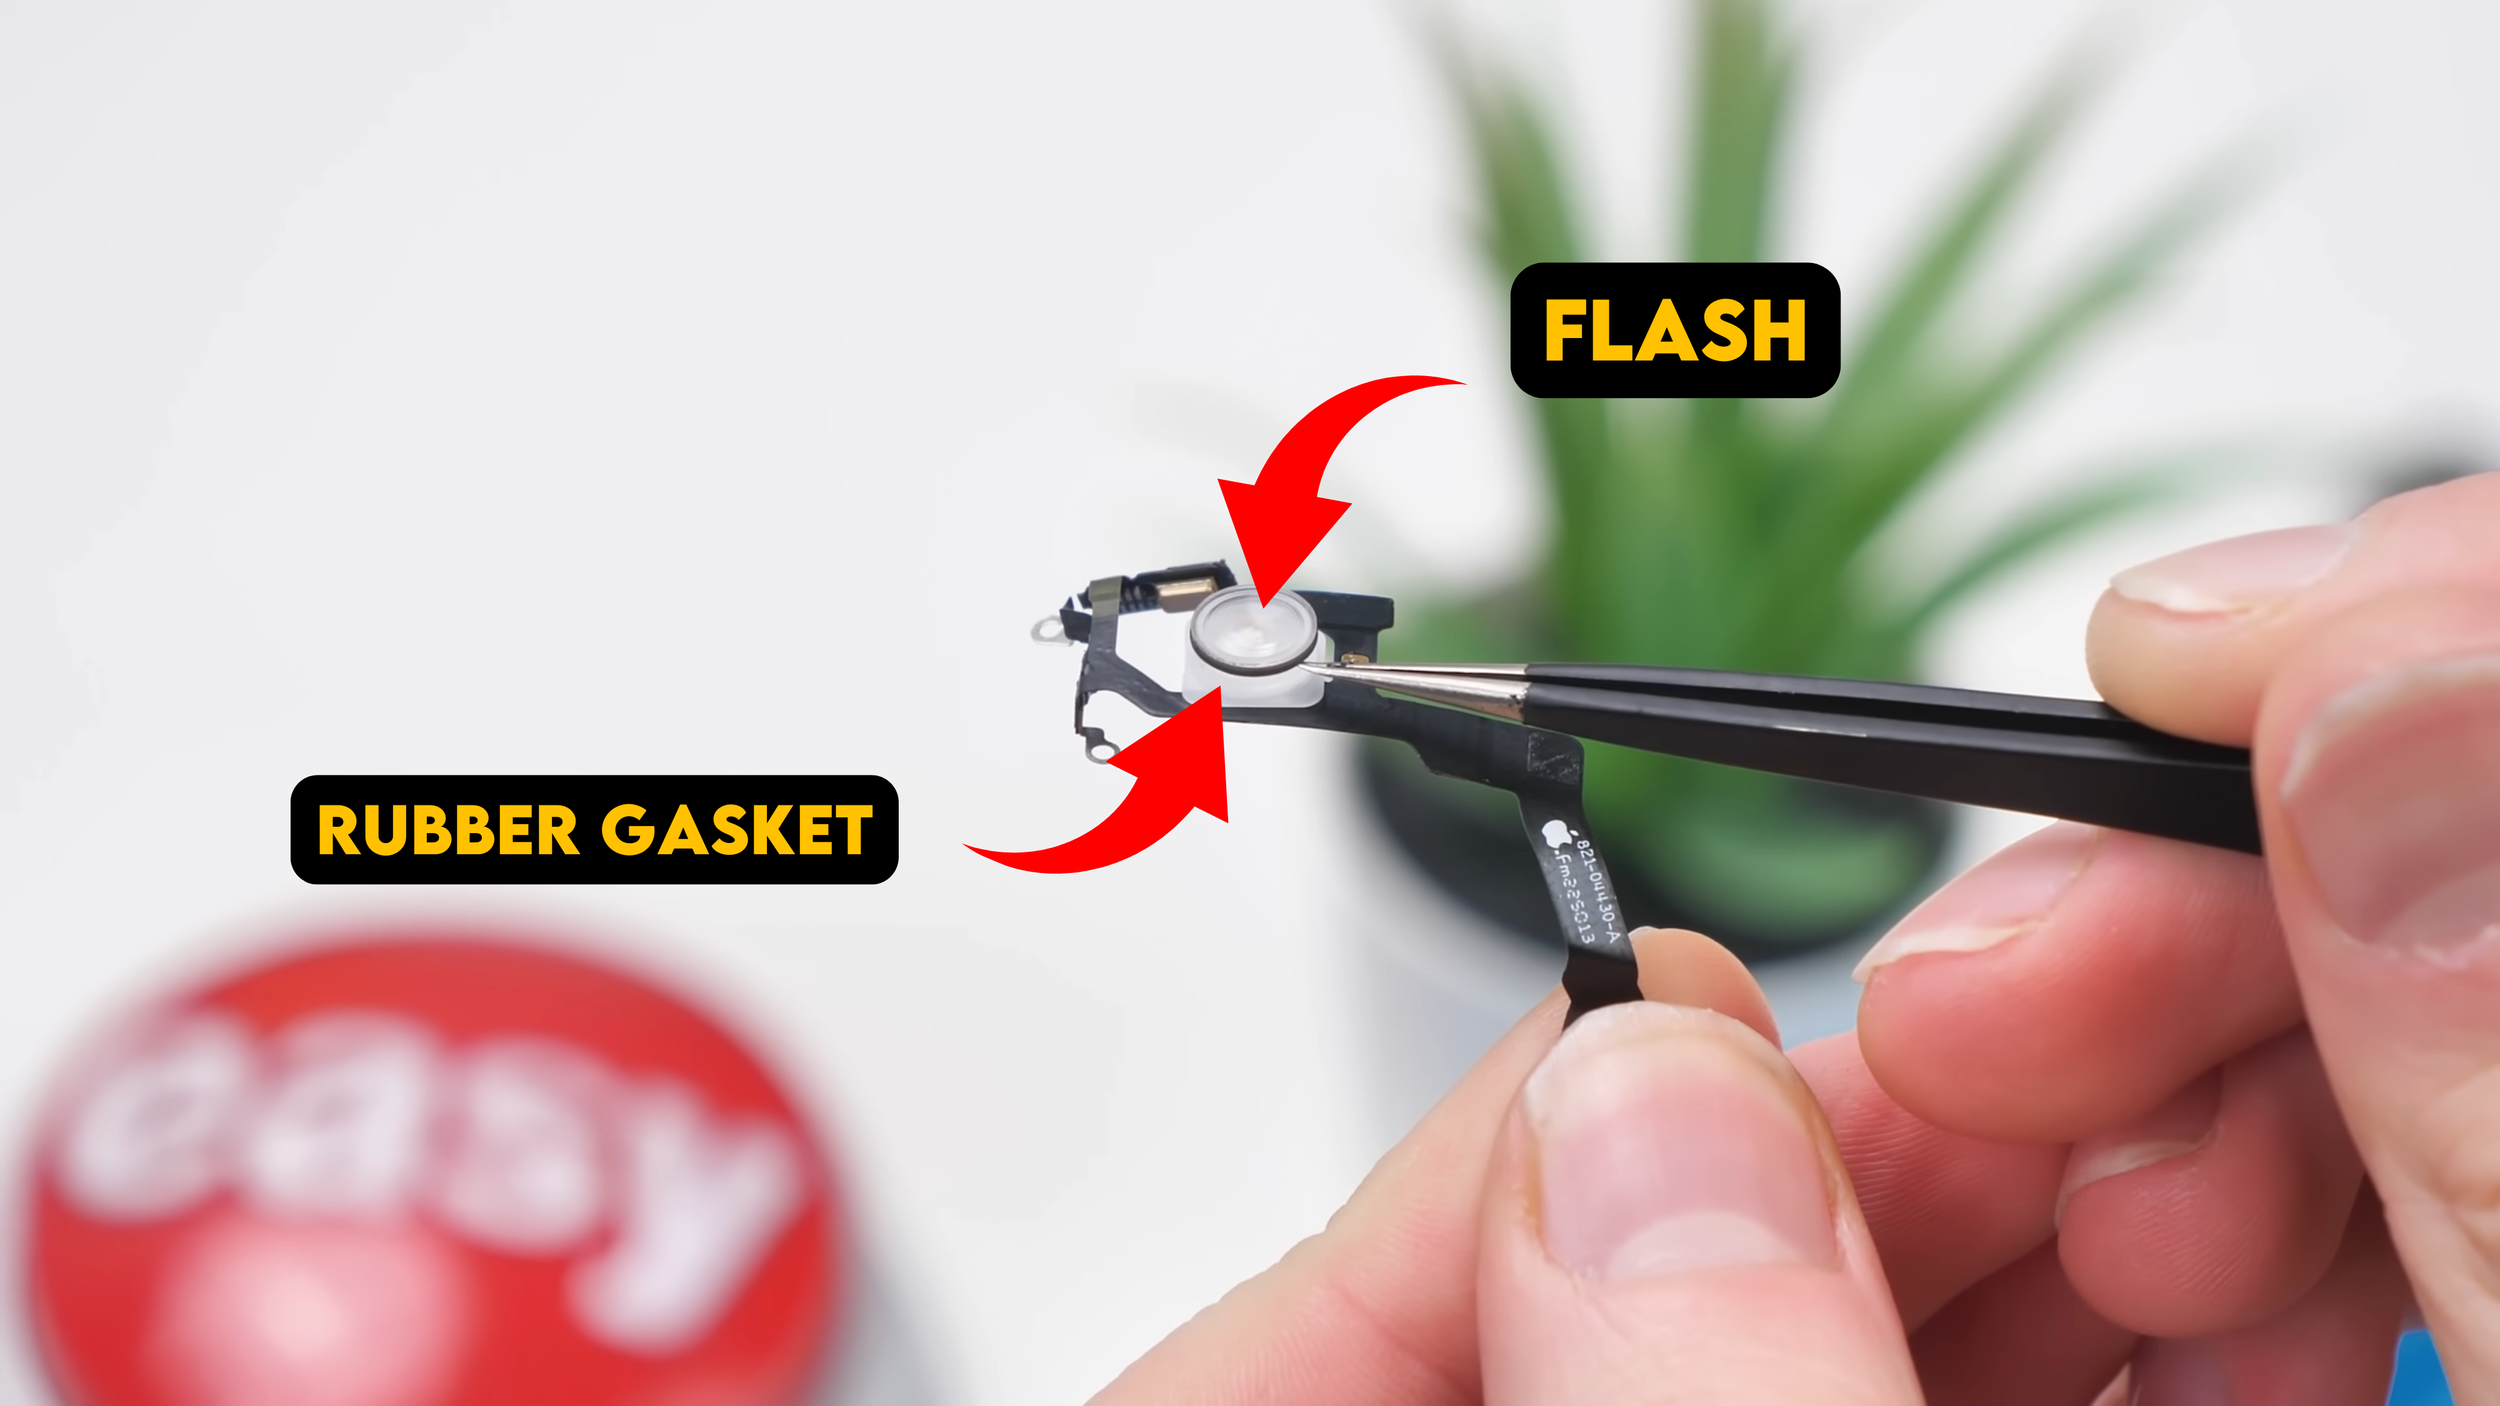
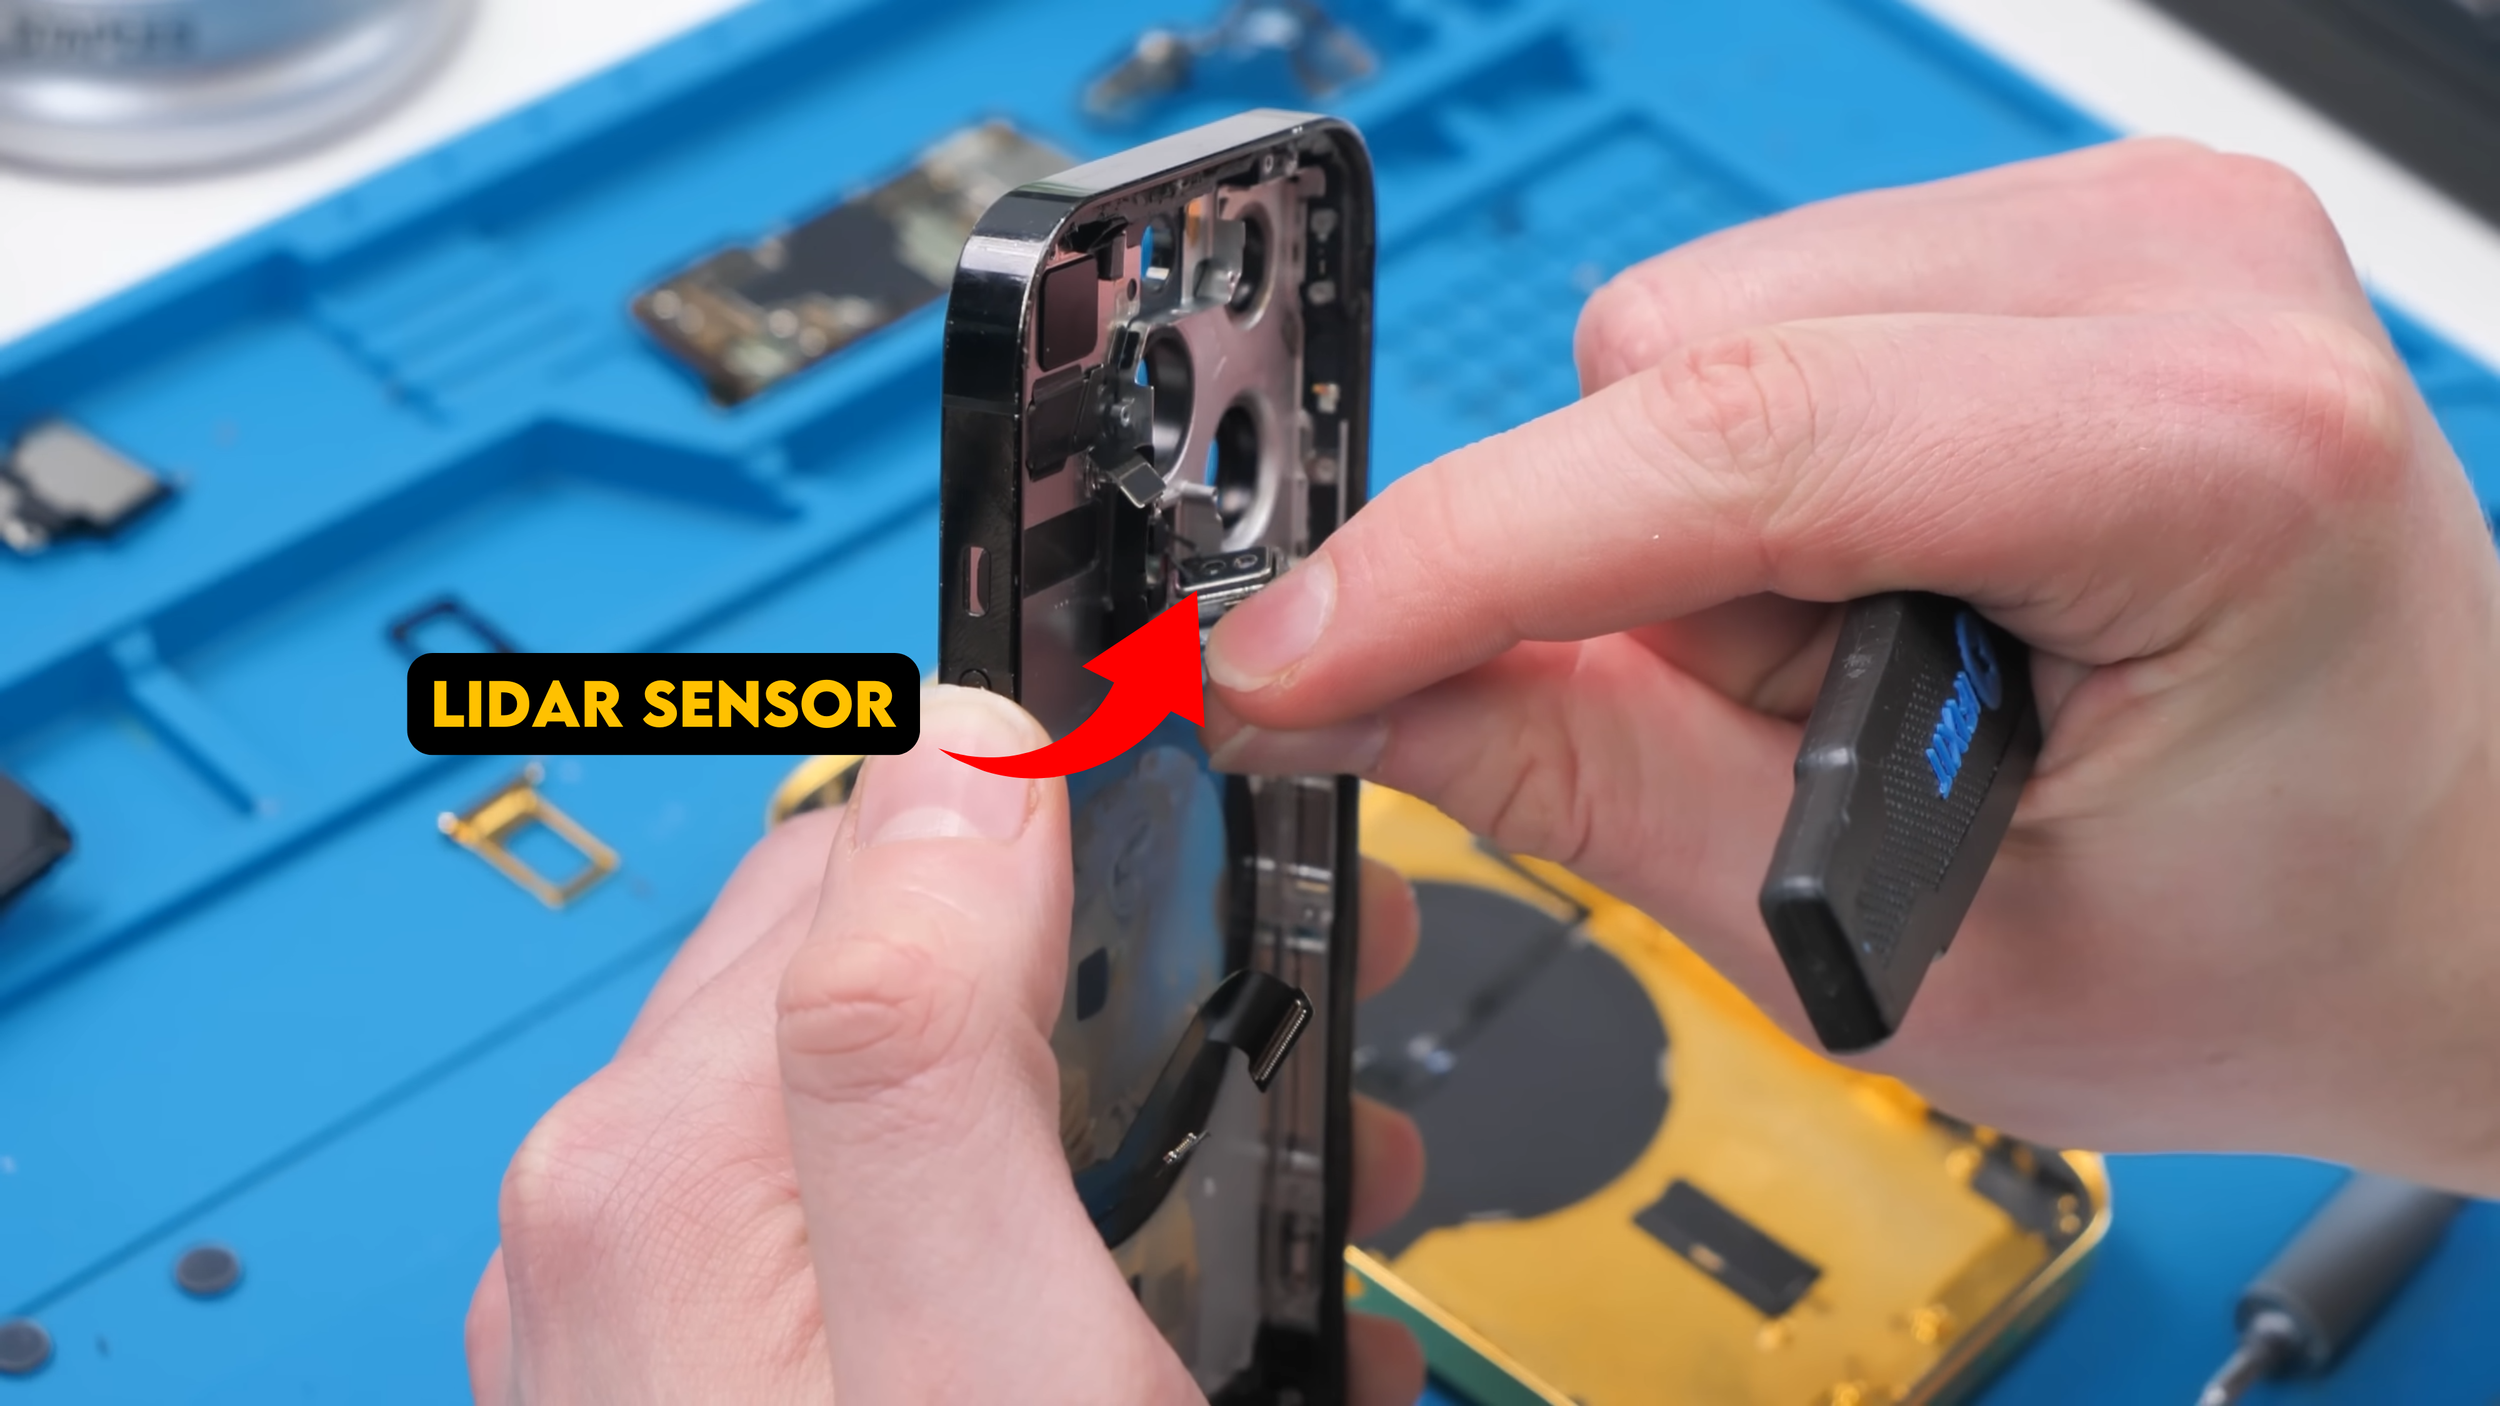

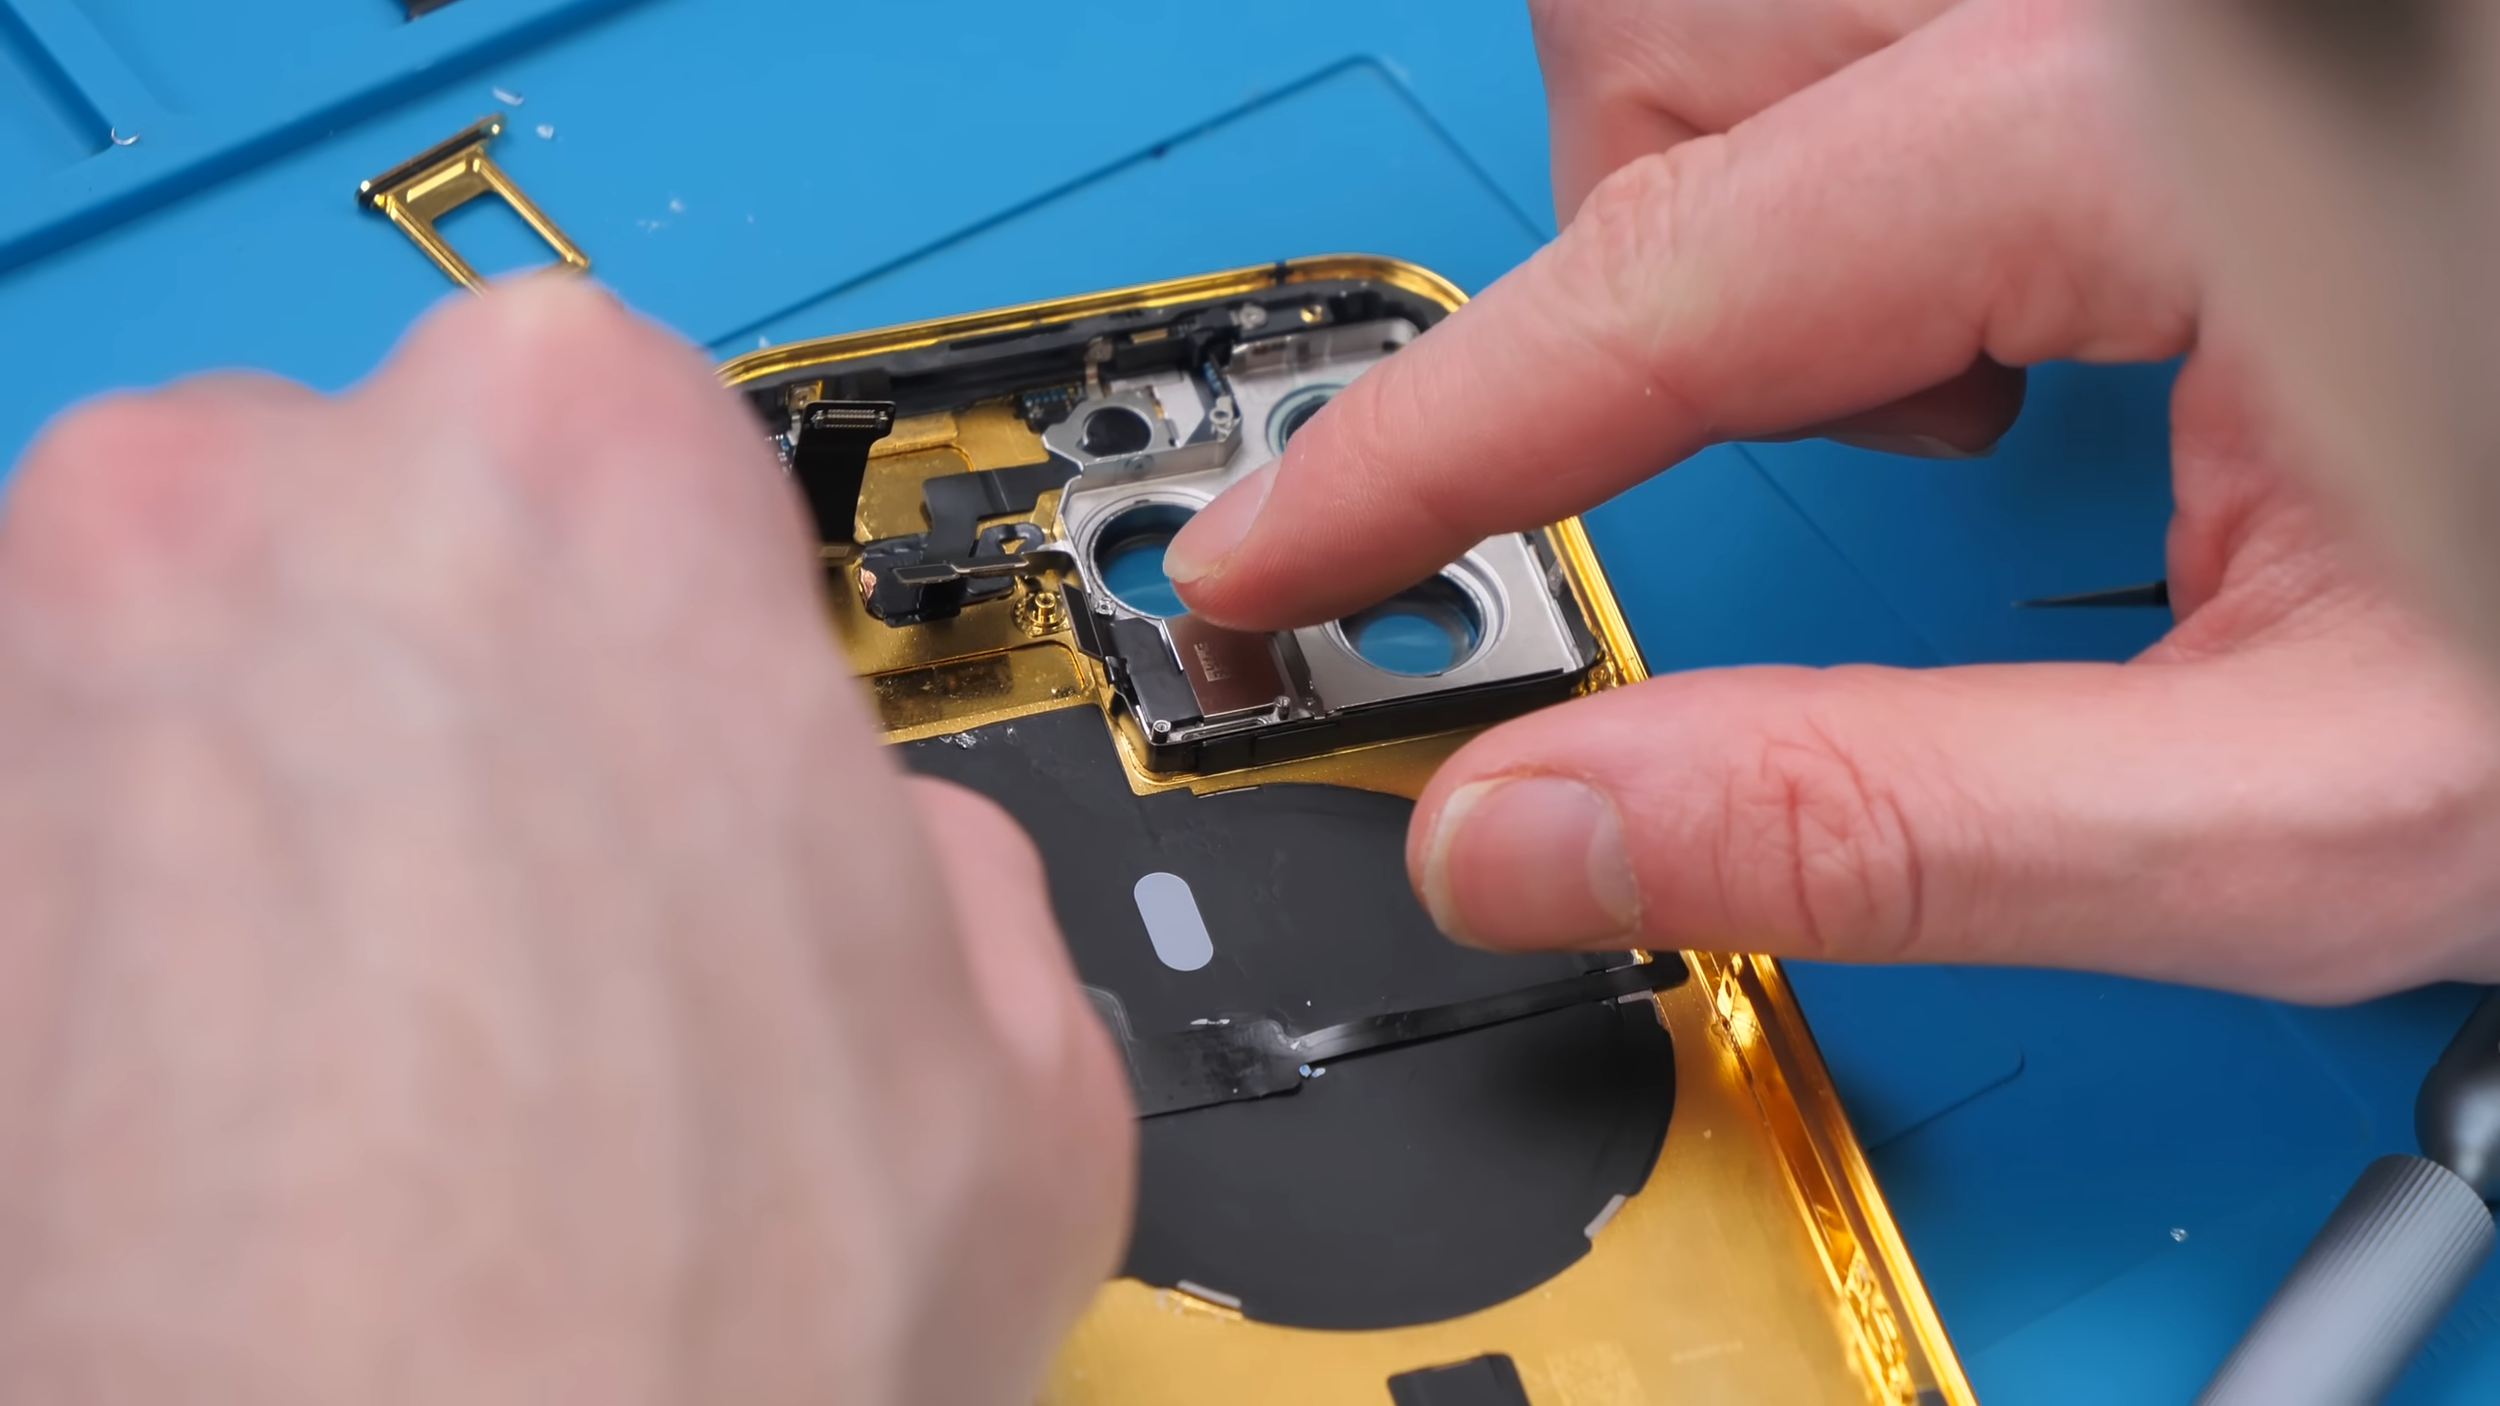
From there, the rest of the components went in one by one. Cameras, LiDAR sensor, flash module, microphones, charging port, vibration motor, and speaker all had to be transferred carefully. Doing a teardown like this really makes you appreciate how much engineering goes into the phone you carry around every day.
Reassembly and the Moment of Truth
With everything finally installed, the battery went back in and it was time to reconnect the front camera and speaker assembly. At this point, I genuinely had no idea if everything was going to work.
The last piece of the puzzle was the display, and I wasn’t about to cheap out there. I installed a brand new screen directly from Apple, because a luxury phone with a non-original display just feels wrong.

Once everything was connected, it was time. I pressed and held the power button… Nothing happened.
For a moment, I thought something had gone catastrophically wrong, but then I realized the issue. I pulled the phone back out of the case, lined my finger up properly, and tried again.
This time, the Apple logo appeared on the screen and the phone was alive.
Does Wireless Charging Work?
I was especially curious to see if wireless charging would actually function after all that effort.
Unfortunately, it was inconsistent at best. Between the thick metal housing and gold plating, wireless charging just wasn’t reliable. Which, honestly, wasn’t very surprising.
The Real Cost
The custom gold housing alone cost me $659 USD.

That’s not cheap by any means, but it’s still a fraction of what companies like Caviar charge for their luxury phones. Whether it’s worth it is a completely different question.
Would I Recommend Doing This?
Honestly, no.
It doesn’t fit regular cases because of the massive camera bump. It scratches extremely easily. Wireless charging barely works. And the price is still high for what is ultimately a novelty.
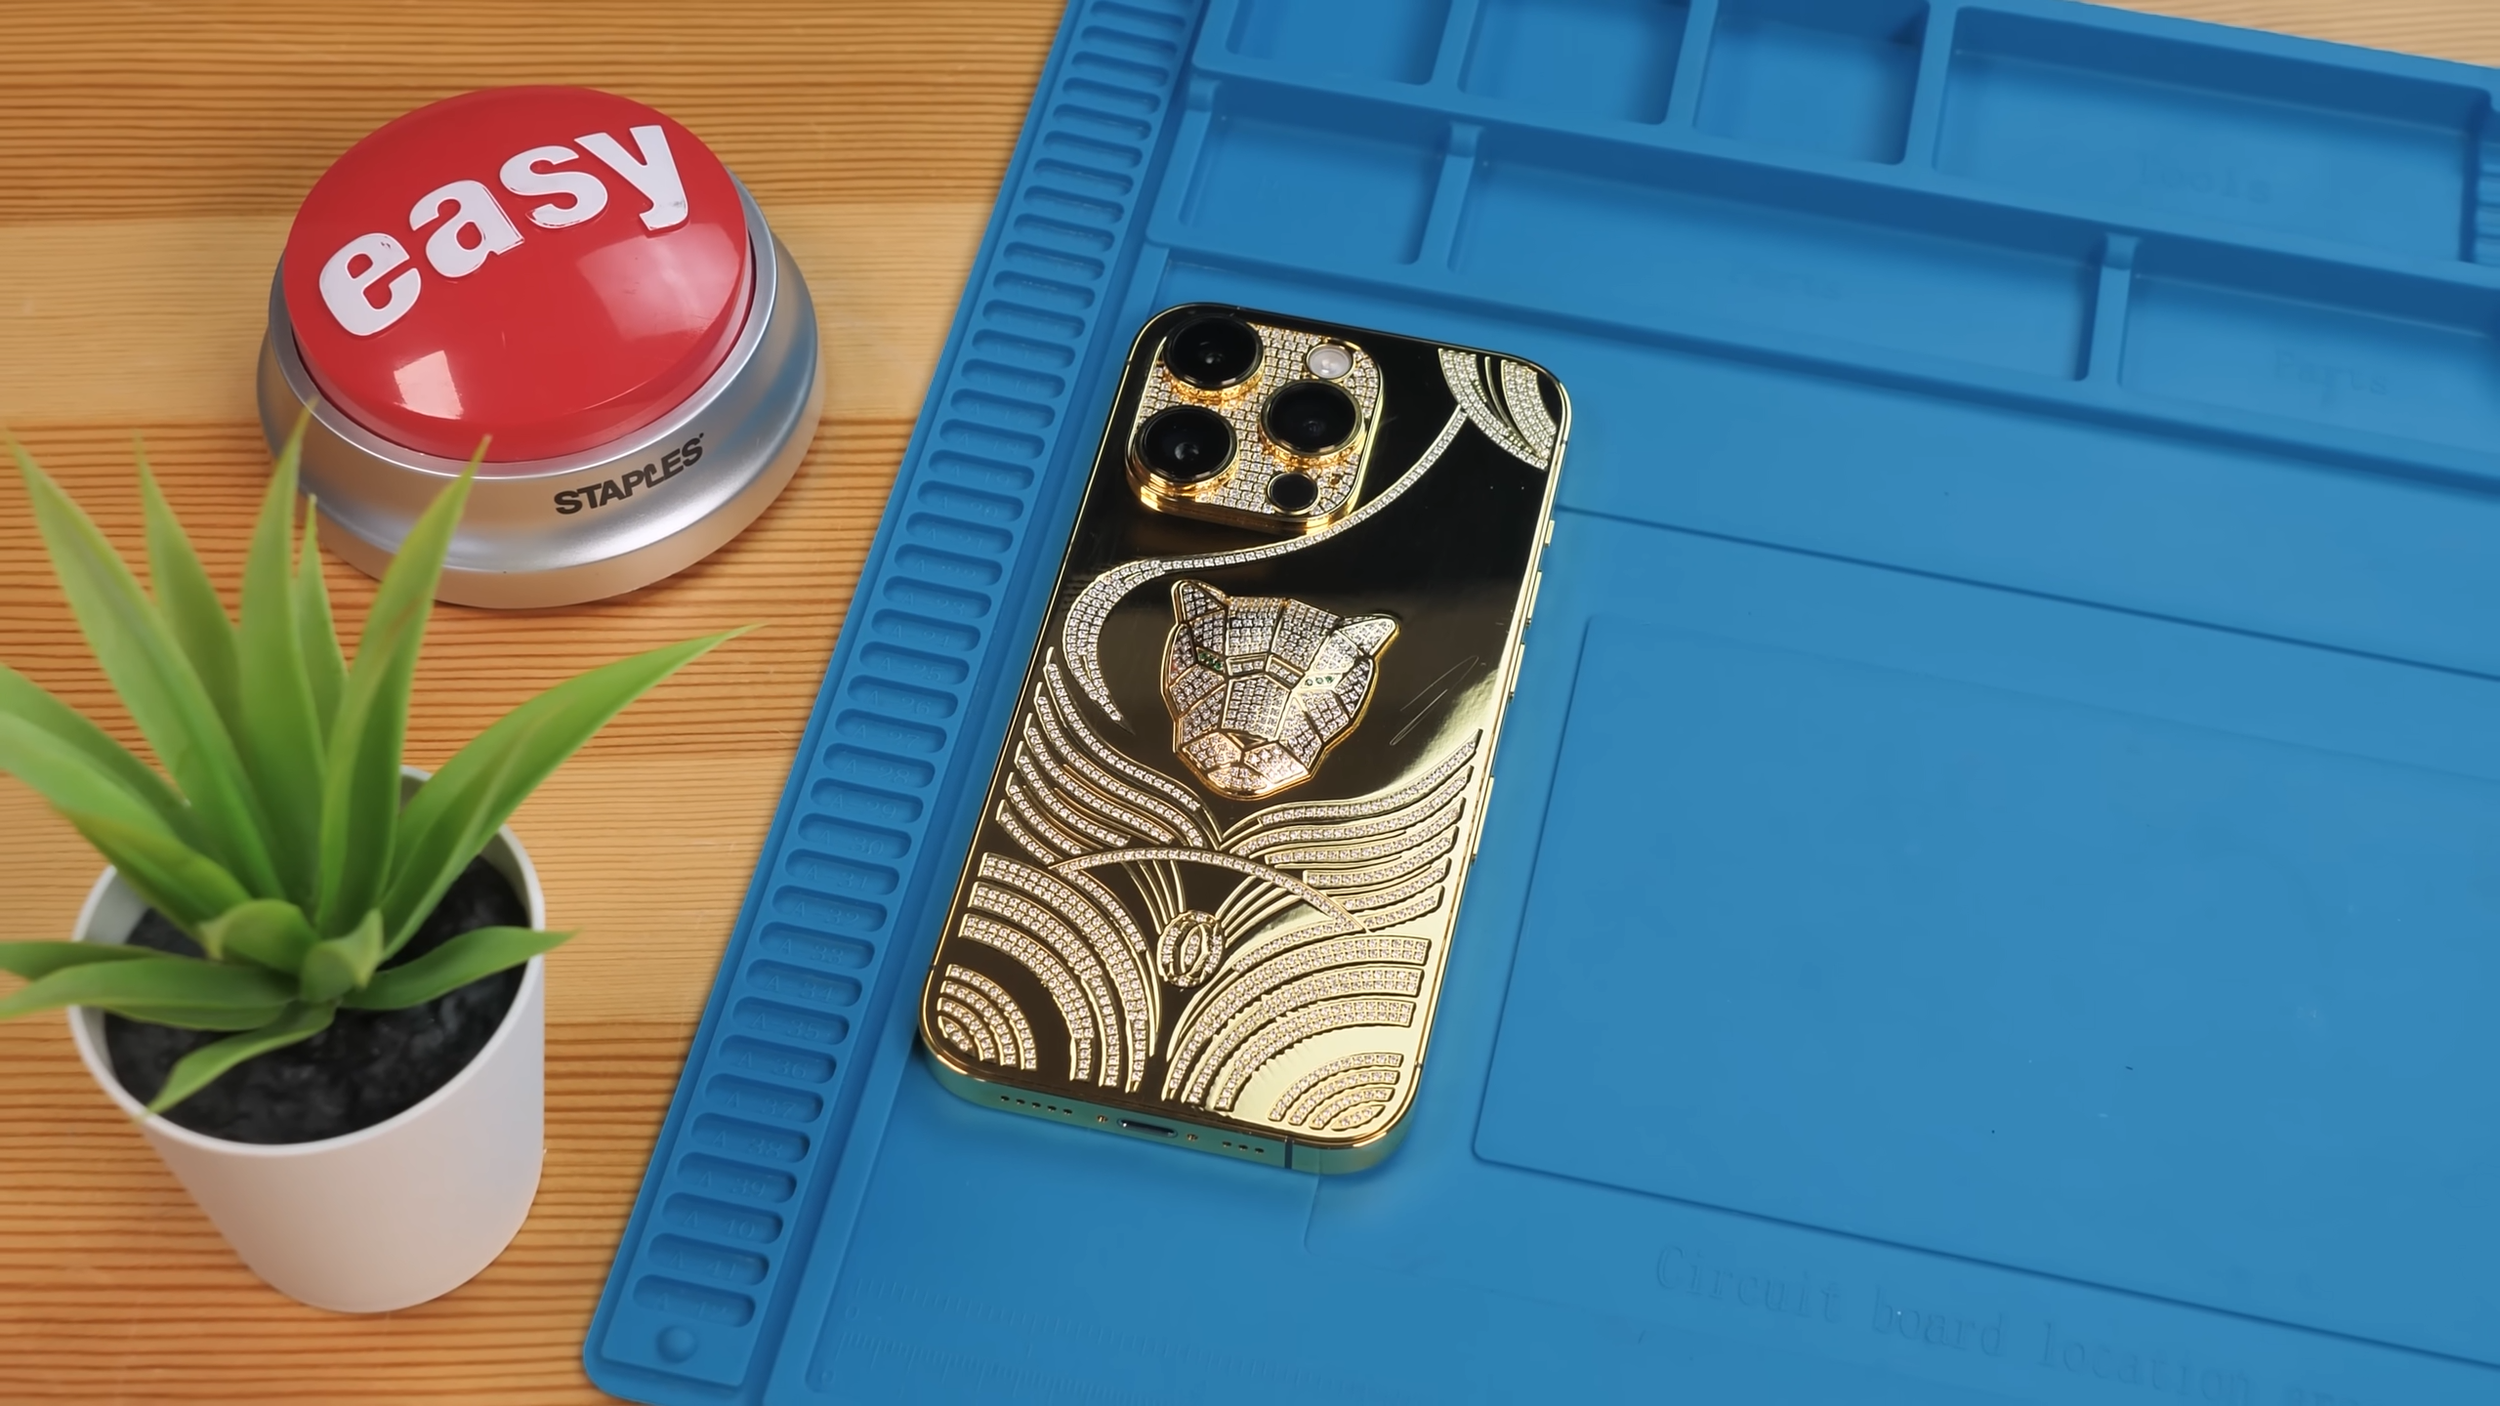
That said, as a mod, this is easily one of the coolest builds I’ve ever done. It looks insane, feels ridiculous to hold, and it’s definitely a conversation starter.
If this gets enough support, I might actually buy a real Caviar phone just to tear it down and see if it has the same problems.
Final Thoughts
Building my own luxury gold iPhone was equal parts satisfying and unnecessary. It proves that luxury phones are expensive because they can be, not because they should be.
And if you ever feel tempted to spend $10,000 on a gold iPhone, just remember this one scratches from a microfiber cloth.
See you in the next article!