
Is the Meta Quest 3 Repairable? Here's What I Found Out…
Recently, I picked up a damaged Meta Quest 3 from eBay for $199. It was listed as having a broken right display, but when it arrived, I realized there was more going on. The display wasn’t the only thing messed up. The front glass was cracked, the microphone area looked destroyed, and overall, it seemed like the headset had been vandalized... probably by a kid.


I've repaired a Meta Quest 2 before, and it drove me insane. So naturally, I was hoping the Quest 3 would be a bit more user-friendly.
First Impressions and Testing
Before jumping into the teardown, I powered it on. Although the right display was scratched up, it actually still worked. The unit turned on and started charging, which was a good sign. We decided to replace the battery as well since the Quest 2 battery swap was such a pain. Hopefully, the Quest 3 would be different.


We started by removing the rubber seal using a Jimmy tool. Underneath, I spotted the proximity sensor and a bunch of screws. Like the Quest 2, these screws are small and require a long, skinny screwdriver. If you’re planning to do this repair yourself, make sure you're equipped since a short screwdriver just won’t cut it.
Disassembly Process
Opening the Quest 3 revealed a few key differences from the Quest 2. The sensors are now attached to the front panel, which is a downside for anyone trying to do a transparent mod. Still, the fan and antenna layout looked pretty familiar.


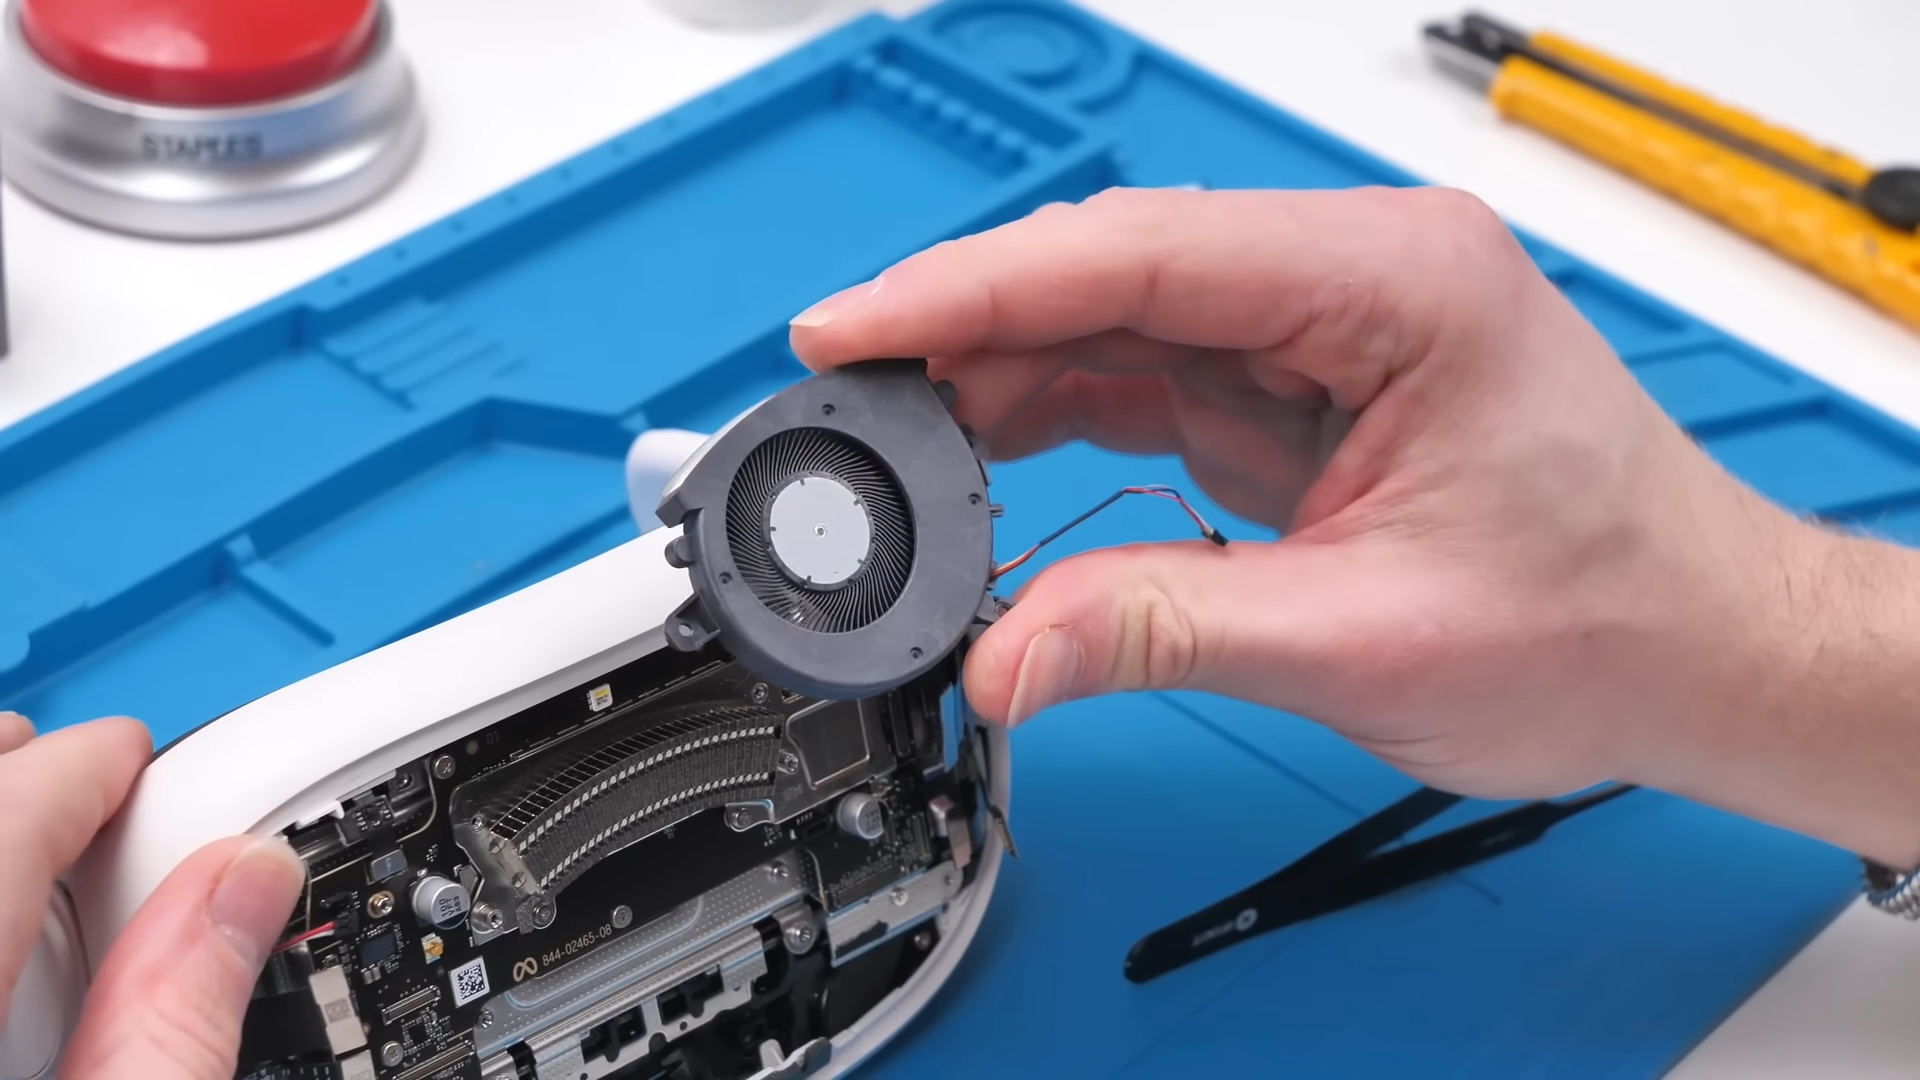

After removing more screws, disconnecting the antennas, and carefully lifting cables, we finally got access to the mainboard and fan. Surprisingly, the internals were very clean considering how rough the outside looked.
Battery and Display Removal
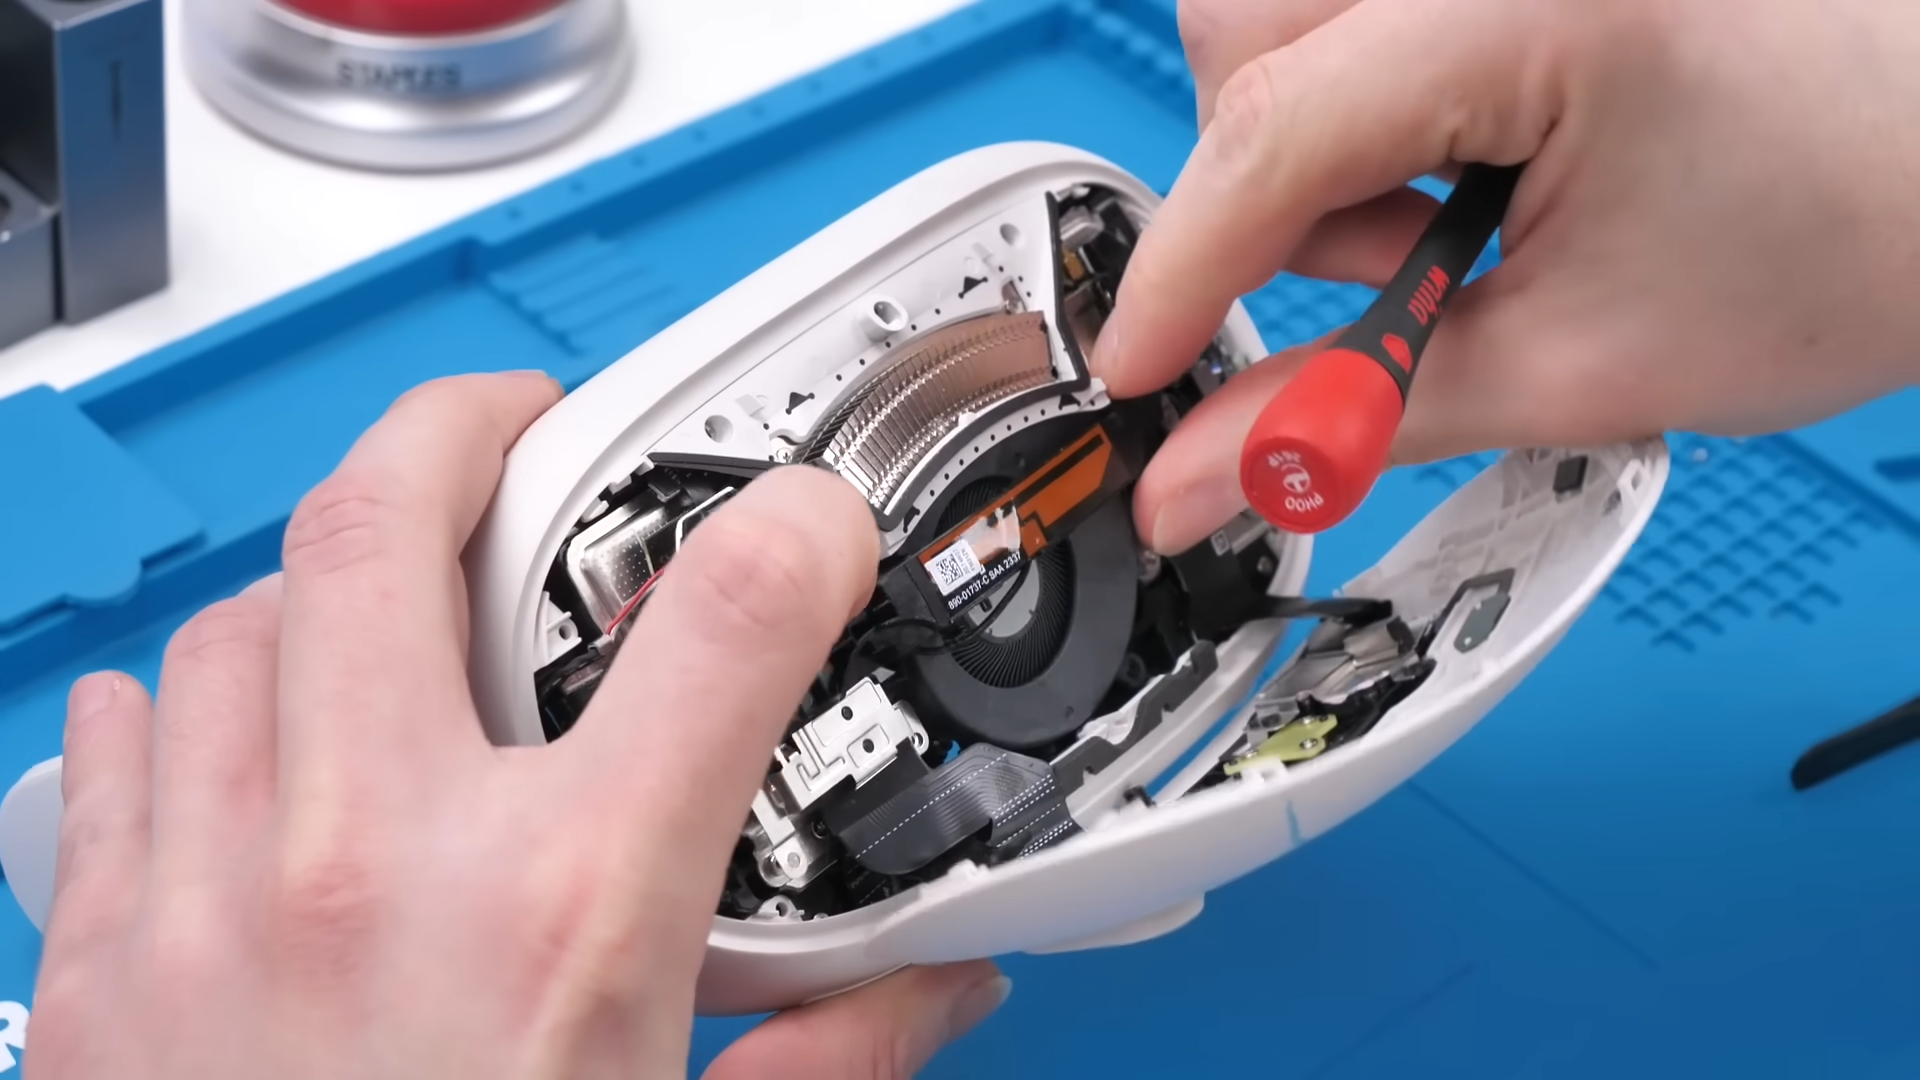
The battery was still buried under layers of components. Meta slightly relocated it, but you still have to remove almost everything to reach it. For a device that will eventually need servicing, that's a bad design choice.

Eventually, we removed the motherboard and were able to access the right display. Thankfully, we didn’t have to take the whole device apart, just enough to unscrew the final few screws holding the display in place.


Finding a replacement display wasn’t easy, but thankfully, the team at Fix My Oculus came through. They’re one of the only reliable sources for Meta Quest 3 parts right now, and I highly recommend checking them out for parts and guides.
Reassembly and Testing
We transferred all necessary components over to the new display and reused the copper tape. Not for budget reasons but hey, why not be environmentally conscious?
The new battery also needed to be transferred into the existing bracket, secured with some electrical tape, and screwed in. Then came the faceplate swap, including the cameras, microphone, and time-of-flight sensor.


After all that, we reassembled everything. And… it works! The Meta Quest 3 powered on, the display was functional, and it looked surprisingly clean considering what it had been through.
Final Thoughts
Repairing the Meta Quest 3 is definitely possible, but not exactly beginner-friendly. The lack of schematics or official repair documentation from Meta means you're on your own. Compared to the Quest 2, there are some improvements, but battery accessibility is still a major issue.


After a whole lot of screws, mystery parts, and a few moments of questioning my life choices, the Meta Quest 3 is finally repaired and looking better than ever.
Thanks for reading and I will see you in the metaverse, hopefully with fewer screw-related meltdowns.