
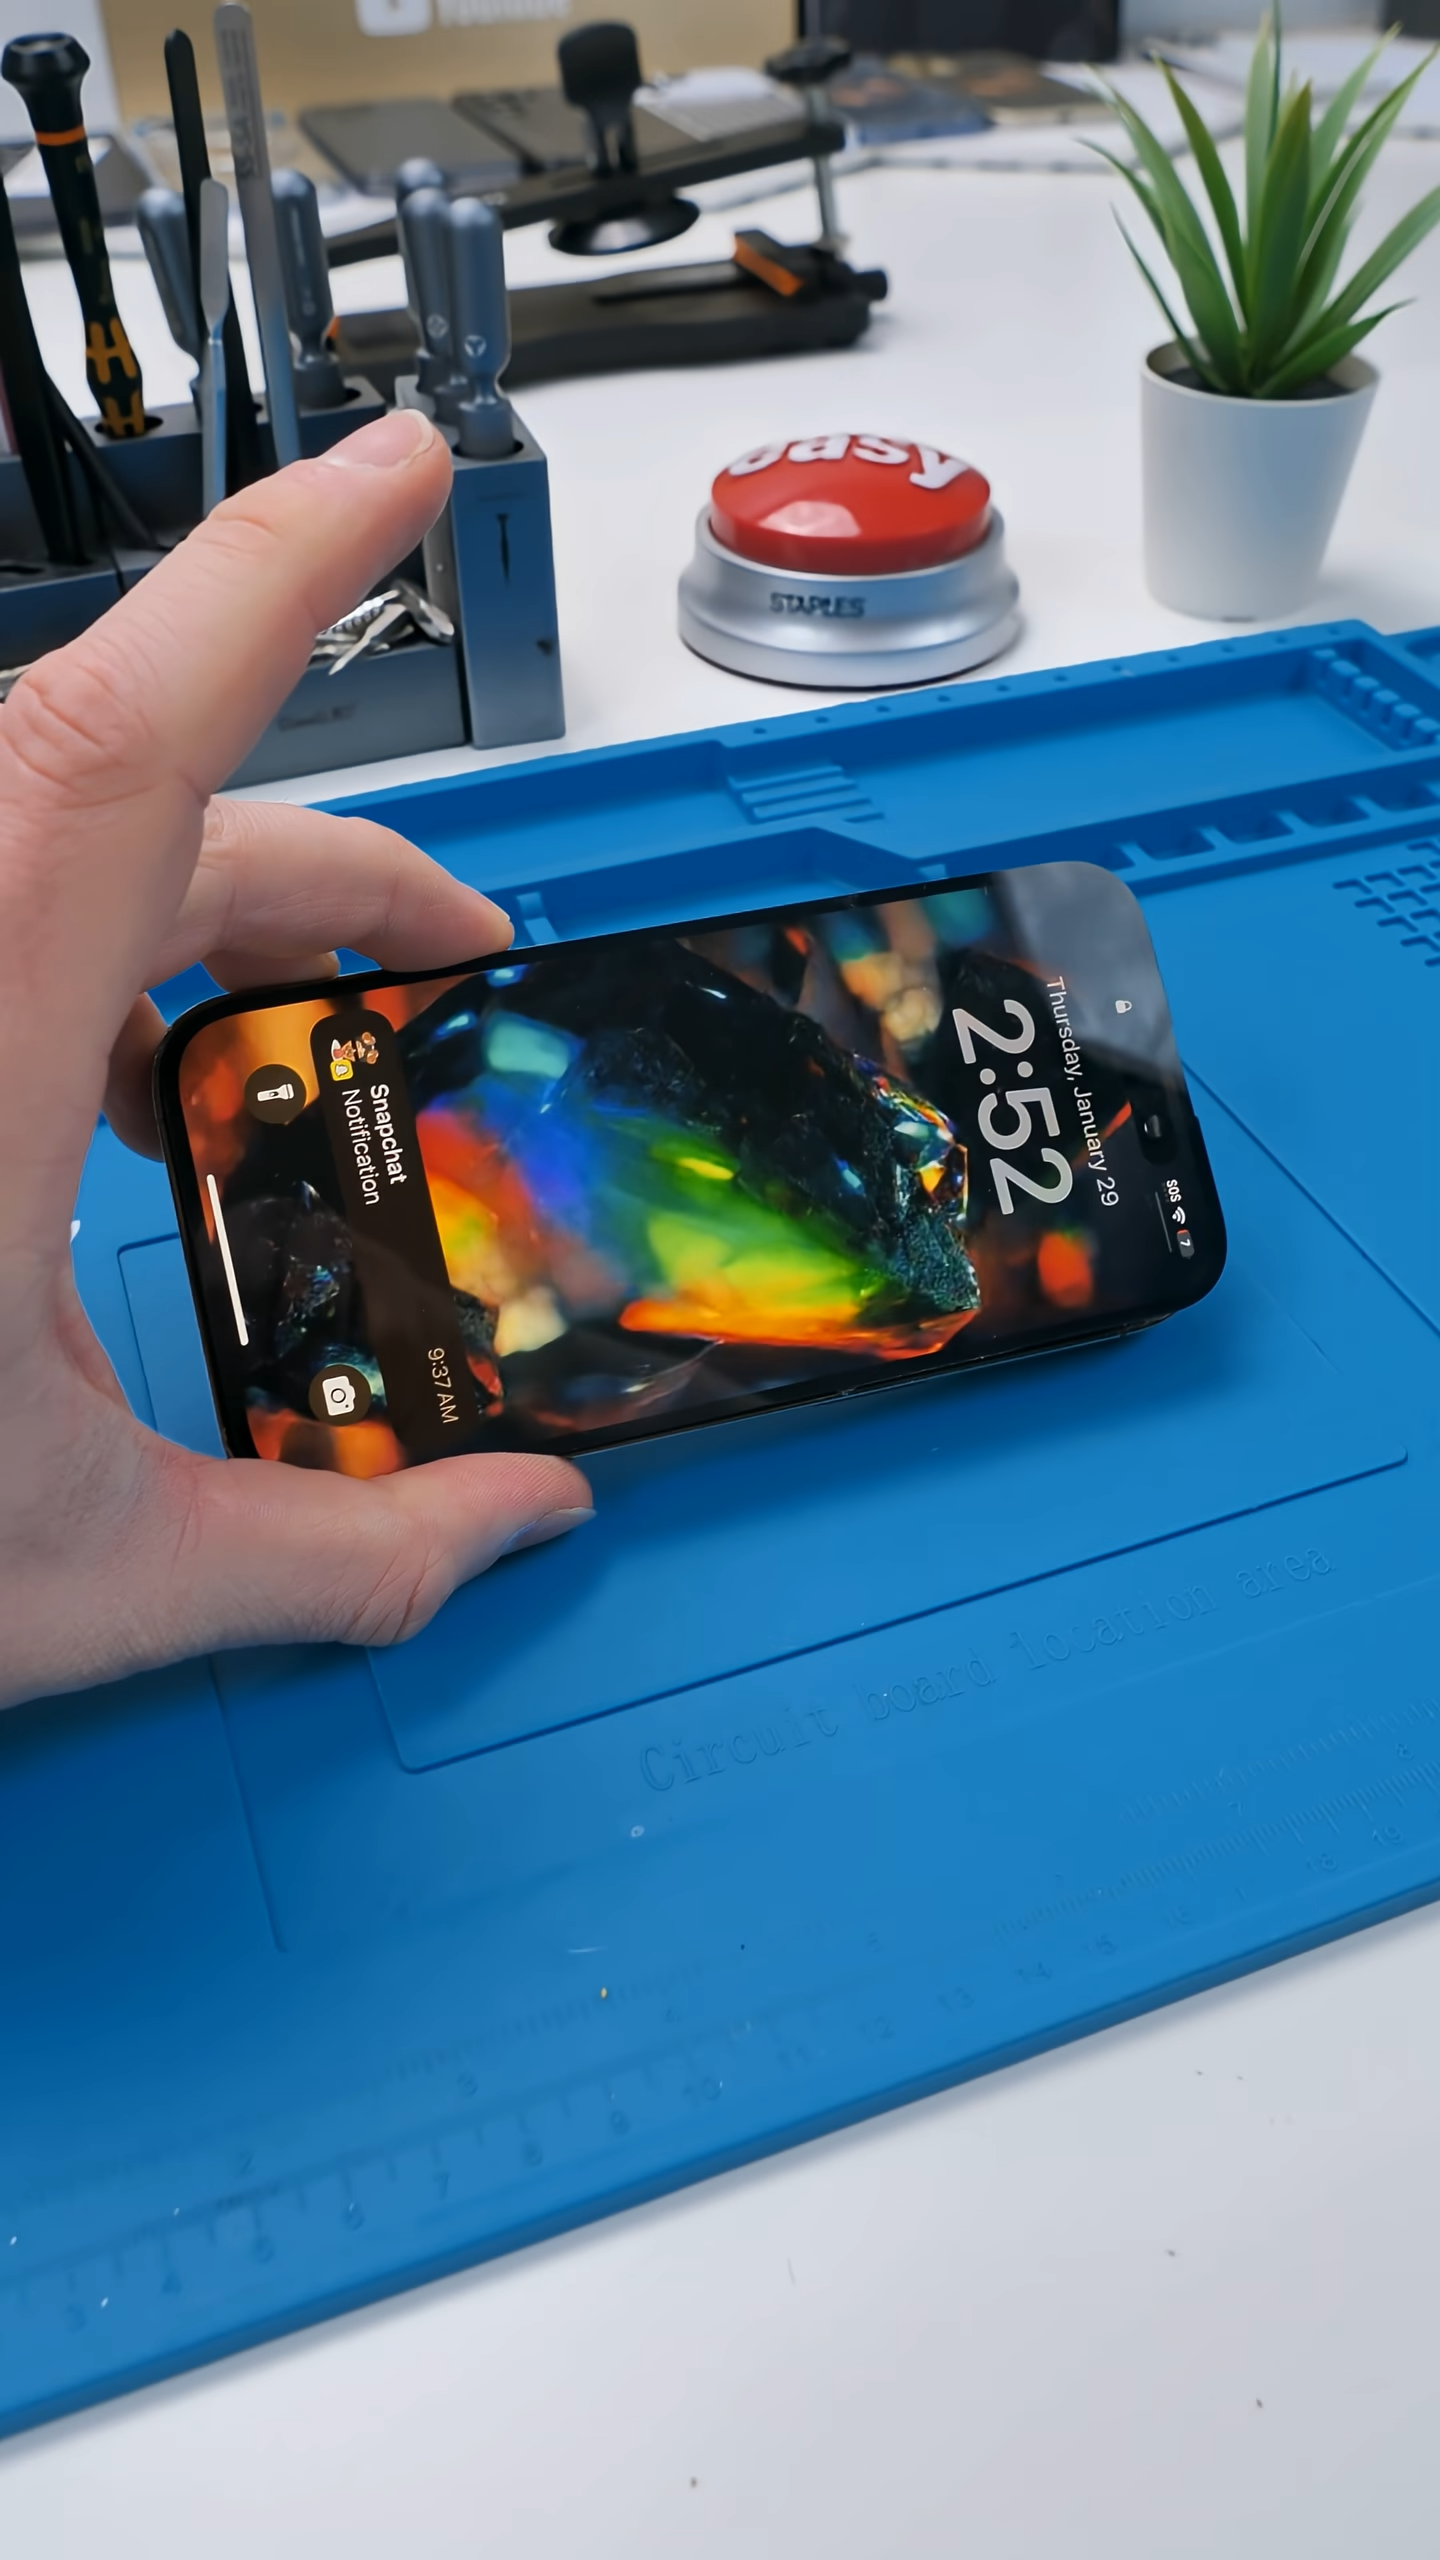
Can You Fix A Torn iPhone Cable…?
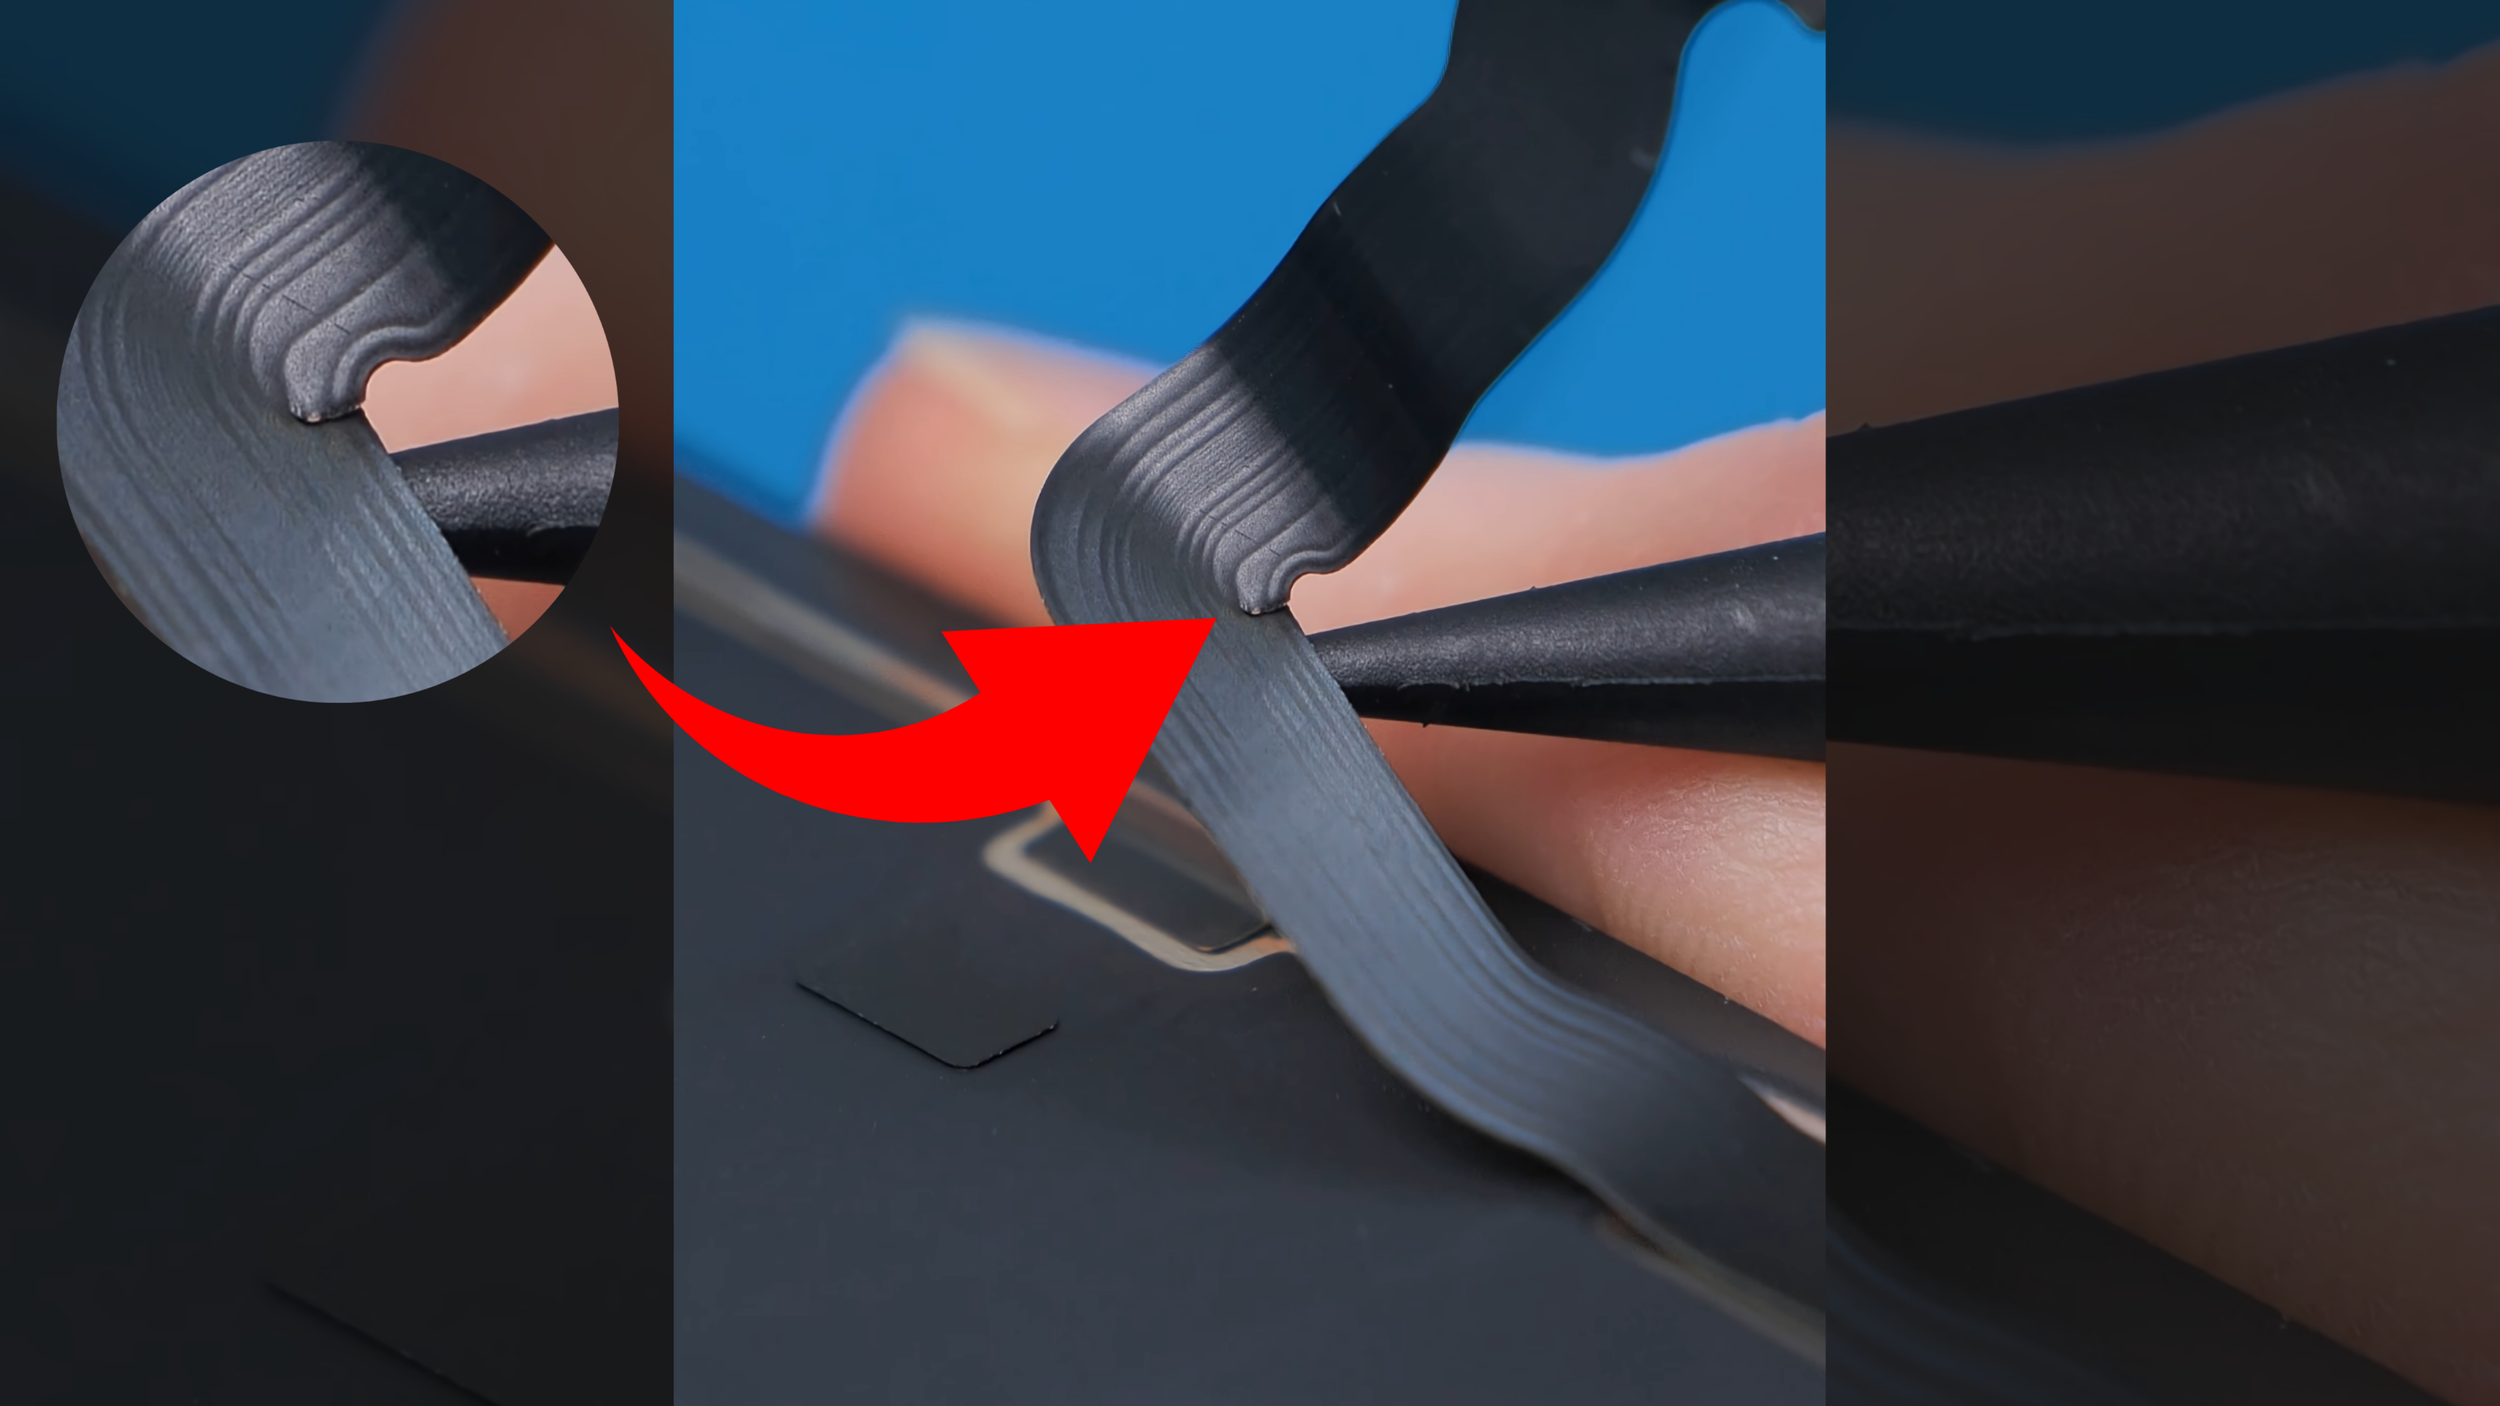
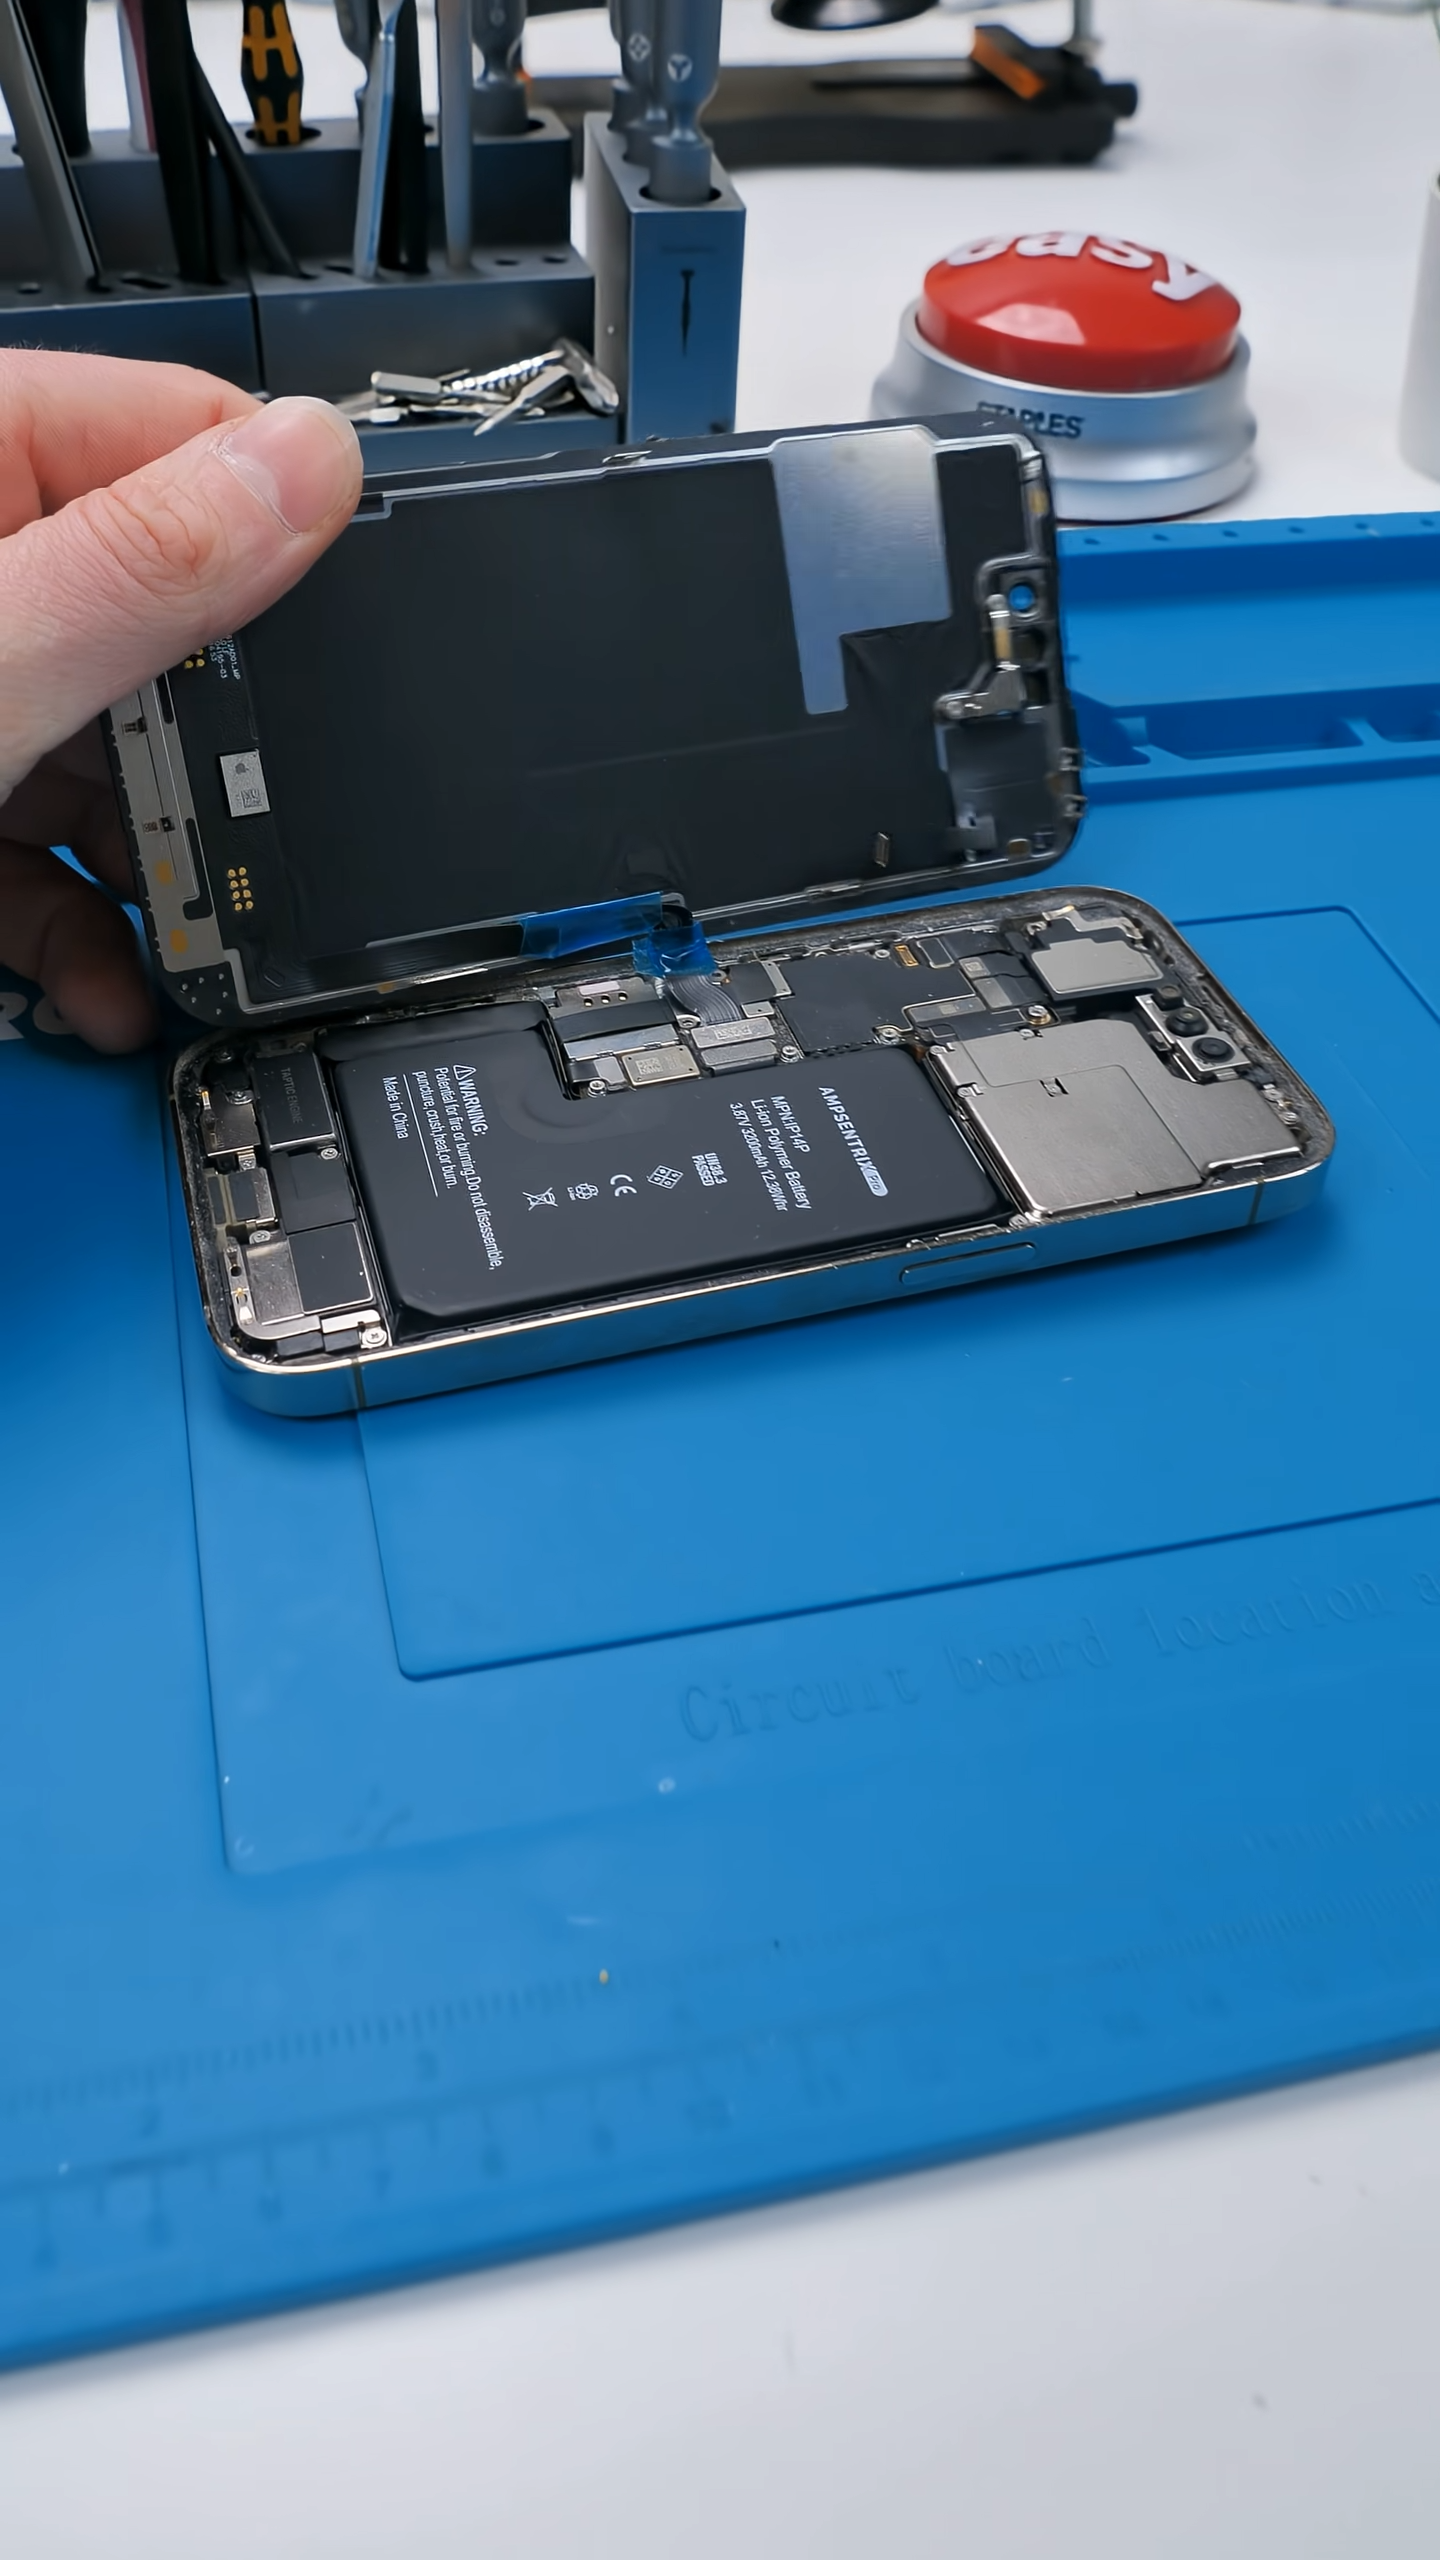
This screen is worth around $400, and it’s absolutely ruined thanks to one tiny tear in the flex cable. Everything else on the display is fine. The panel is good, the glass is intact, but that single tear in the cable is enough to make the entire screen useless.
Normally, this is where the repair stops. Torn flex cables usually mean replacement, not repair.
But there is another option.
This Is Not a Normal Repair
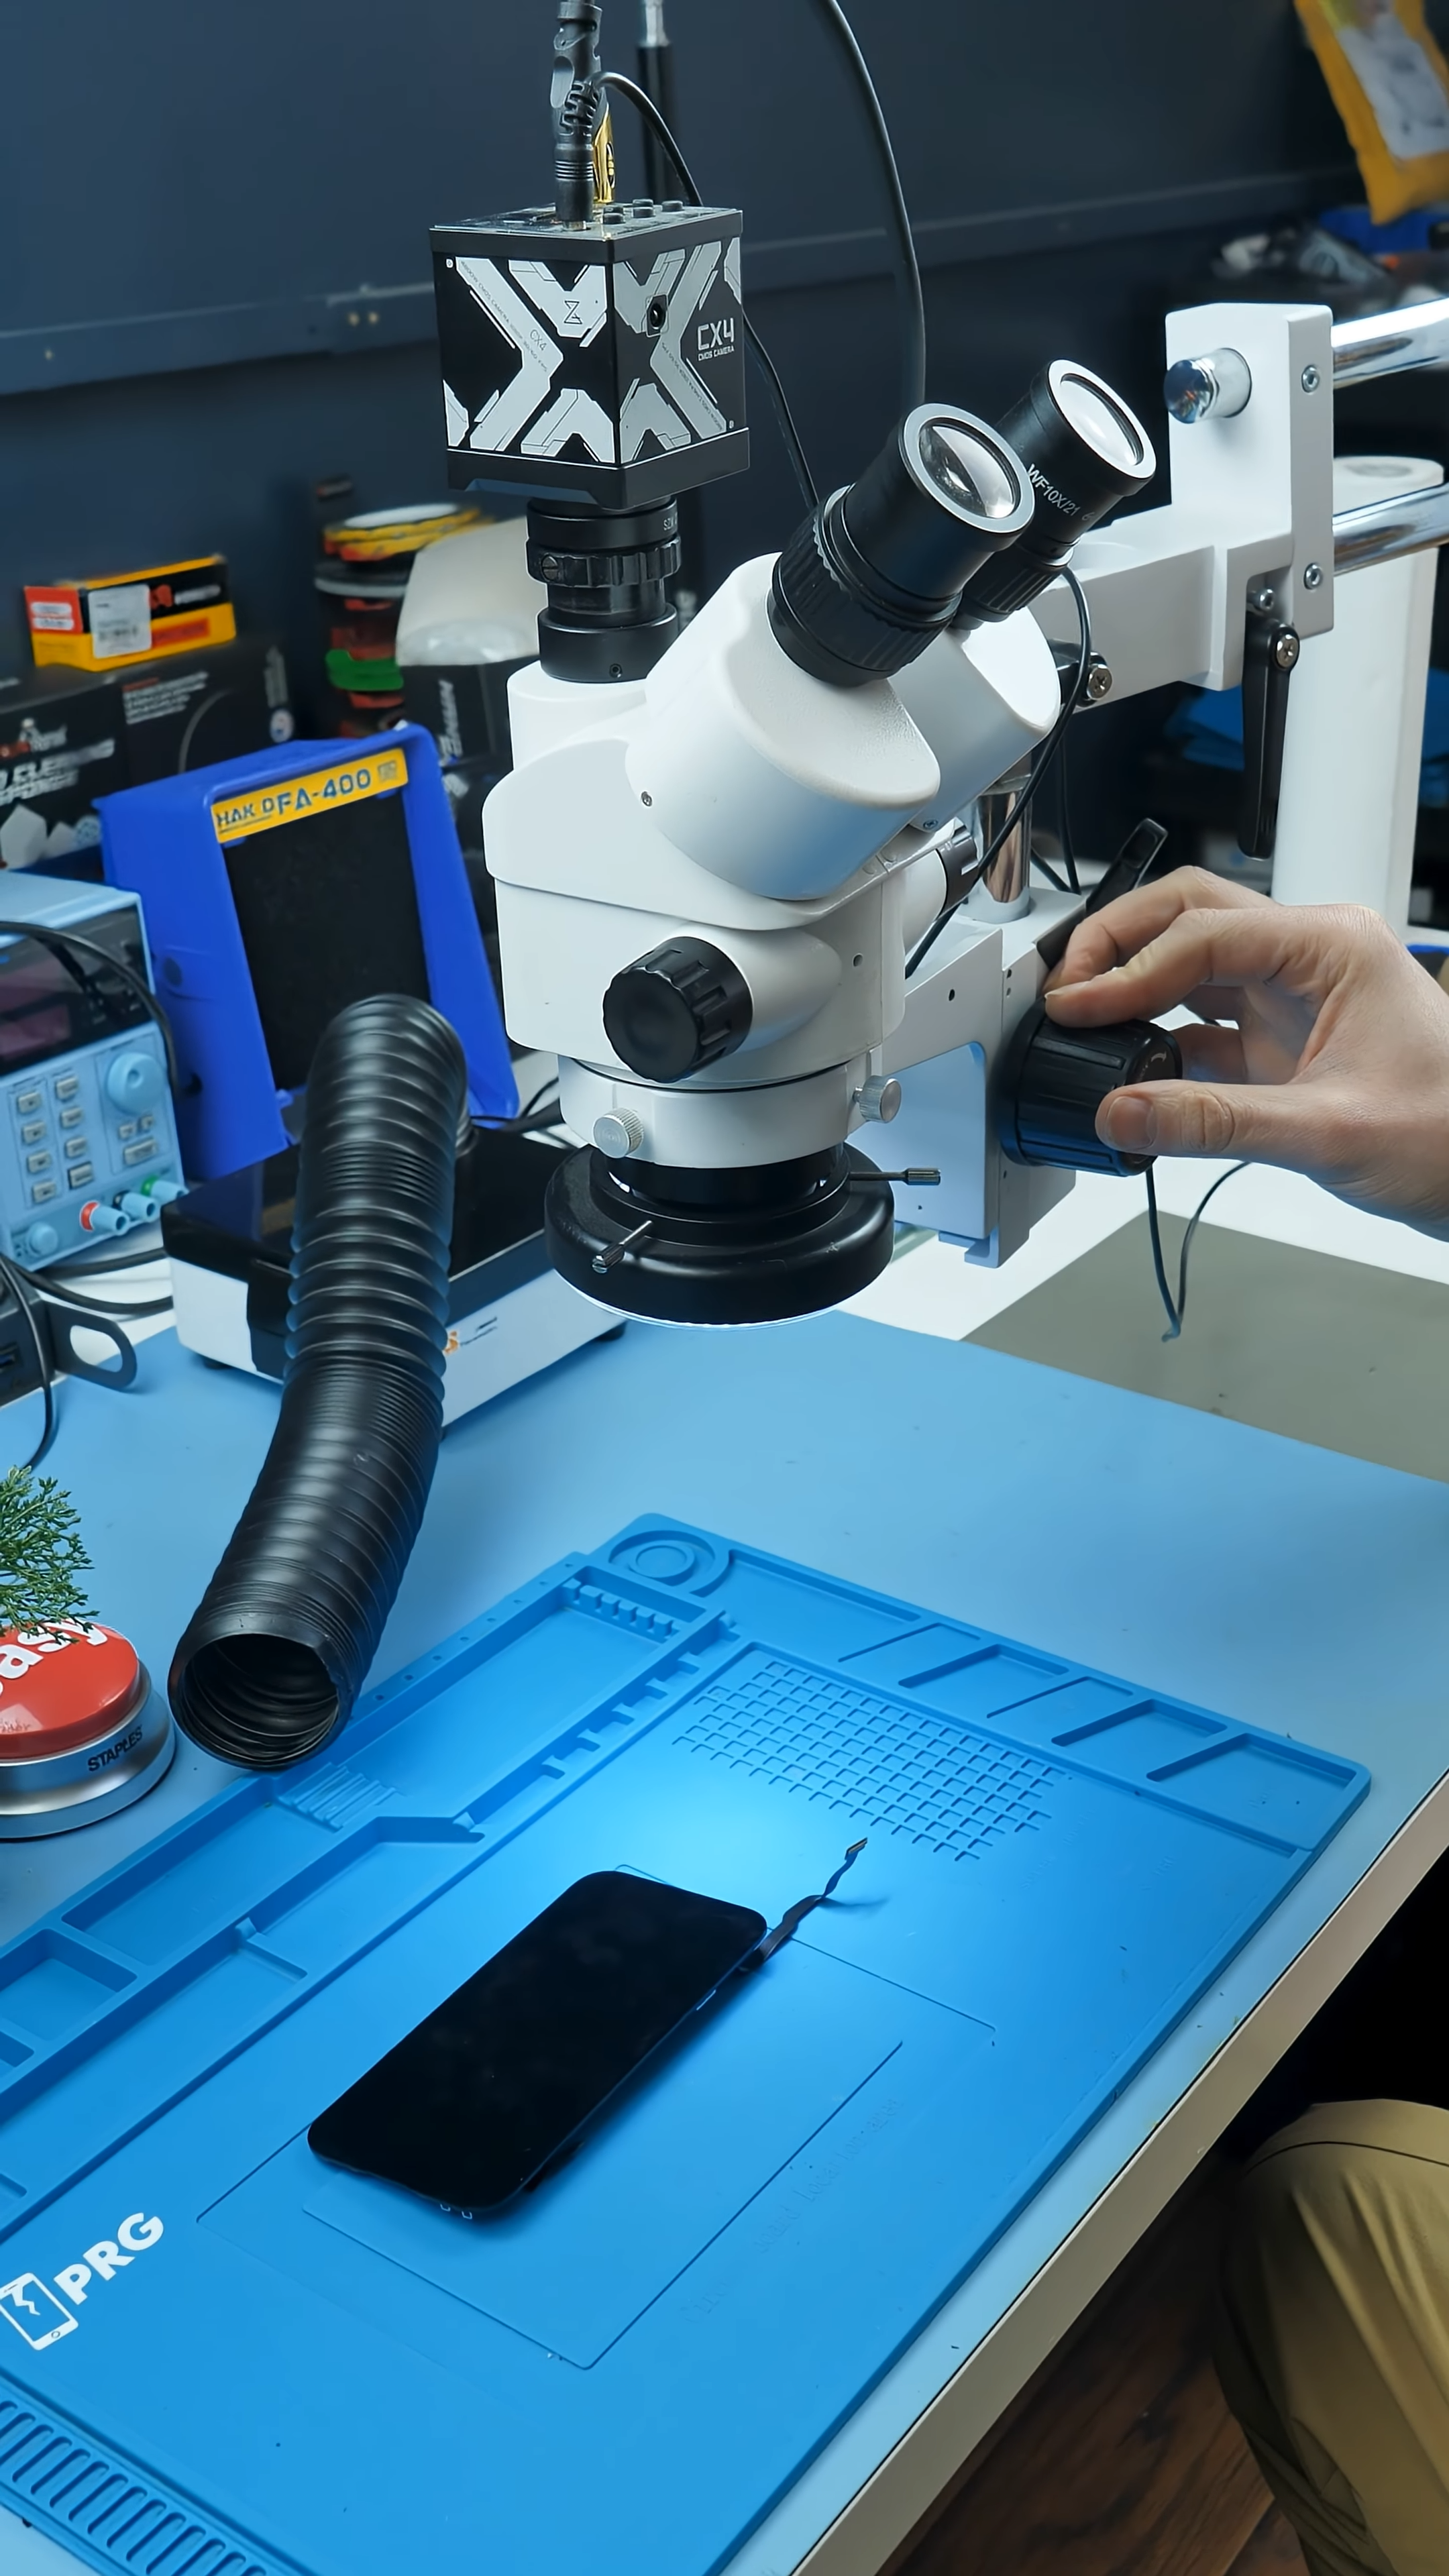
Fixing a torn flex cable isn’t something you can do with basic tools. This is advanced board-level work that relies on trace-level flex repair techniques under a microscope, where you’re manually rebuilding a broken circuit path.
At this scale, you’re not fixing components anymore. You’re rebuilding individual electrical paths, and one mistake can permanently kill the repair.
So, buckle up.
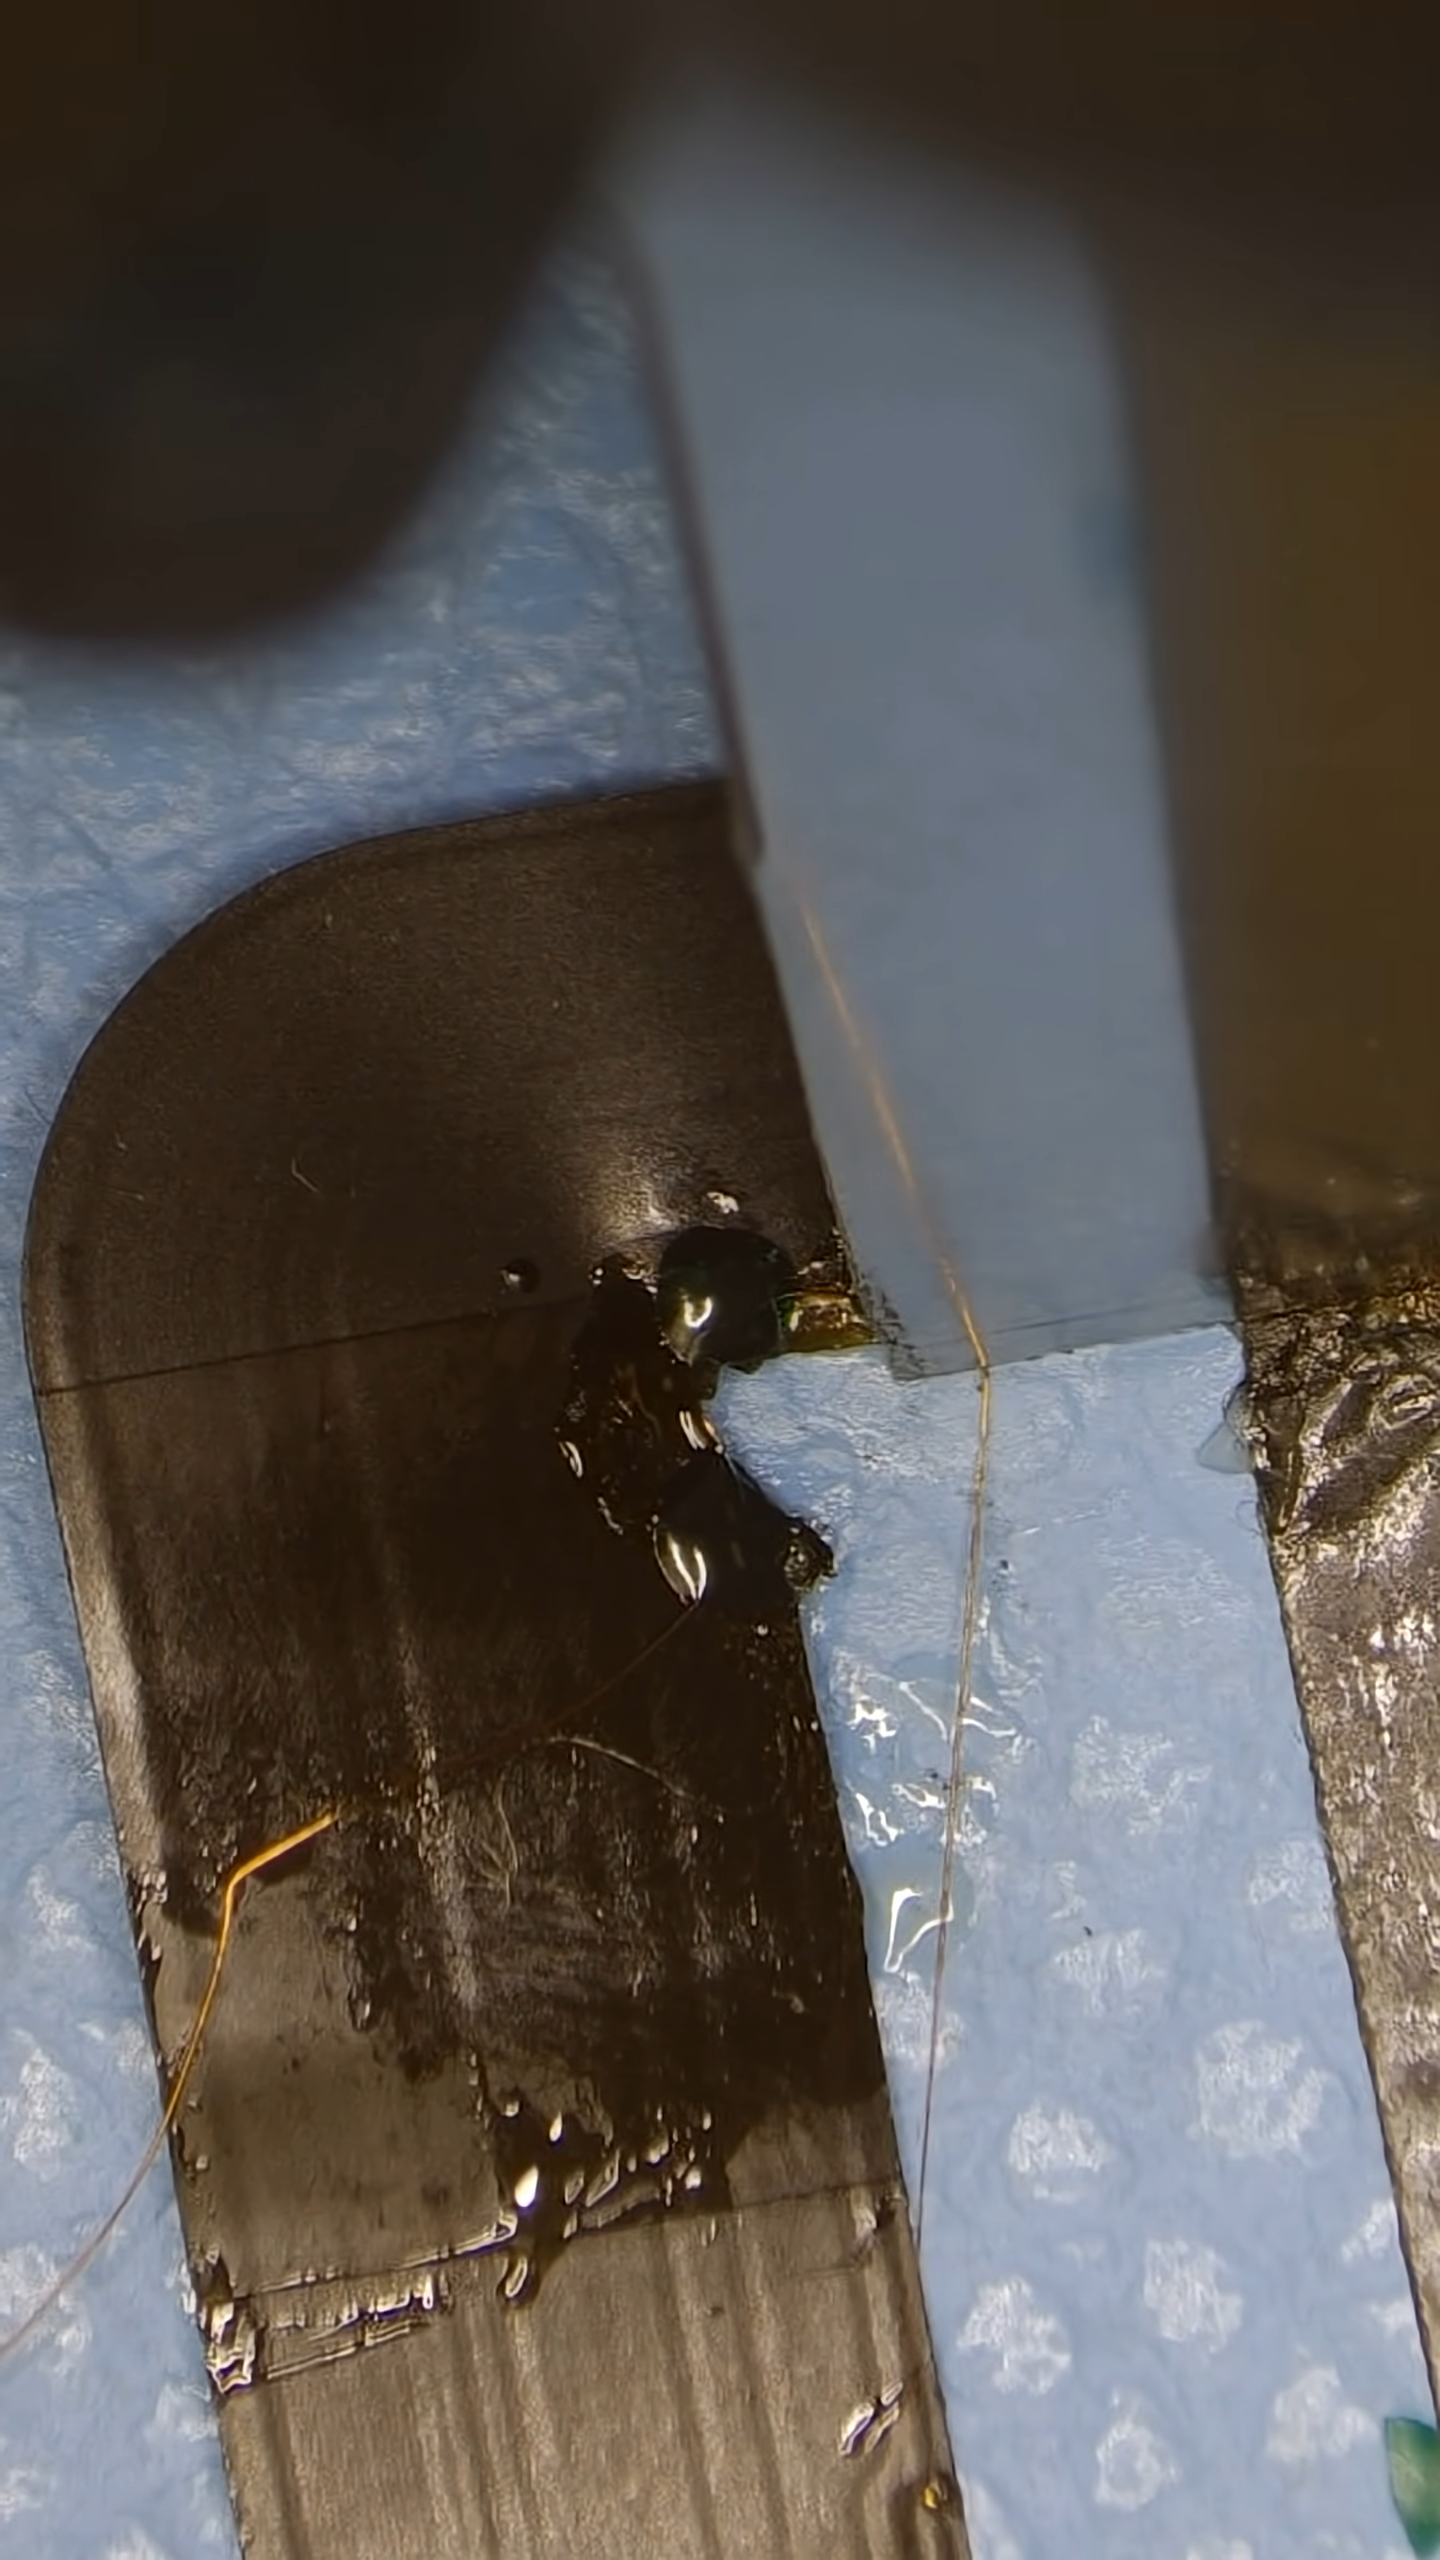
Exposing the Copper Traces
The first step is scraping away the protective layer on the flex cable. This outer coating exists to protect the traces underneath, but it also blocks access to the actual copper we need to work with.
The coating is carefully removed until the copper trace underneath is exposed, because scraping too deep destroys the trace while scraping too shallow prevents solder from bonding.
This is one of those steps where experience matters more than tools.
Rebuilding the Broken Circuit
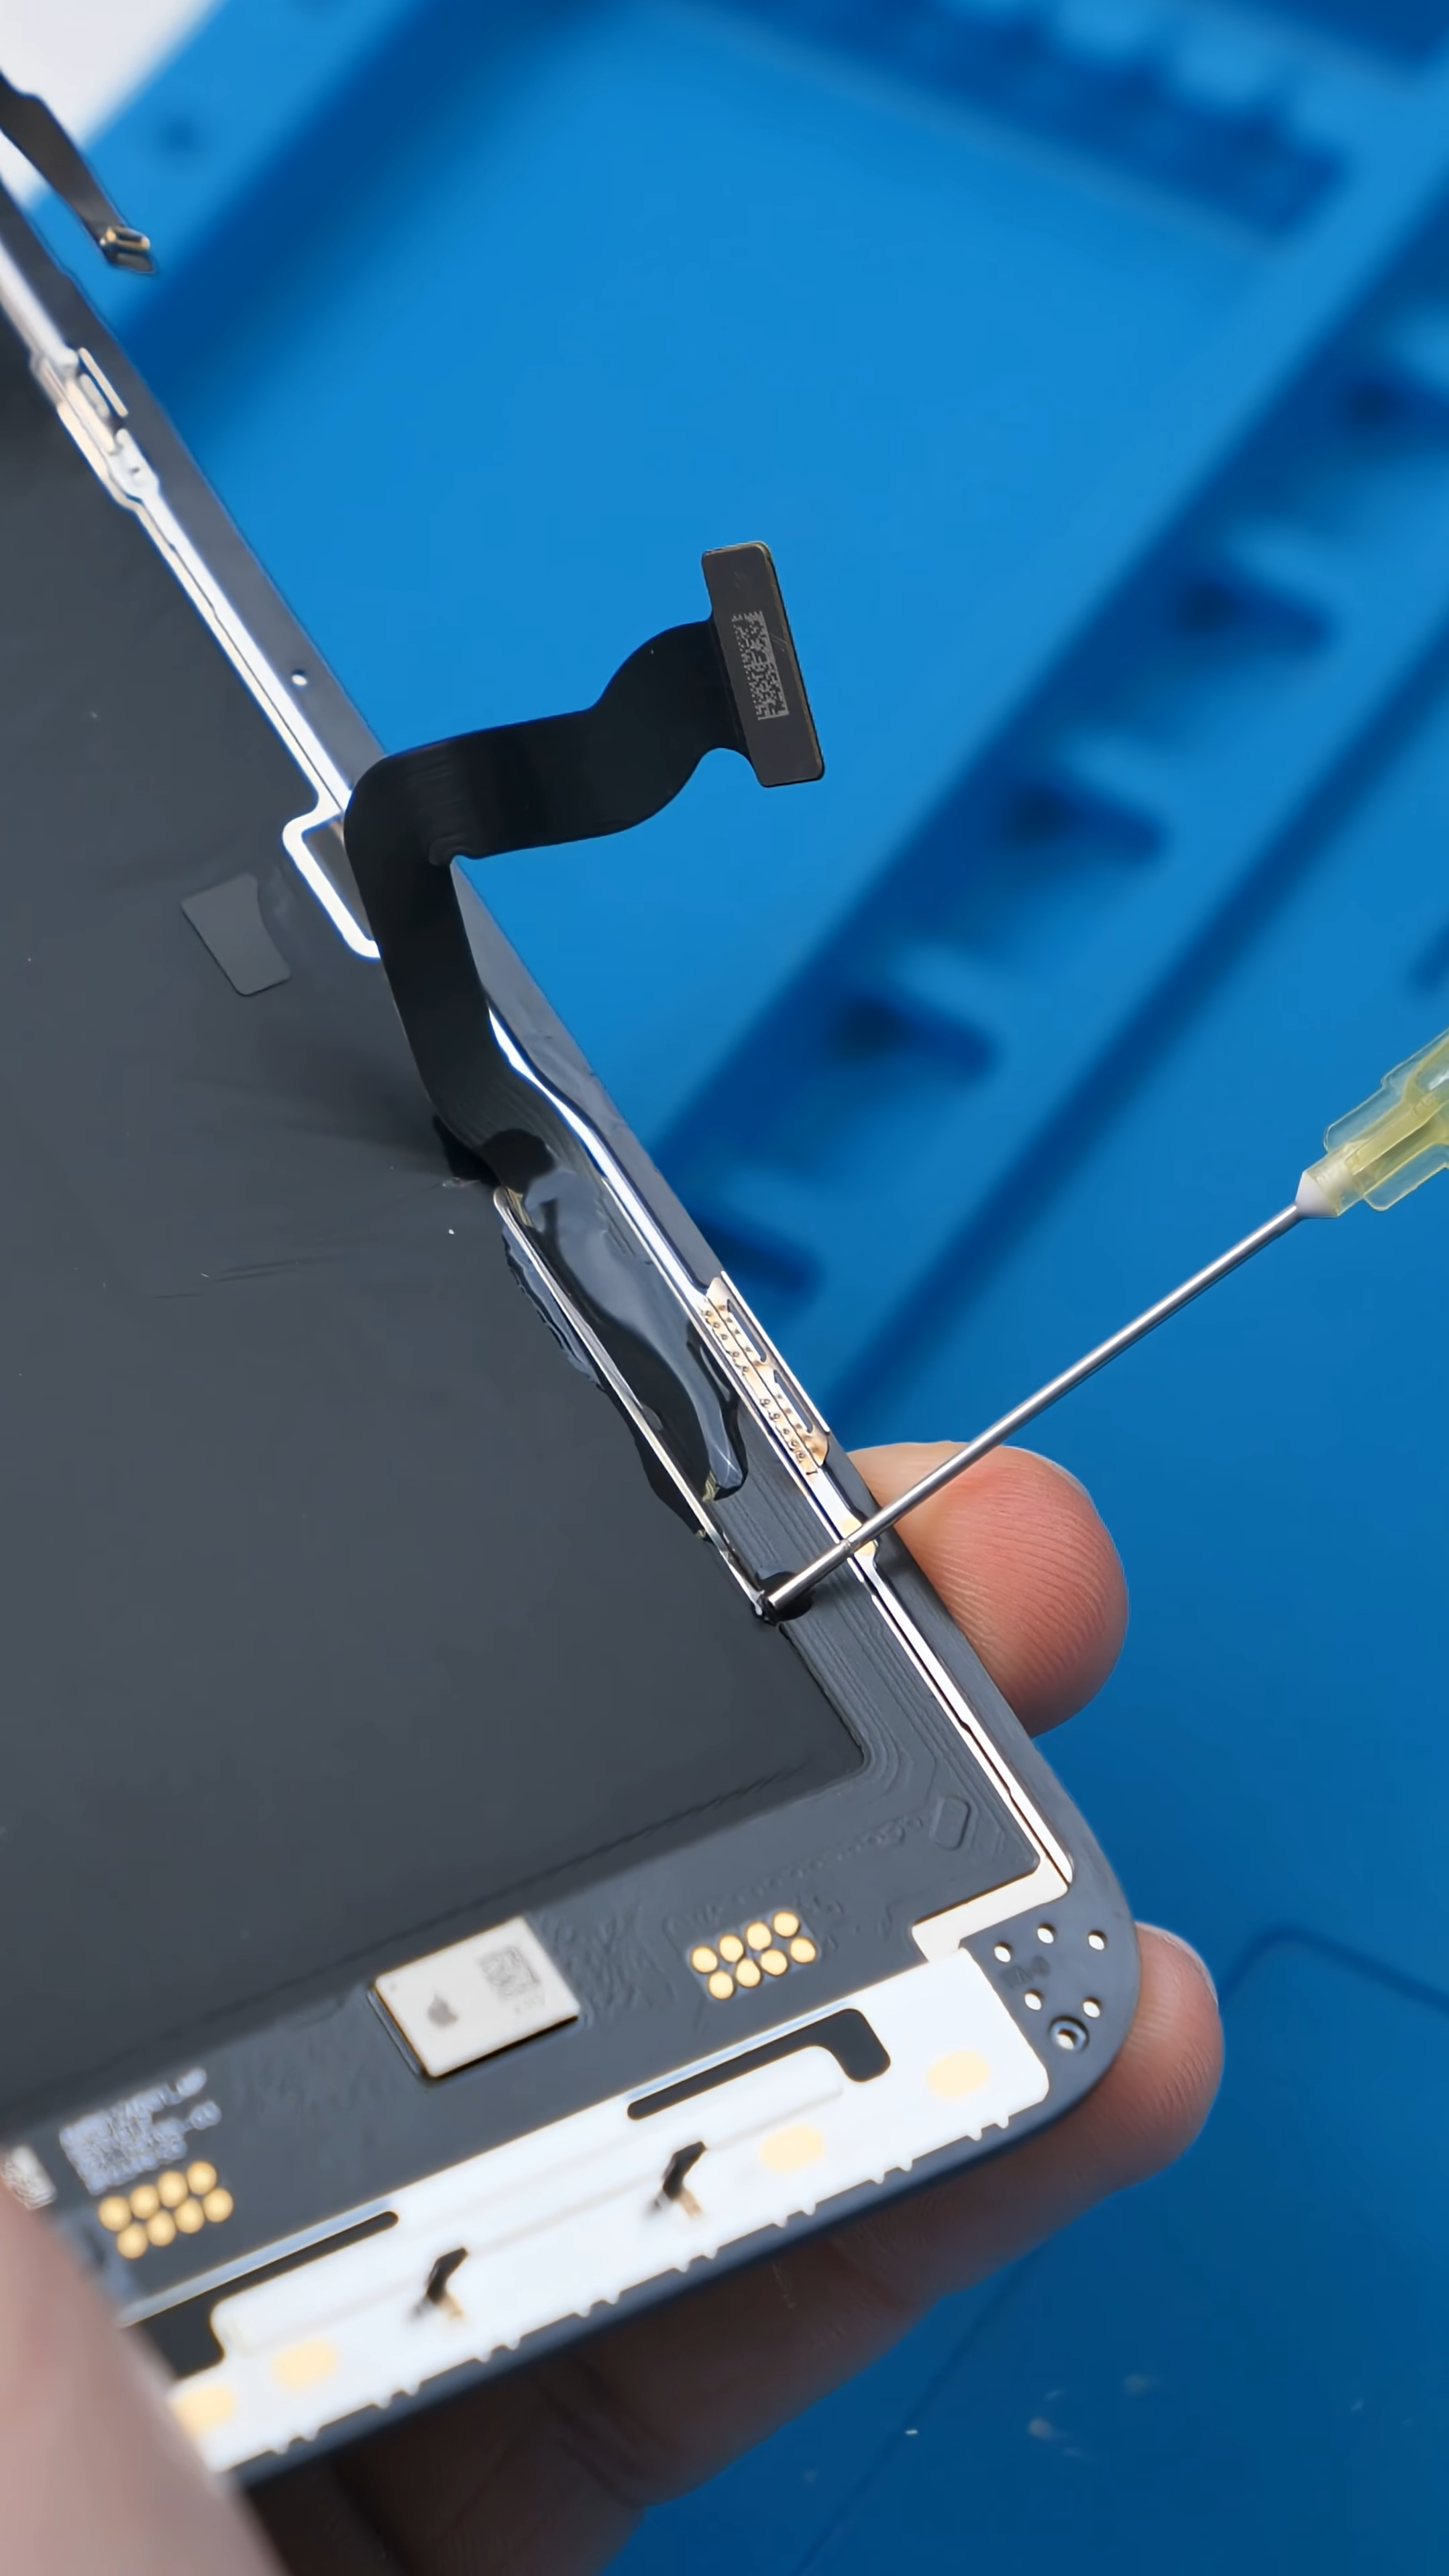
Once the copper is exposed, a thin copper wire is soldered directly onto the trace. This wire acts as a bridge, reconnecting the broken circuit and allowing current to flow again.
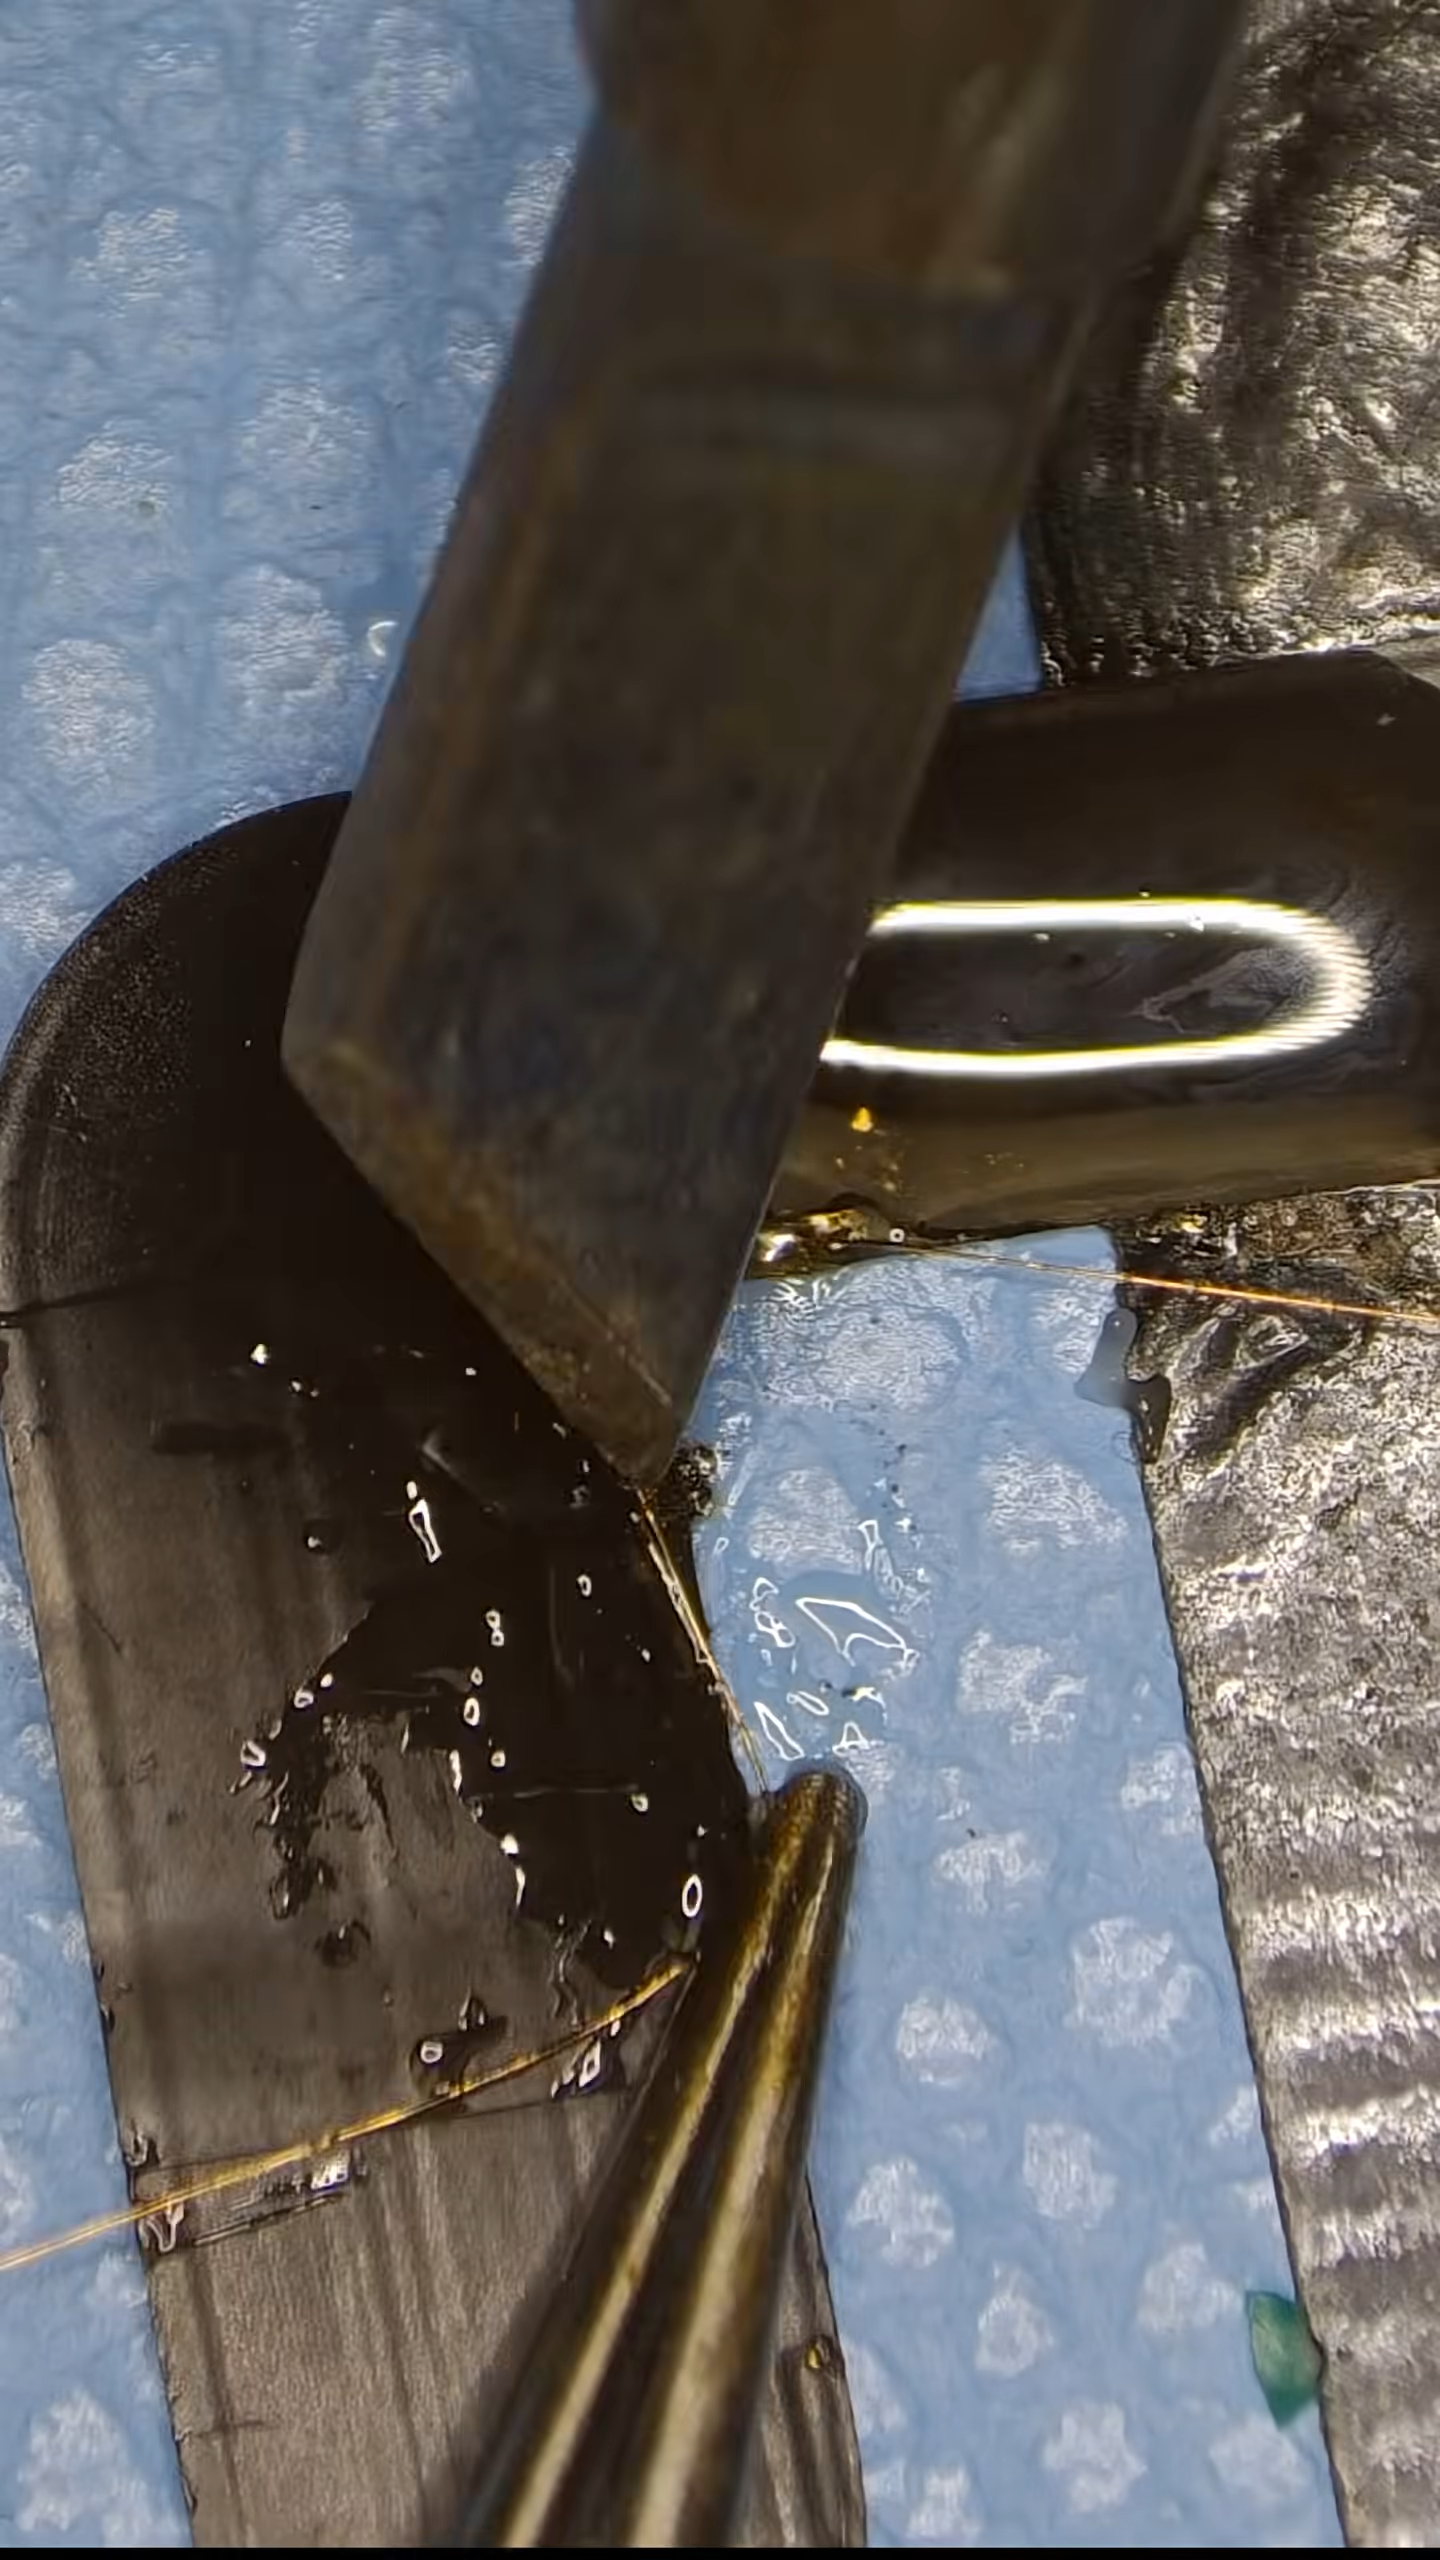
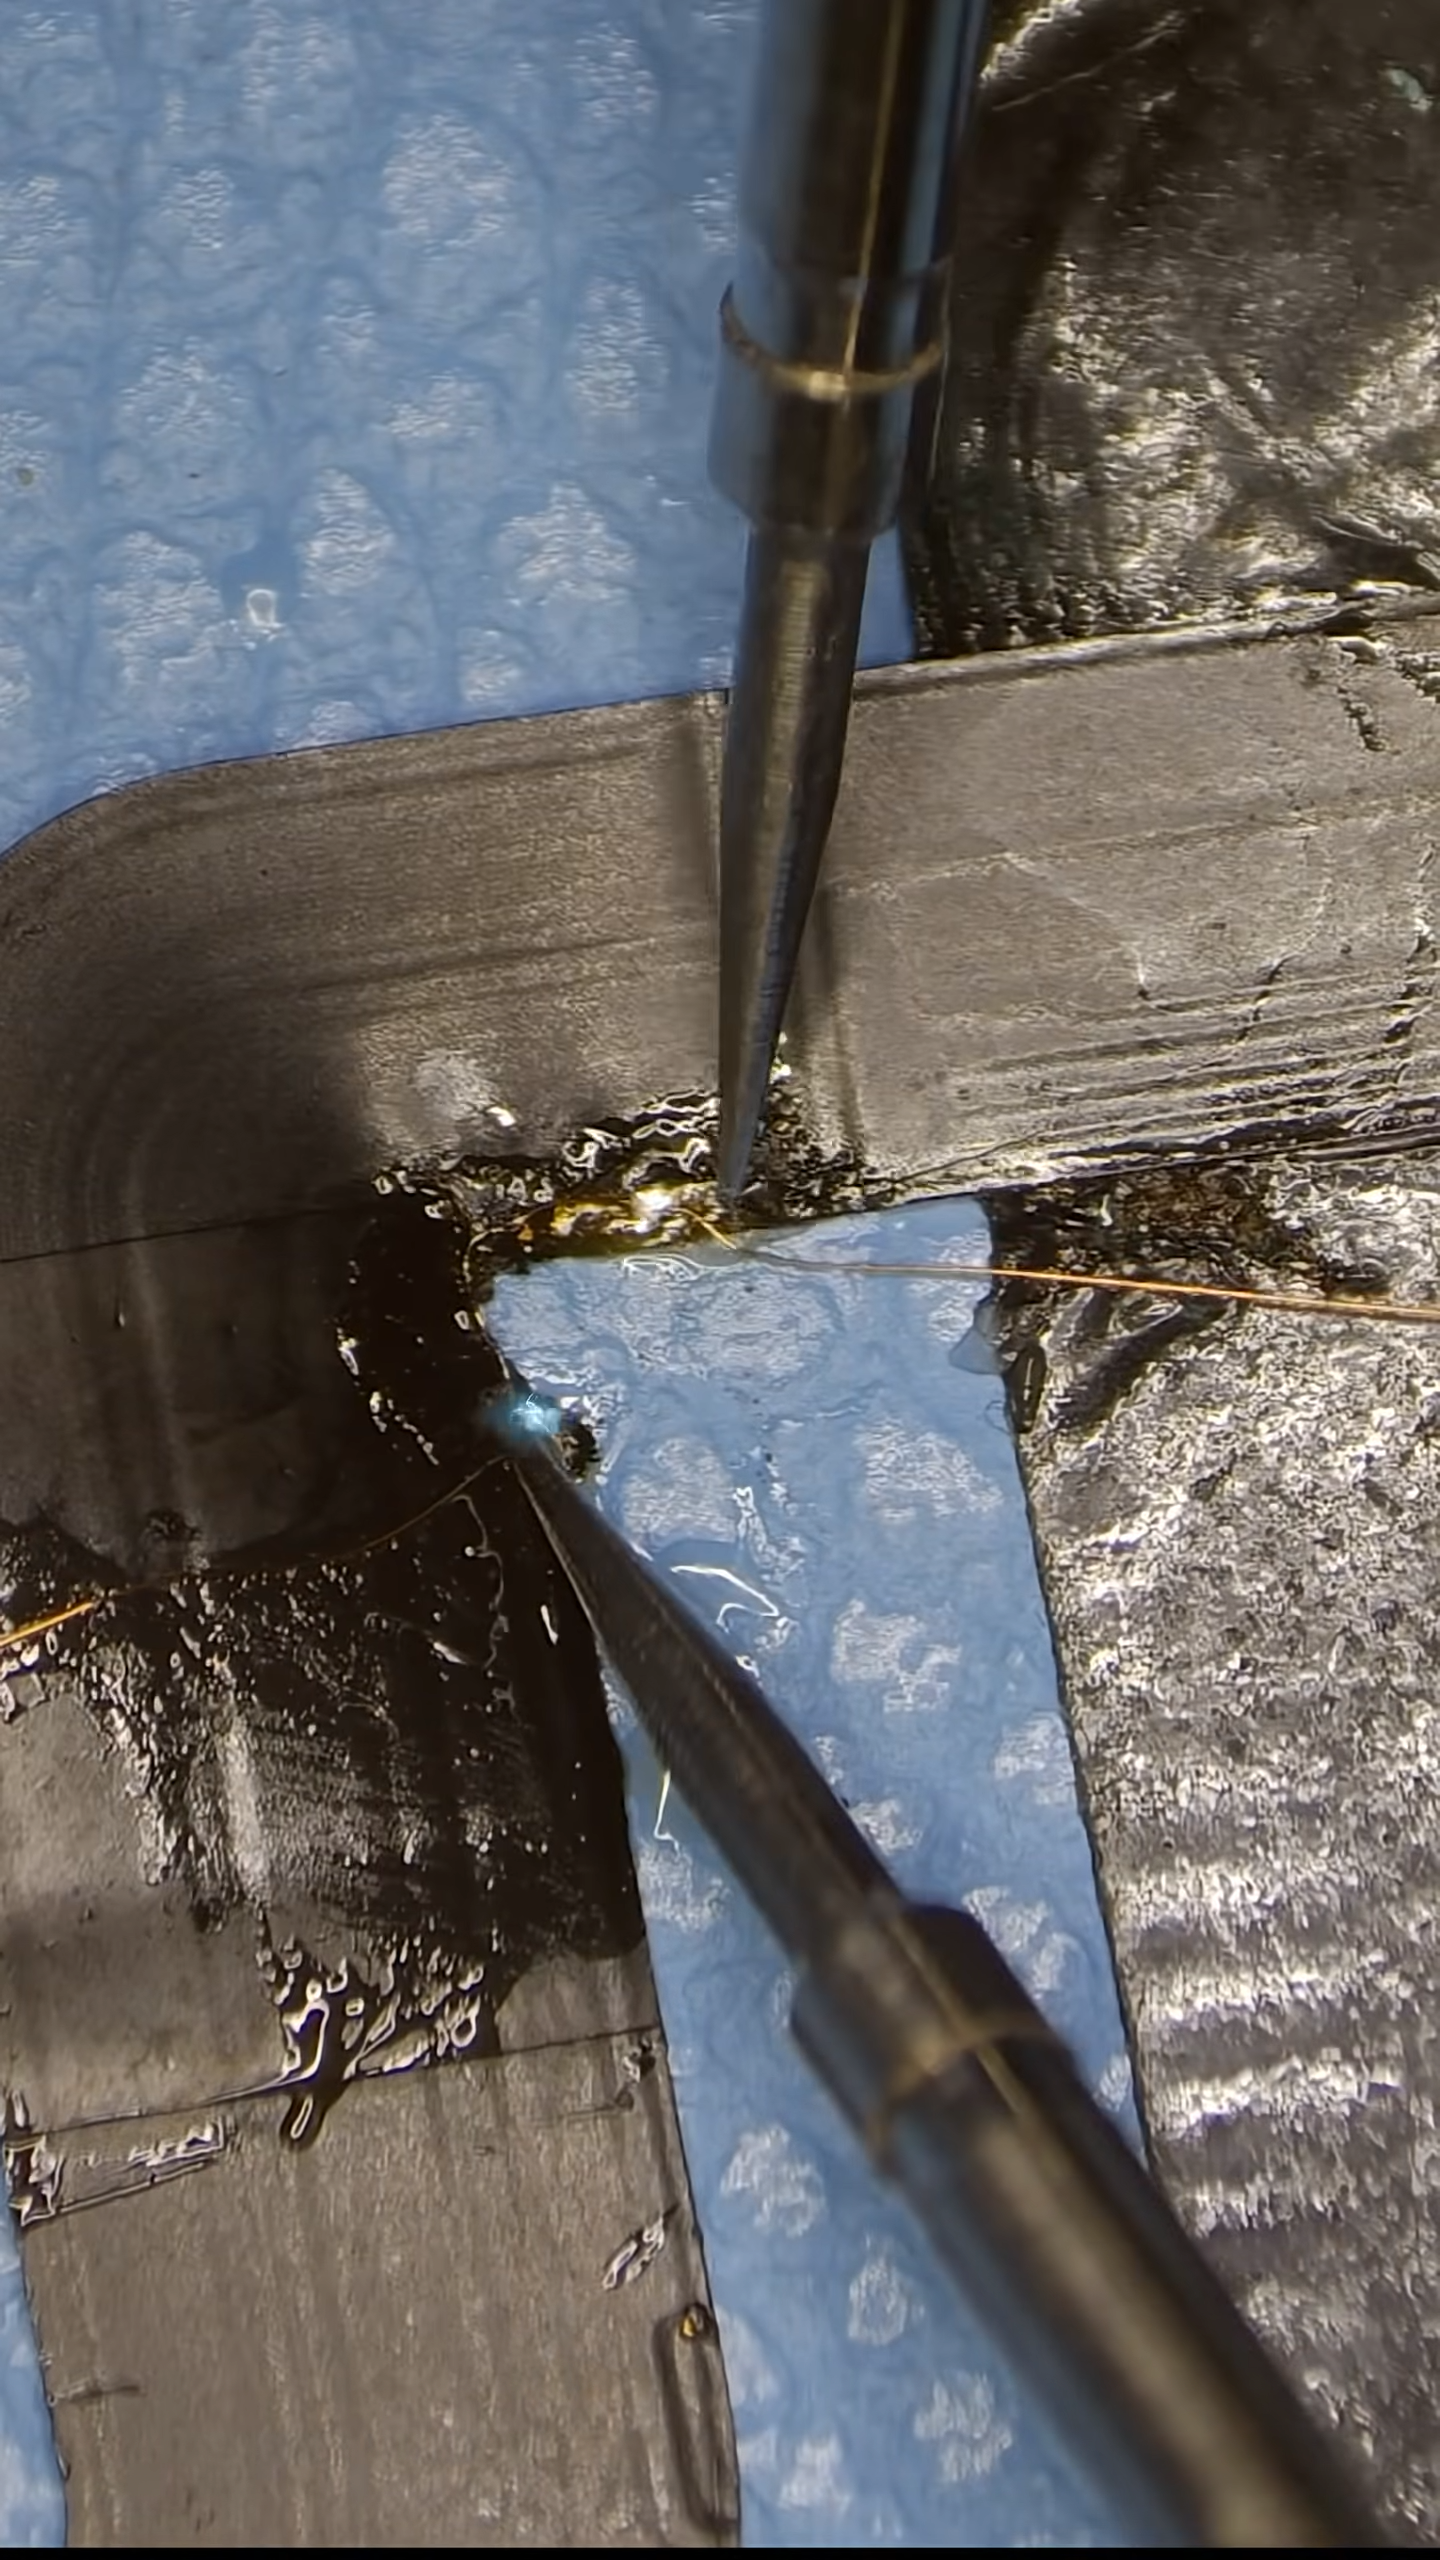
The wire has to be extremely thin so it can sit properly and still hold up, with careful heat control to avoid melting or warping the flex cable, and when it’s done correctly the circuit is electrically complete again.
Sealing the Repair
Once the wire is in place, the repair has to be sealed to prevent short circuits and protect the exposed copper. A thin layer of UV solder mask is applied over the trace and jumper wire to electrically insulate the area and keep the repair from lifting.
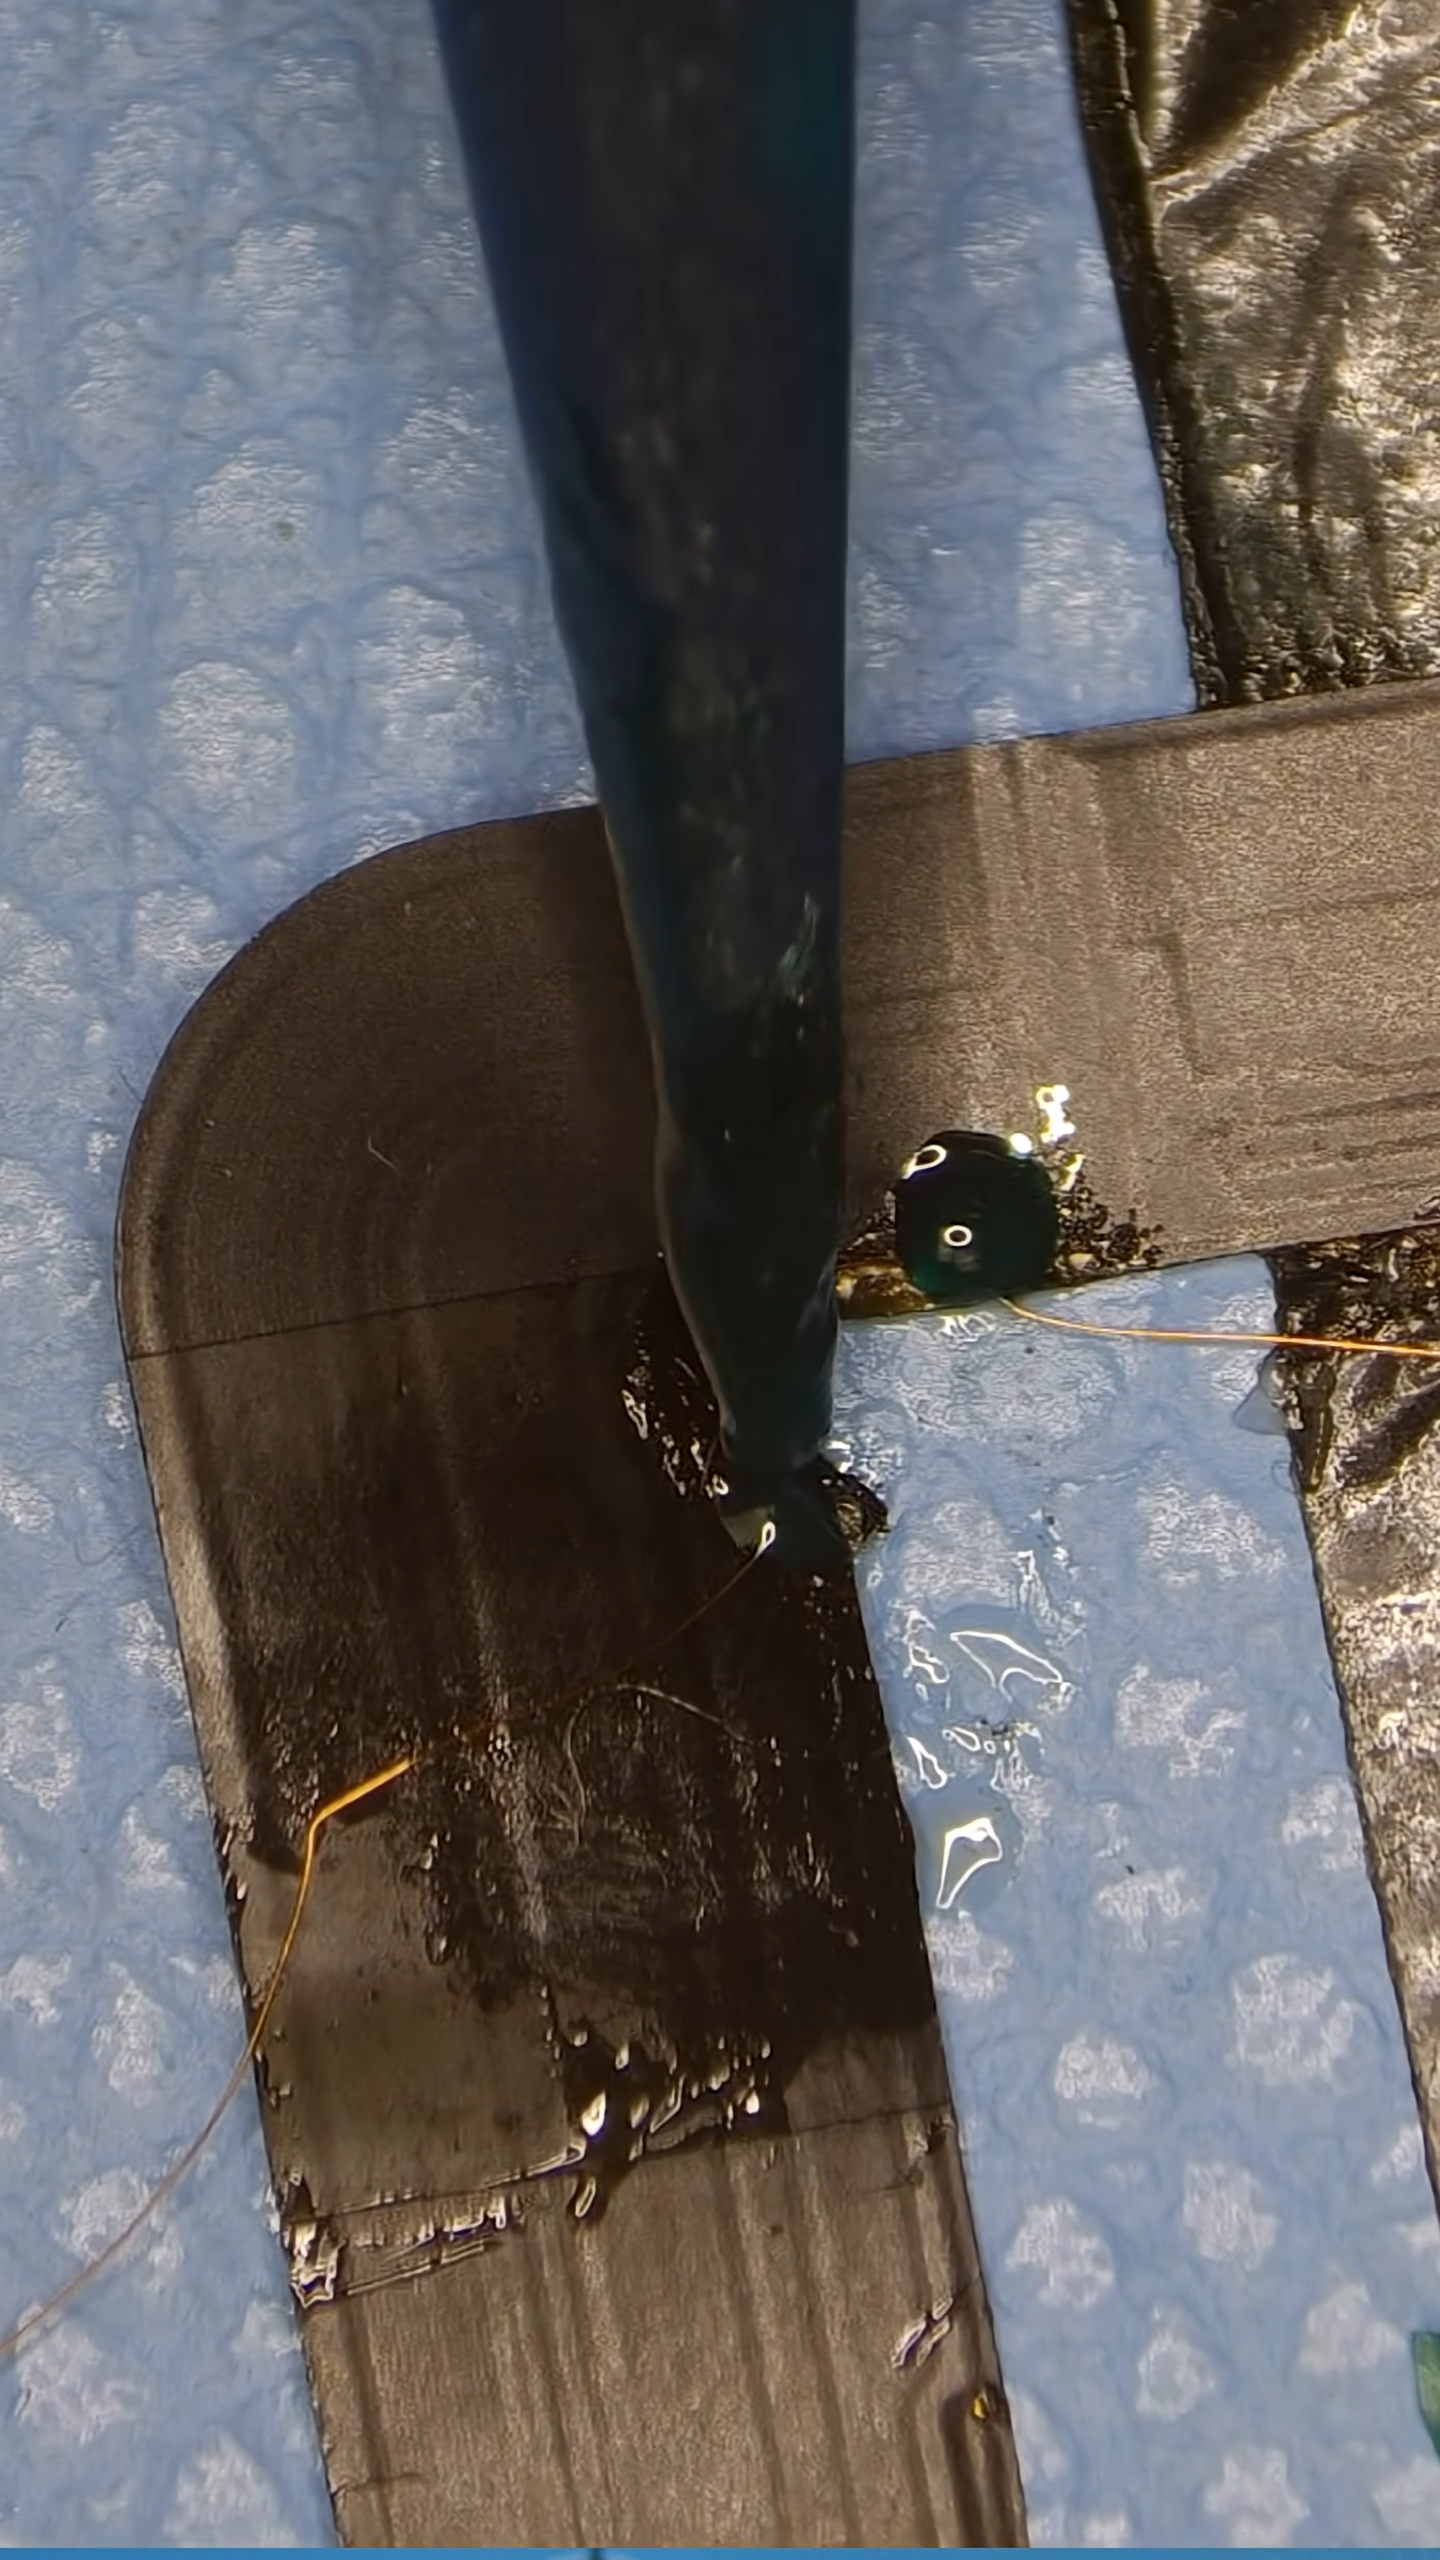
The mask is then cured with UV light, which hardens it in place without adding heat that could damage the flex cable.
Adding Structural Support
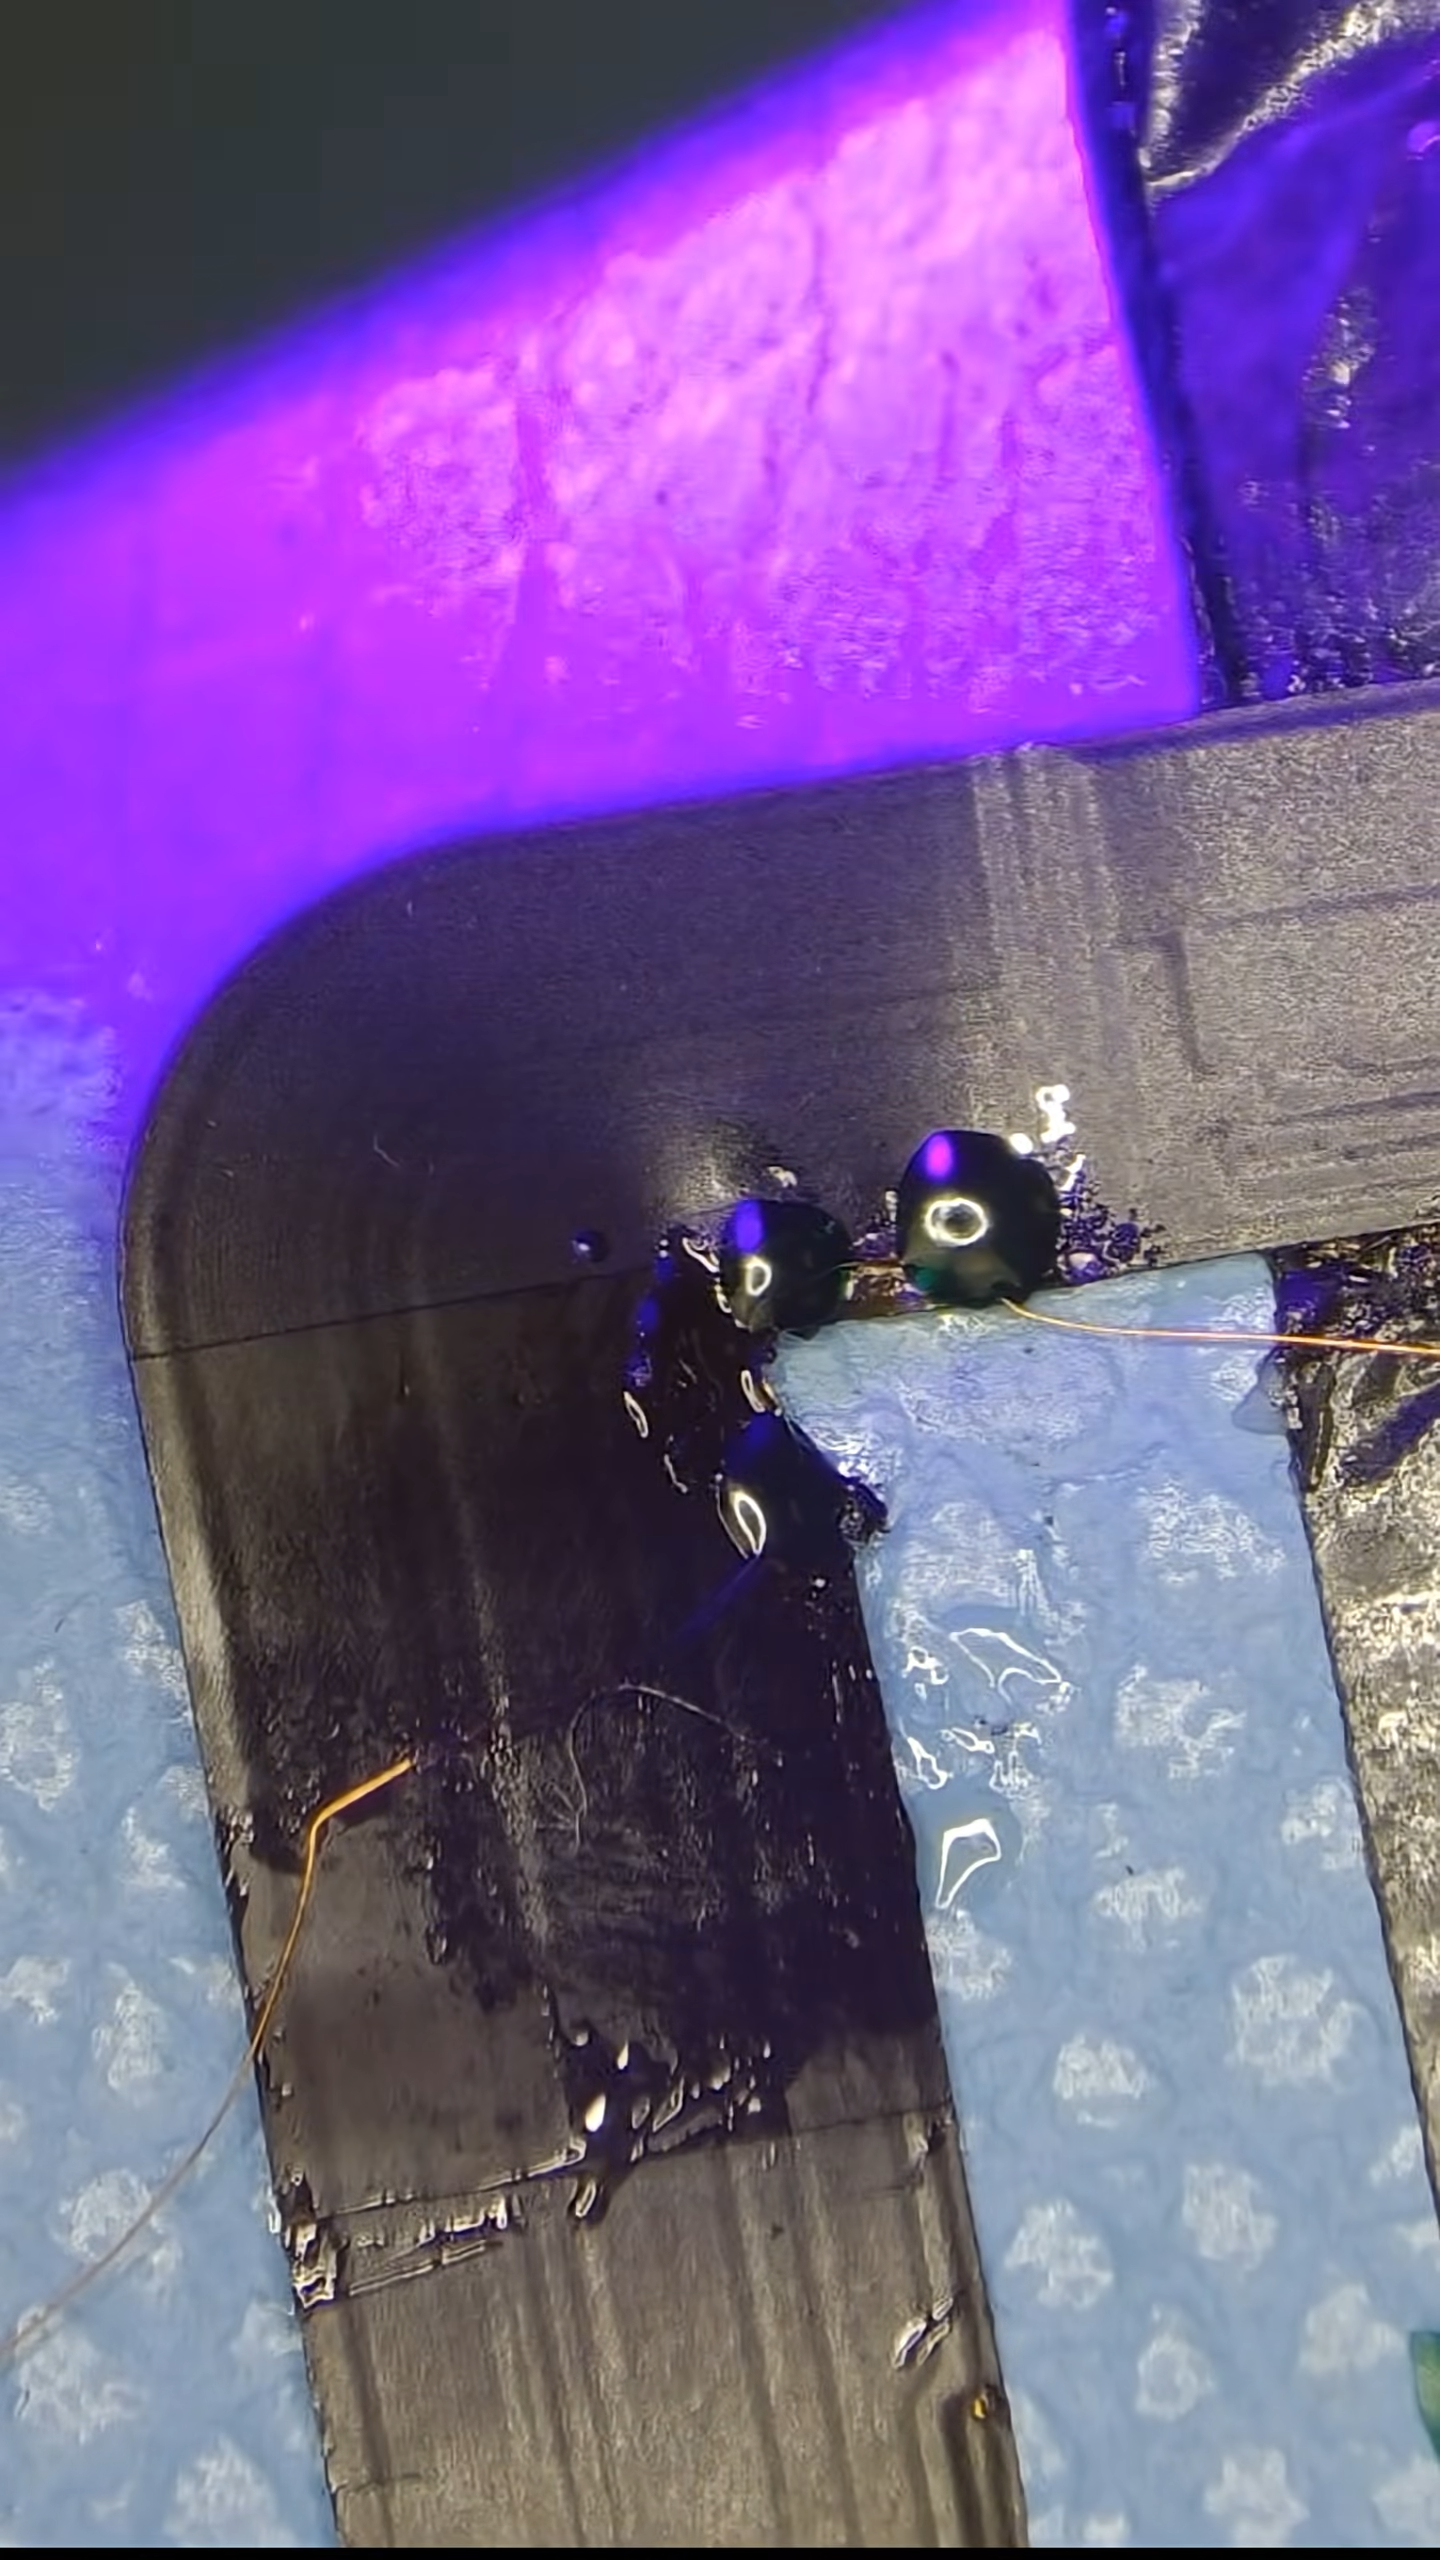
After curing, any excess wire is trimmed so the repair stays low-profile and doesn’t interfere with reassembly or normal flexing. Kapton tape is then applied over the area to add mechanical support and help keep the jumper wire from shifting as the flex cable moves during use.
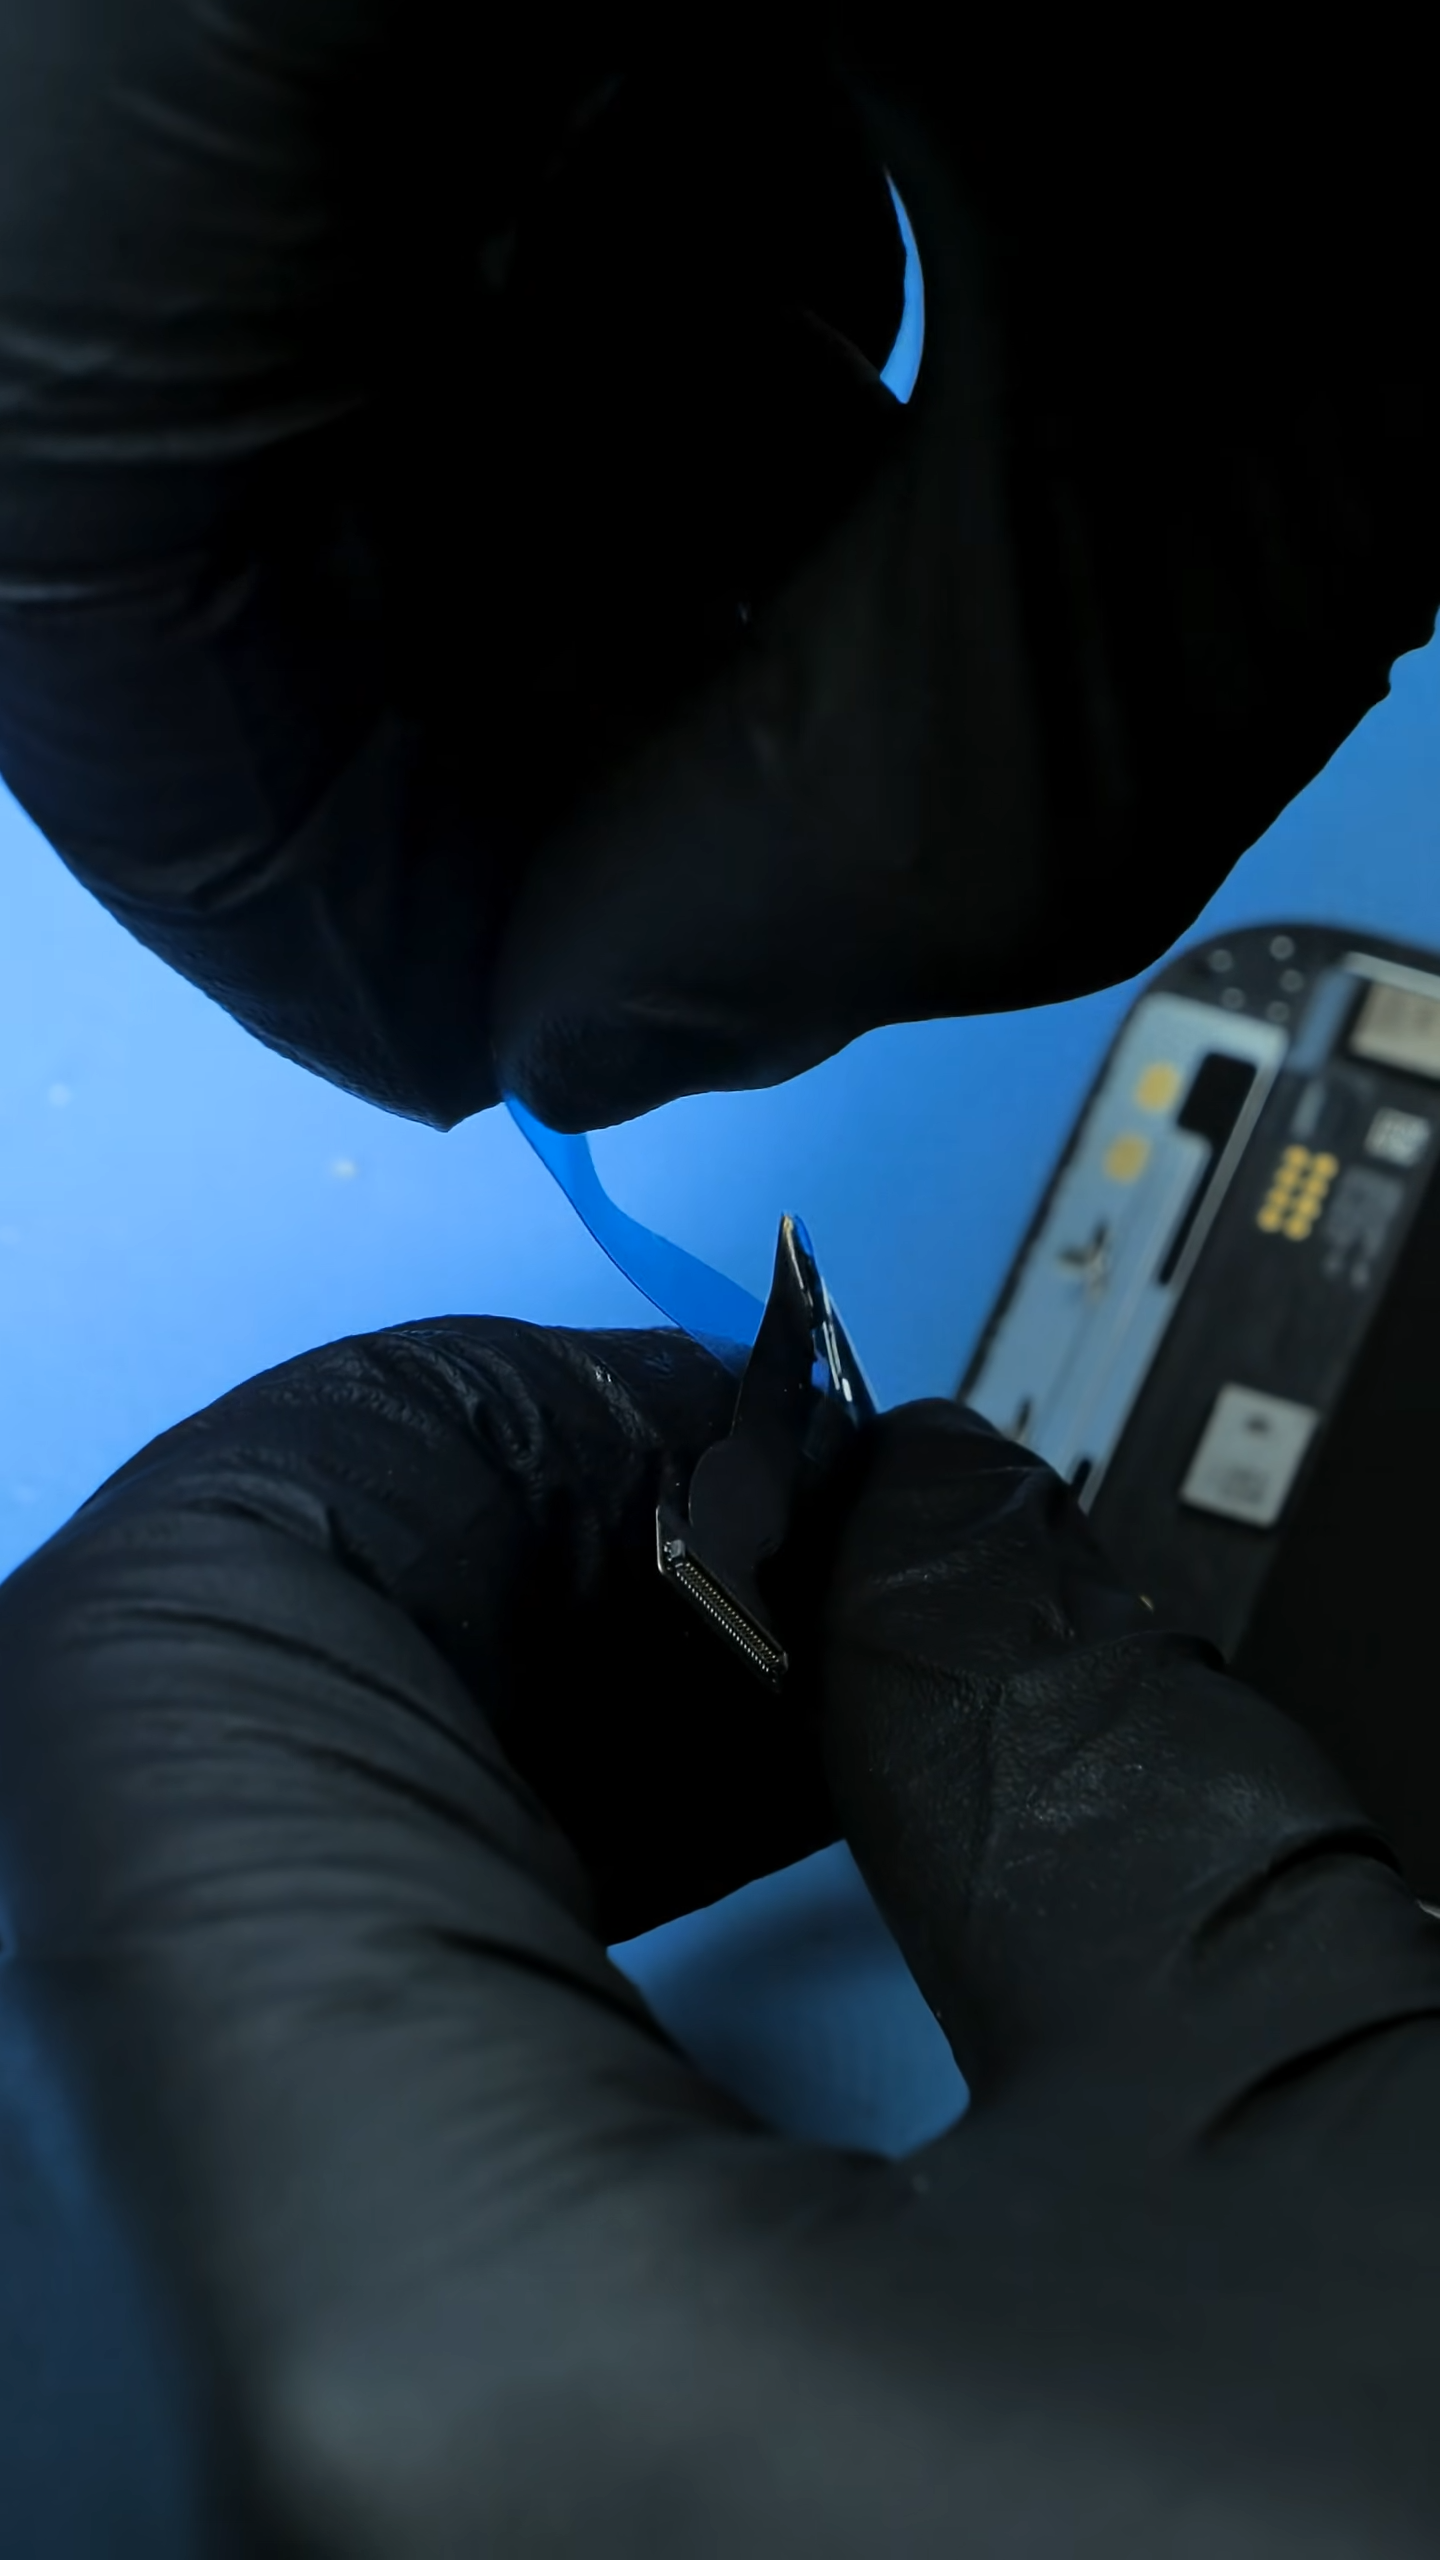
This added structure doesn’t make the repair permanent, but it improves stability and reduces the chances of immediate failure by limiting movement around the jumper wire and protecting the repaired trace from stress during normal flexing and reassembly.
The Catch
Here’s the reality check.
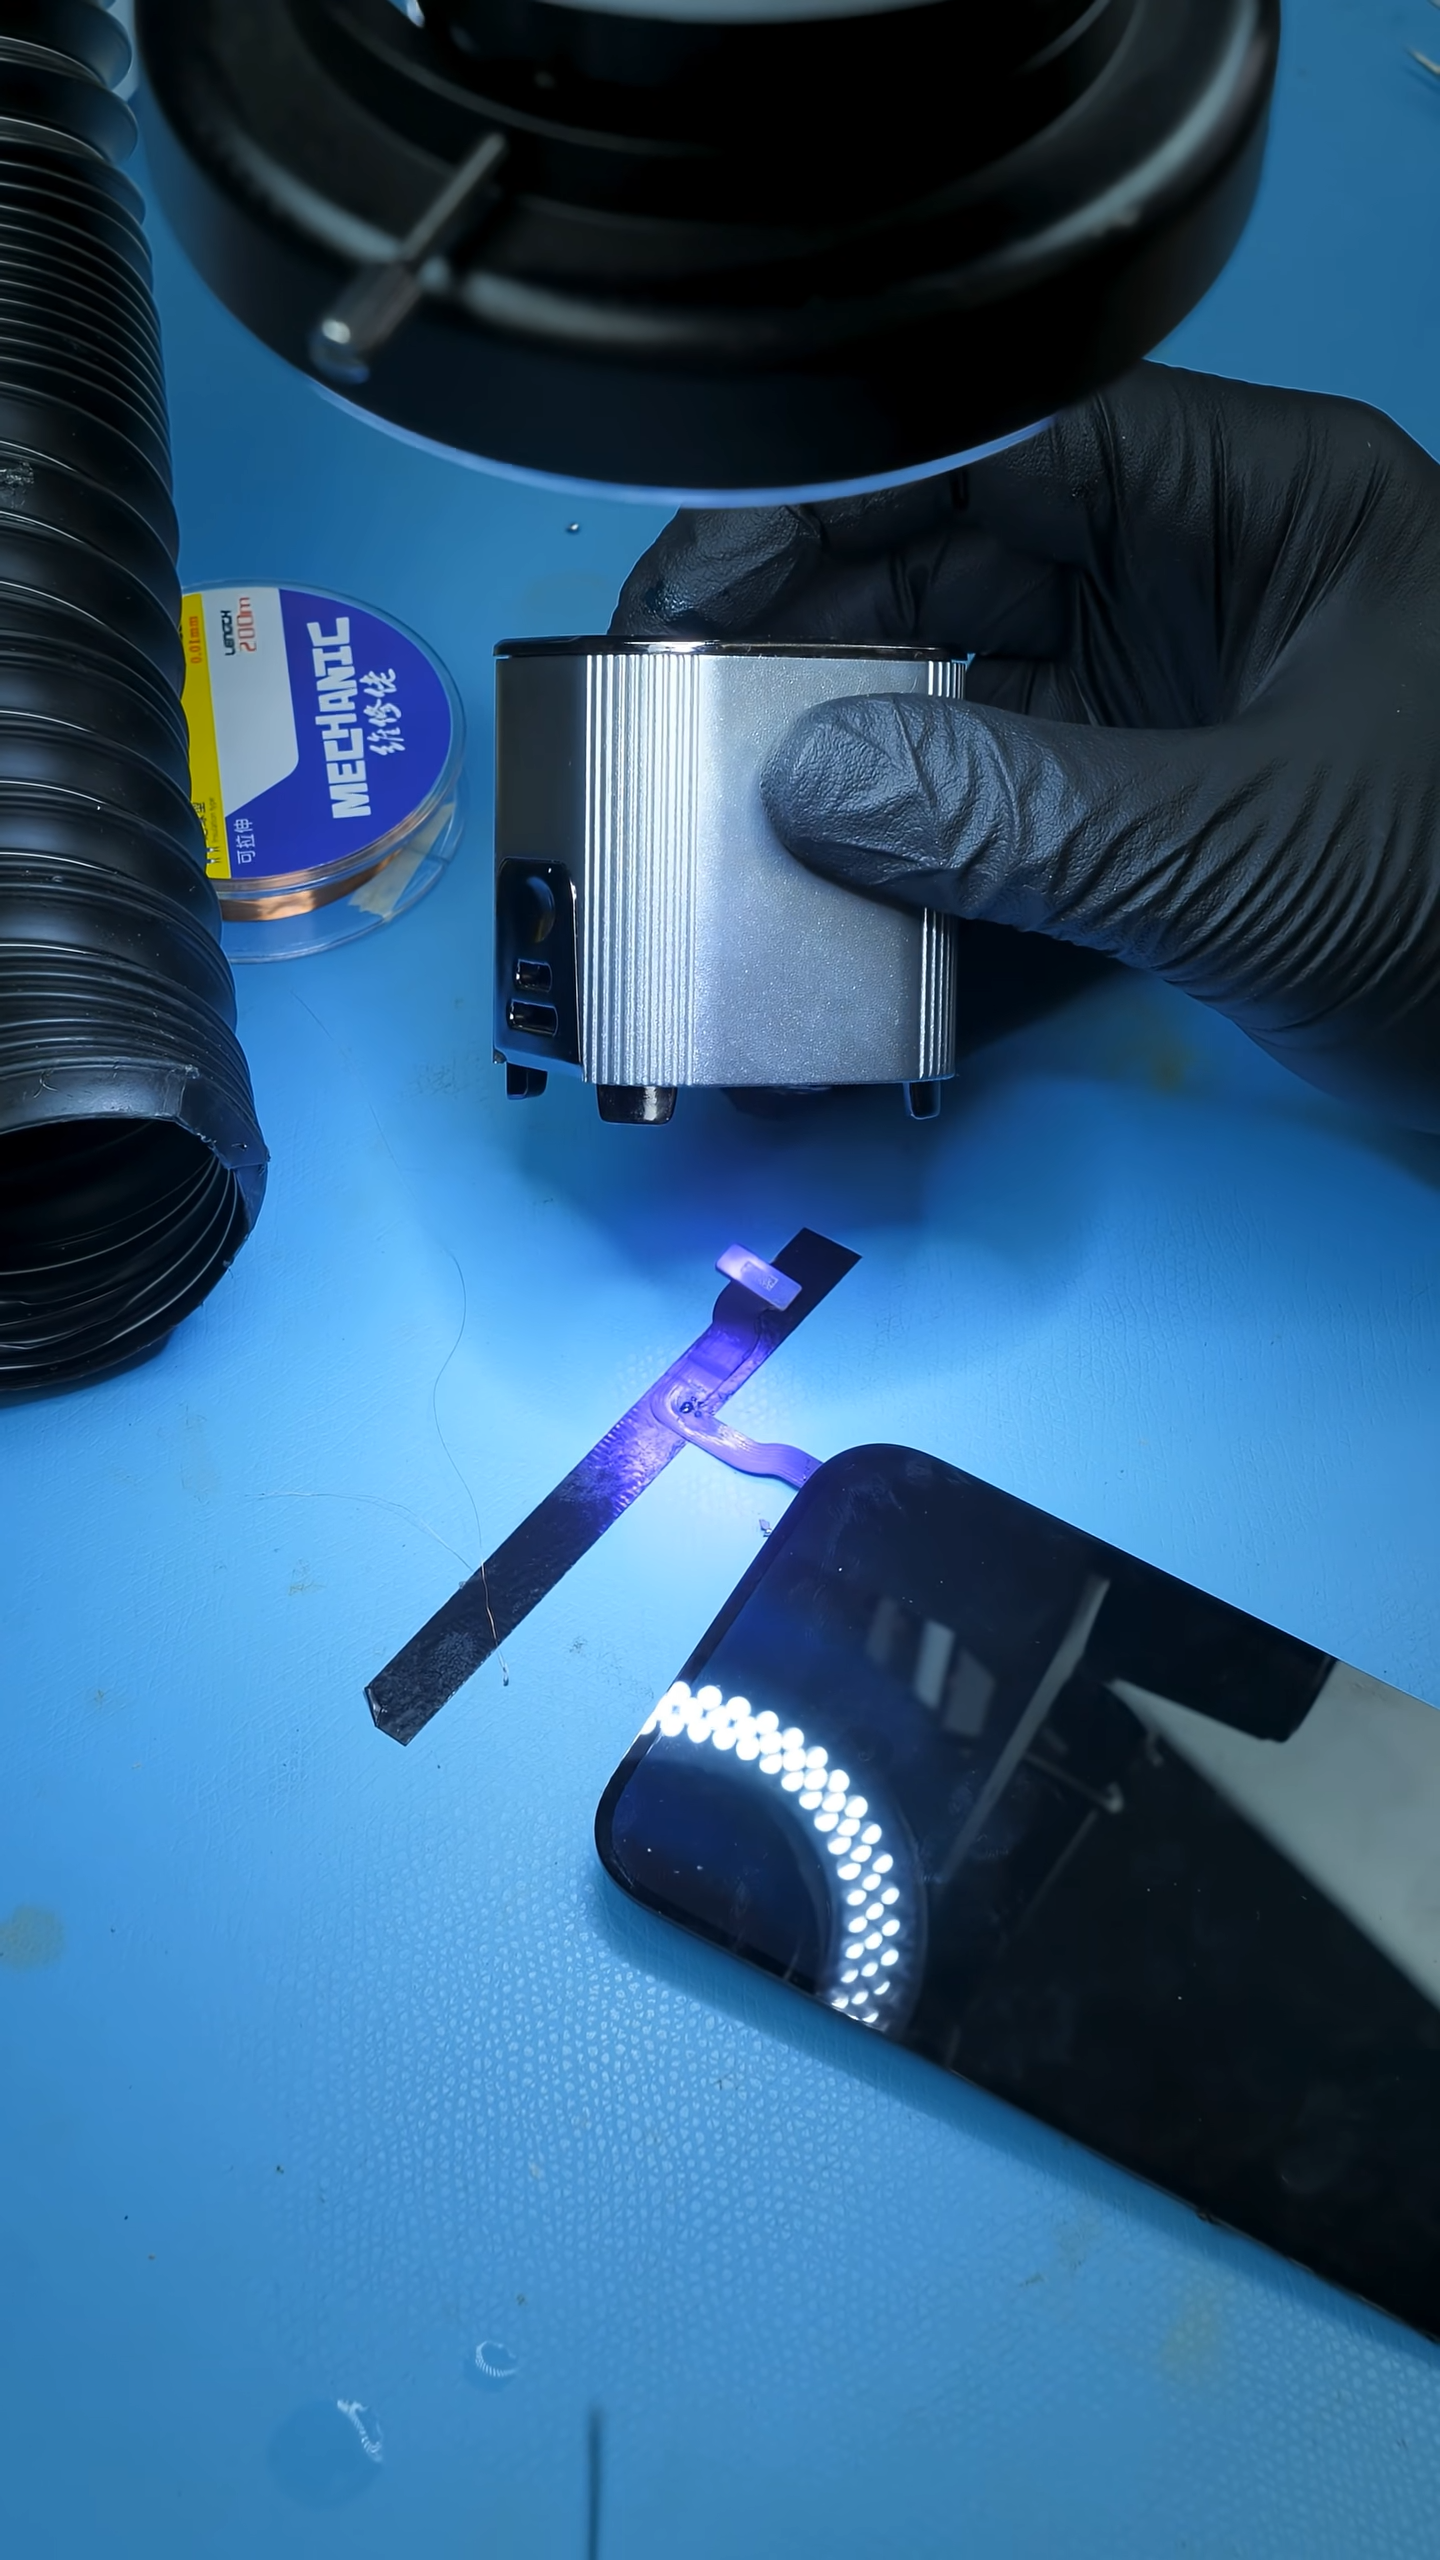
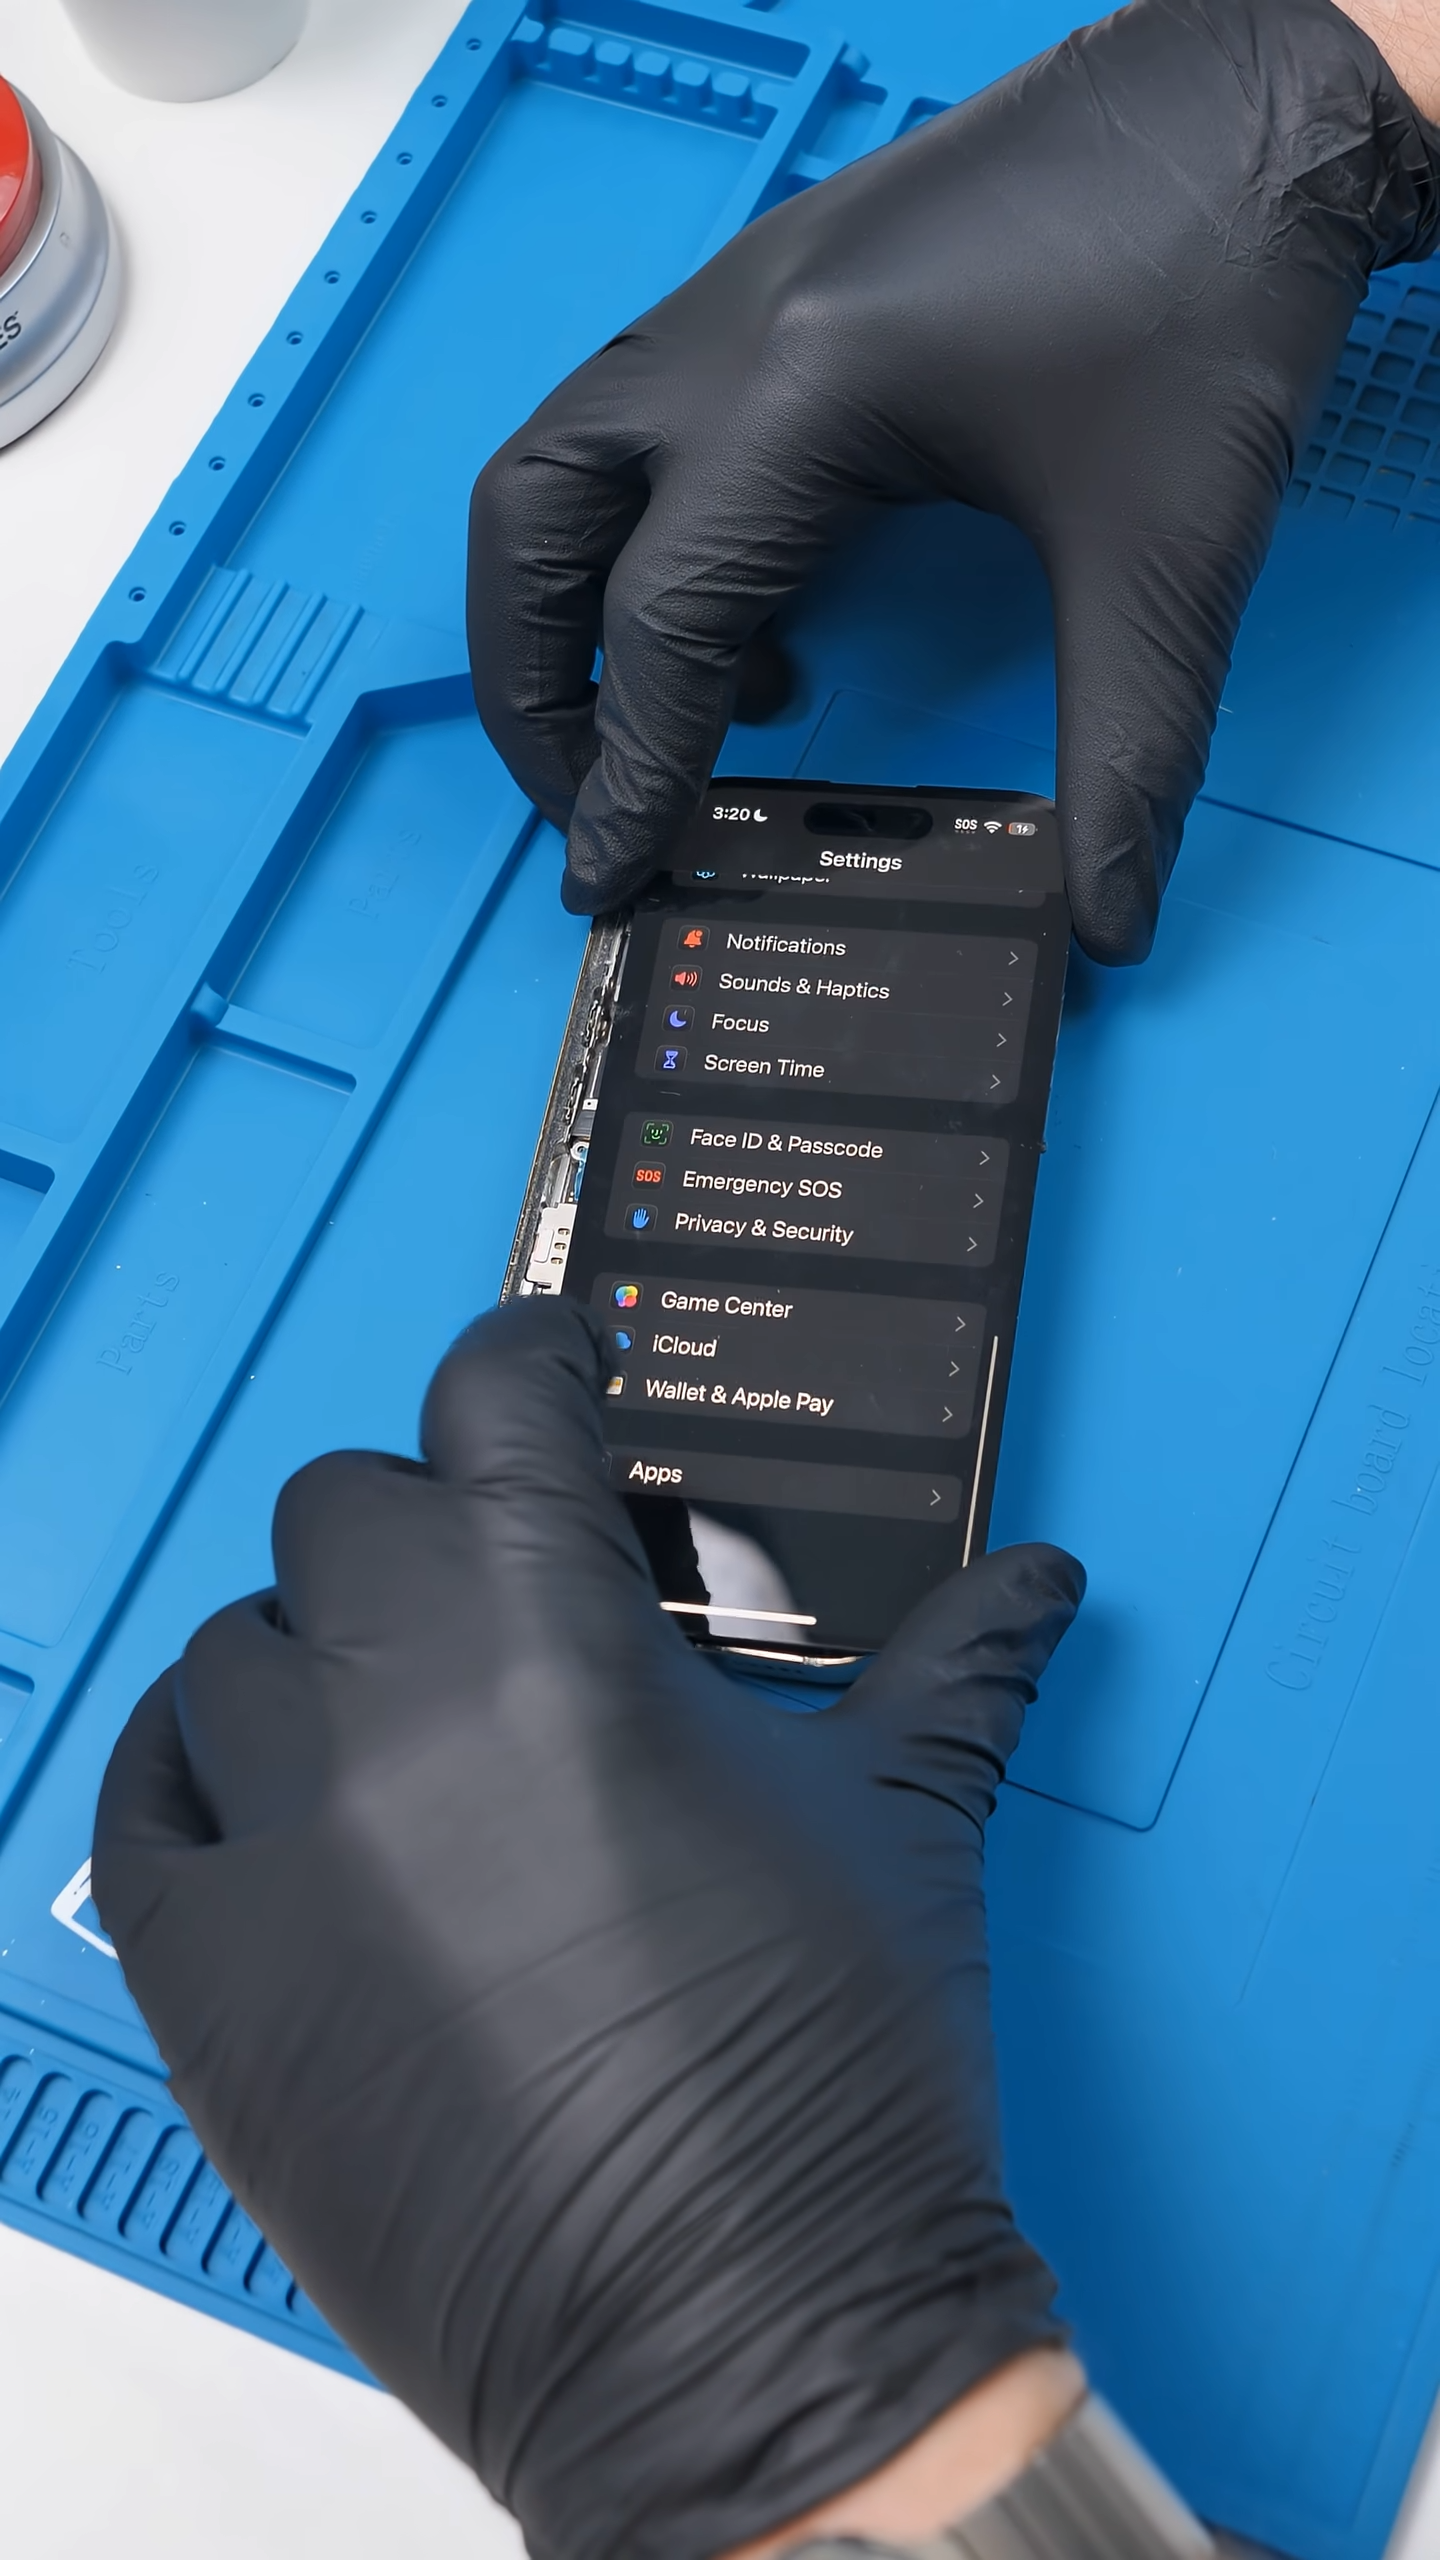
While the screen works right now, this kind of flex cable repair is usually temporary. Flex cables are designed to bend and move, and even reinforced repairs are still weak points.
Over time, vibration, heat, and repeated flexing can cause the wire or solder joint to fail again. That’s why repairs like this are often considered last-resort solutions rather than permanent fixes.
Final Thoughts
Repairs like this push the limits of what’s realistically fixable. They can be useful for testing, data recovery, or short-term use, but the repaired area will always be a weak point. Normal flexing, heat, or reinstallation can cause the repair to fail again. If long-term reliability matters, replacing the screen is still the safer option.
For anyone attempting this kind of repair, practice matters more than confidence. Trace-level work leaves almost no room for correction, and mistakes tend to make the damage worse instead of better. Without the right tools or experience, it’s easy to turn a repairable screen into a total loss.
See you in the next article!