
Fixing a Broken iPad Pro Screen Is Easier Than You Think…
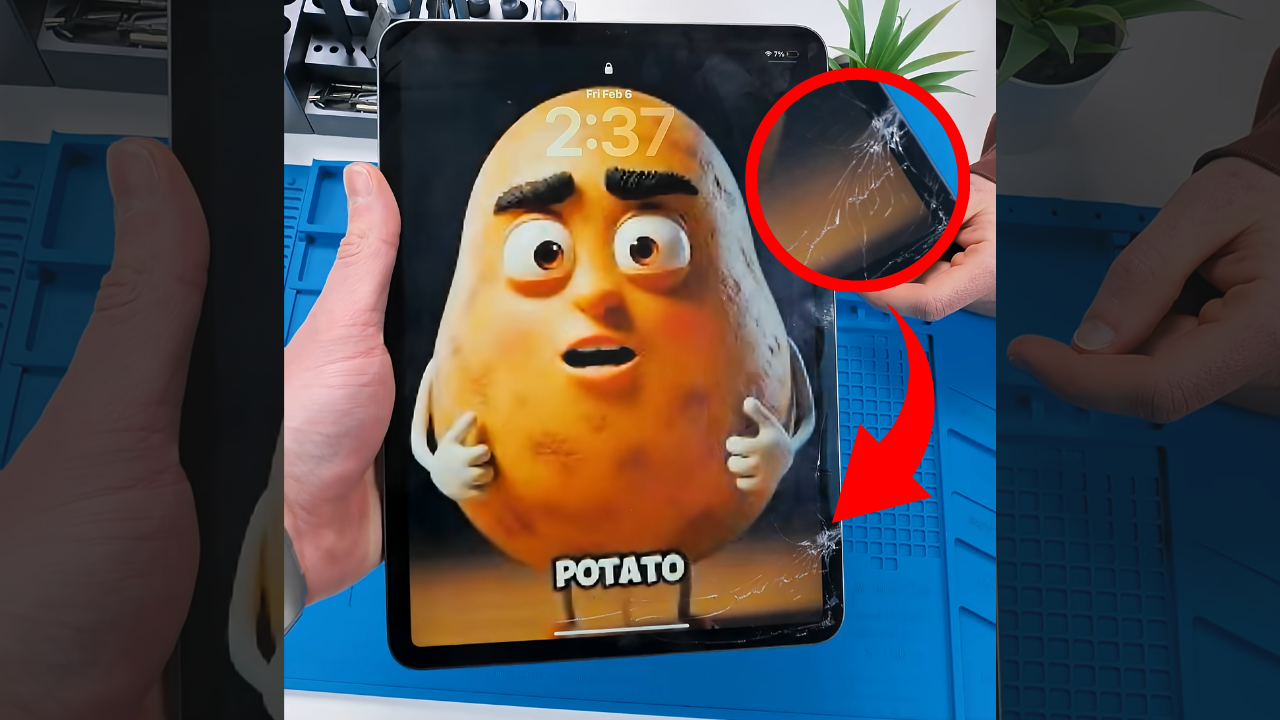
This is an iPad Pro 11-inch 2nd Generation, and it came in with a broken screen. The glass was cracked, but the good news is that this model is actually one of the more repair-friendly iPads when it comes to display replacements.
That does not mean you can just pry it open and hope for the best. There is still a right way to do it. If you are going to fix an iPad, this is one of the easier ones to start with. You mainly need controlled heat, a suction cup, a toolkit and patience.
Opening It the Right Way
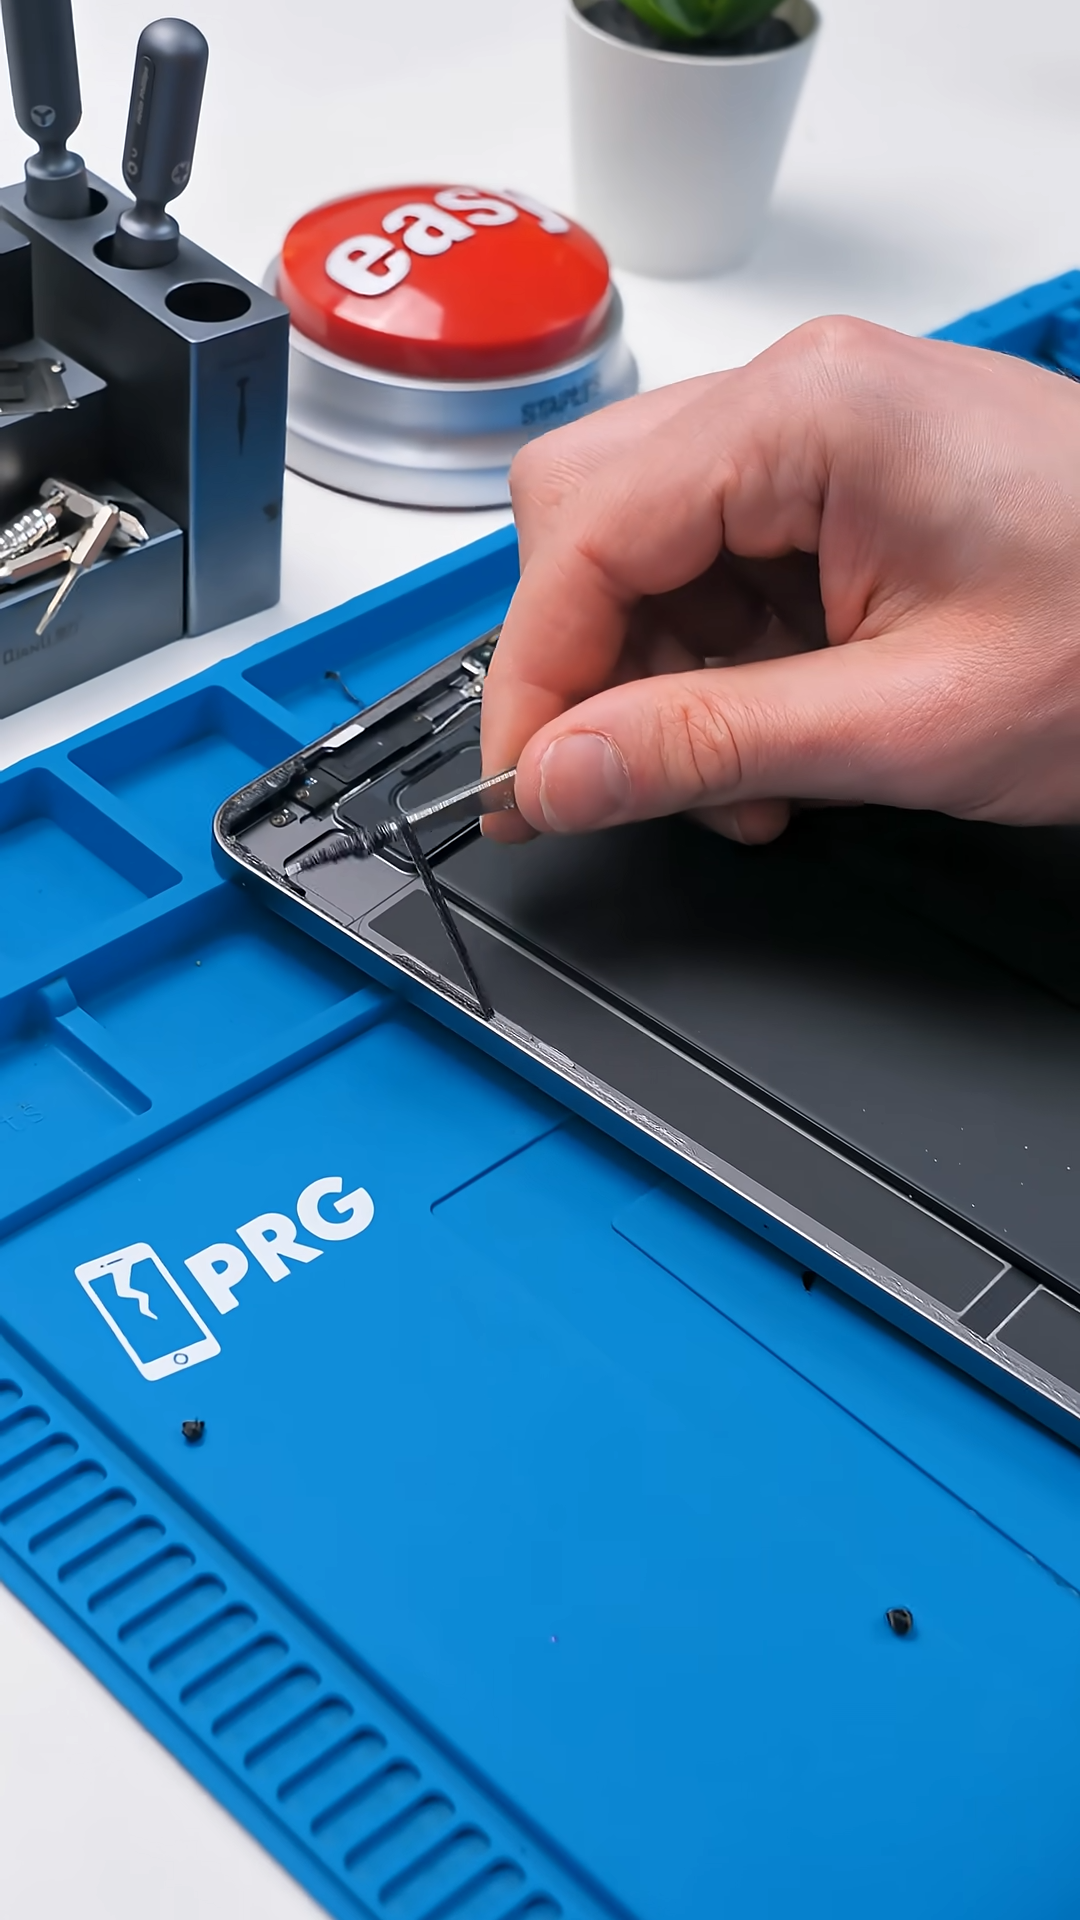
Getting into this iPad starts with heat around the perimeter. Apple uses a strong adhesive to seal the display to the frame, so warming it up softens that bond and makes separation much safer.
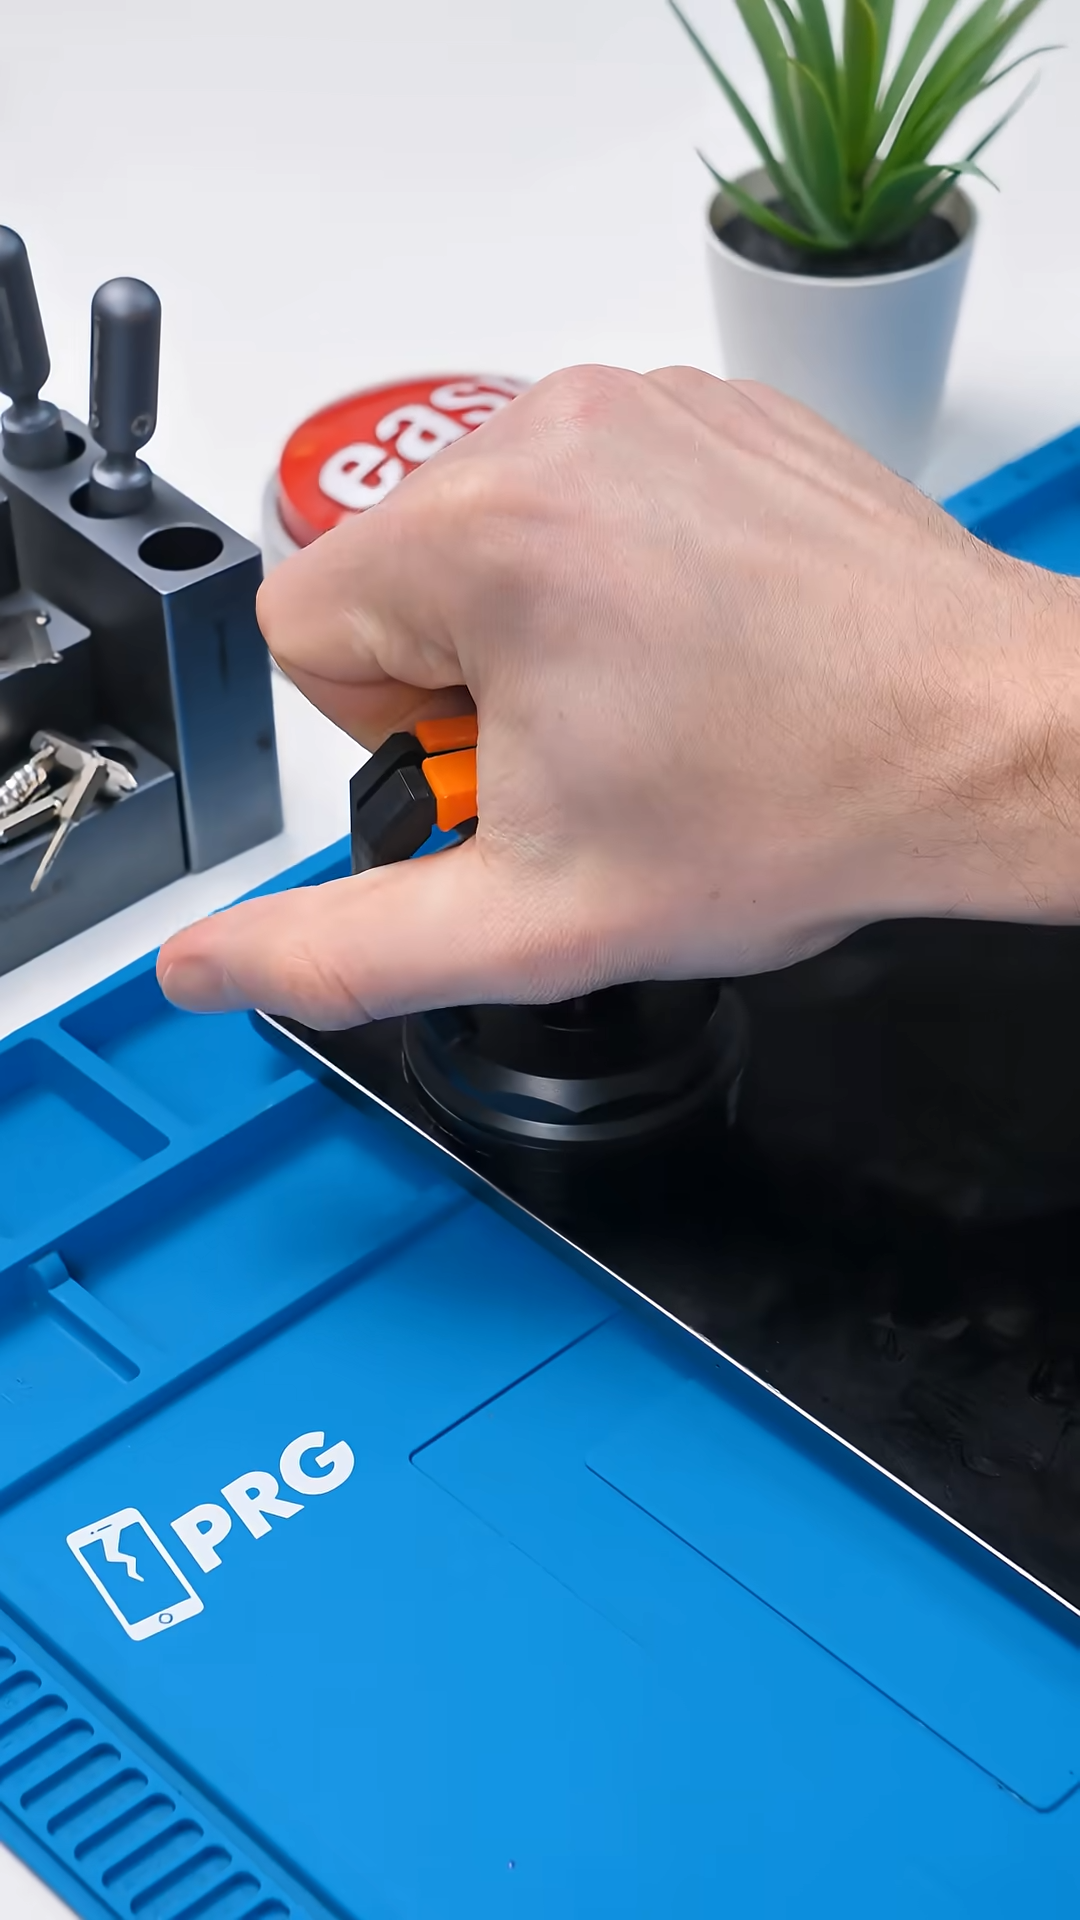
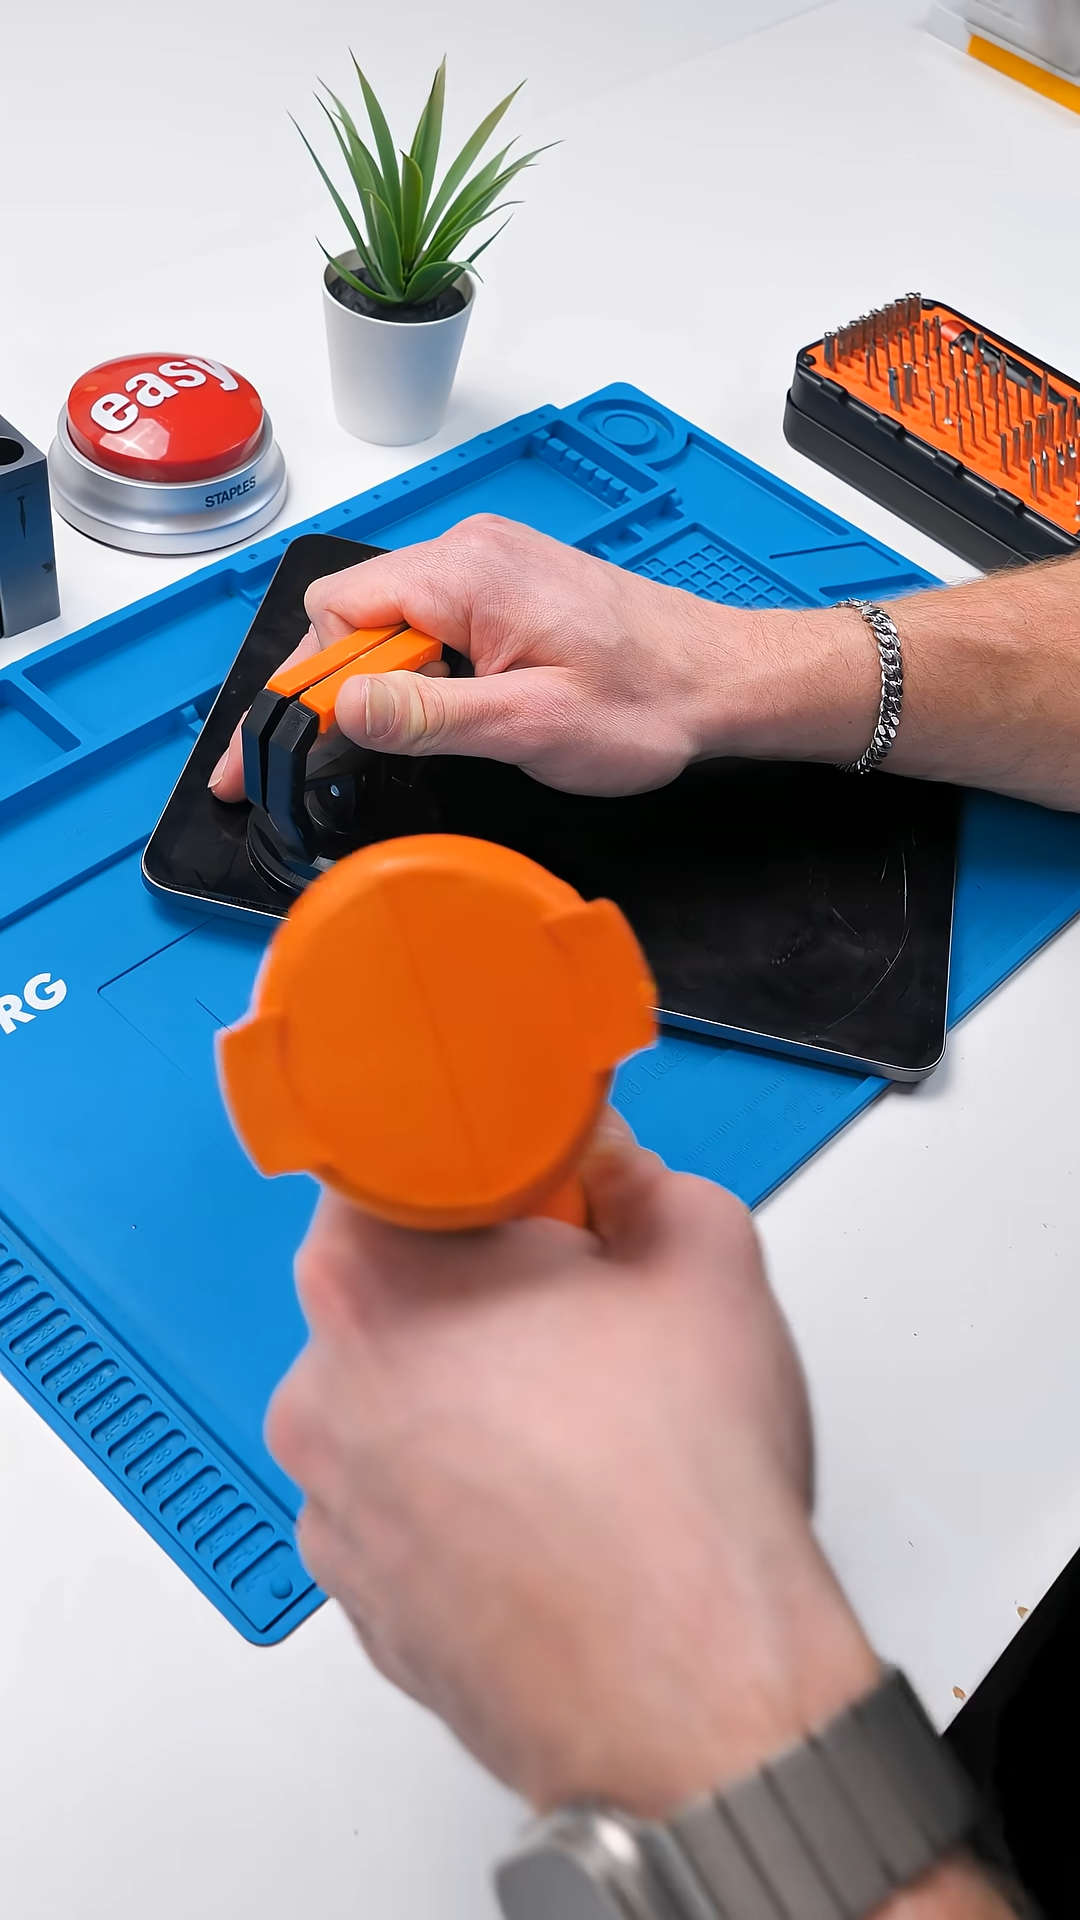
A suction cup helps lift the edge just enough to slide in a thin tool. Once you create that gap, you slowly work your way around the edges to separate the adhesive.
This is where things can get sketchy.
You can’t just flip the screen open like a book. There’s a display cable attached underneath, and if you lift it too far or too fast, that cable can tear instantly. What started as a simple screen repair can turn into a much bigger problem.
Instead, you carefully lift the display and shift it to access the internal connector area. Once the cable is disconnected properly, the display can finally be removed safely.
That extra step makes all the difference.
Inside the iPad Pro
Once opened correctly, the inside of the iPad Pro 11-inch 2nd Generation is actually very clean and organized. Apple’s layout here is tidy, and the display assembly itself is straightforward.
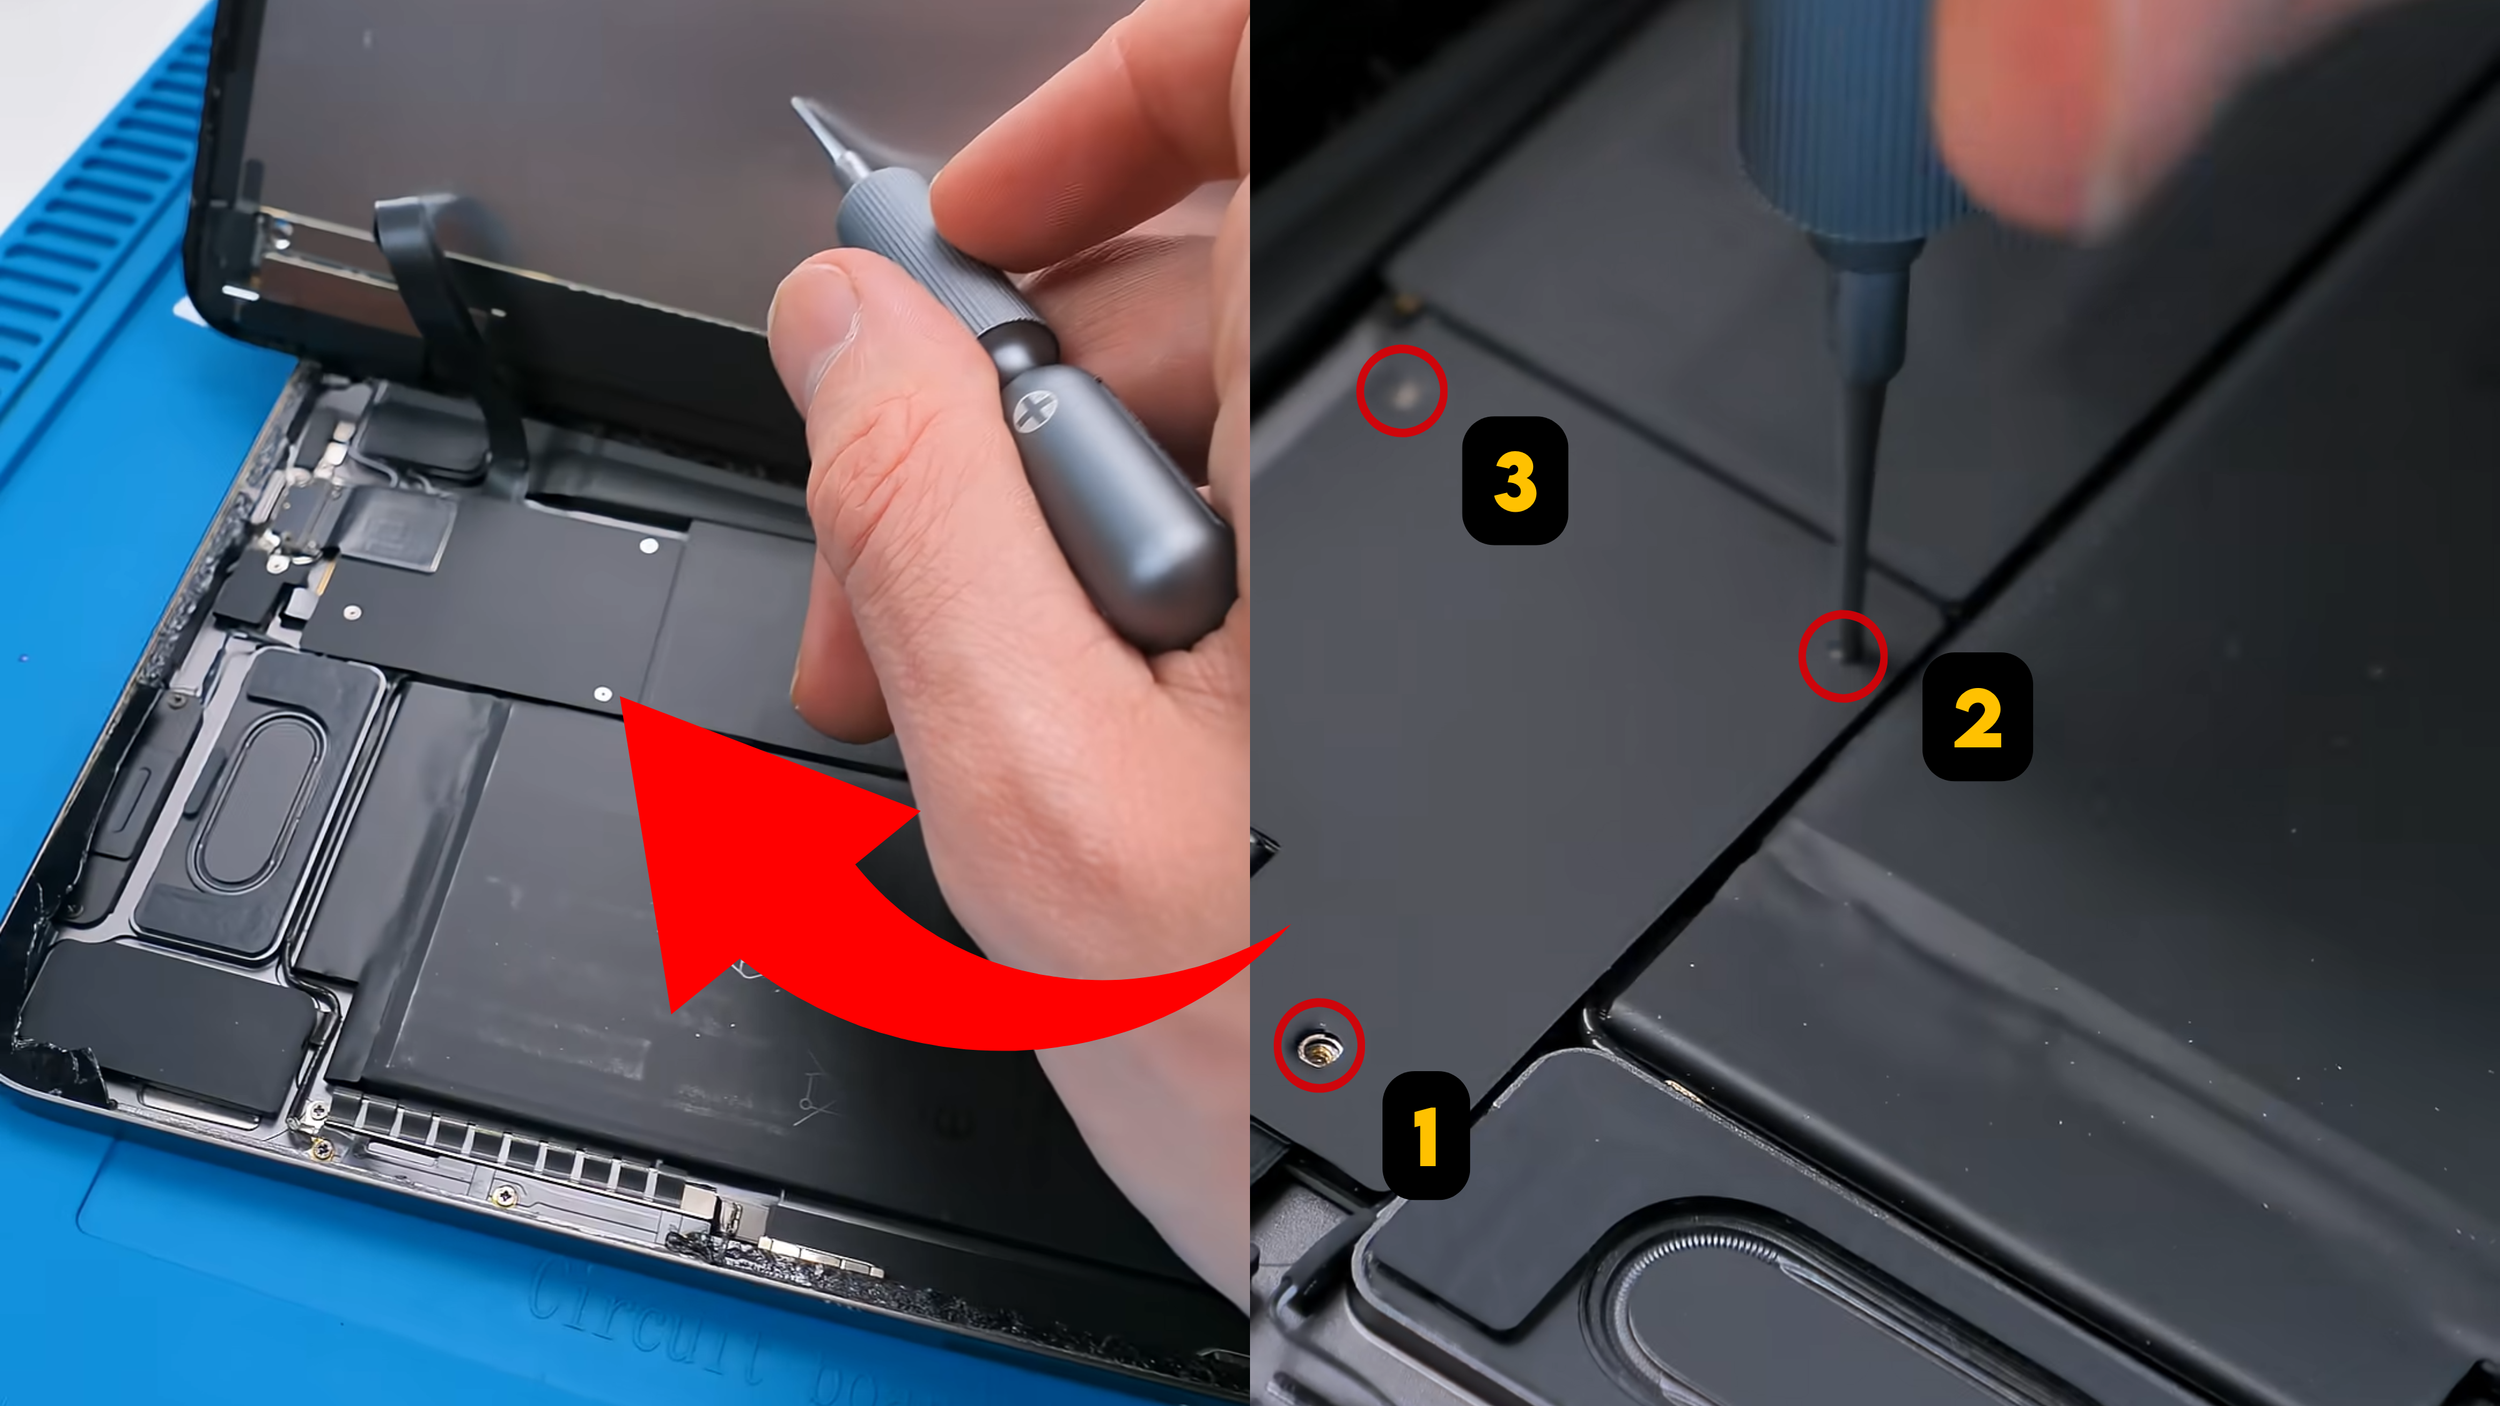
To remove the screen assembly, there are only three screws securing the bracket over the connector area and that is it. Compared to older iPads with more layered components and extra brackets, this is relatively simple.
What Needs to Be Transferred
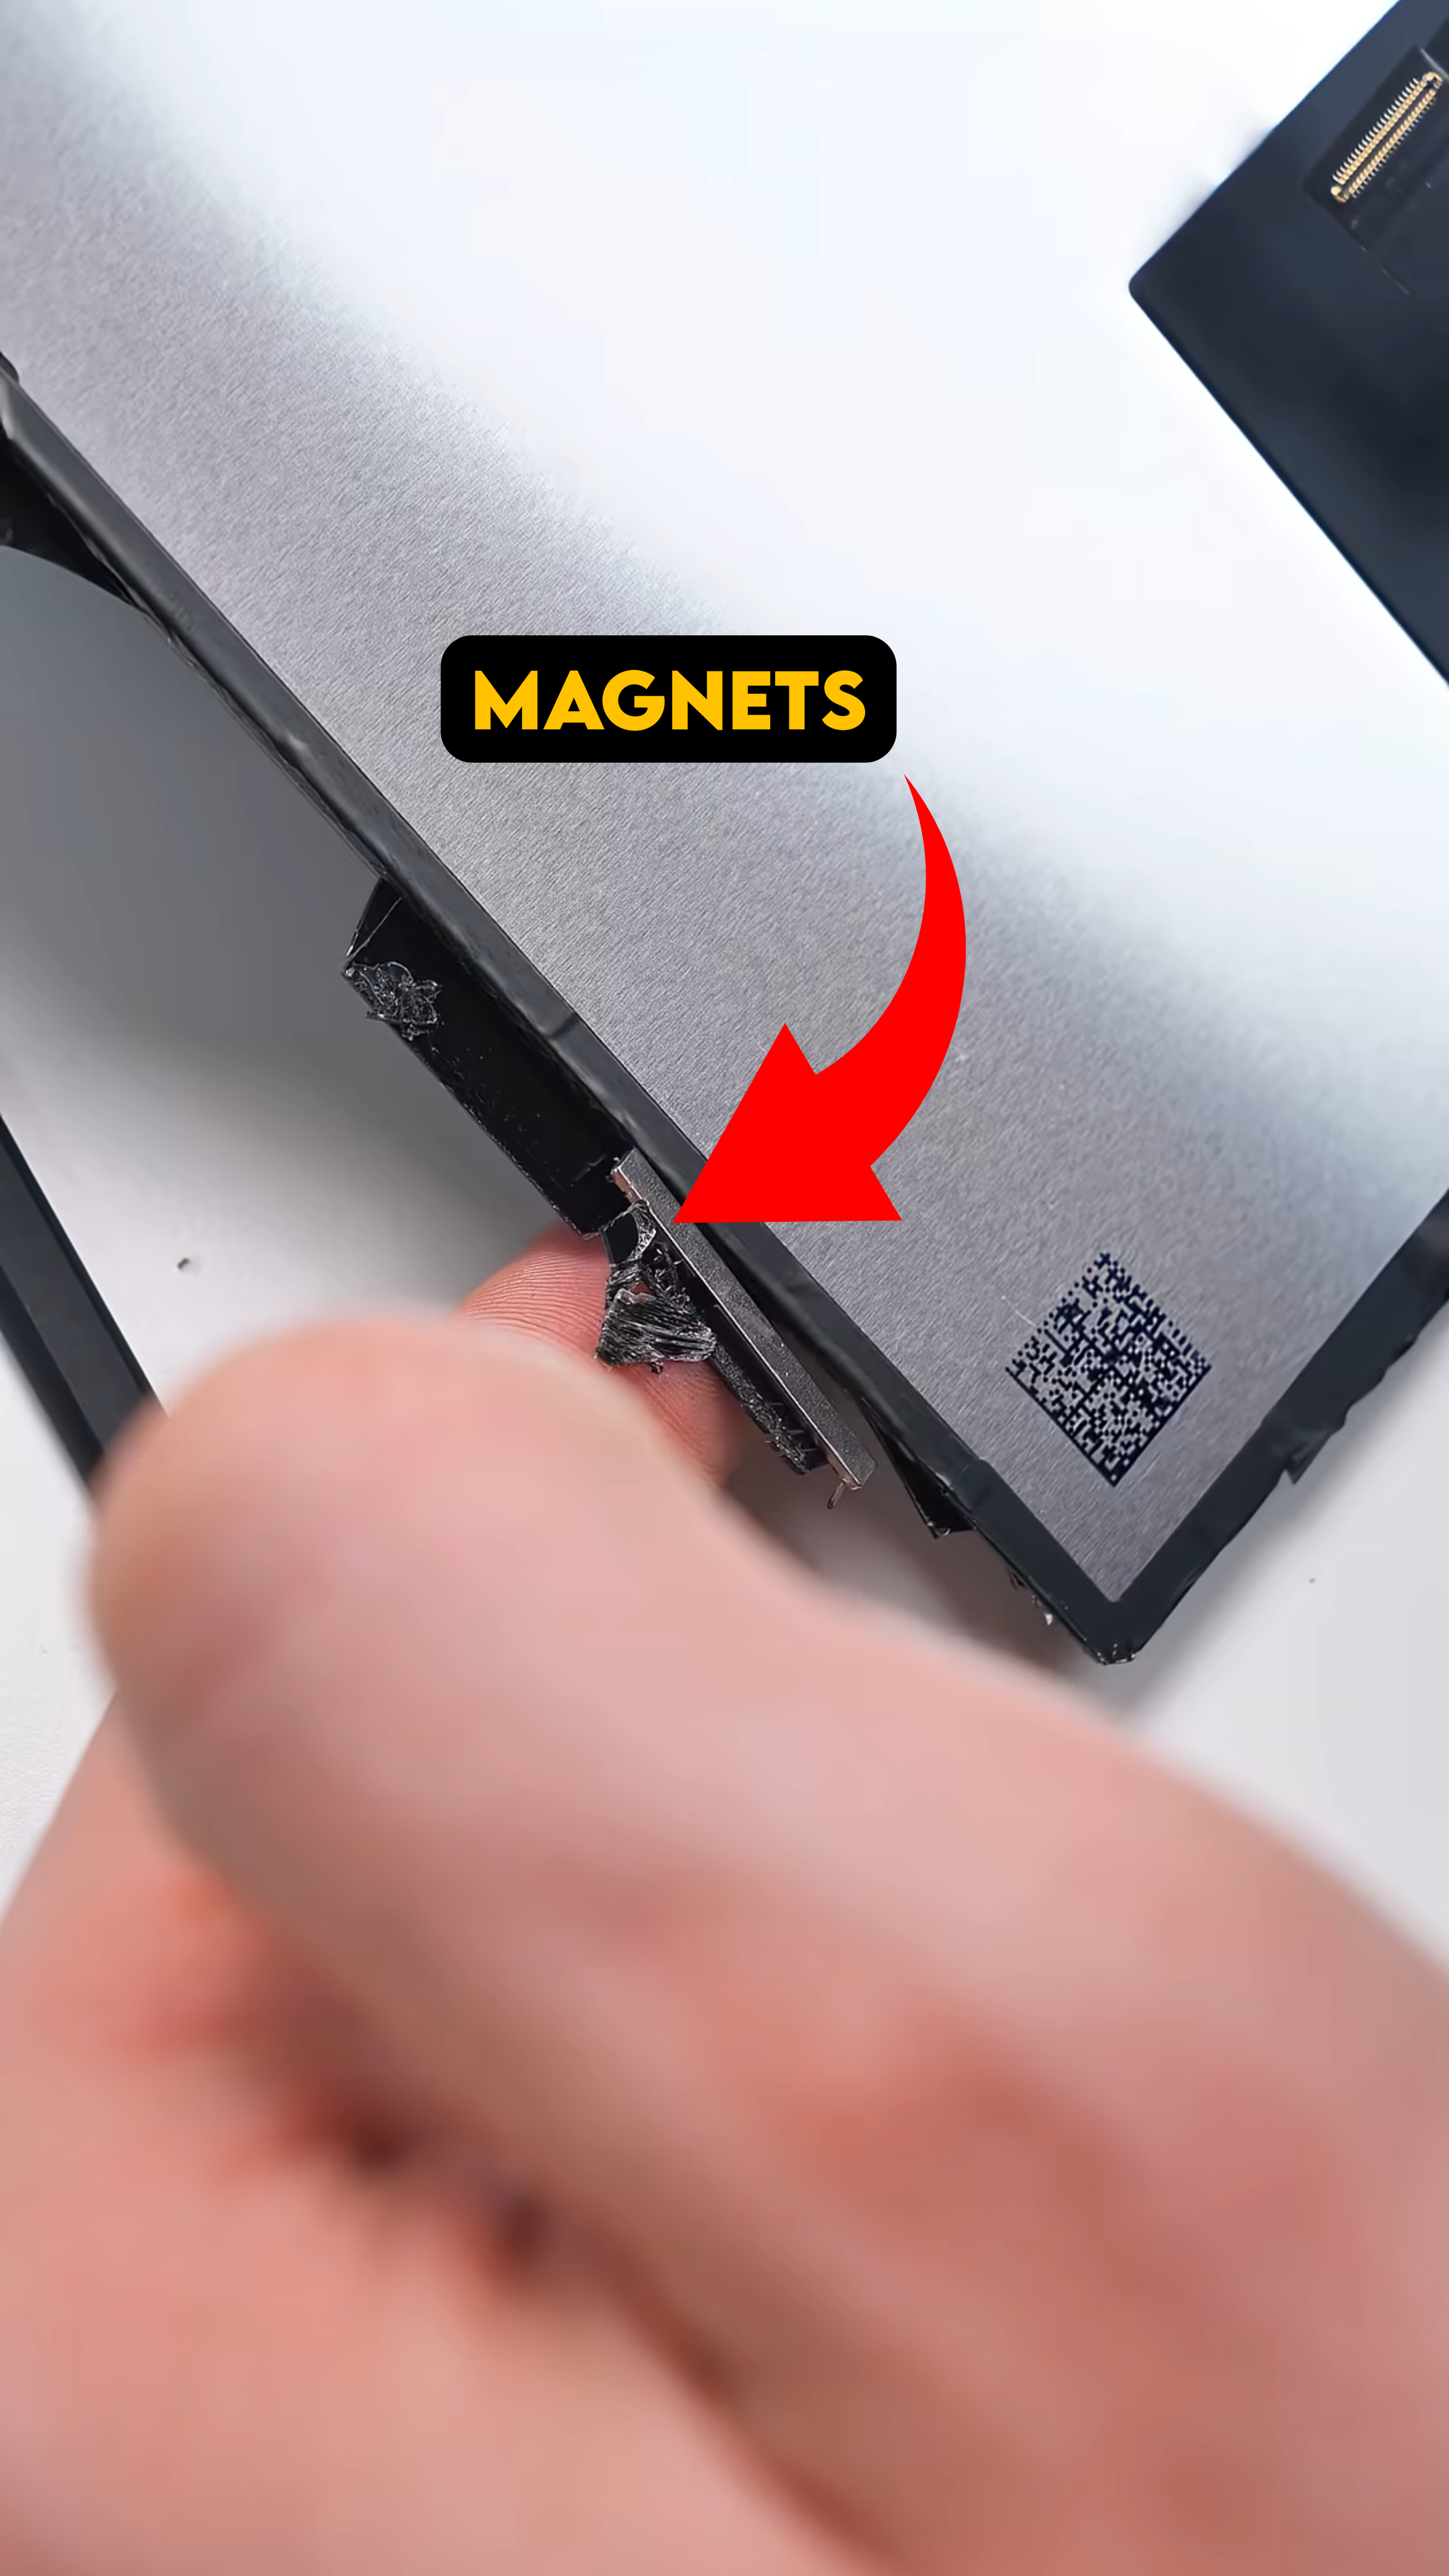
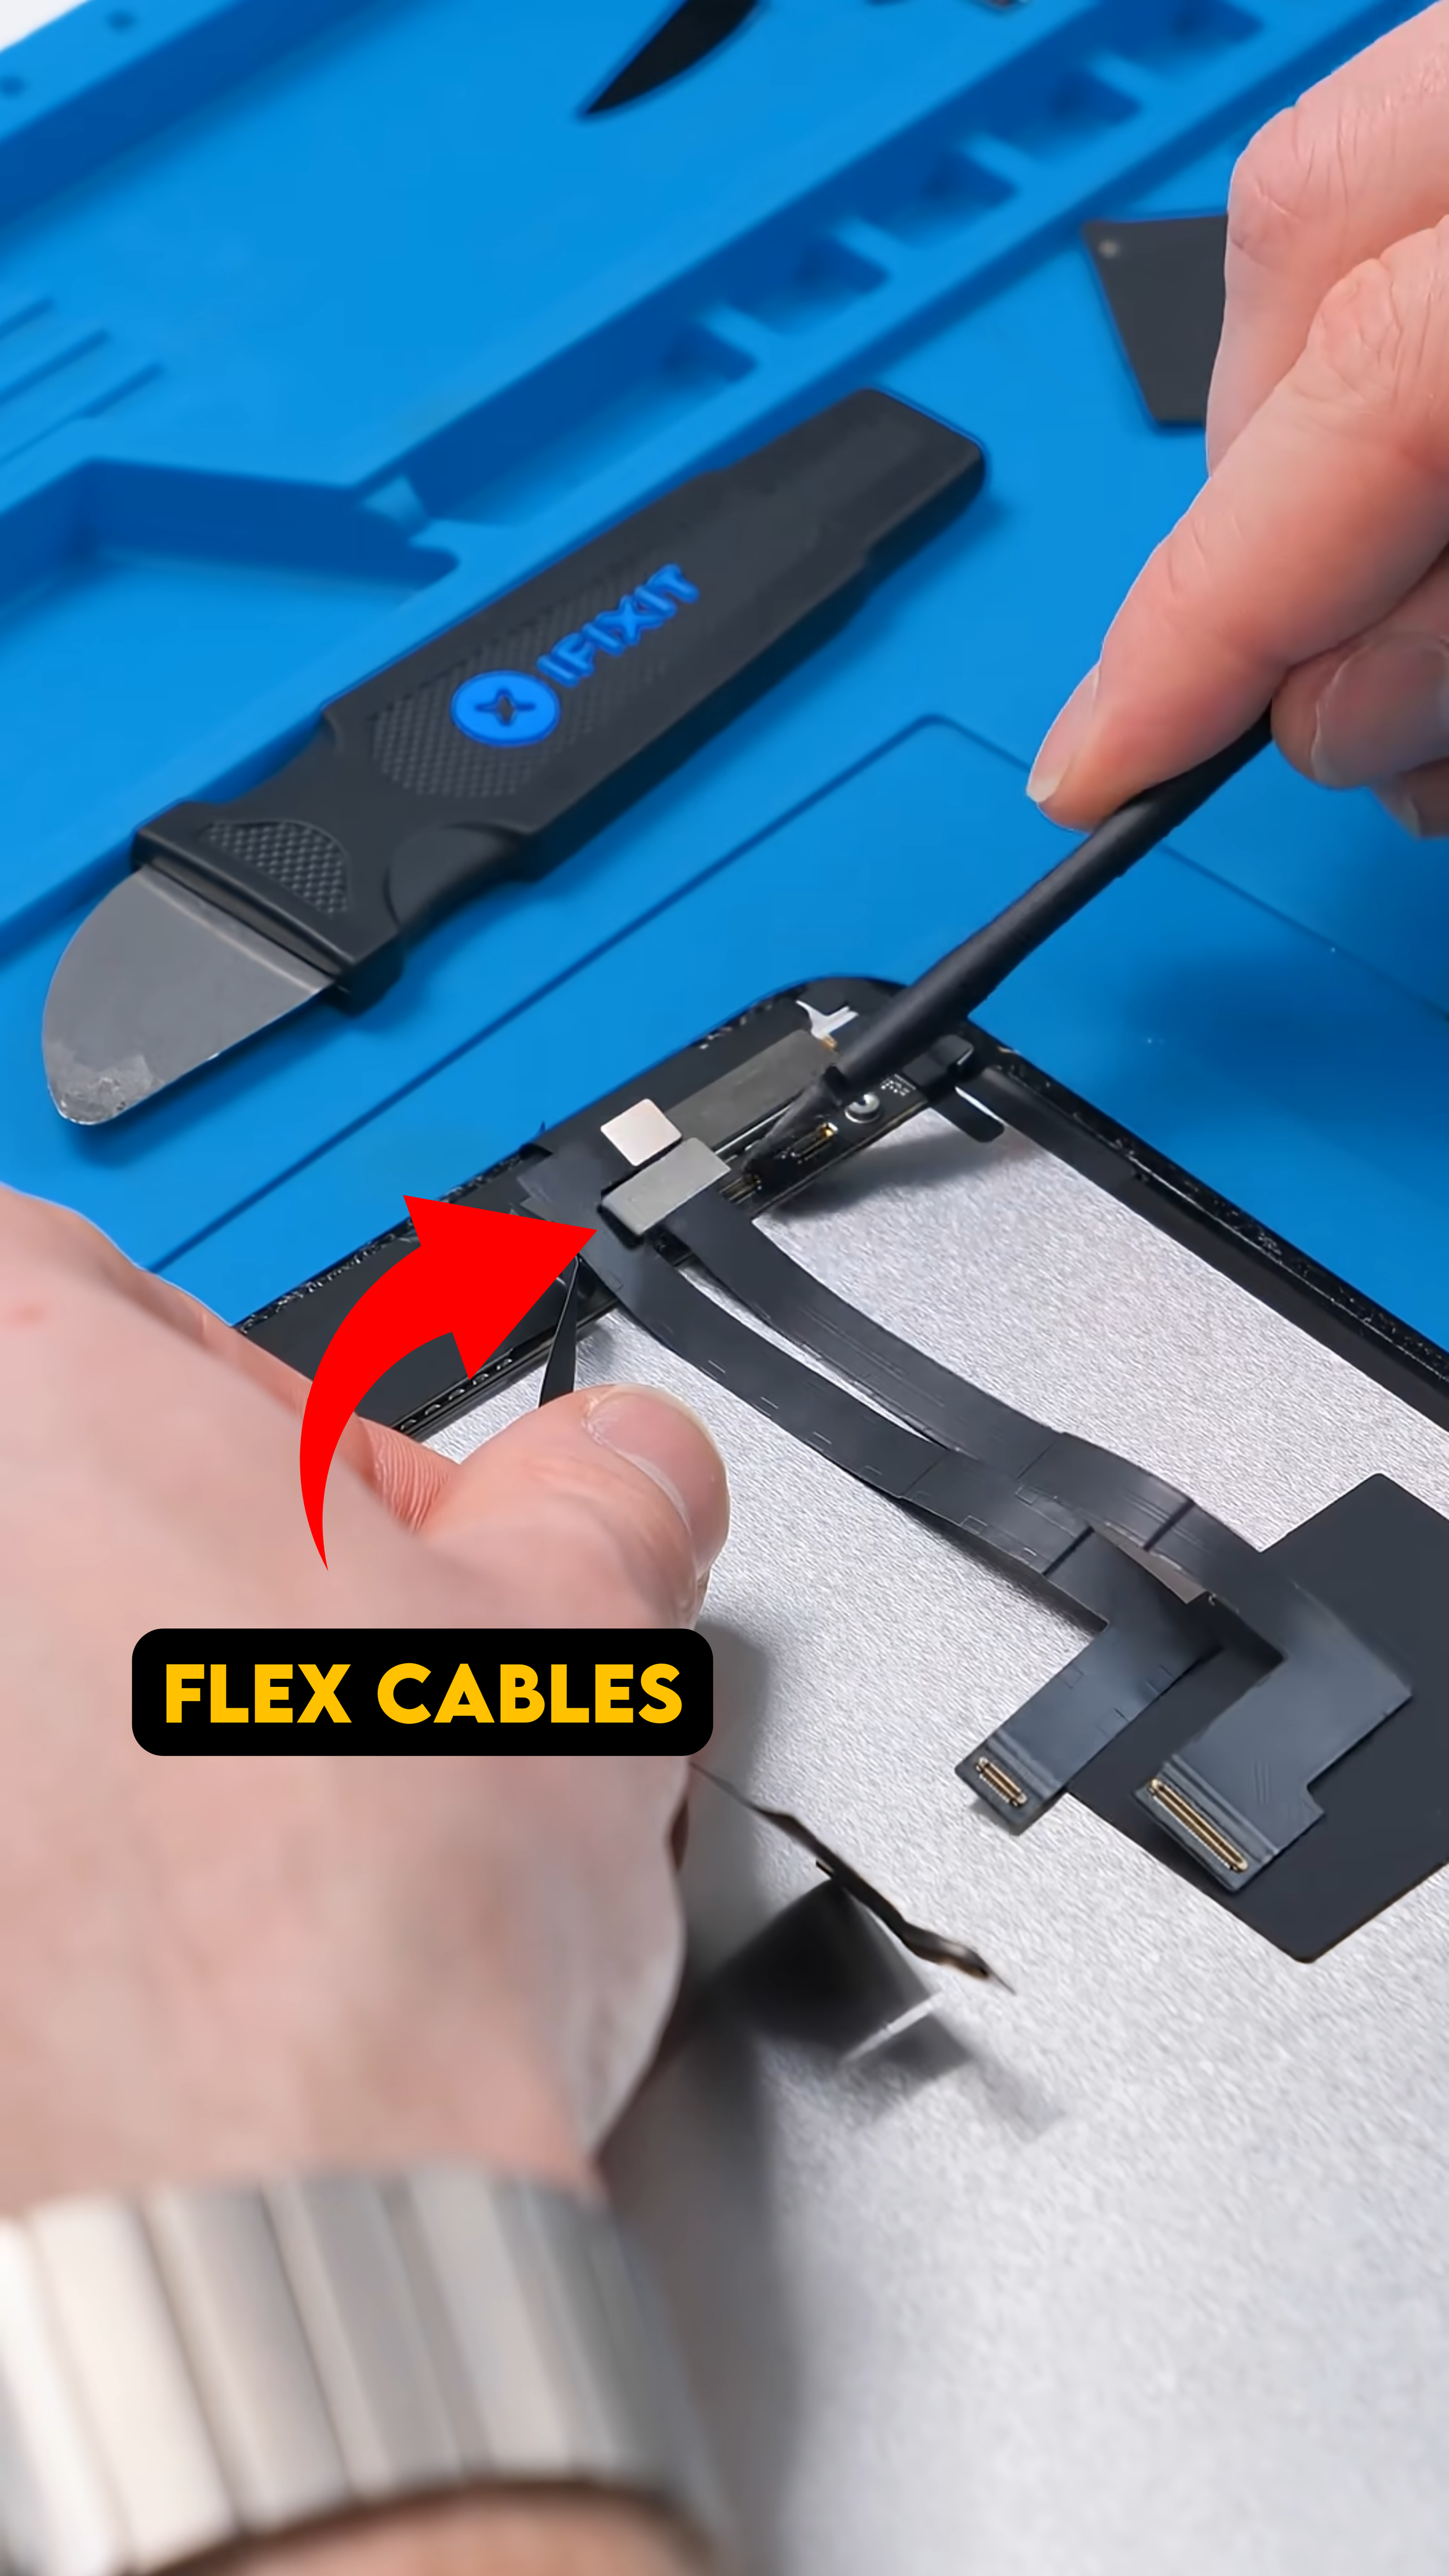
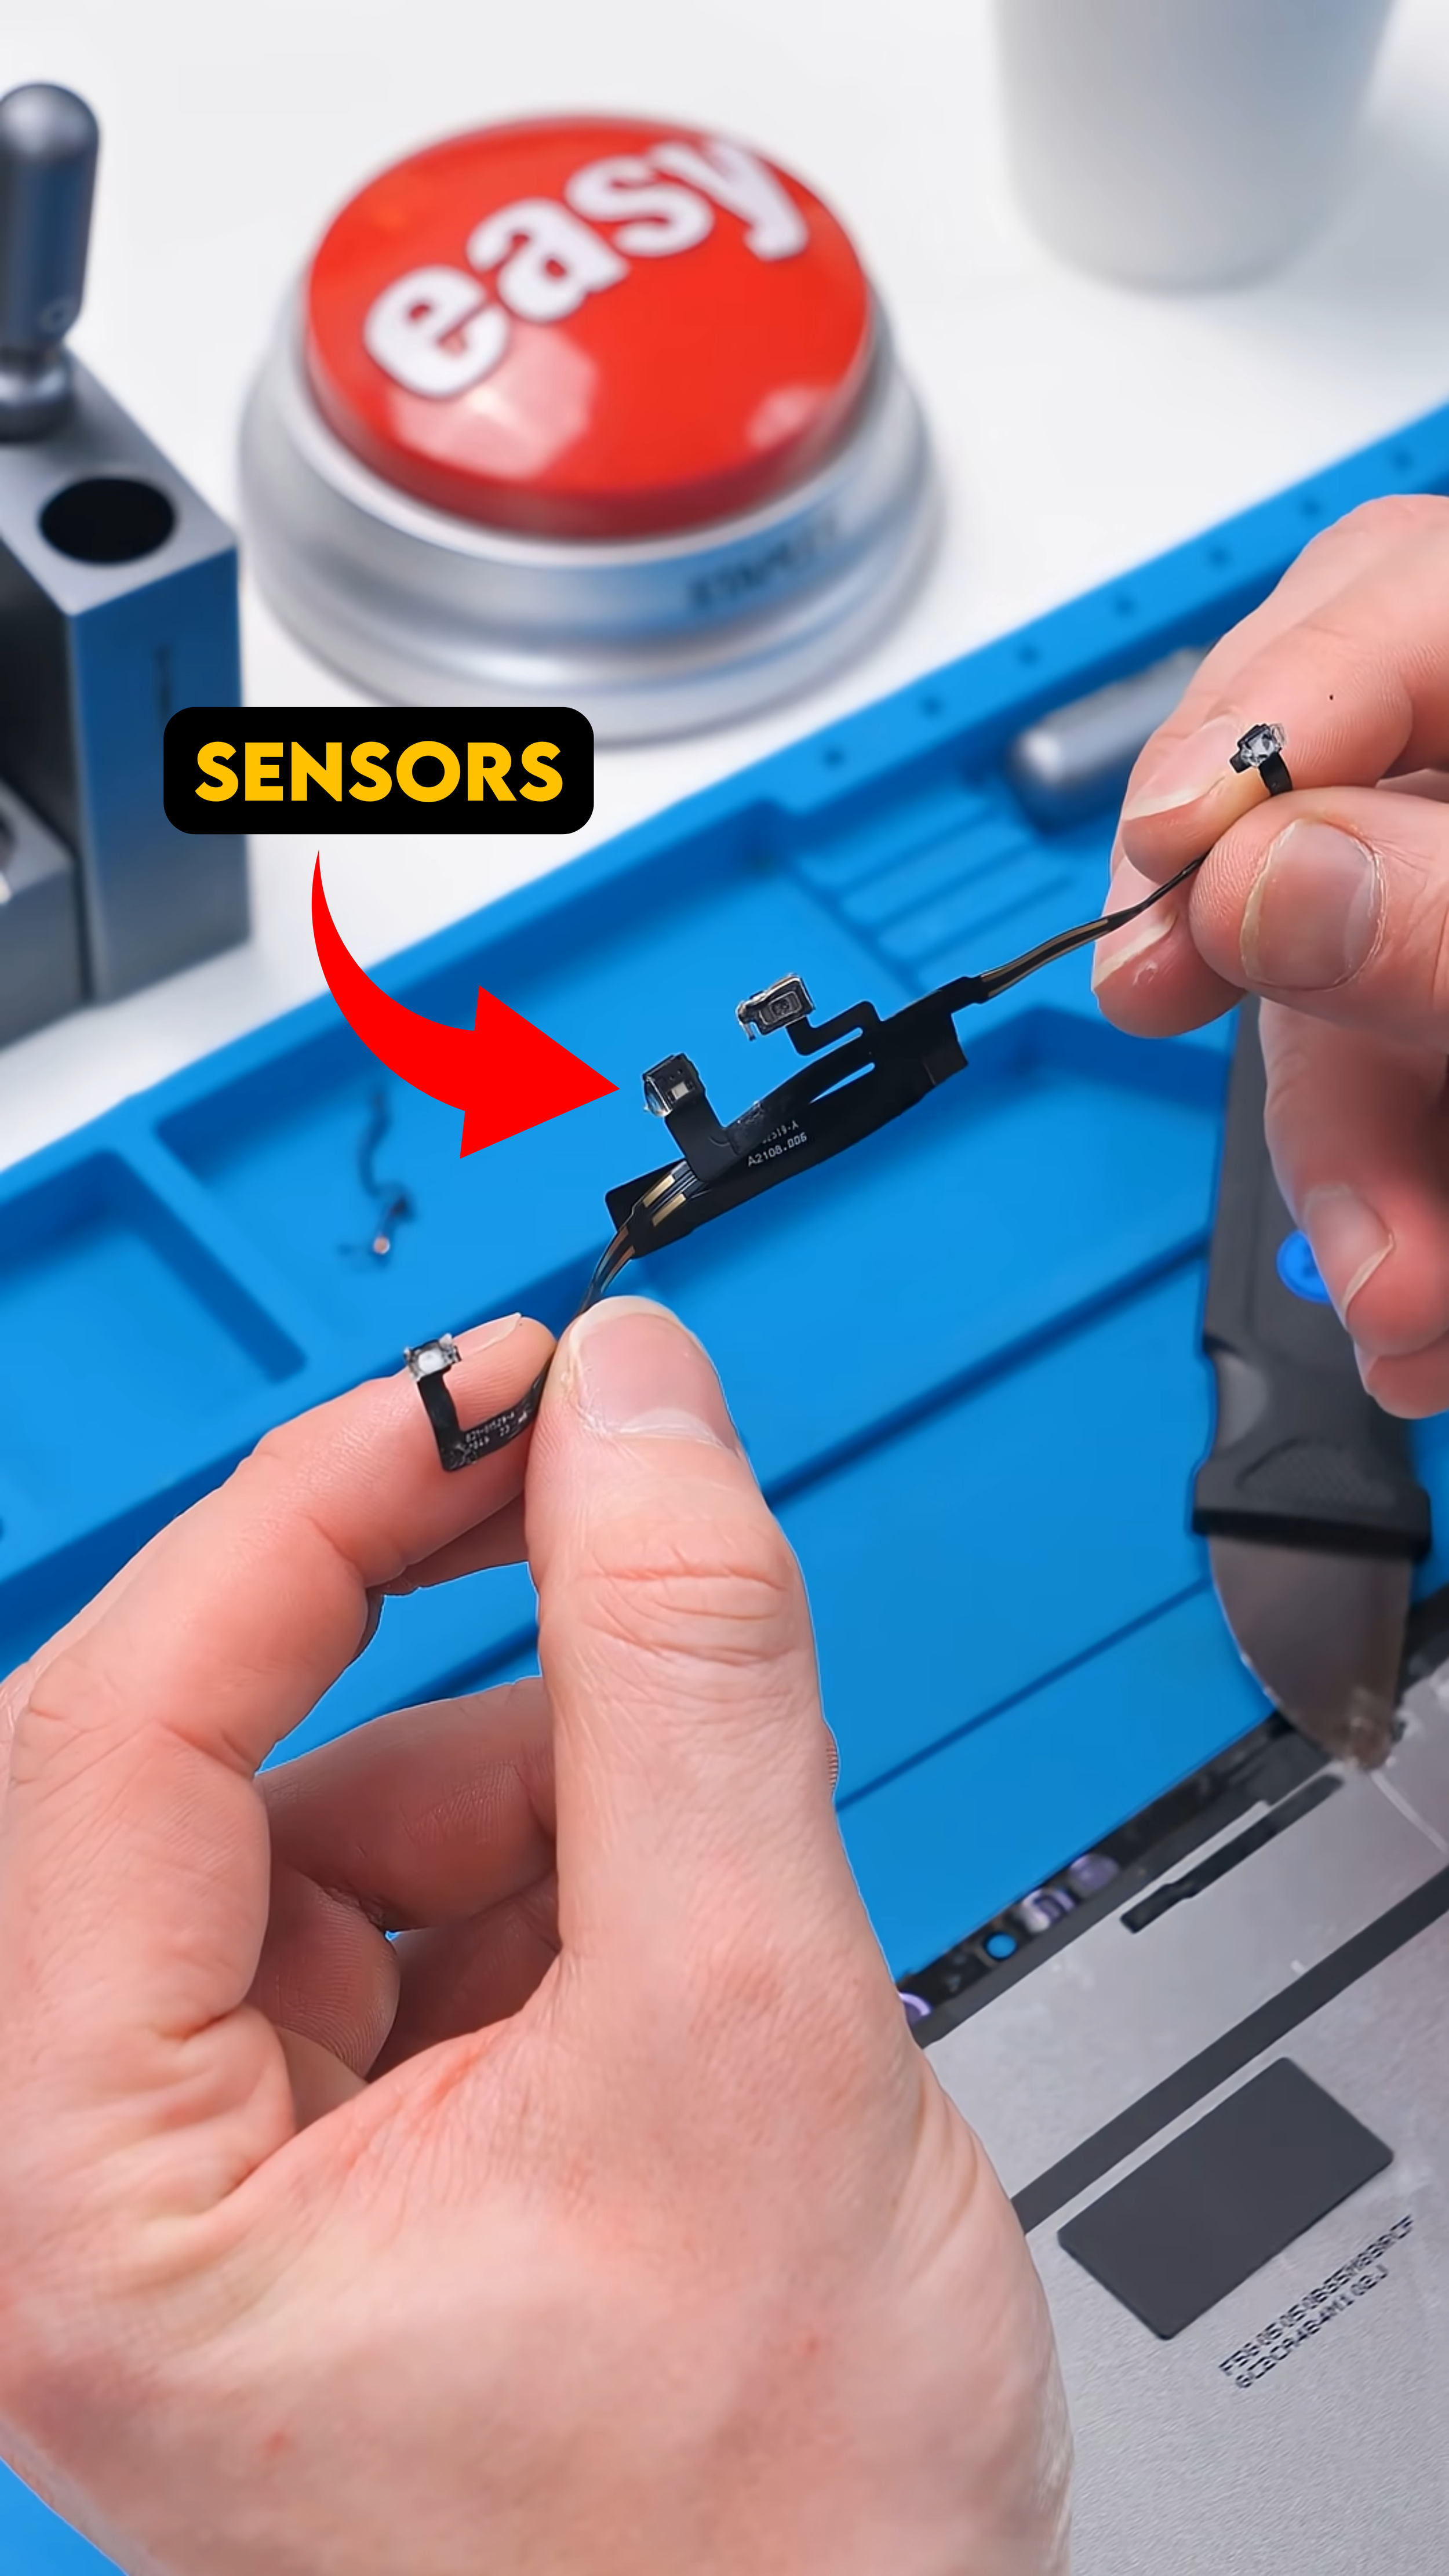
When installing a new display, you cannot just drop it in and seal it up. There are a few components that need to be transferred from the original screen to the replacement:
The display magnets
The sensors
The necessary flex cable components
These parts ensure proper functionality, including alignment and sensor performance. Skipping this step or damaging these components can lead to issues with brightness control, True Tone behavior, or magnetic accessory alignment.
Once those pieces are carefully moved over, the new display is almost ready.
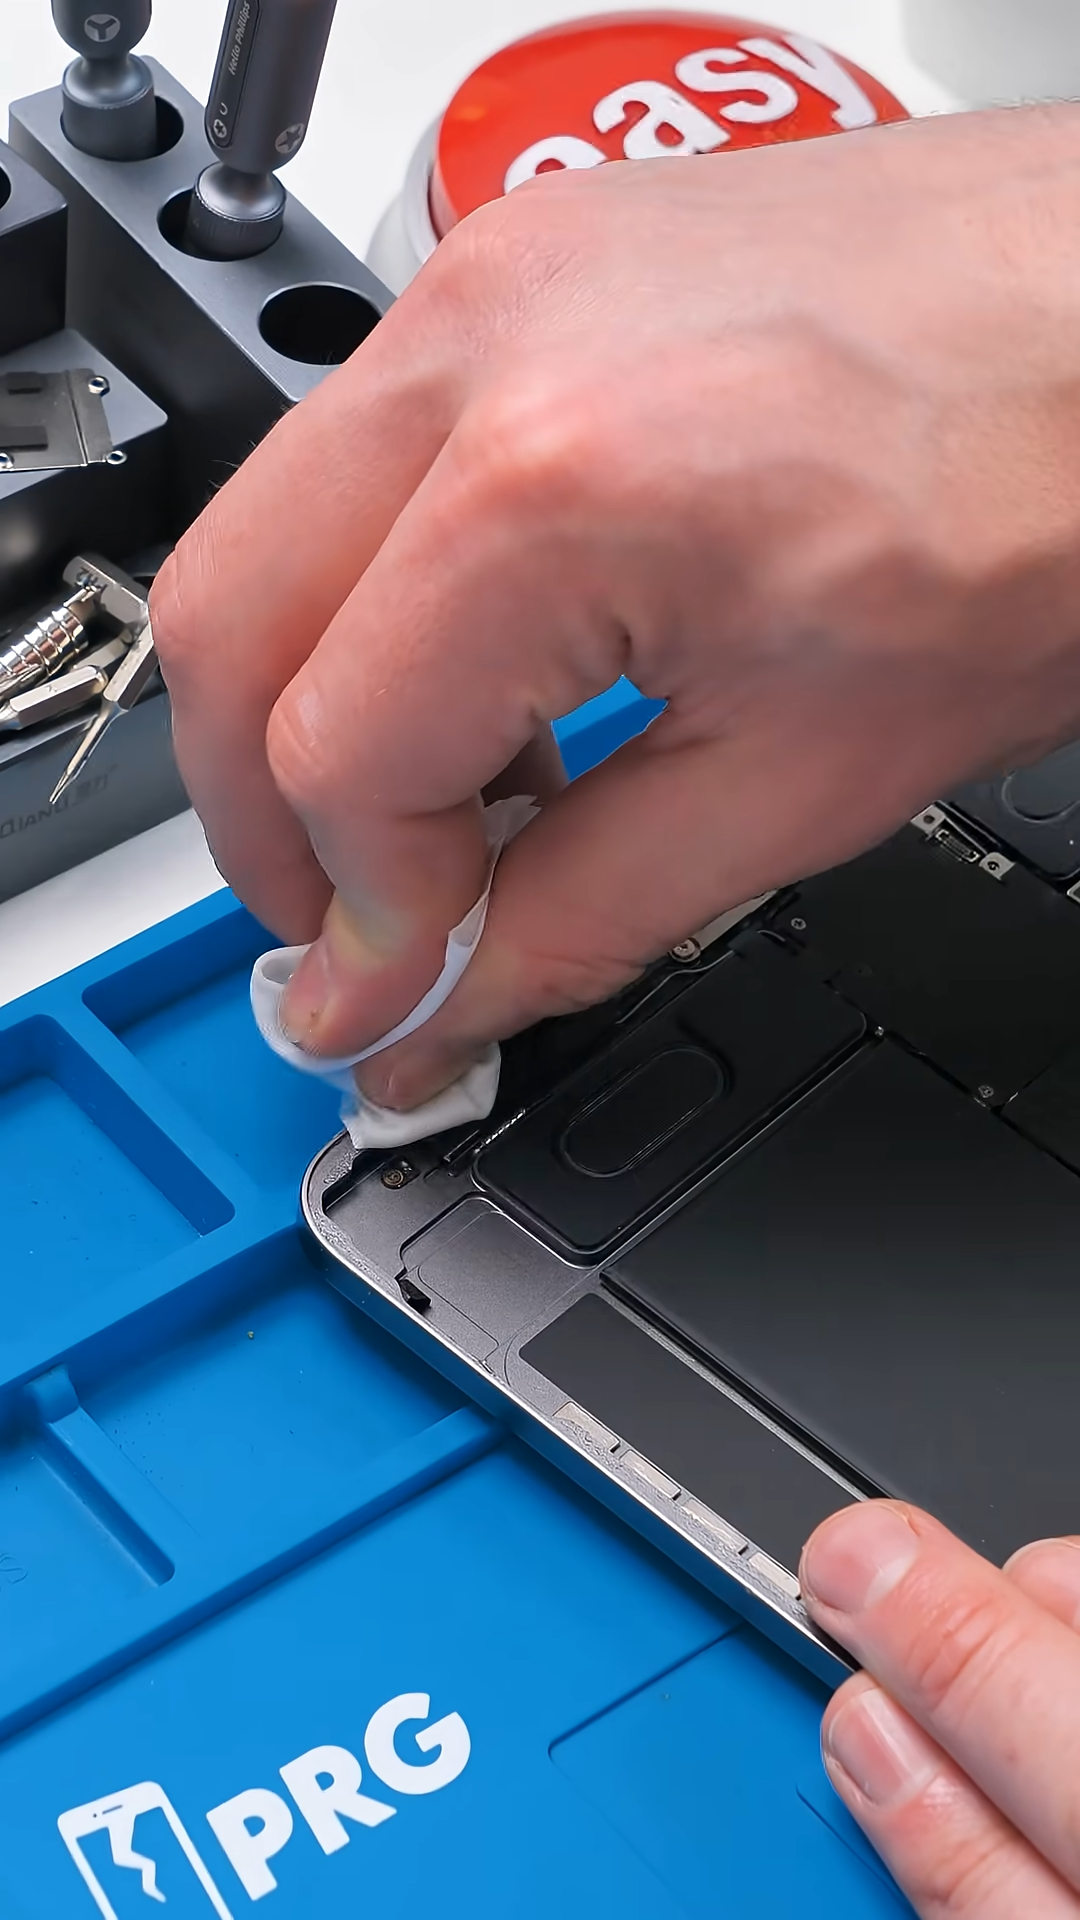
Cleaning and Testing
Before installing the new screen permanently, the frame perimeter needs to be cleaned thoroughly. All leftover adhesive has to be removed so the new adhesive can bond correctly. Any debris left behind can prevent a proper seal or cause slight display lift later on.
After cleaning the frame, the new display is connected temporarily to test it. Always test before sealing. Confirm that:
The display powers on
Touch works across the entire panel
There are no dead spots or lines
If everything checks out, you can apply fresh adhesive and reinstall the screen permanently.
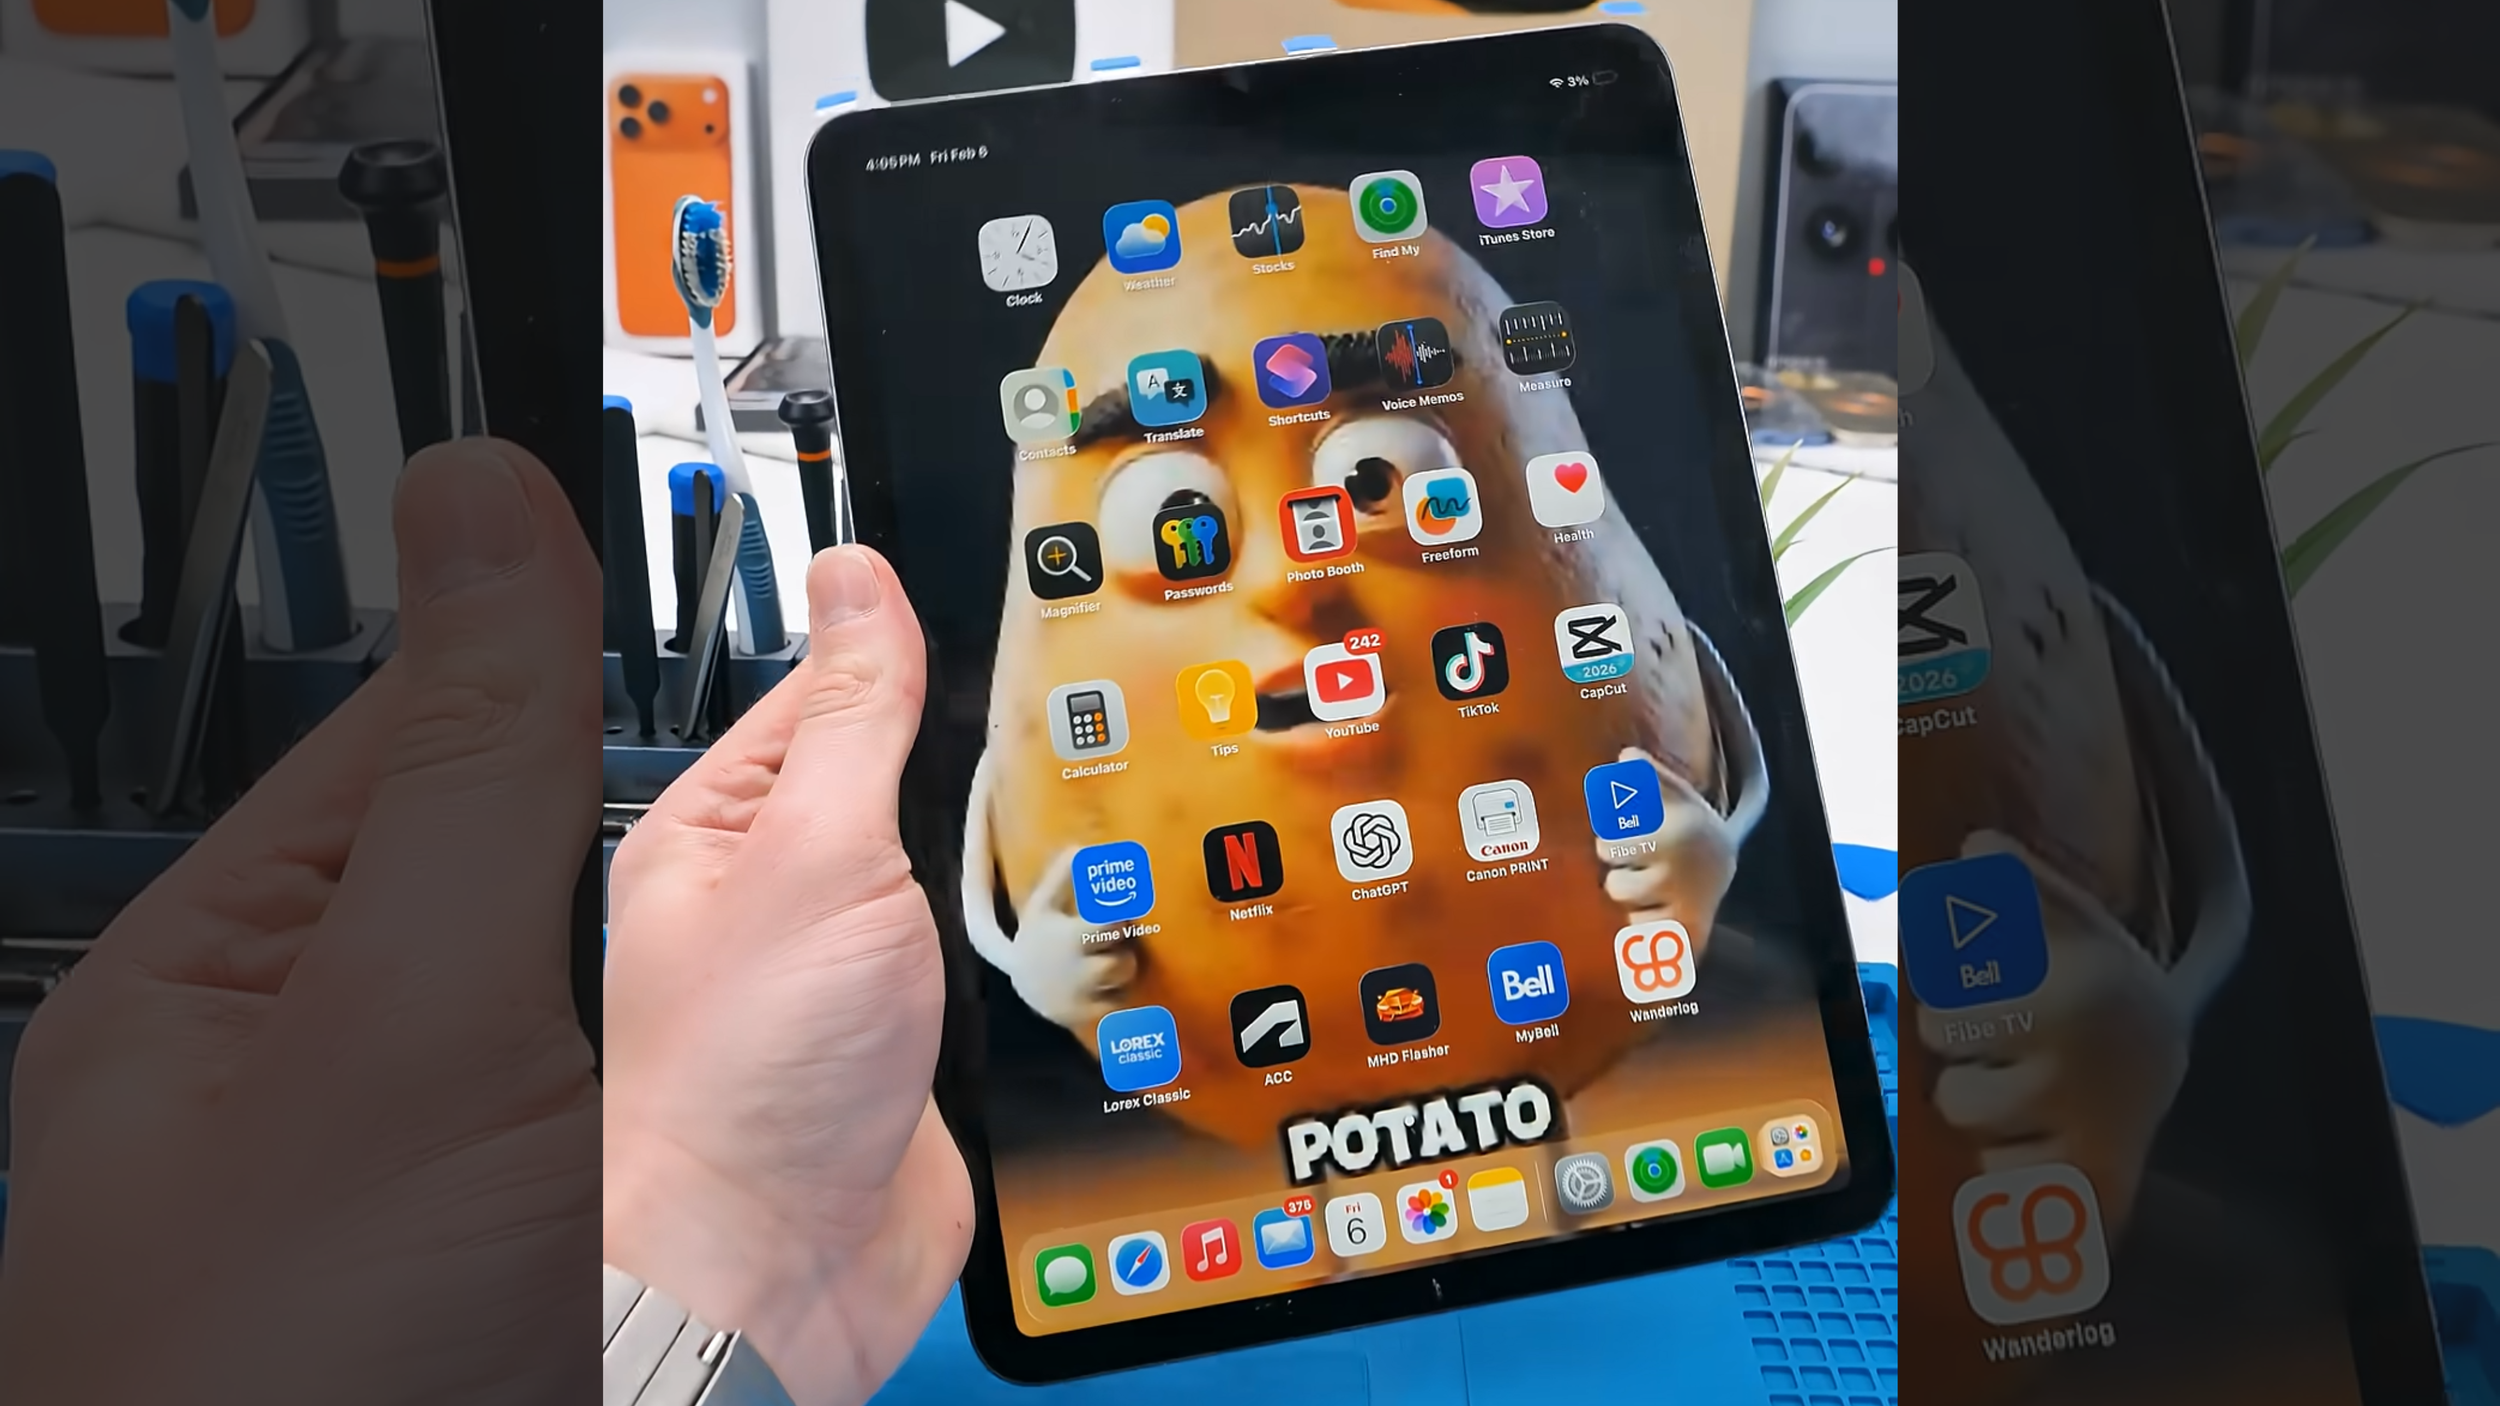
After cleaning up the perimeter and testing the new screen, everything powered on perfectly. The display looks sharp, touch is responsive, and the iPad is fully working again.
Final Thoughts
This repair is not exactly easy. iPads are still sealed devices with delicate internals, but compared to older models and many other tablet repairs, the iPad Pro 11-inch 2nd Generation is far more manageable. The key is taking your time during the opening process. Heat, lifting the display, and especially disconnecting the cables are where most mistakes happen, so rushing any of those steps is asking for trouble.
Work carefully, transfer the necessary components, test everything before sealing it back up, and you can end up with a clean, professional result. It is not beginner-level simple, but it is much more approachable than it used to be. And honestly, there is something genuinely satisfying about bringing a cracked iPad back to life without replacing the entire device.
See you in the next article!