
This Looks Like An iPhone 17 Pro... But It Was Built, Not Bought

Most iPhone conversion kits are little more than cosmetic upgrades. They copy the look of Apple's latest phone, swap the housing, and call it a day. But this one promised something different.
Instead of simply making an iPhone 14 Pro Max look like an iPhone 17 Pro Max, this $300 conversion kit set out to recreate some of the newest hardware features as well. If it could deliver on everything it promised, it had the potentialto become one of the most convincing iPhone conversion mods we've ever tested.
More Than Just a New Housing
The first surprise came before the phone was even opened. Most aftermarket housings are easy to spot. The finish feels cheaper, the machining isn't as precise, and small details usually give away that they aren't original parts.
This housing was different.
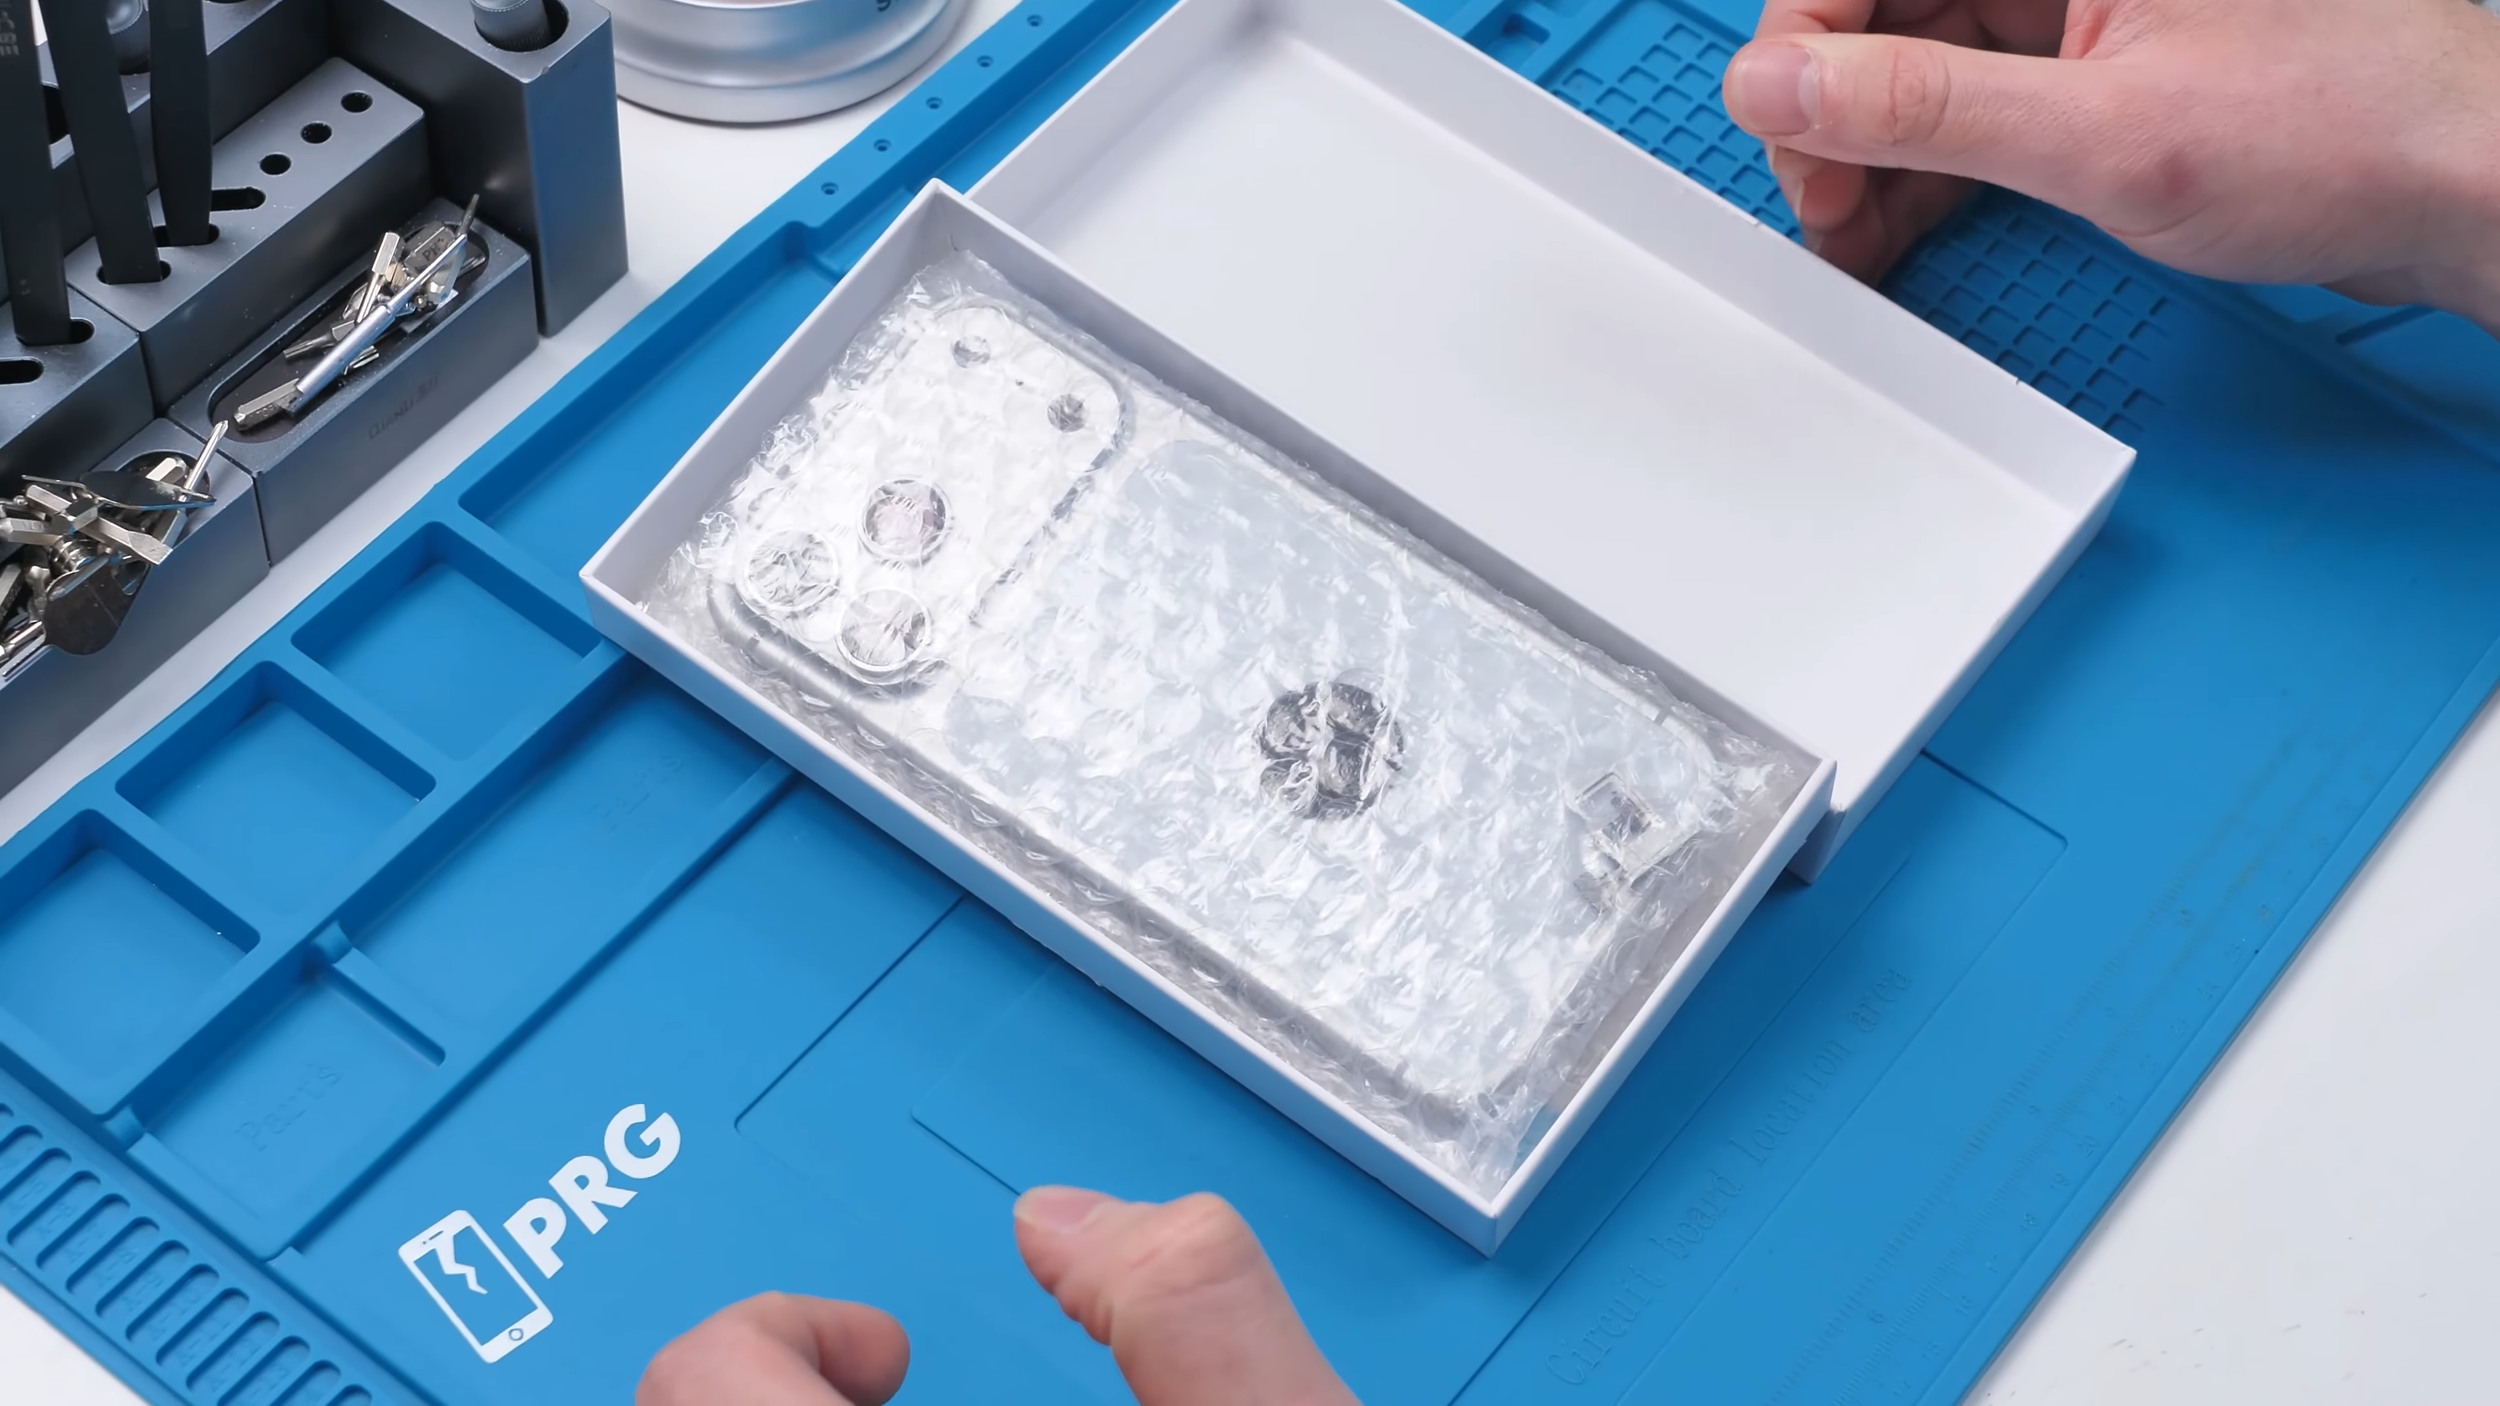
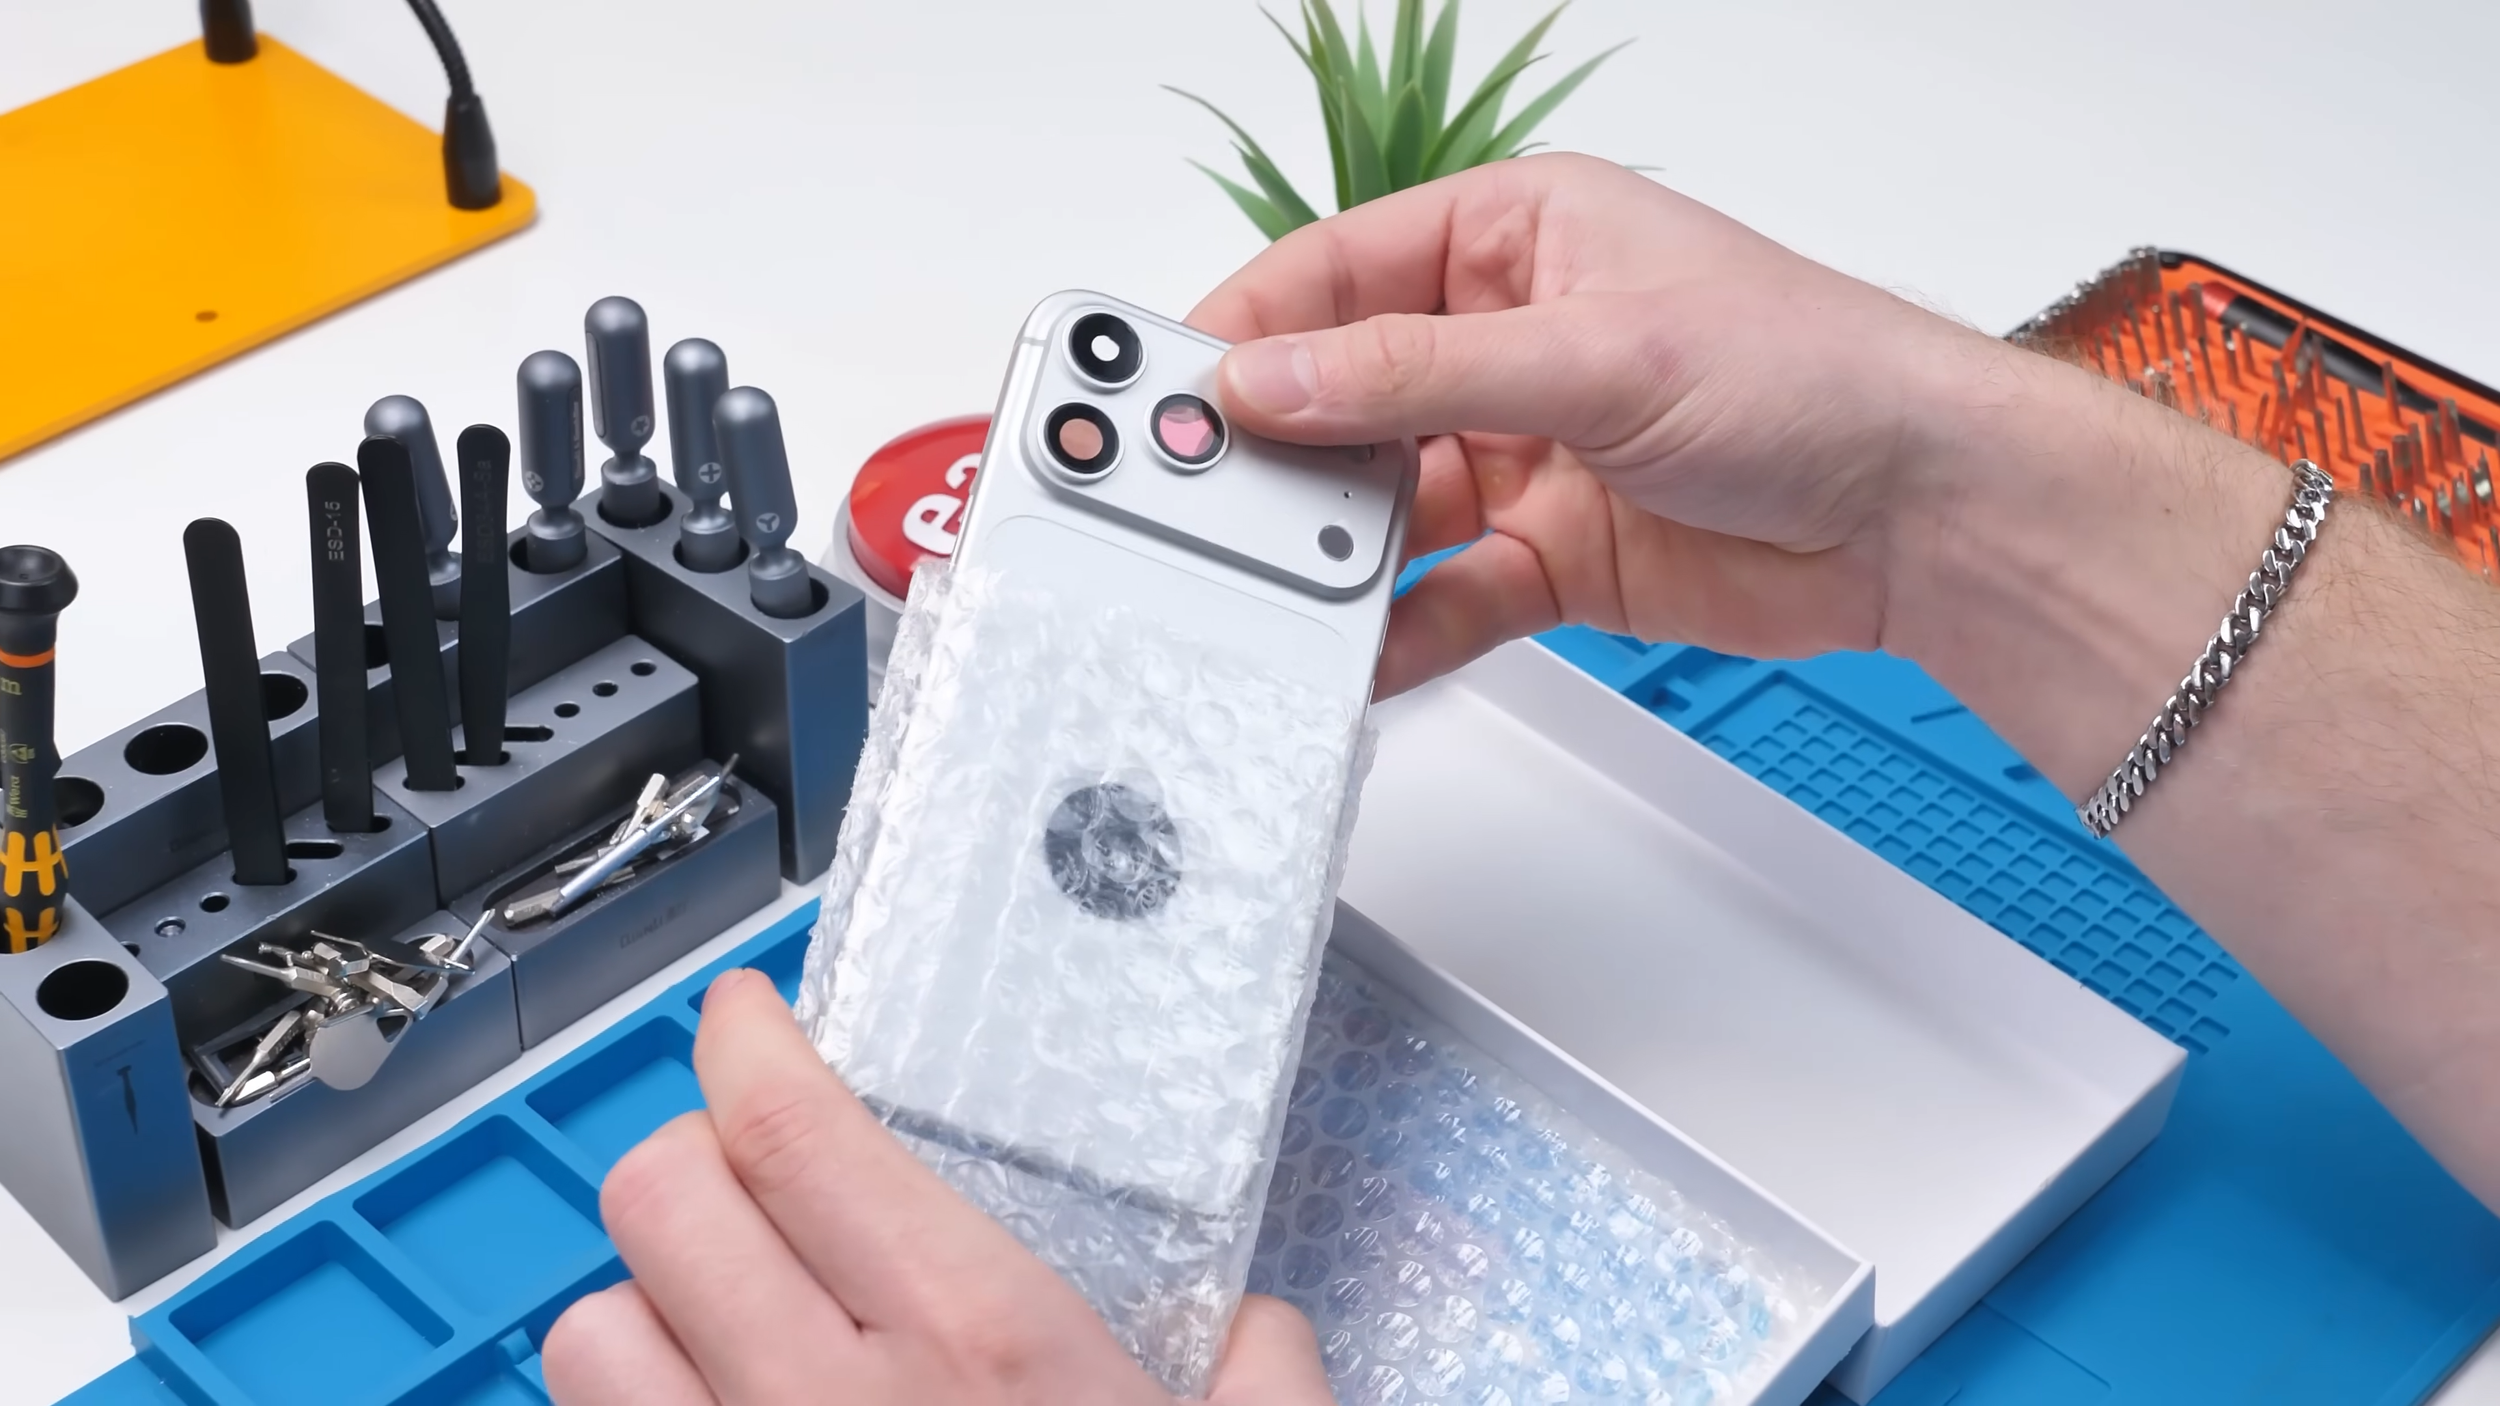

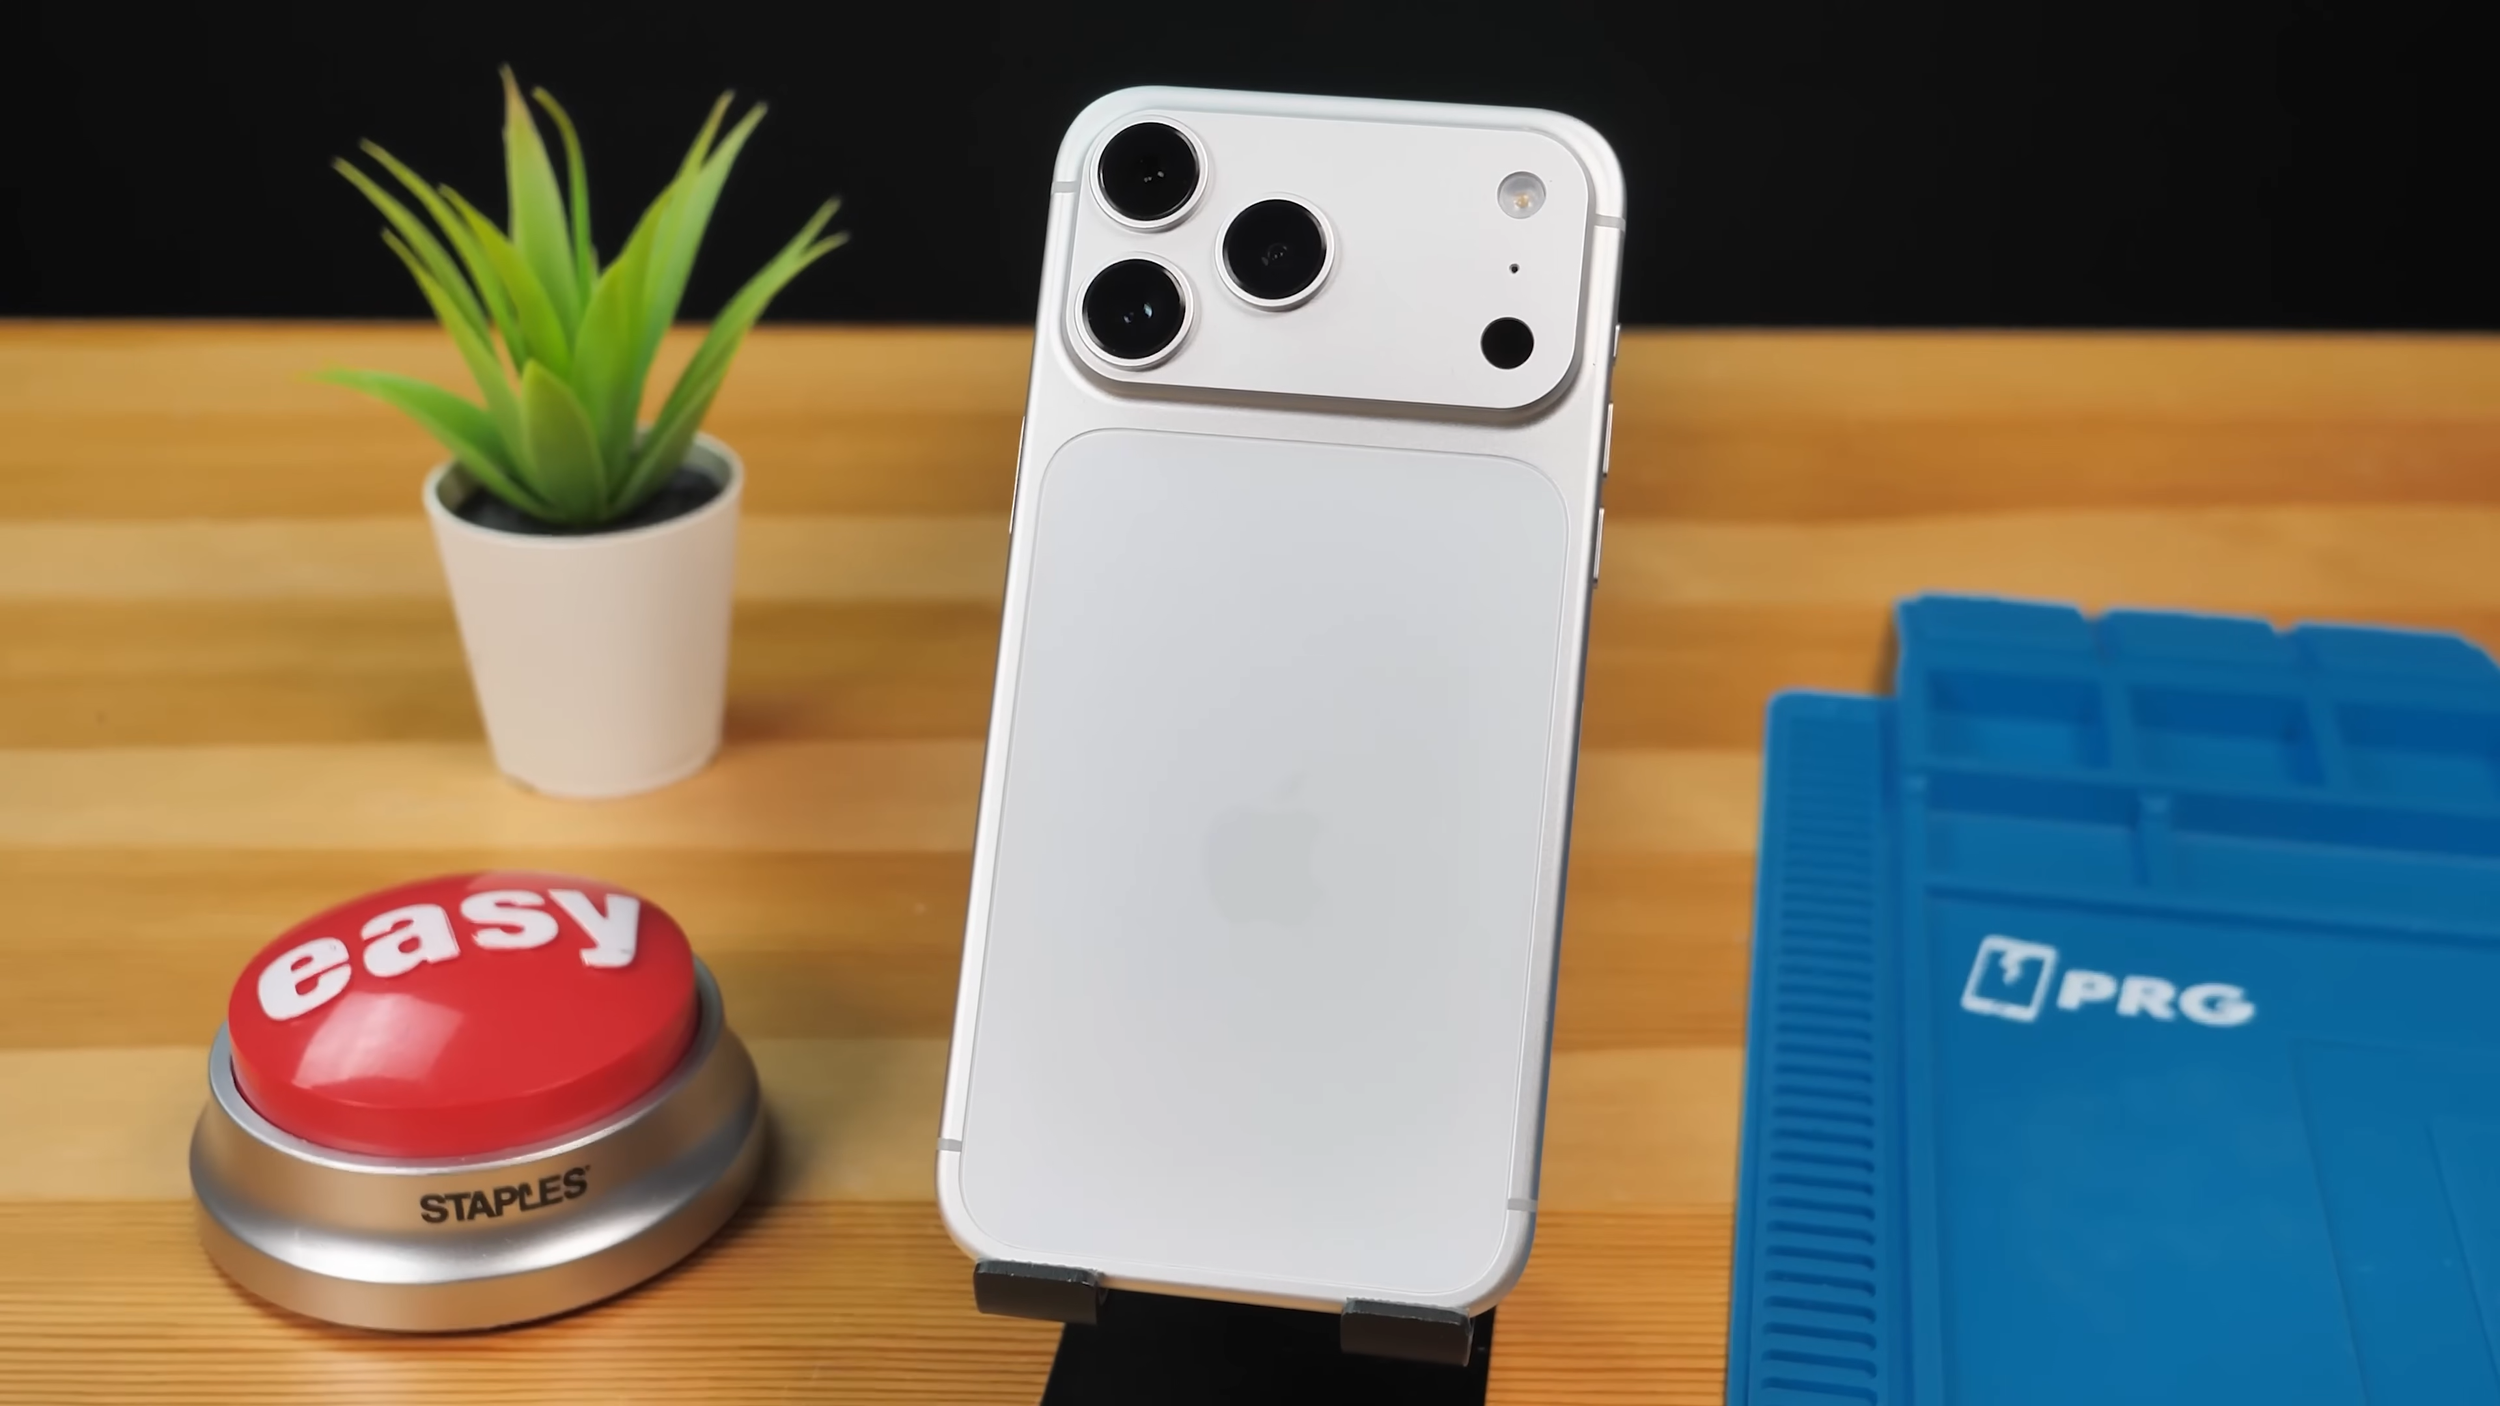
Protective films covered the cameras, LiDAR sensor, and even the Apple logo. The buttons felt solid, the frame looked well-machined, and the finish was much closer to an OEM part than expected. While the Apple logo wasn't positioned exactly where Apple would place it, that was one of the few details that stood out.
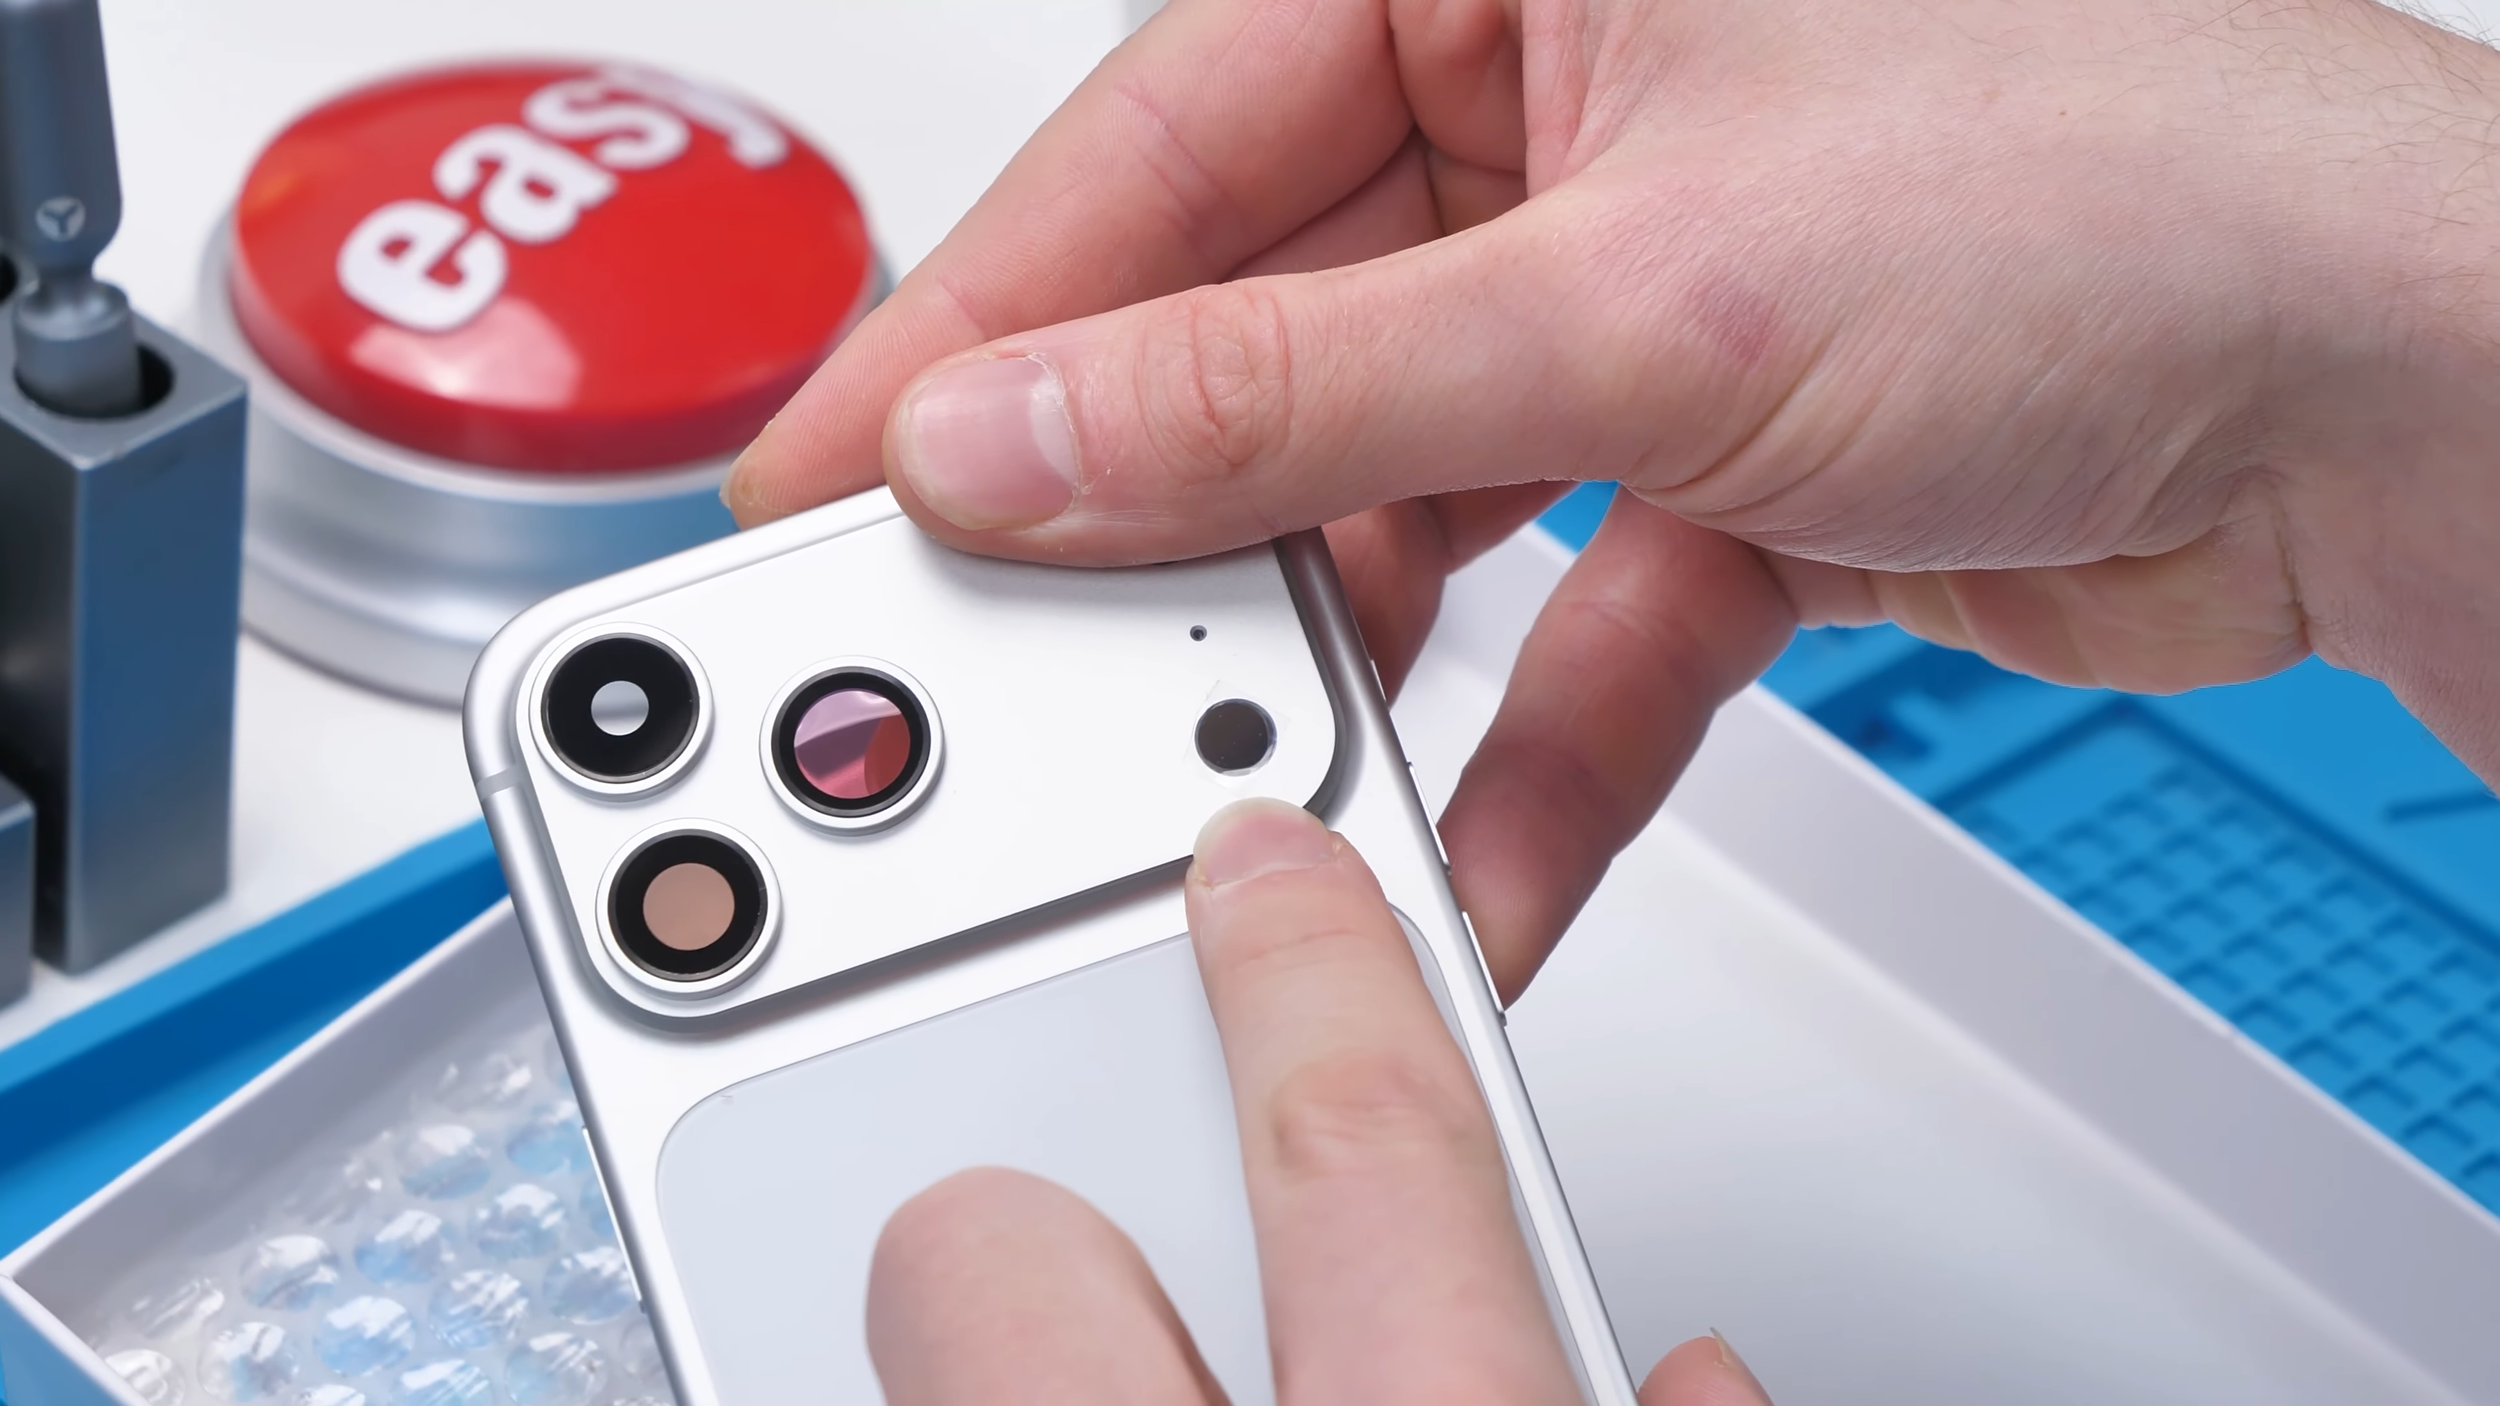
The design also went beyond appearance.
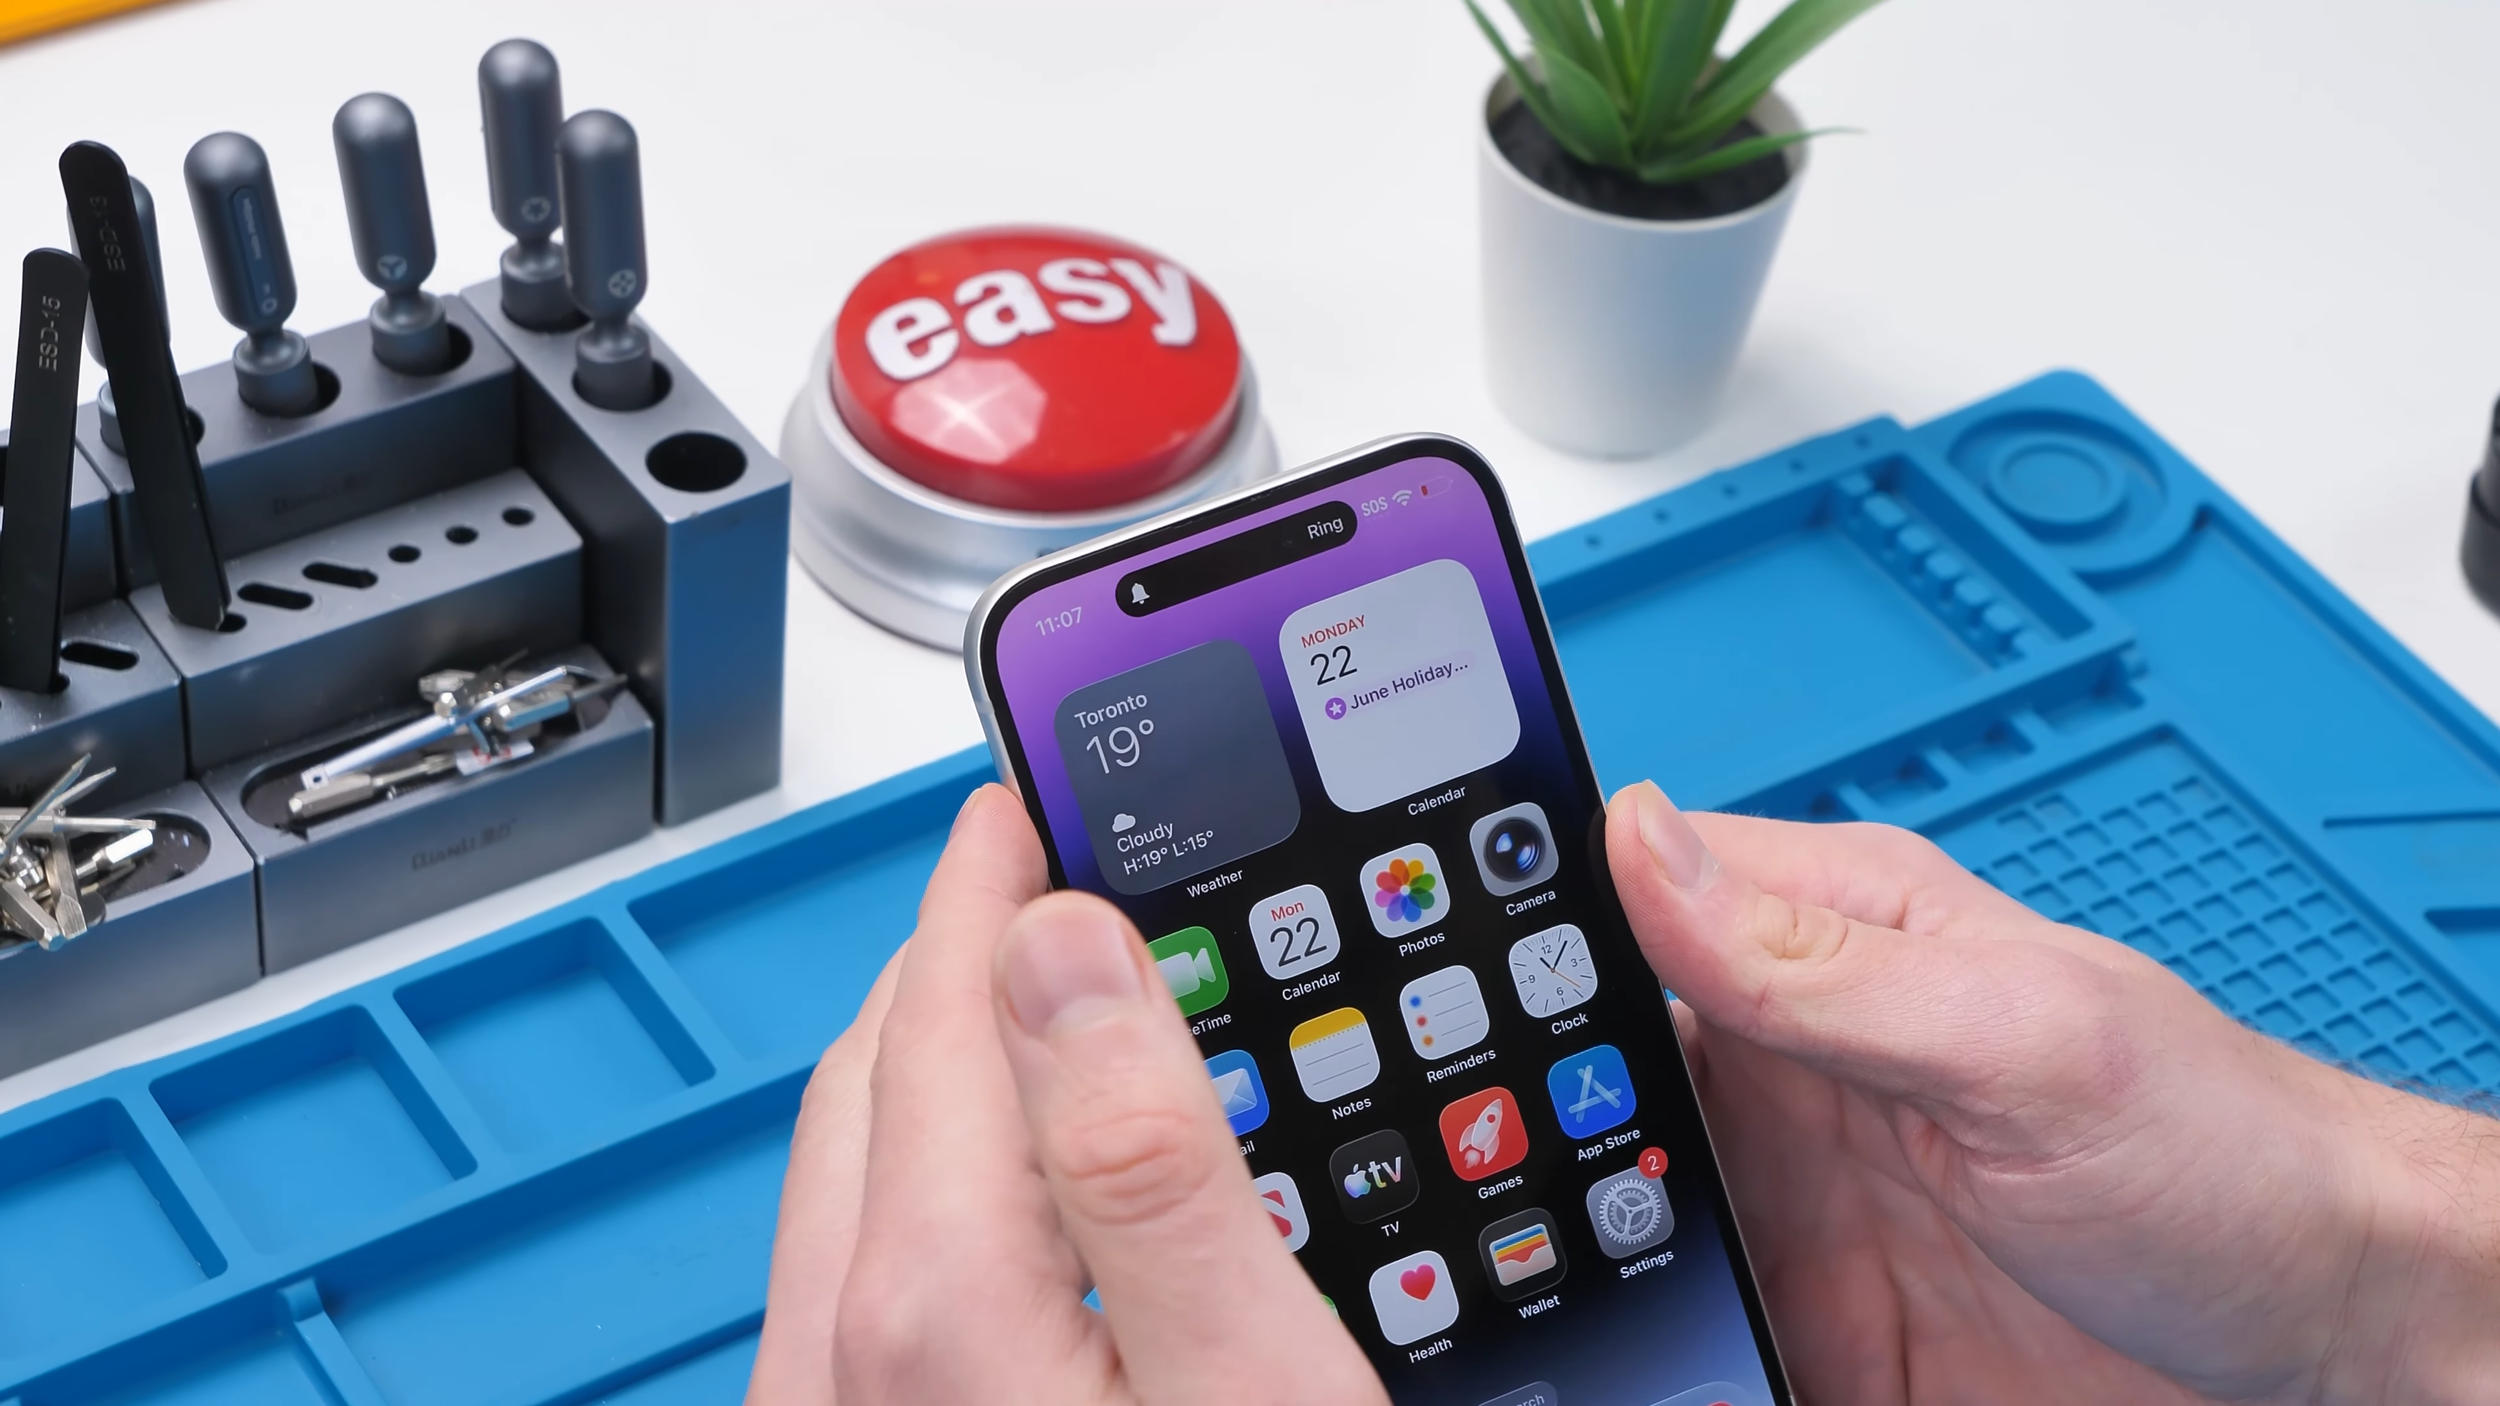
Rather than simply copying the look of an iPhone 17 Pro Max, the housing introduced an Action Button, a Camera Control button, and a redesigned camera layout. Combined with the Dynamic Island already found on the iPhone 14 Pro Max, the finished phone had the potential to fool almost anyone at first glance.
But of course, making it look the part was only the beginning.
Stripping Down the iPhone
Before the conversion could begin, the iPhone 14 Pro Max had to be completely dismantled.
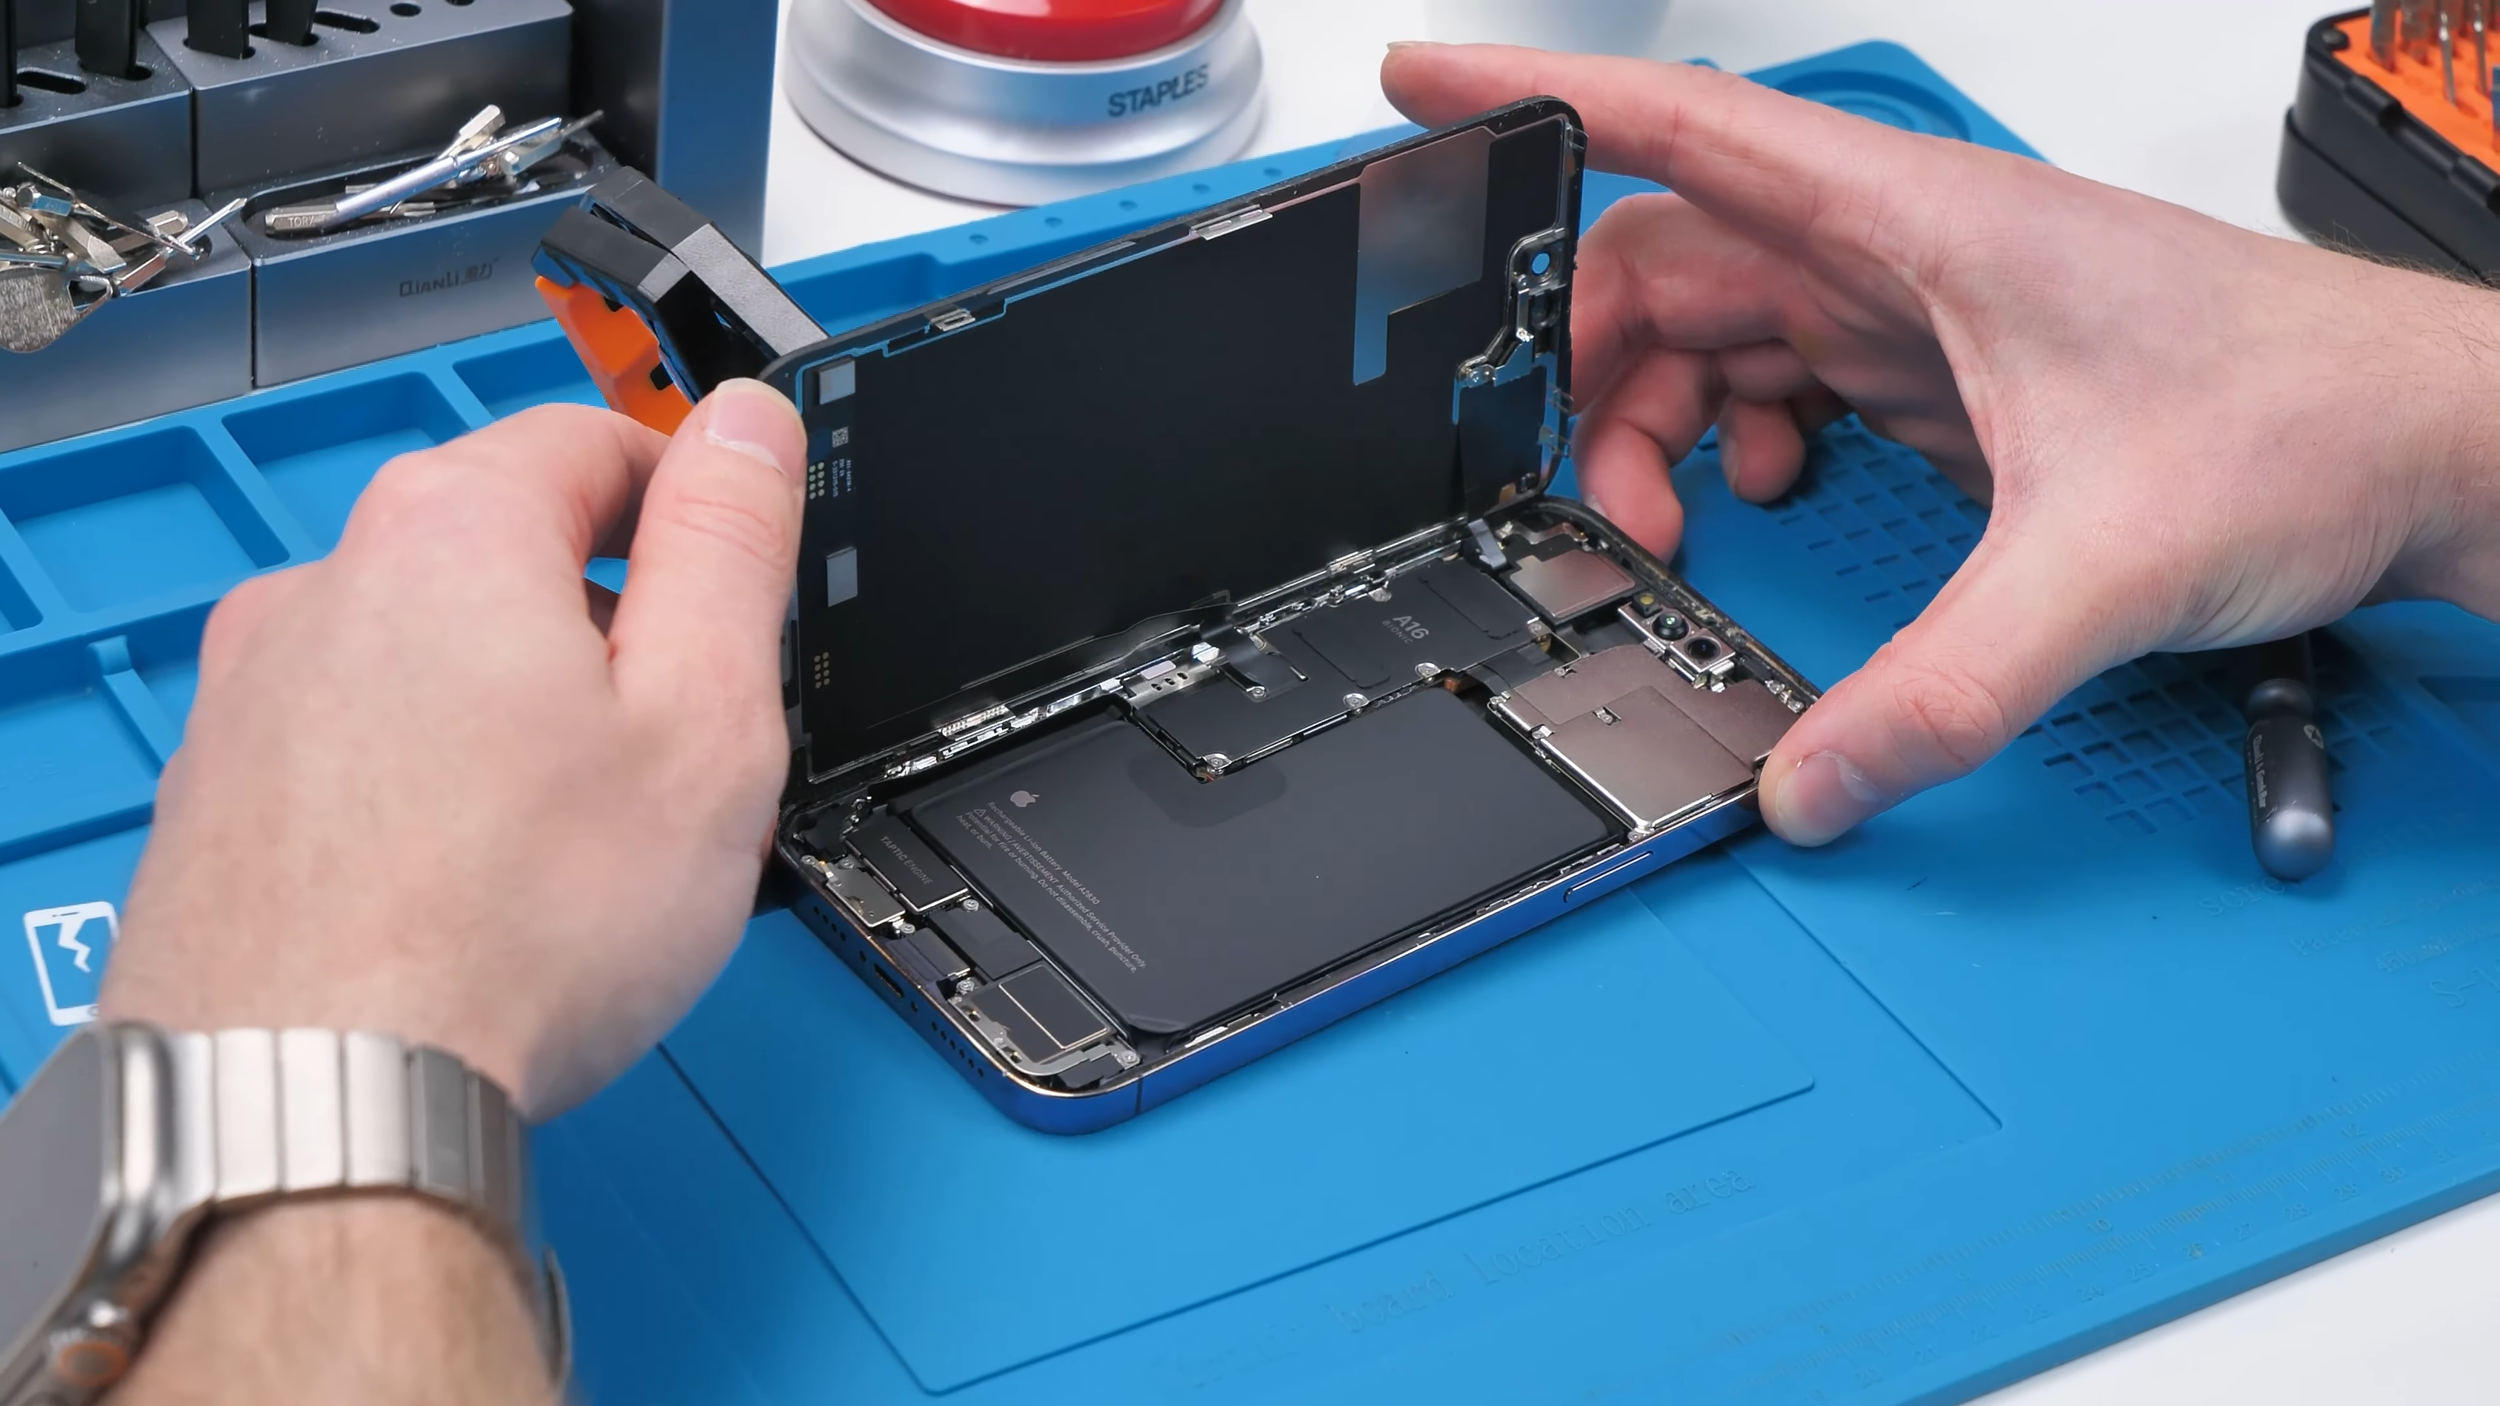
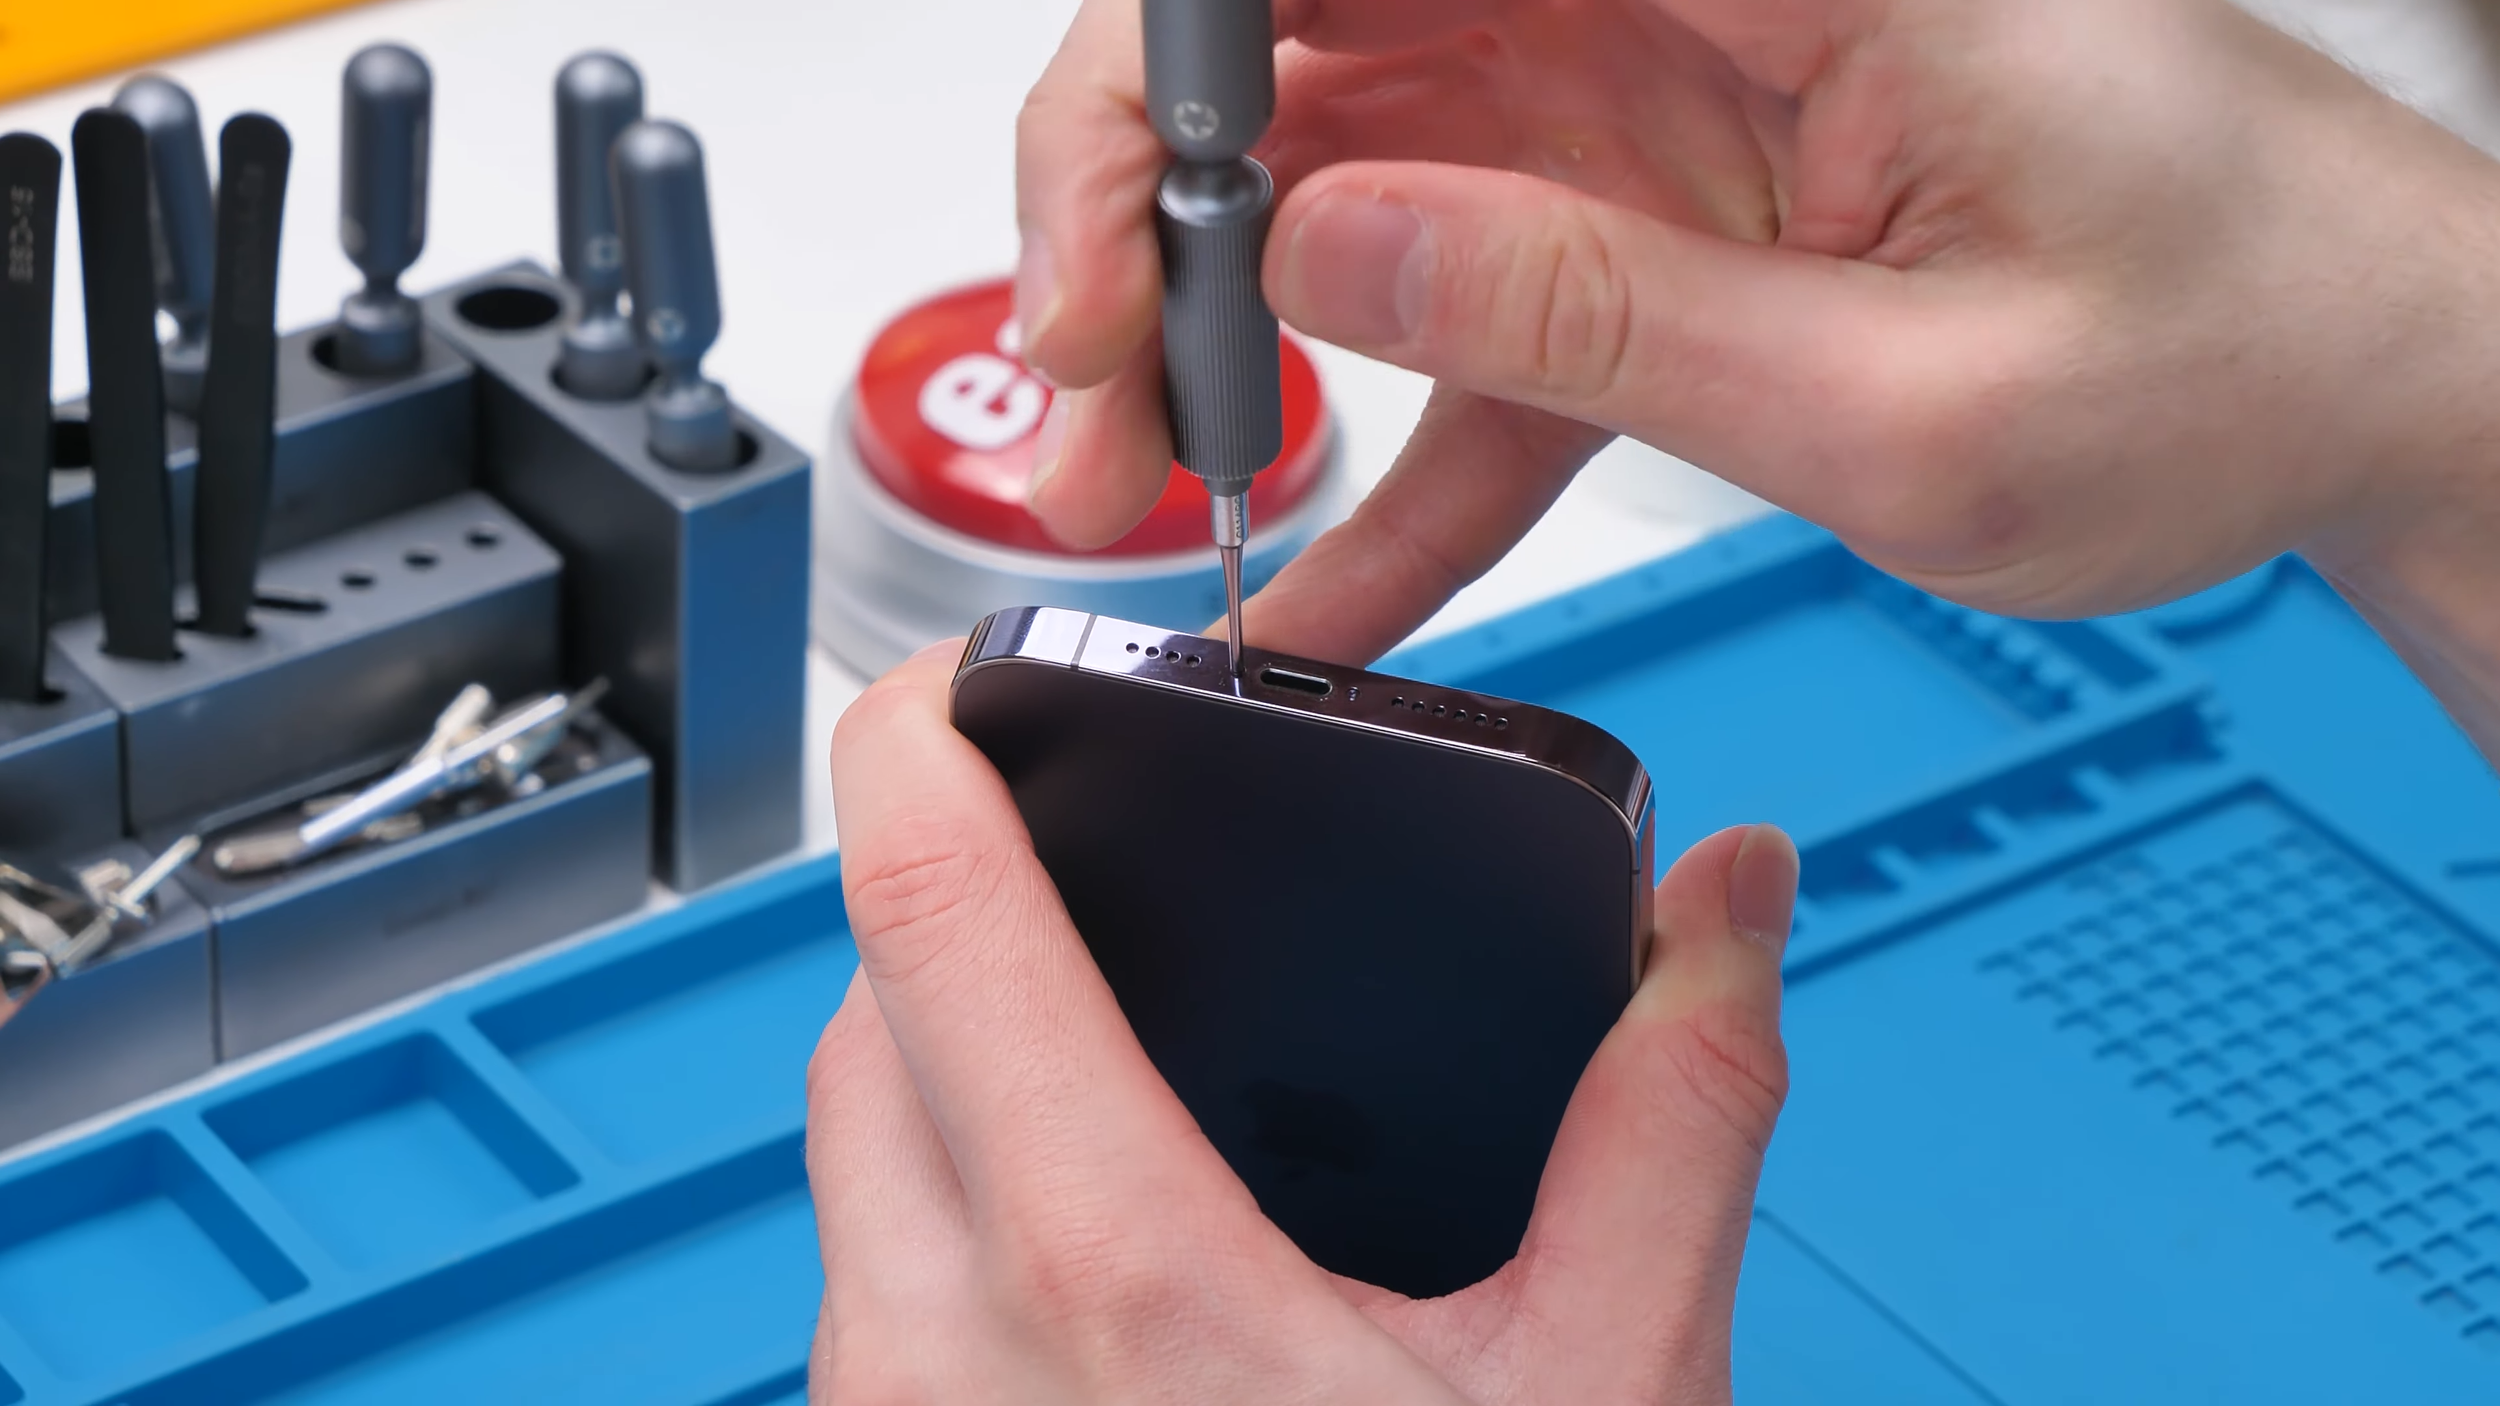
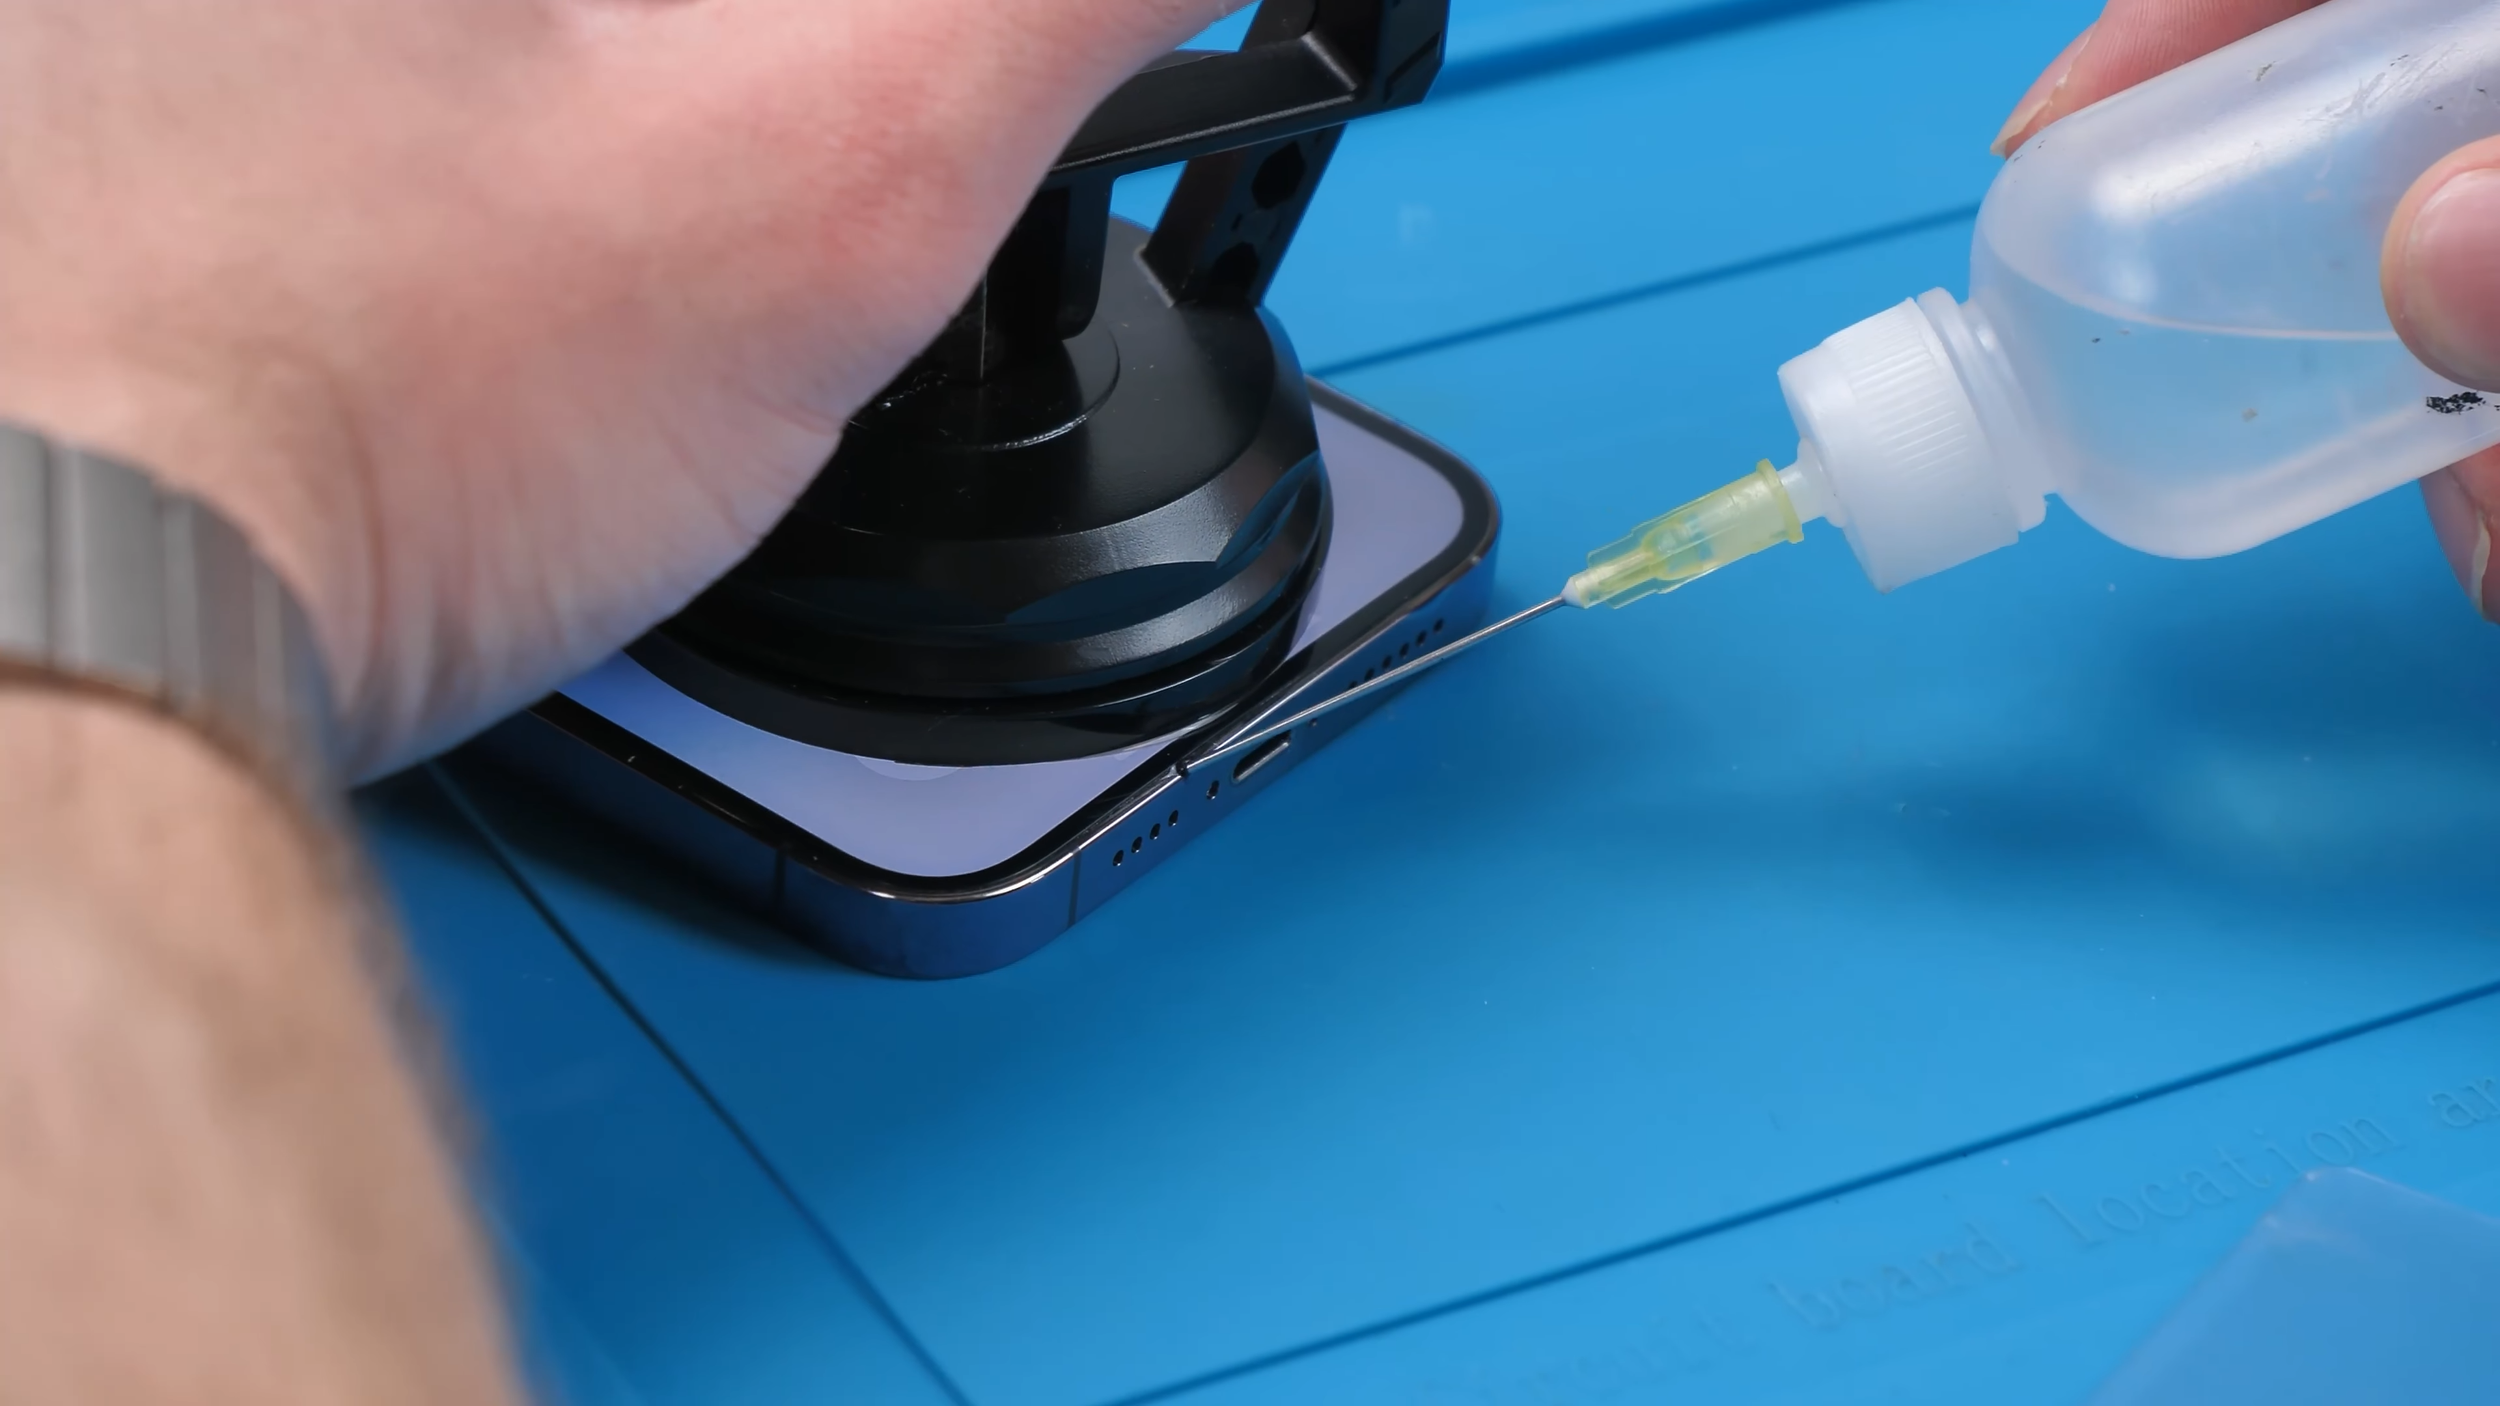
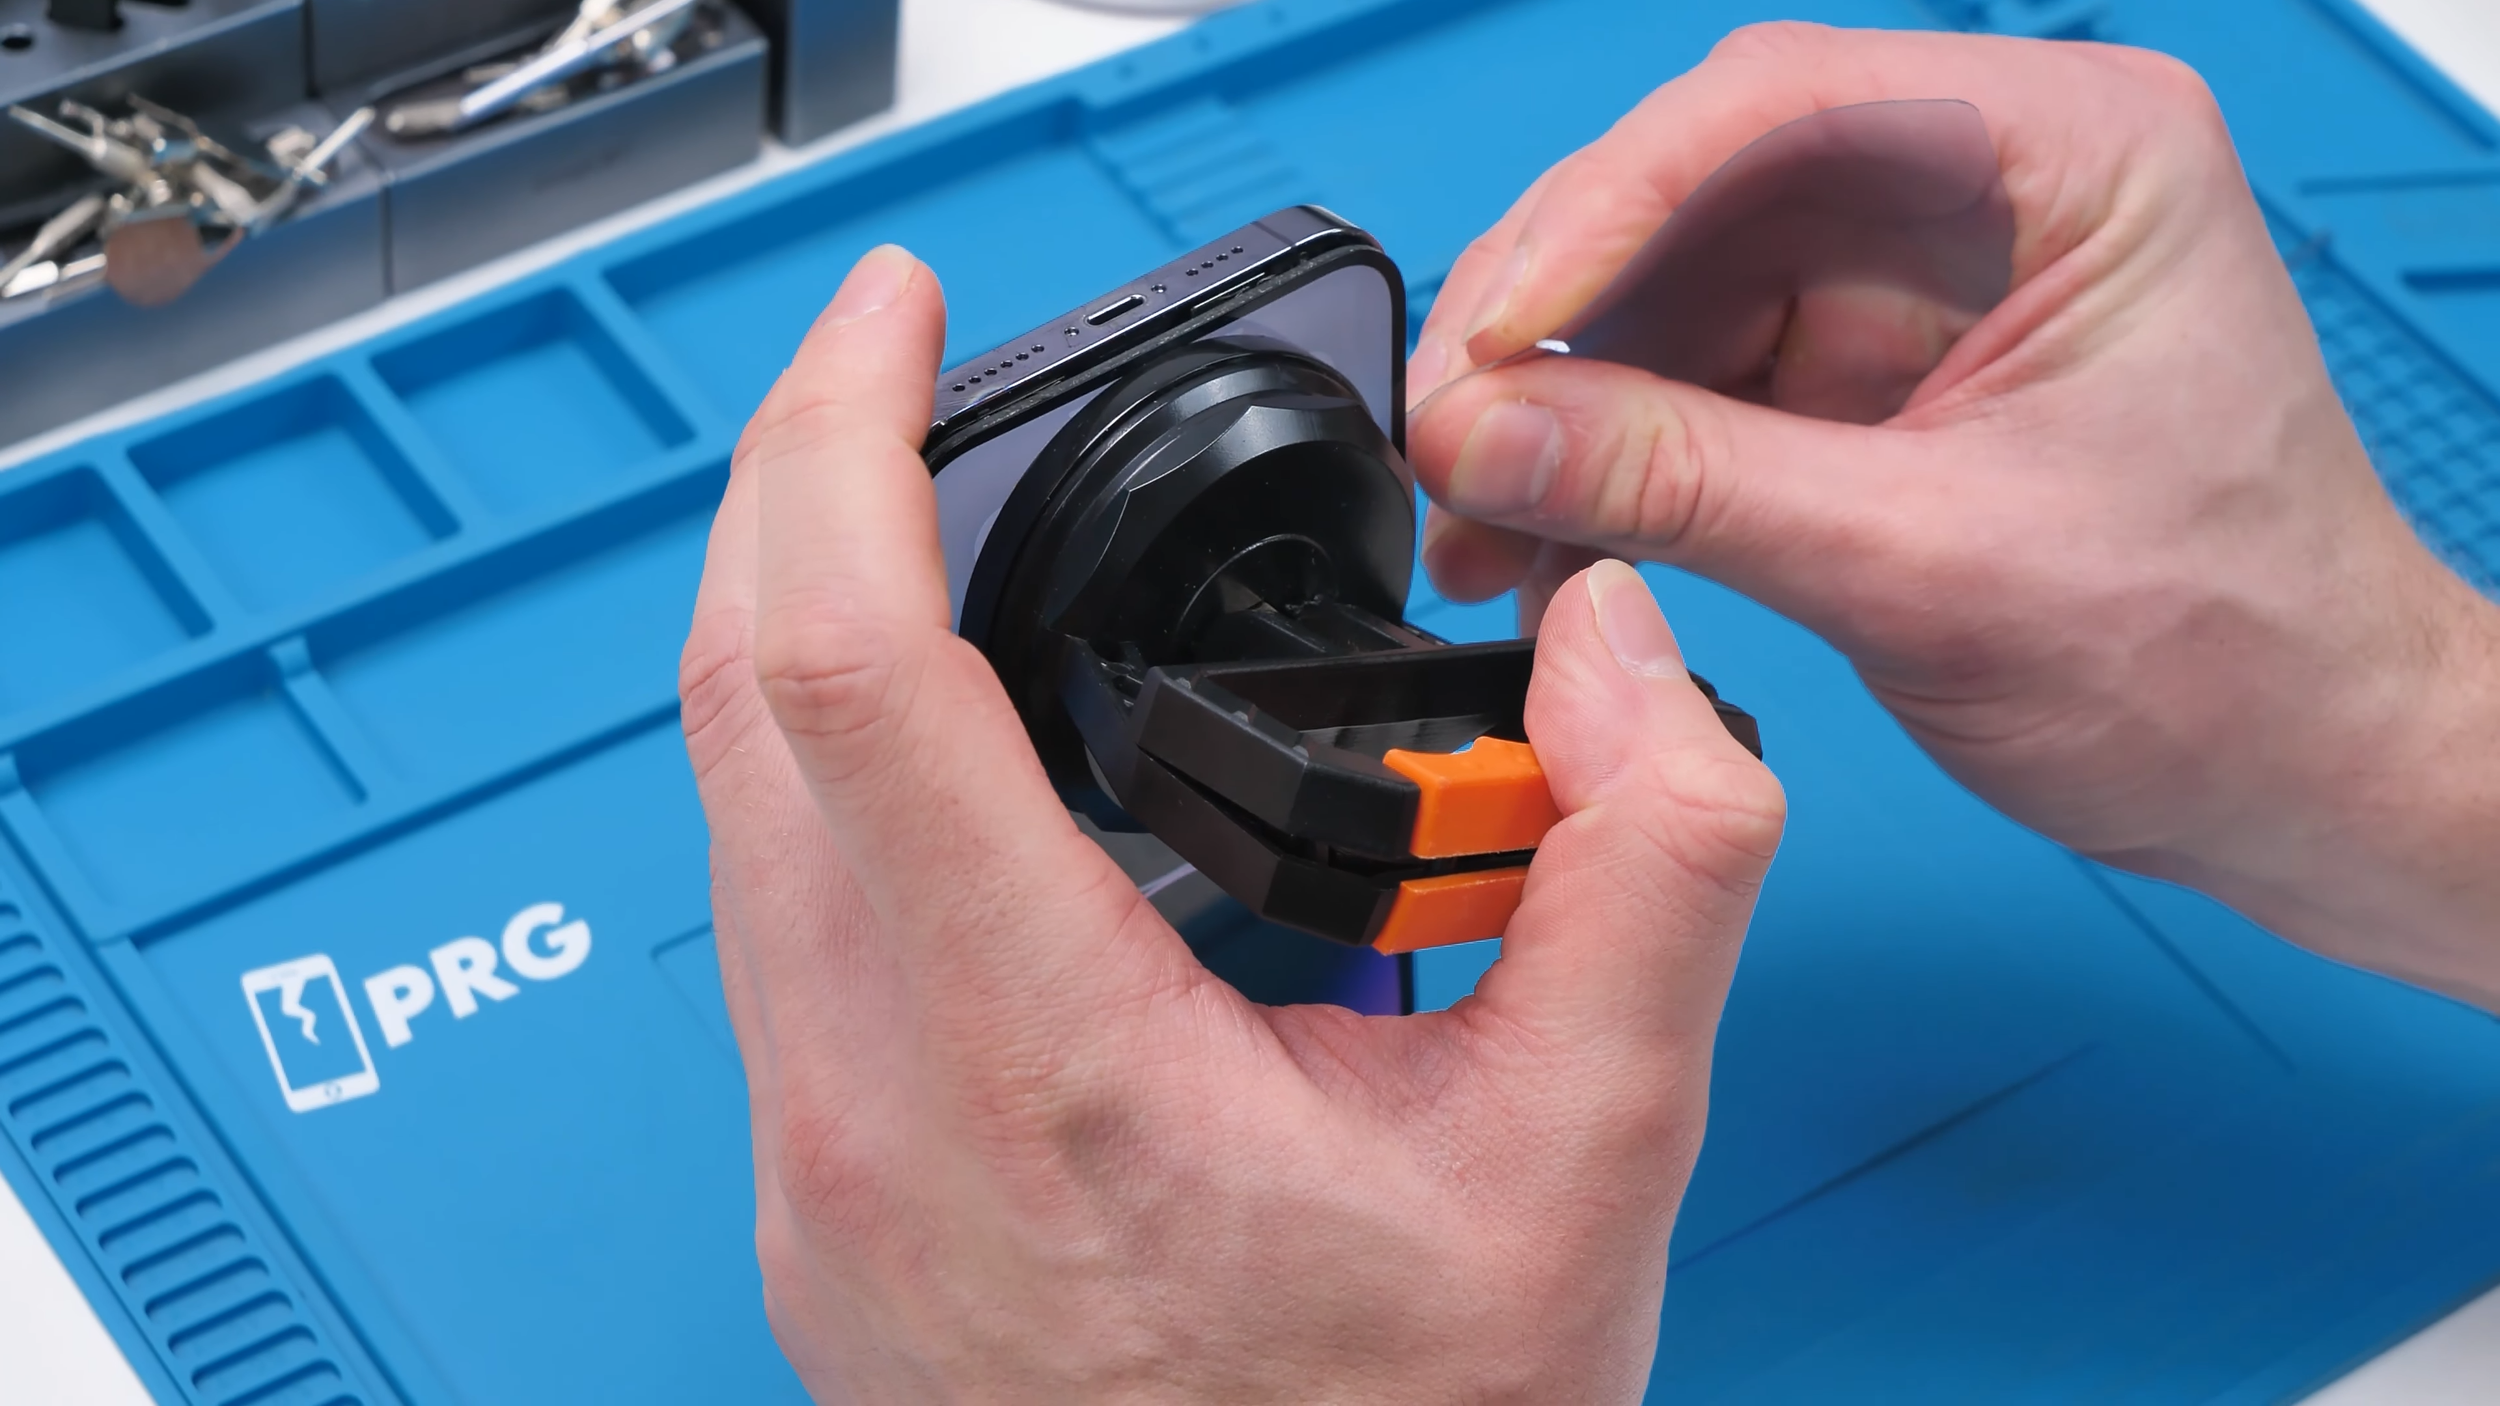
Opening it was the first challenge. After softening the display adhesive with a heat gun, isopropyl alcohol, and a suction cup, the screen could finally be lifted away to expose the internals.
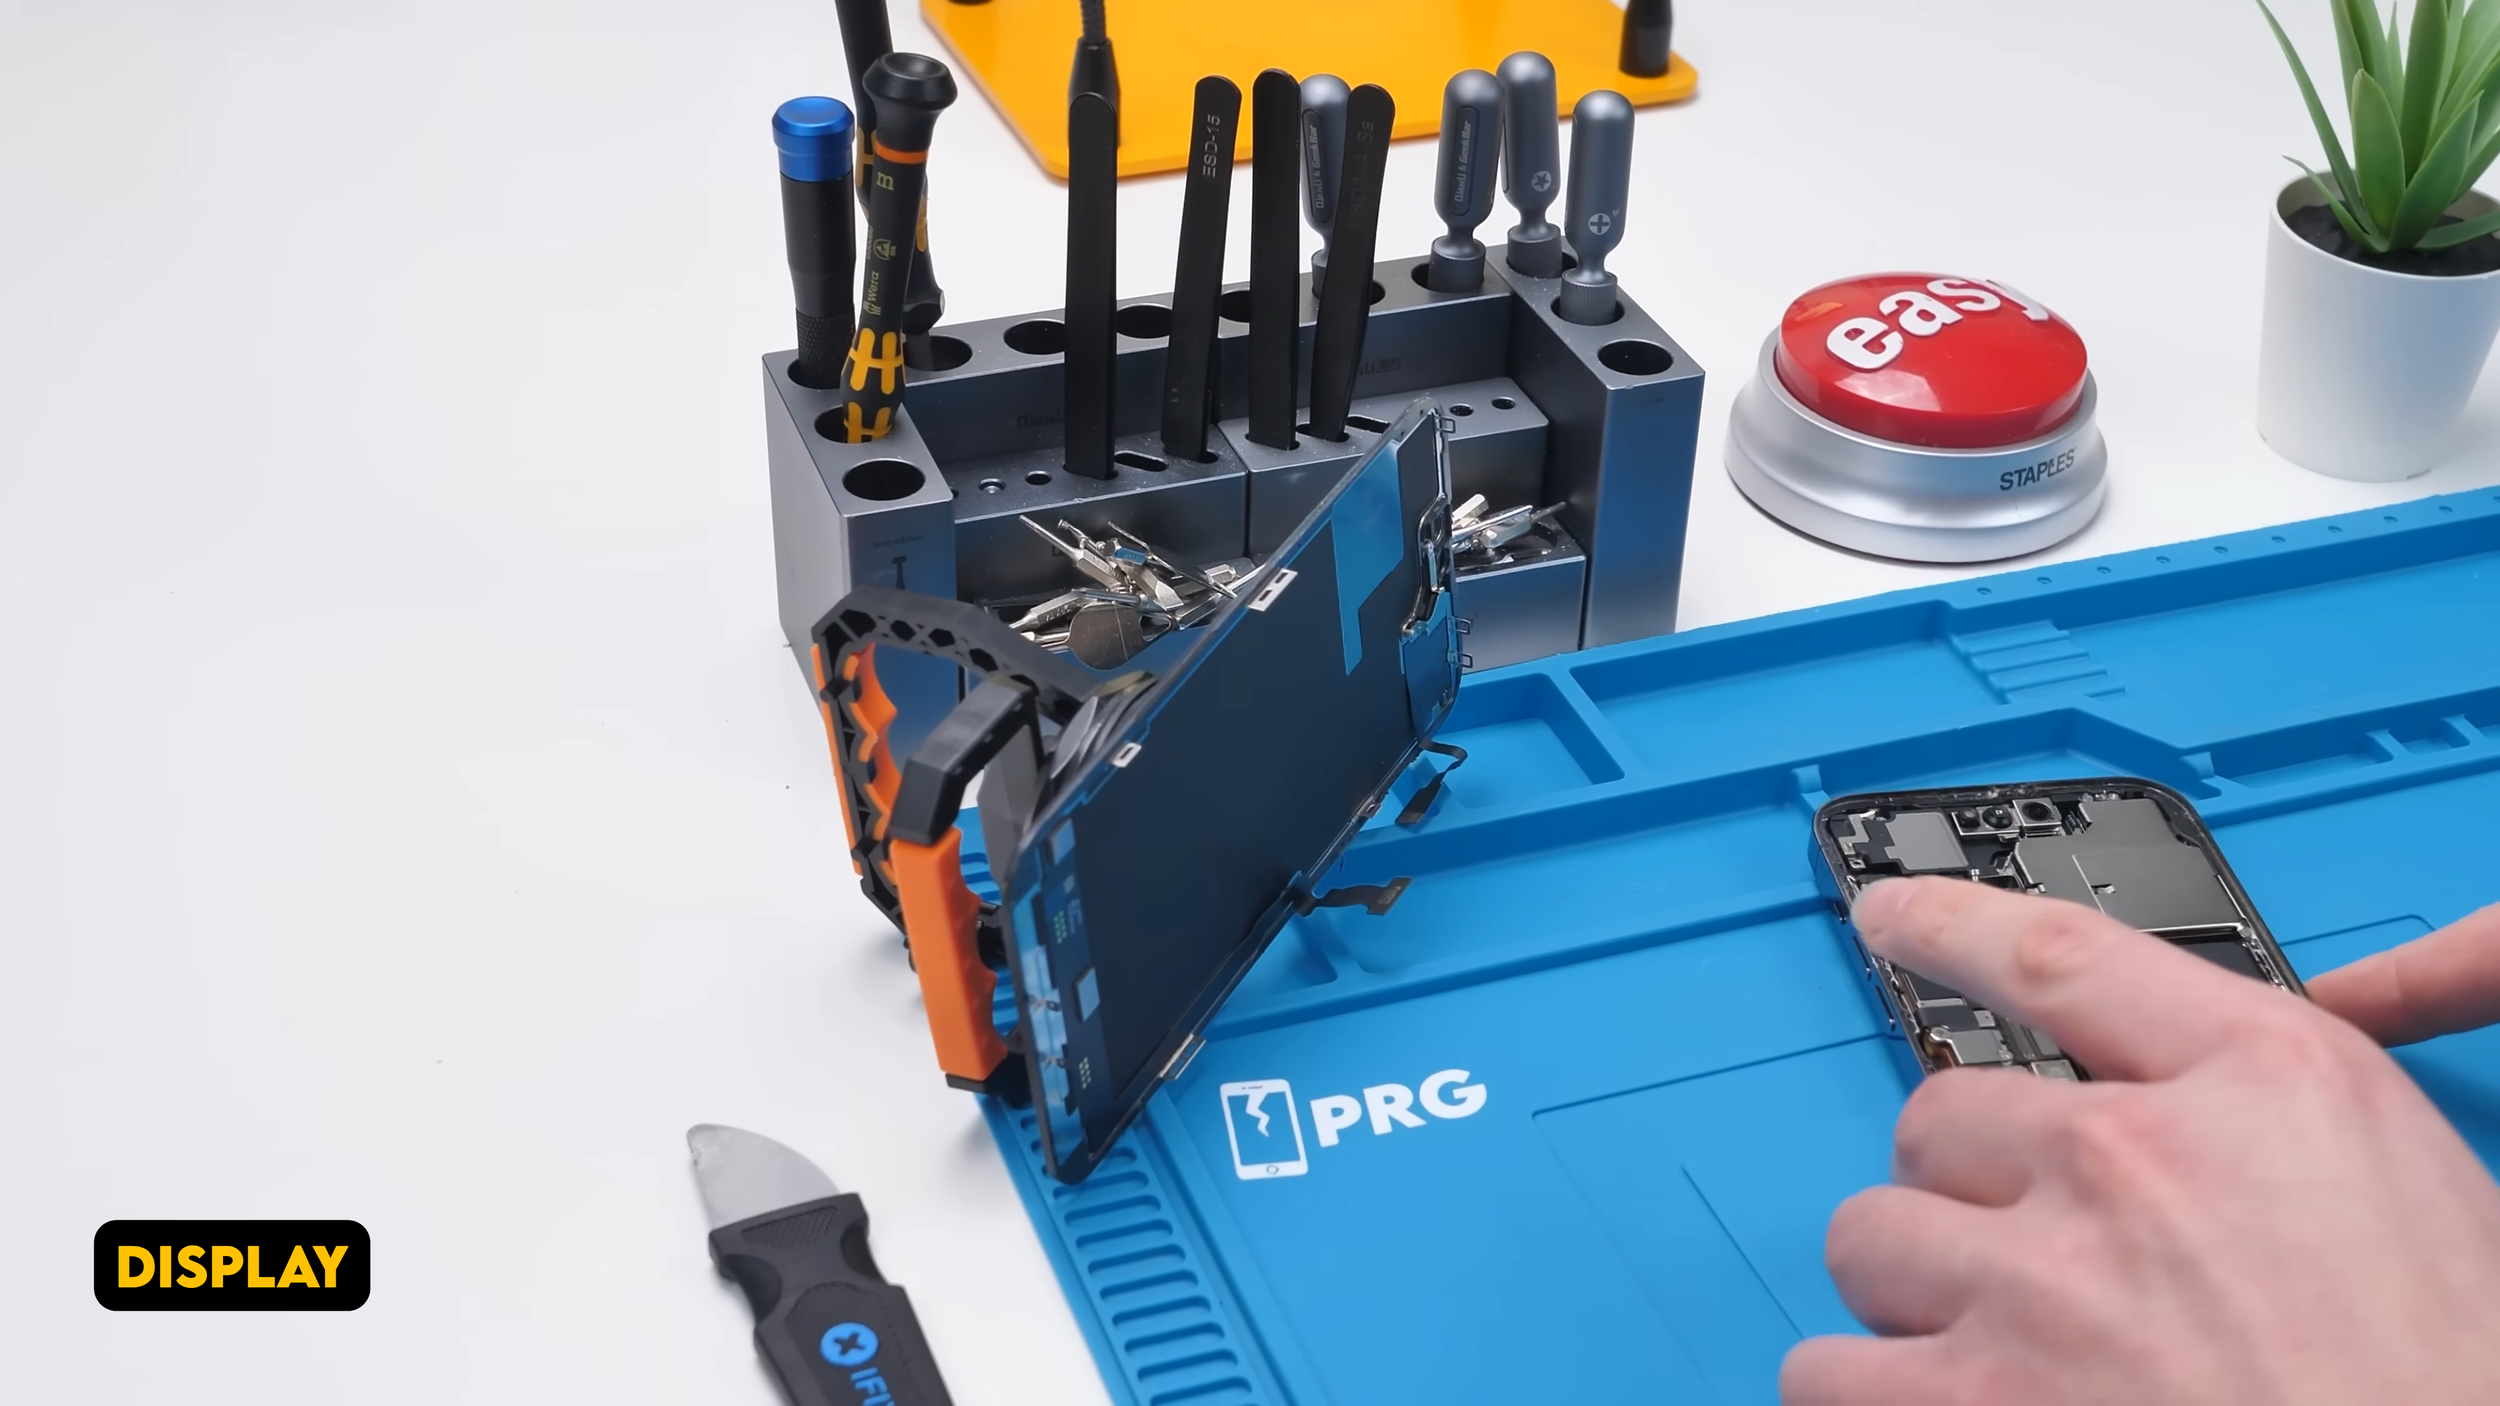


From there, the cameras, battery, charging port, speakers, motherboard, antennas, and dozens of smaller brackets and flex cables were carefully removed one by one. By the end of the teardown, the original housing had been reduced to an empty shell.

Unlike a typical repair where only one or two parts are replaced, almost every reusable component had to be salvaged for the rebuild. The entire phone was essentially being taken apart so it could be rebuilt inside a completely different frame.
Rebuilding Everything Into the New Housing
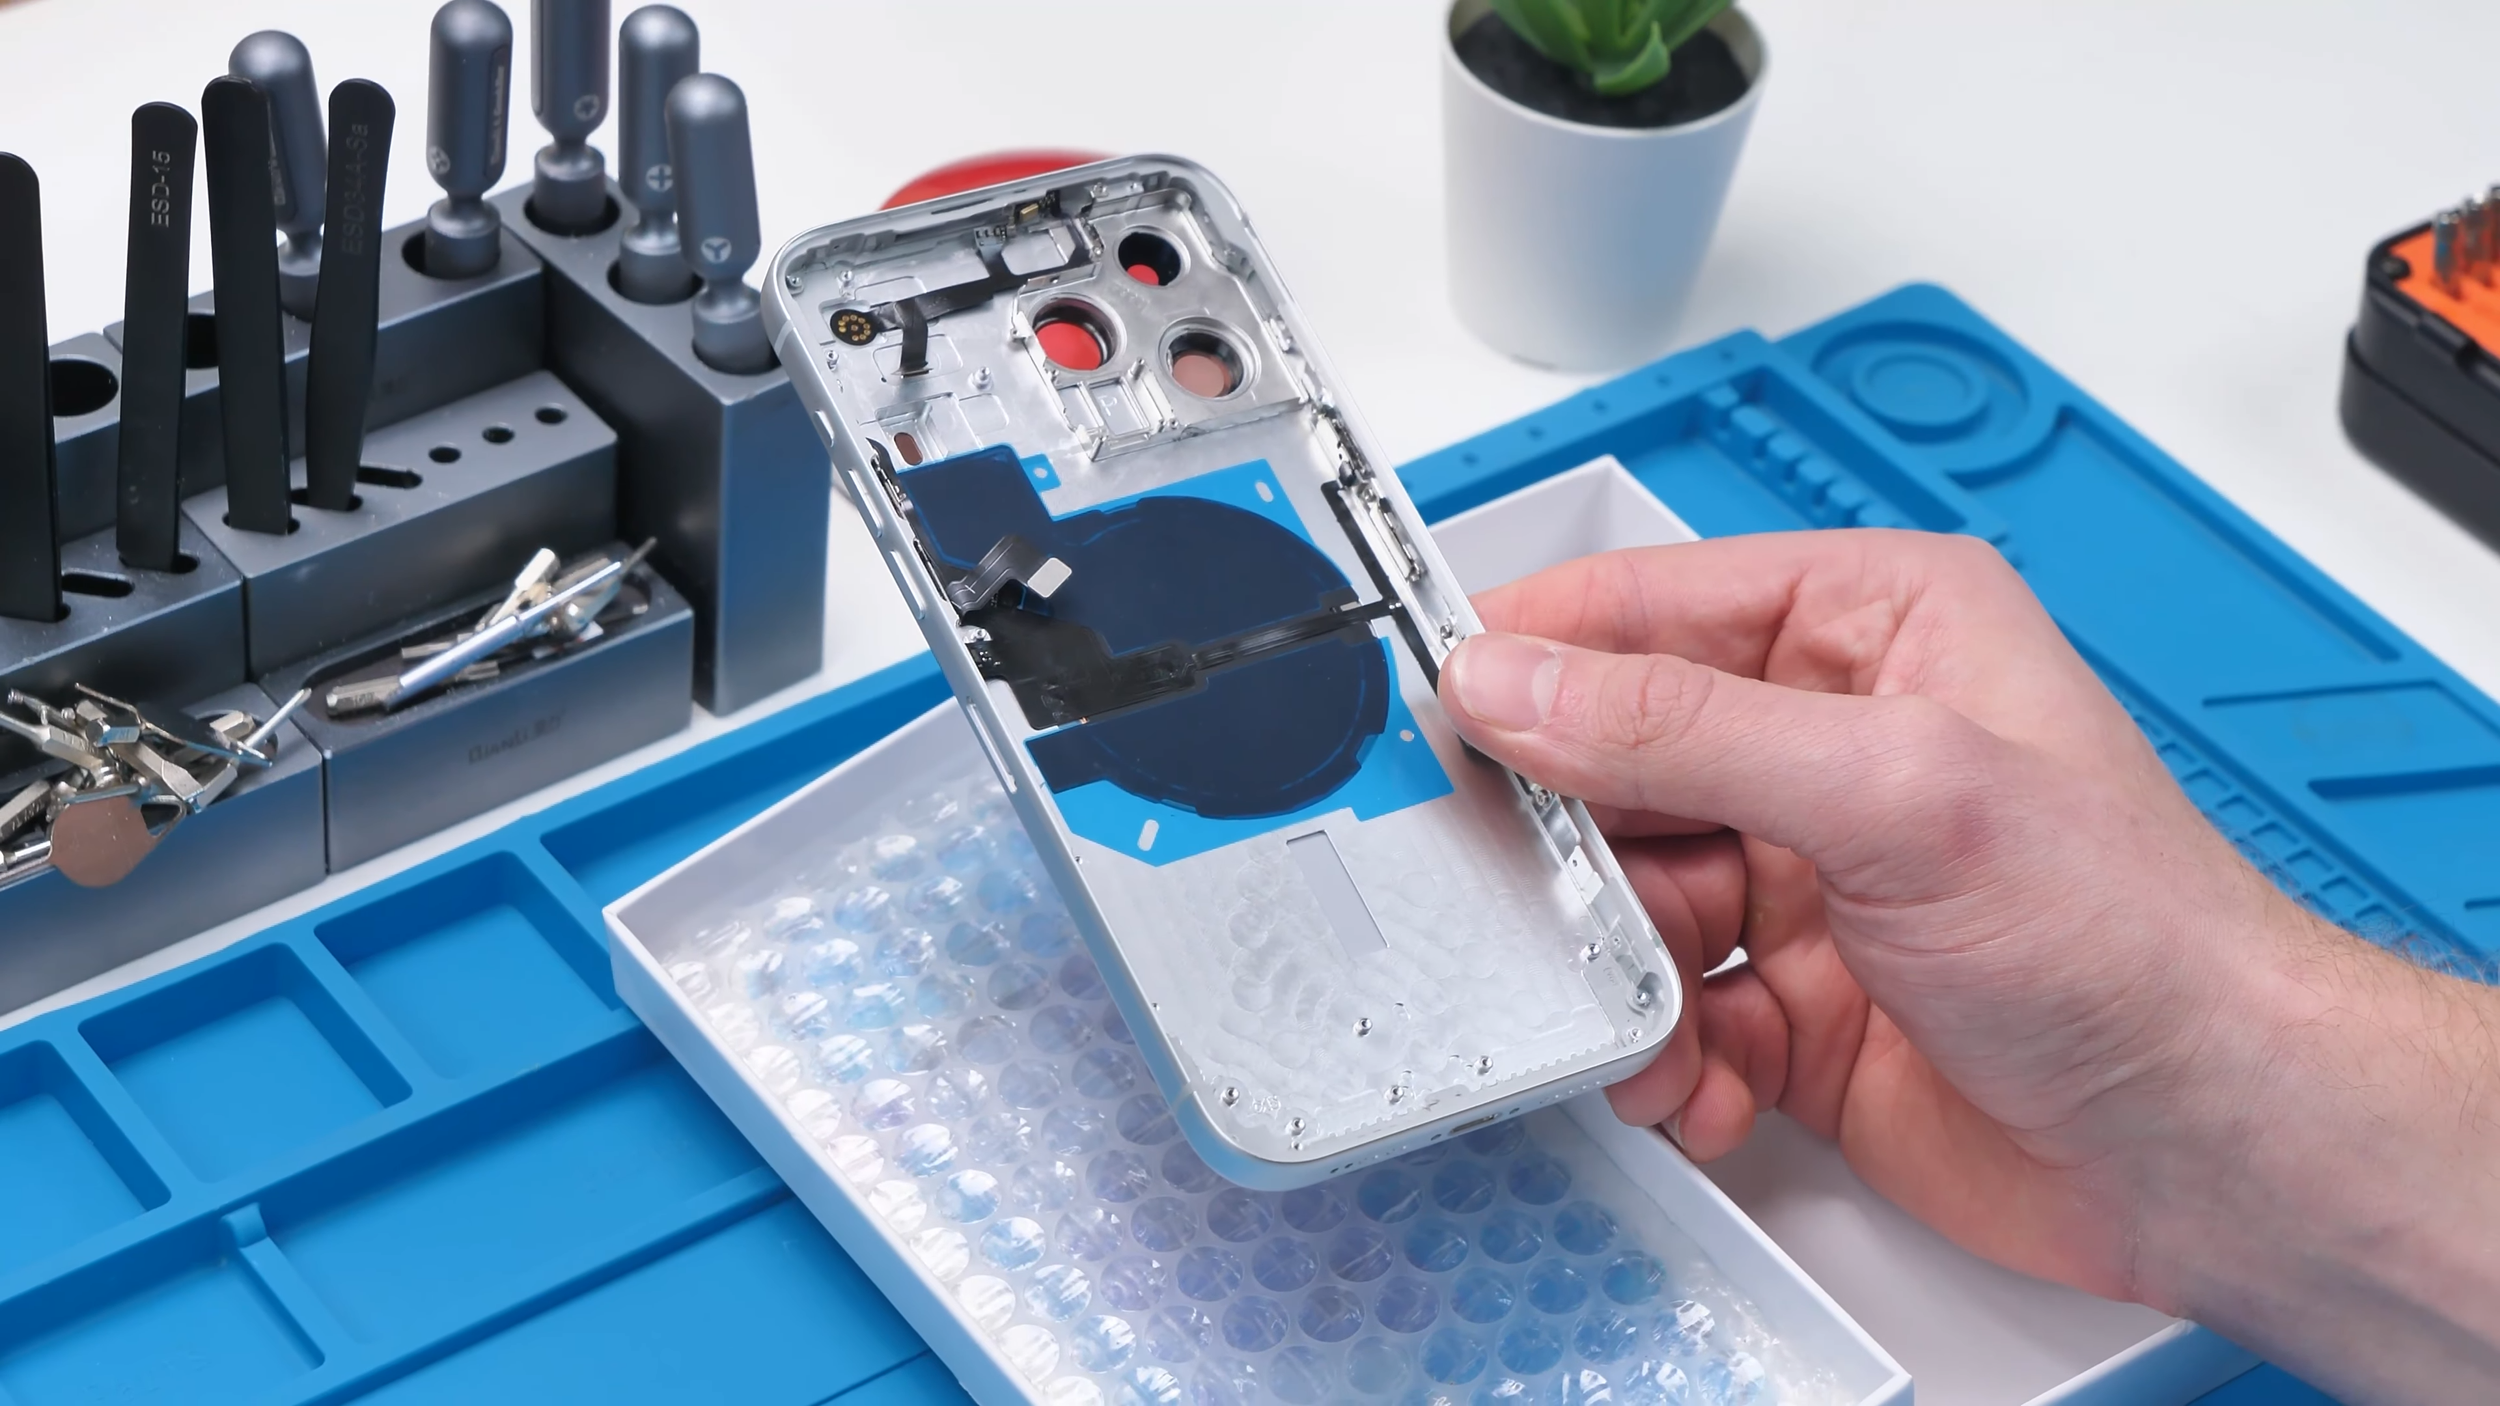
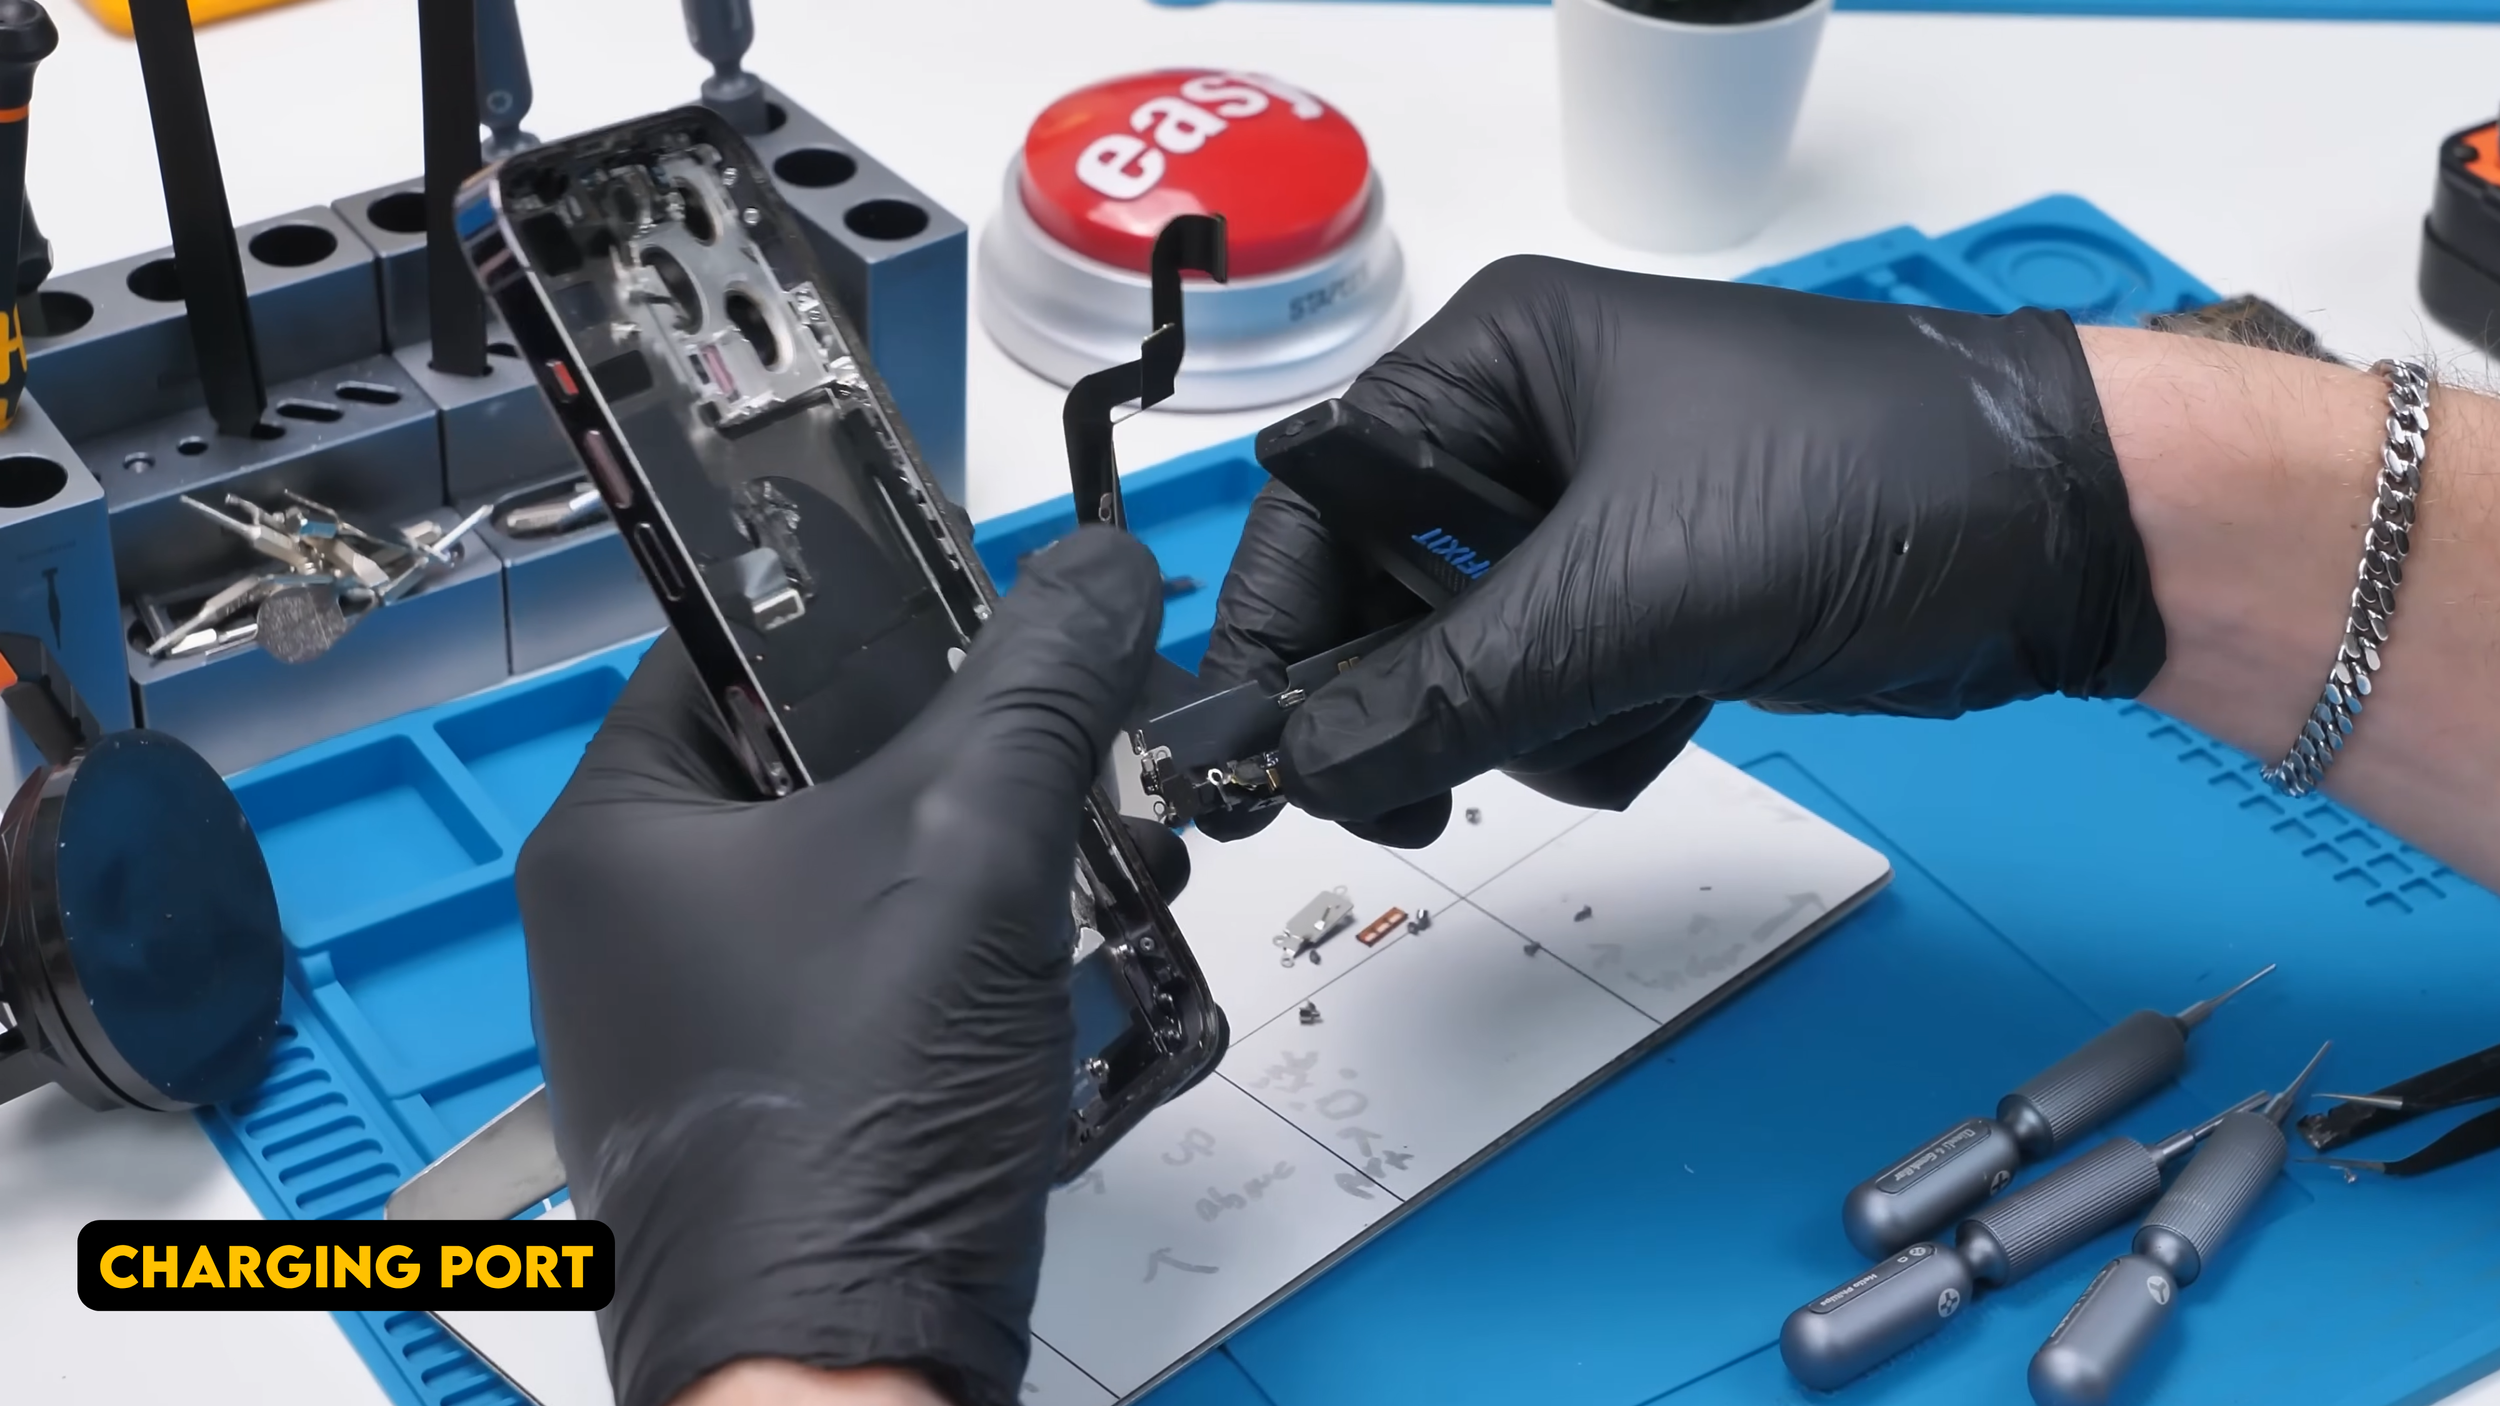
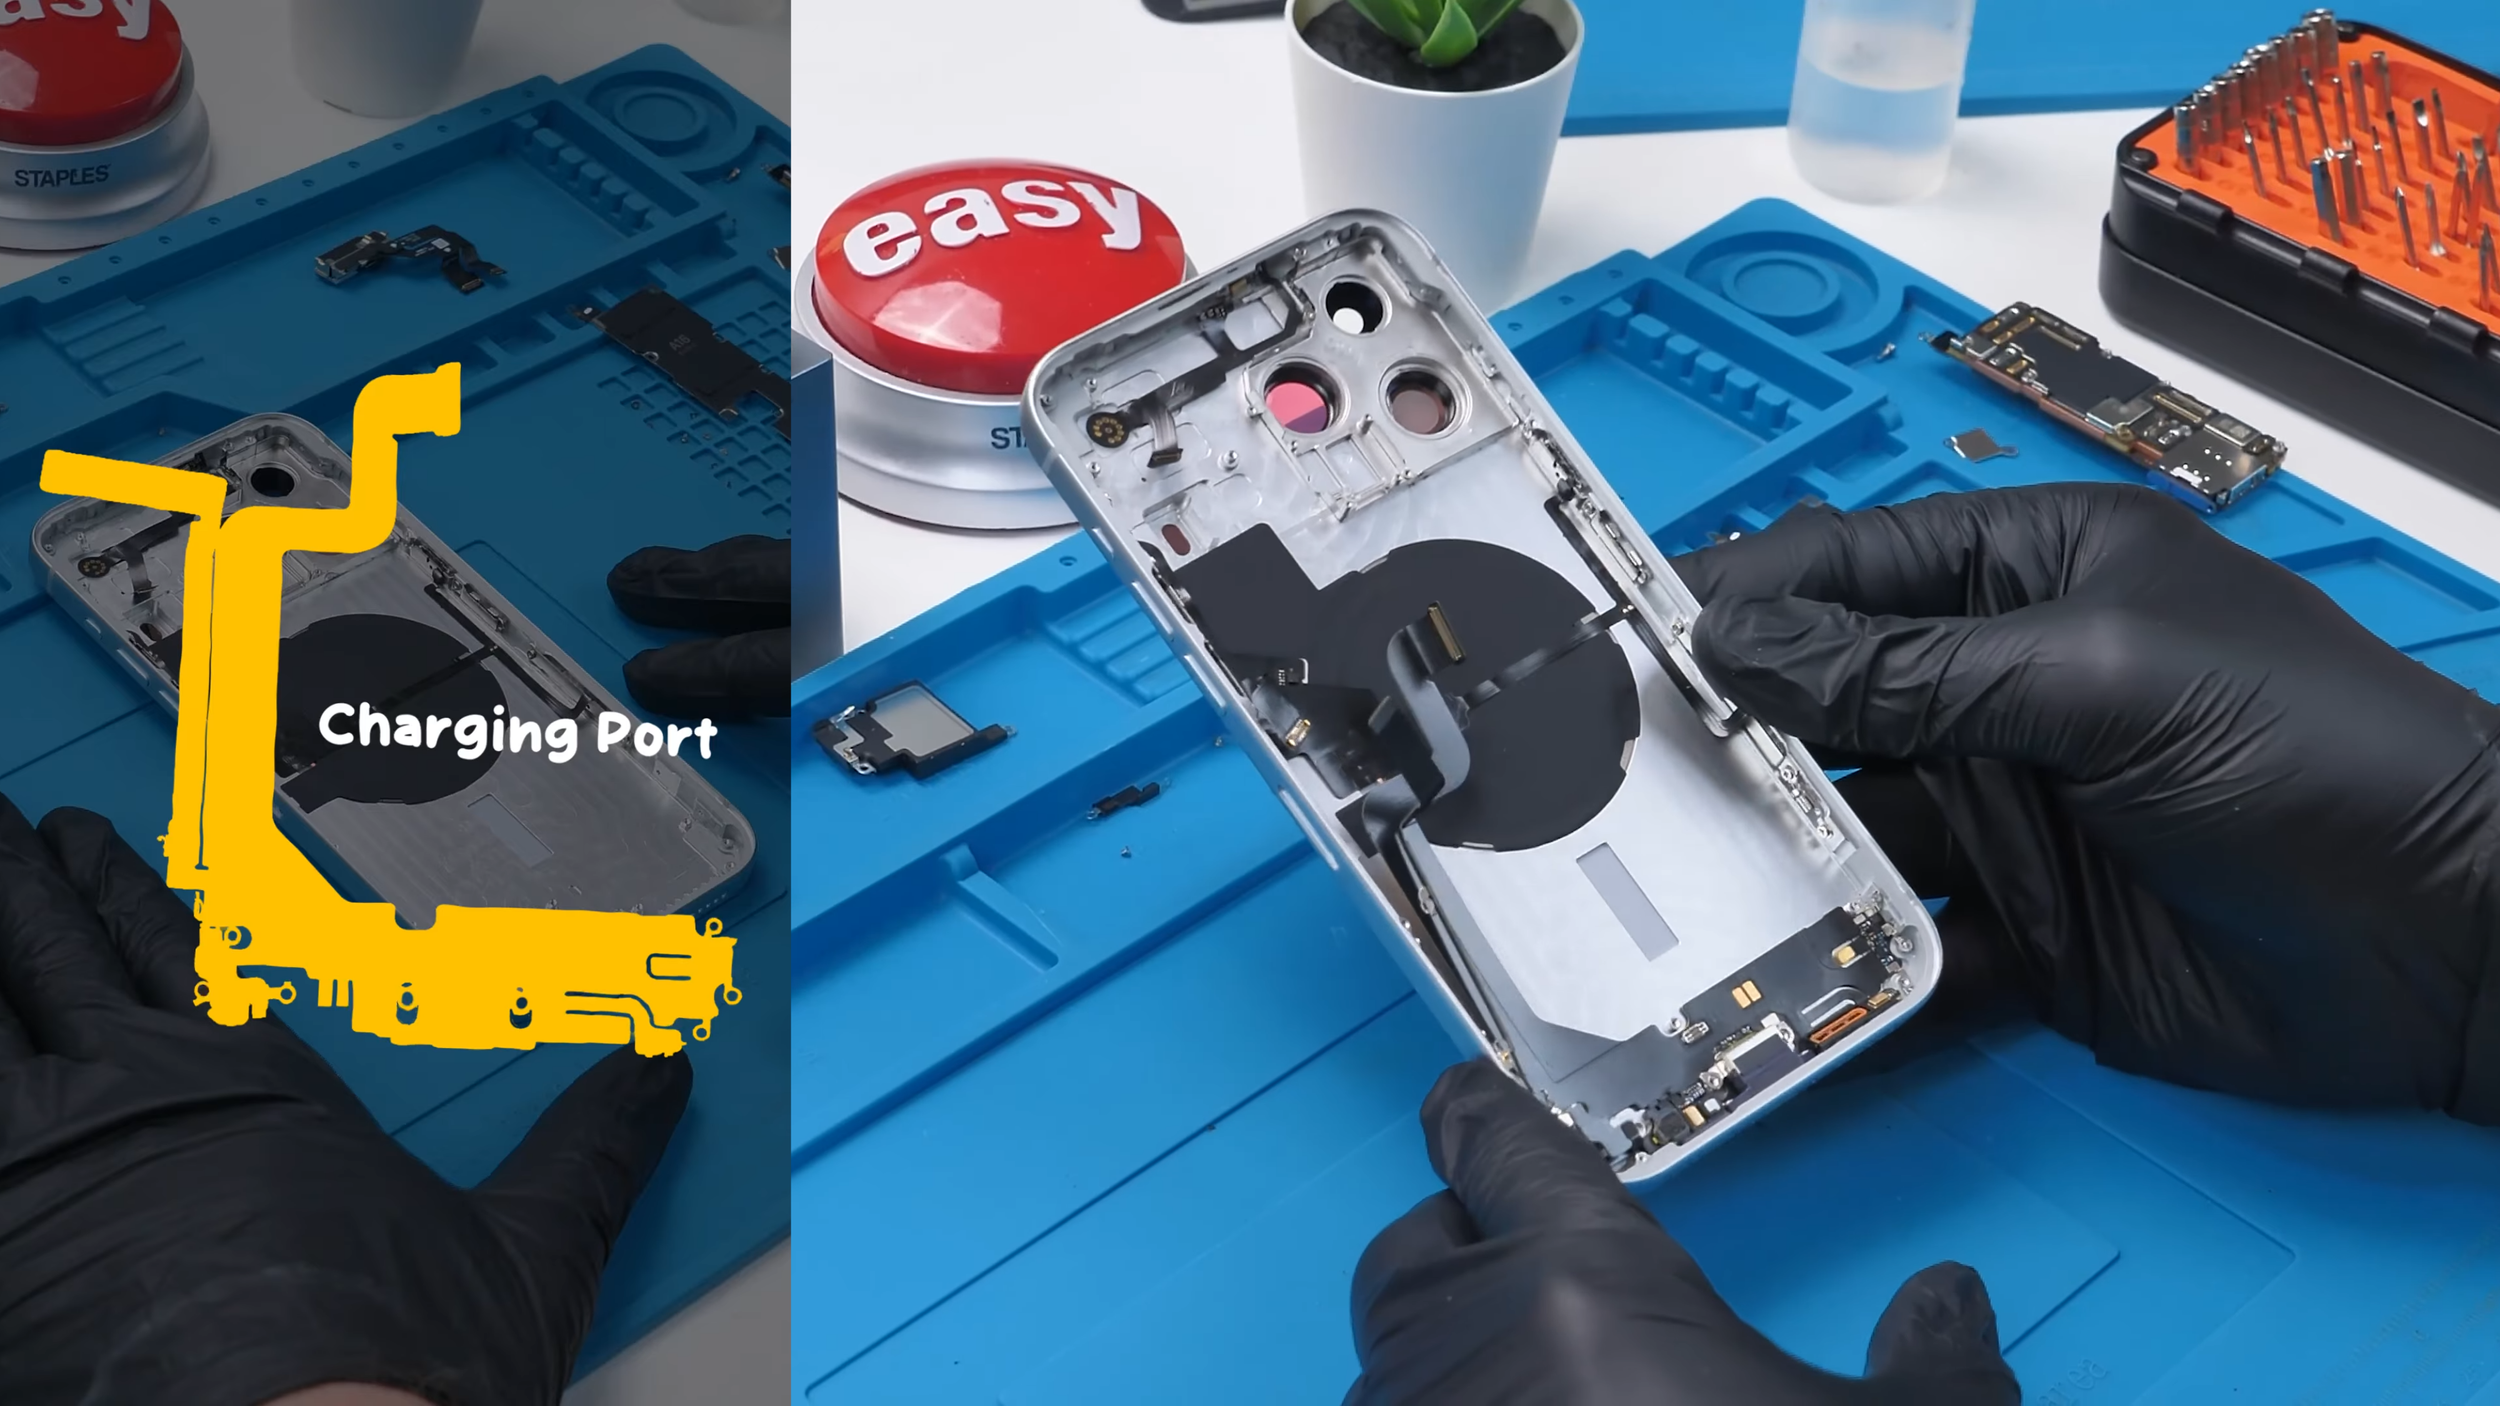
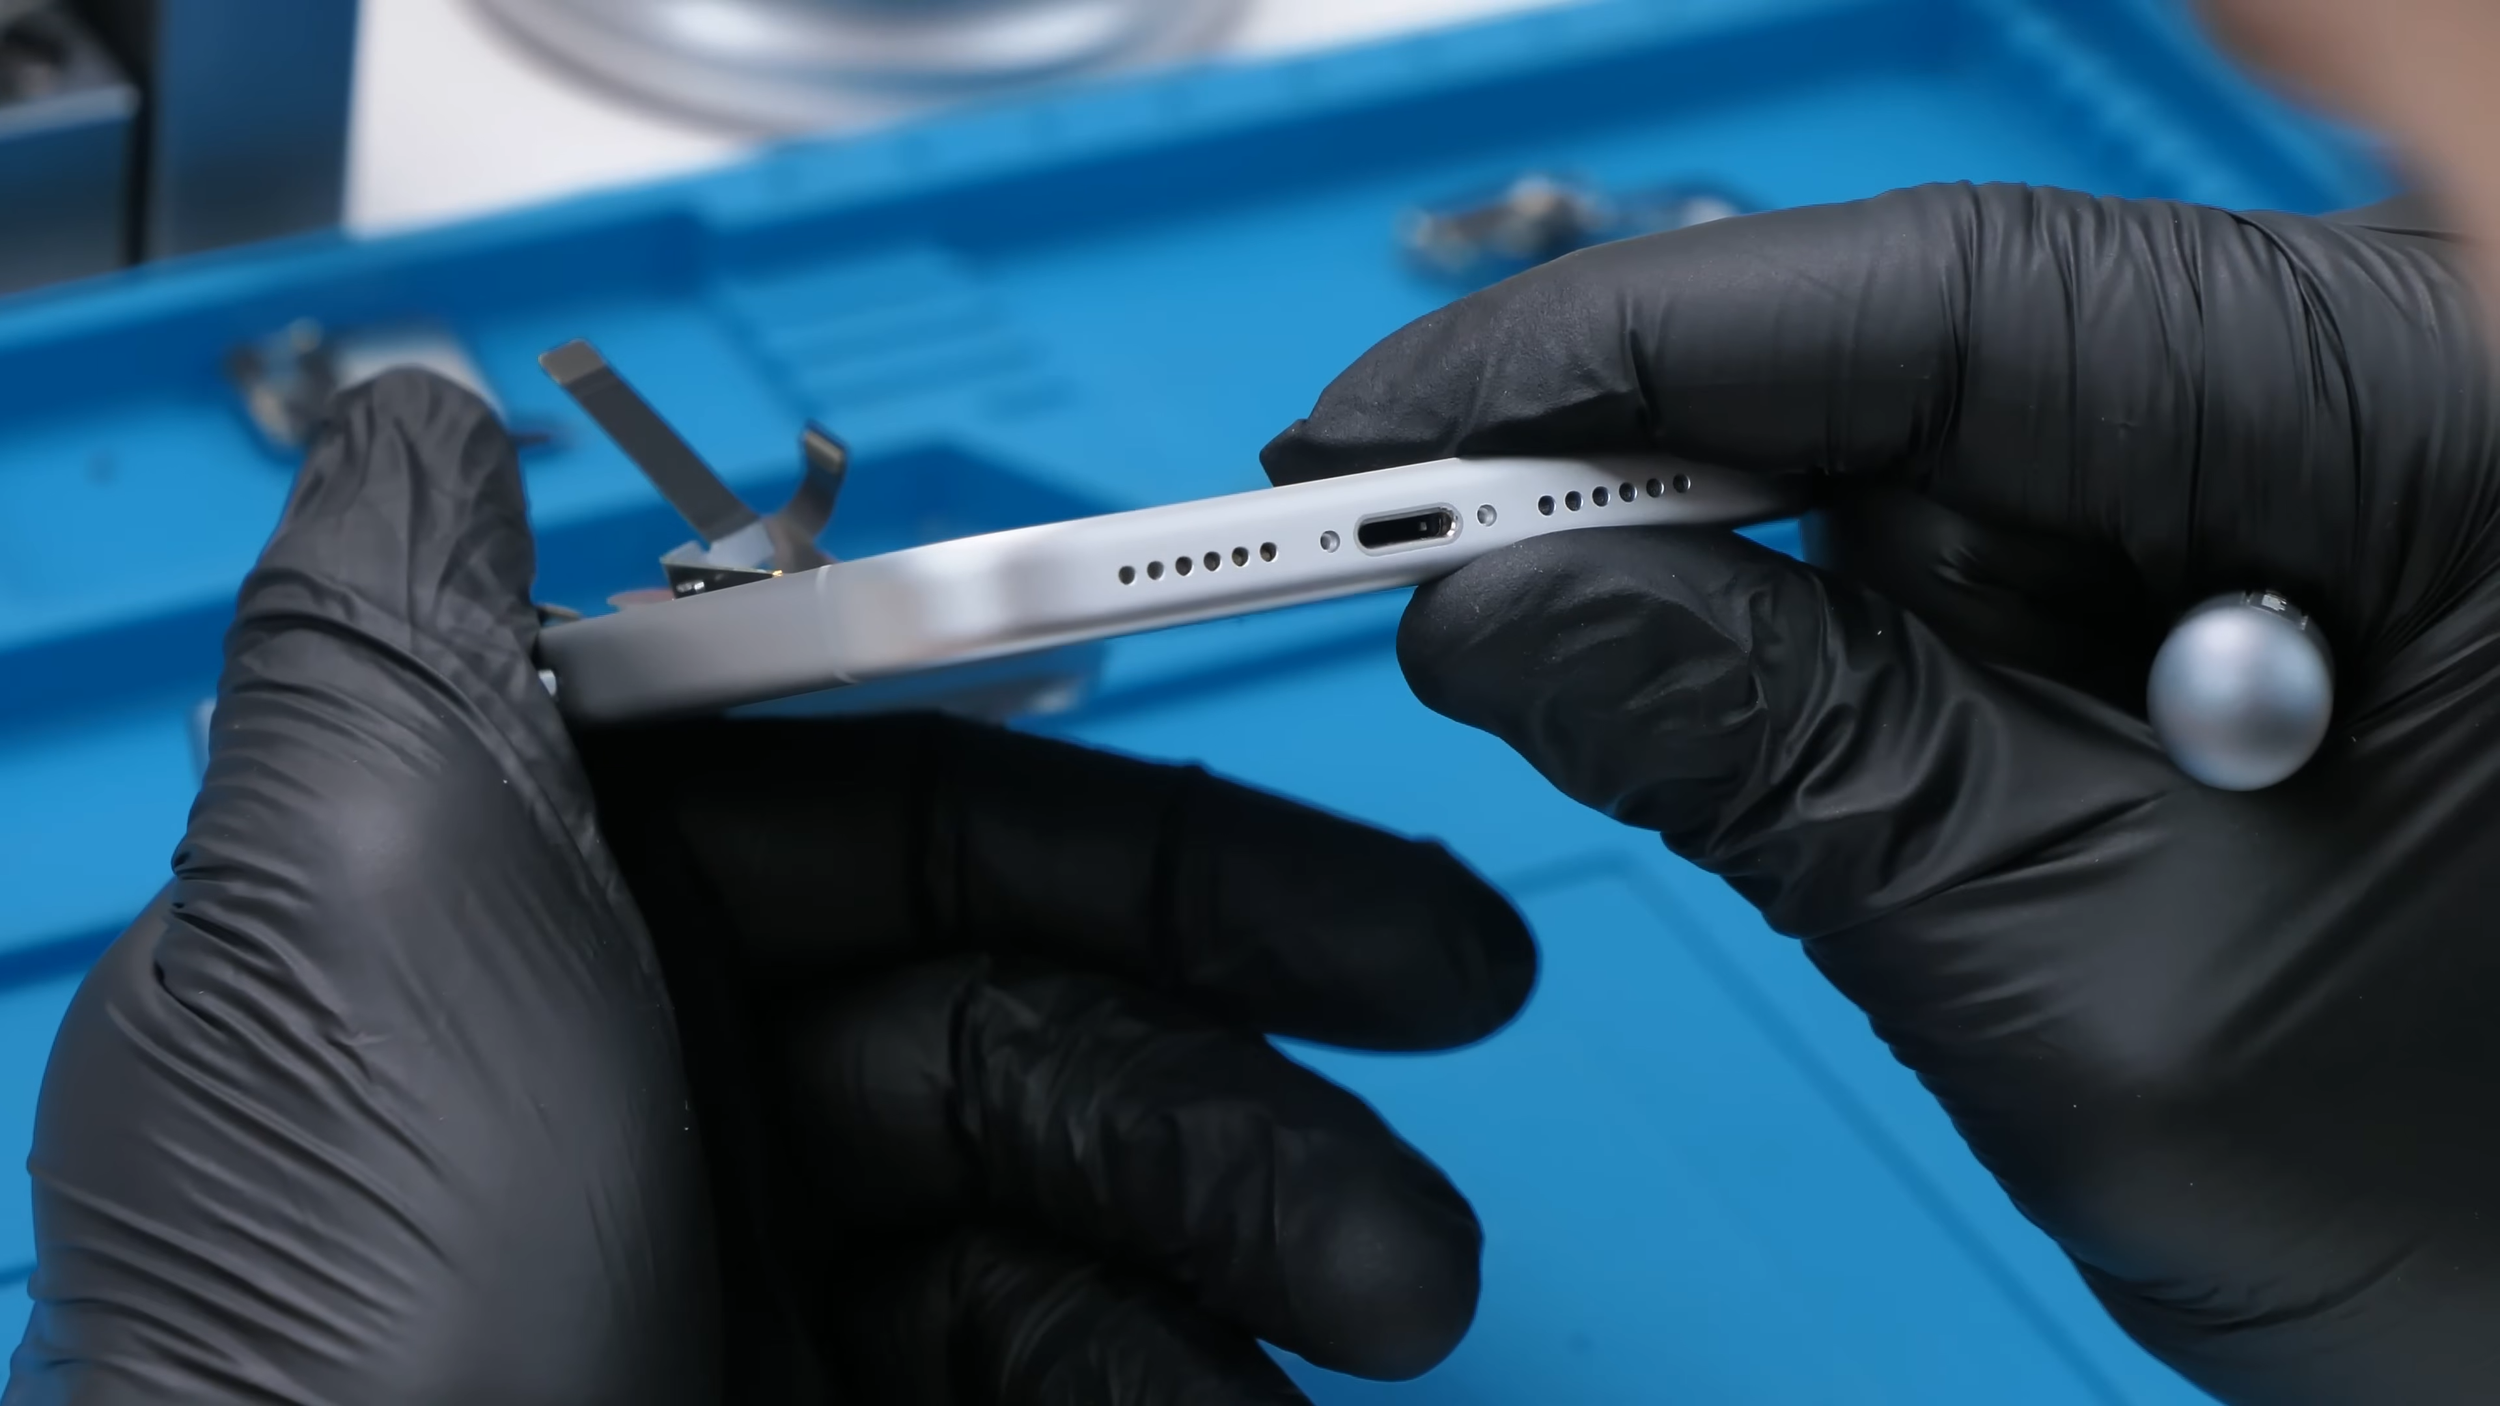
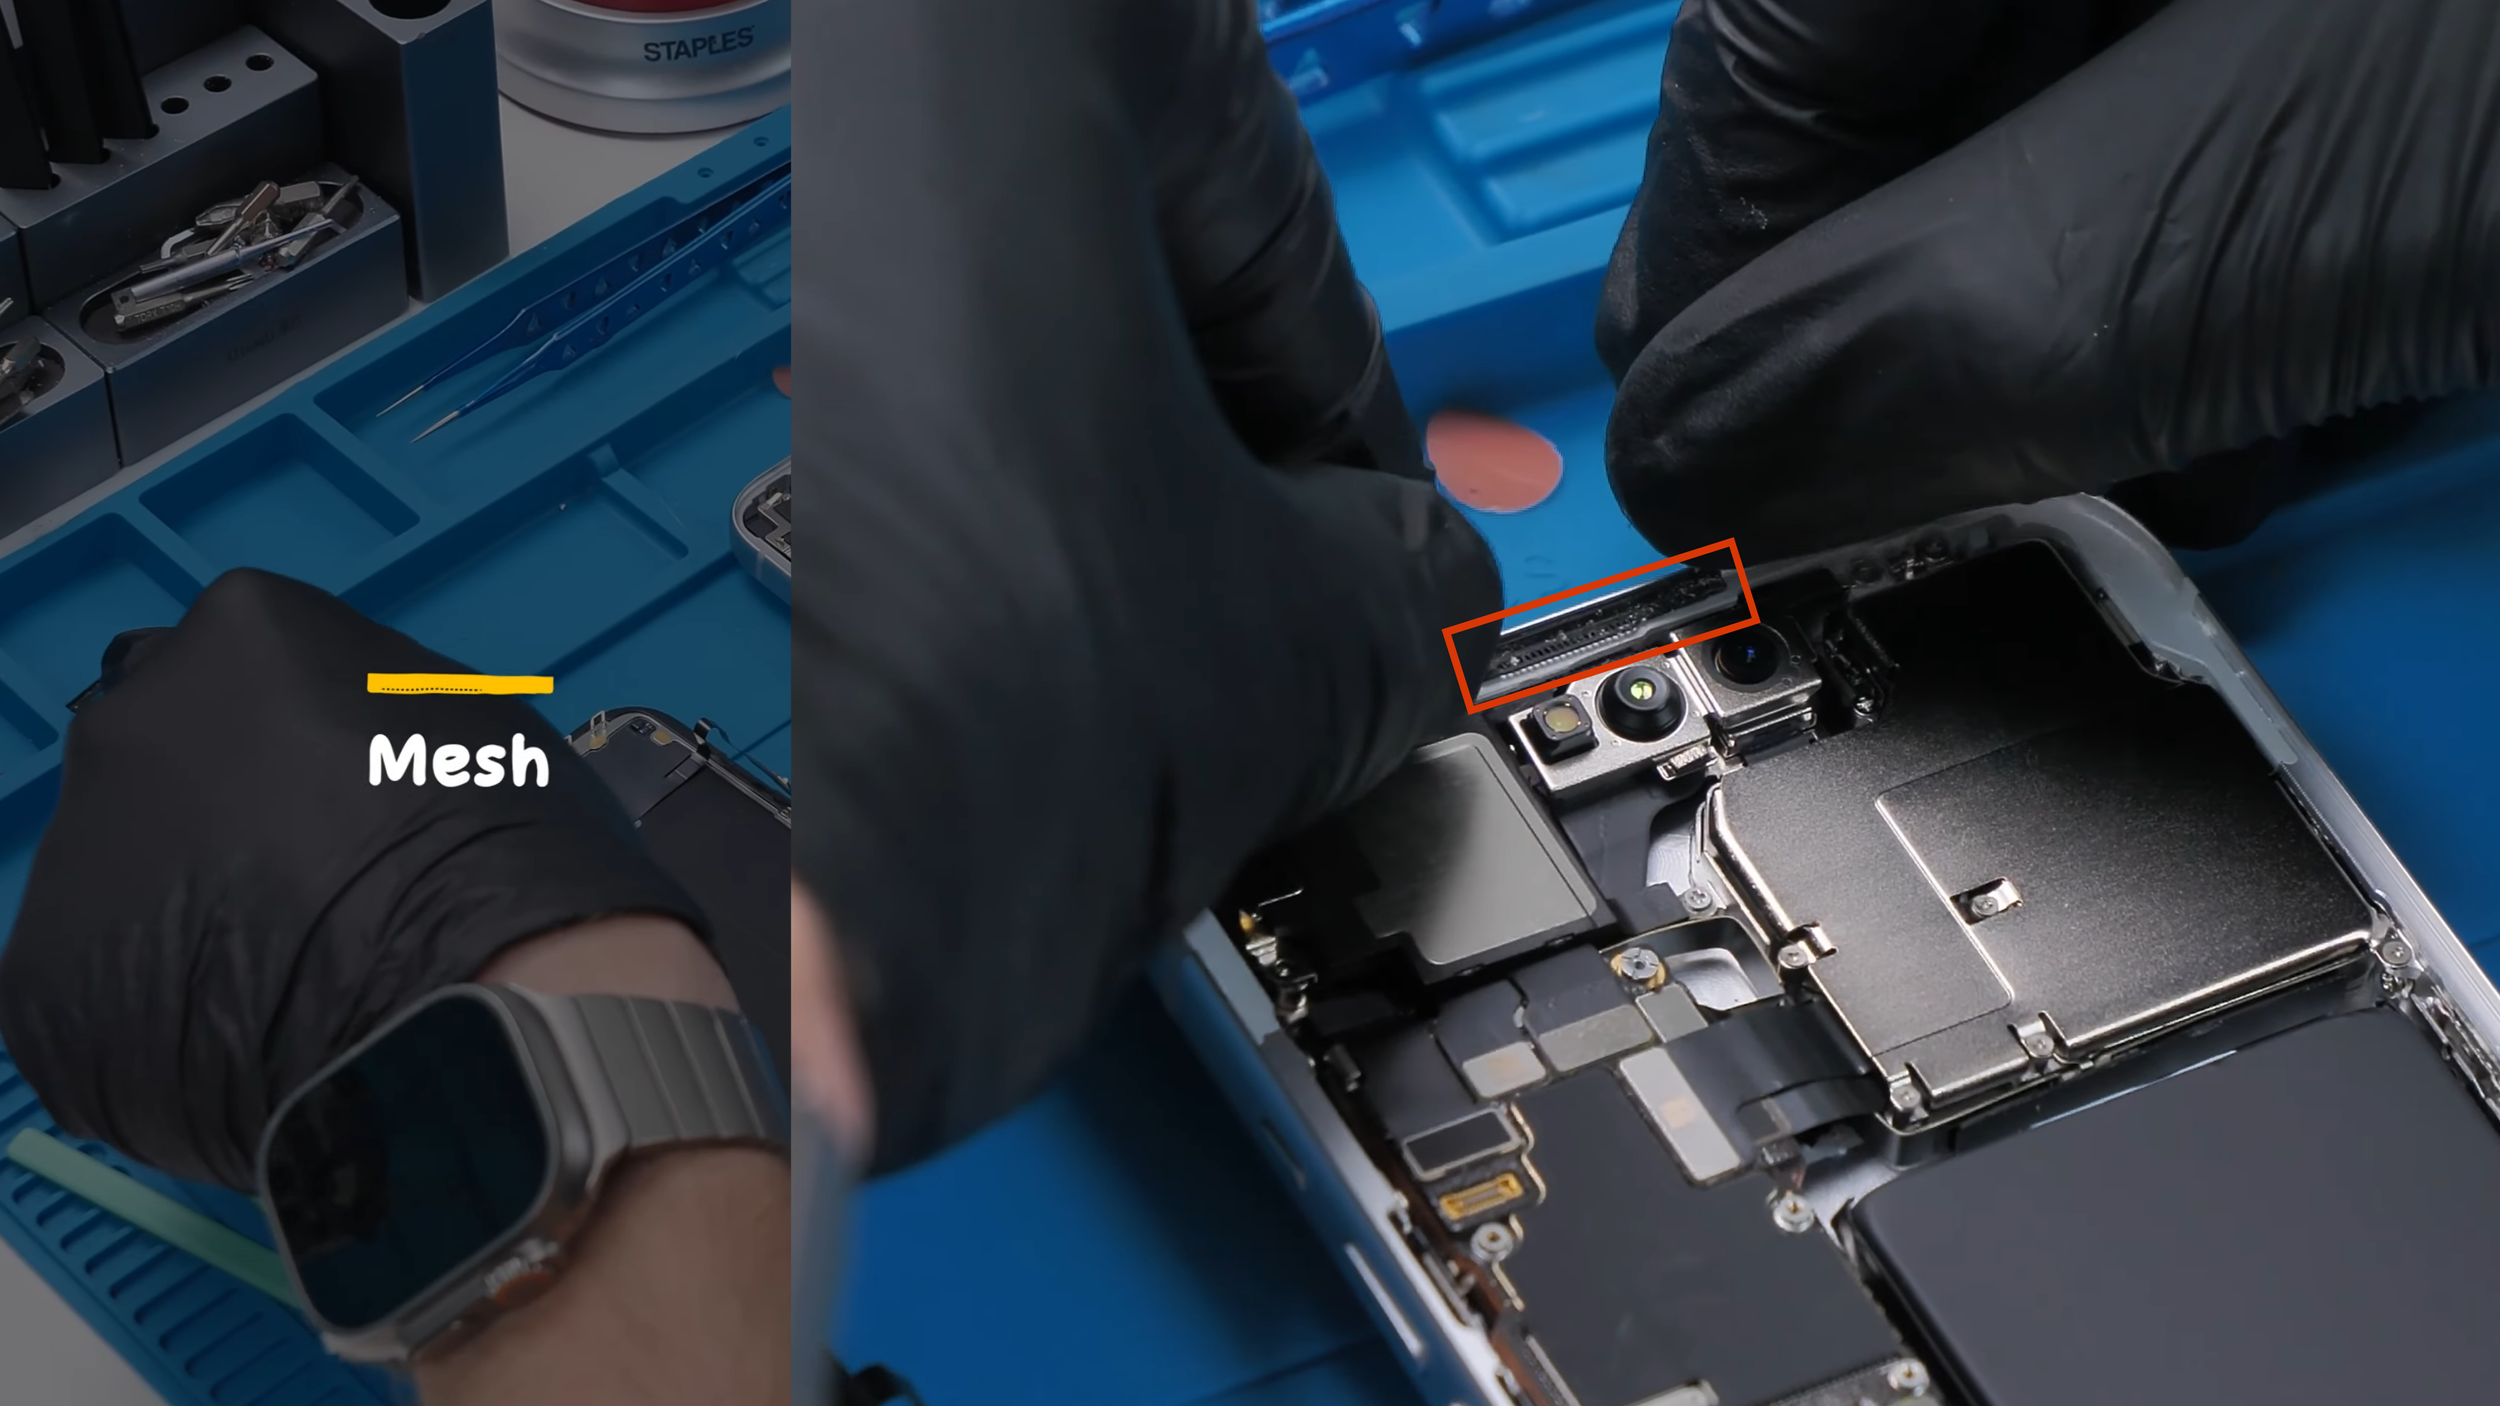
With the iPhone 14 Pro Max fully stripped down, the first part to transfer was supposed to be the charging port, but the new housing immediately showed a problem. Looking through the bottom, there were open gaps where the speaker and microphone meshes should have been, so those had to be moved over first.
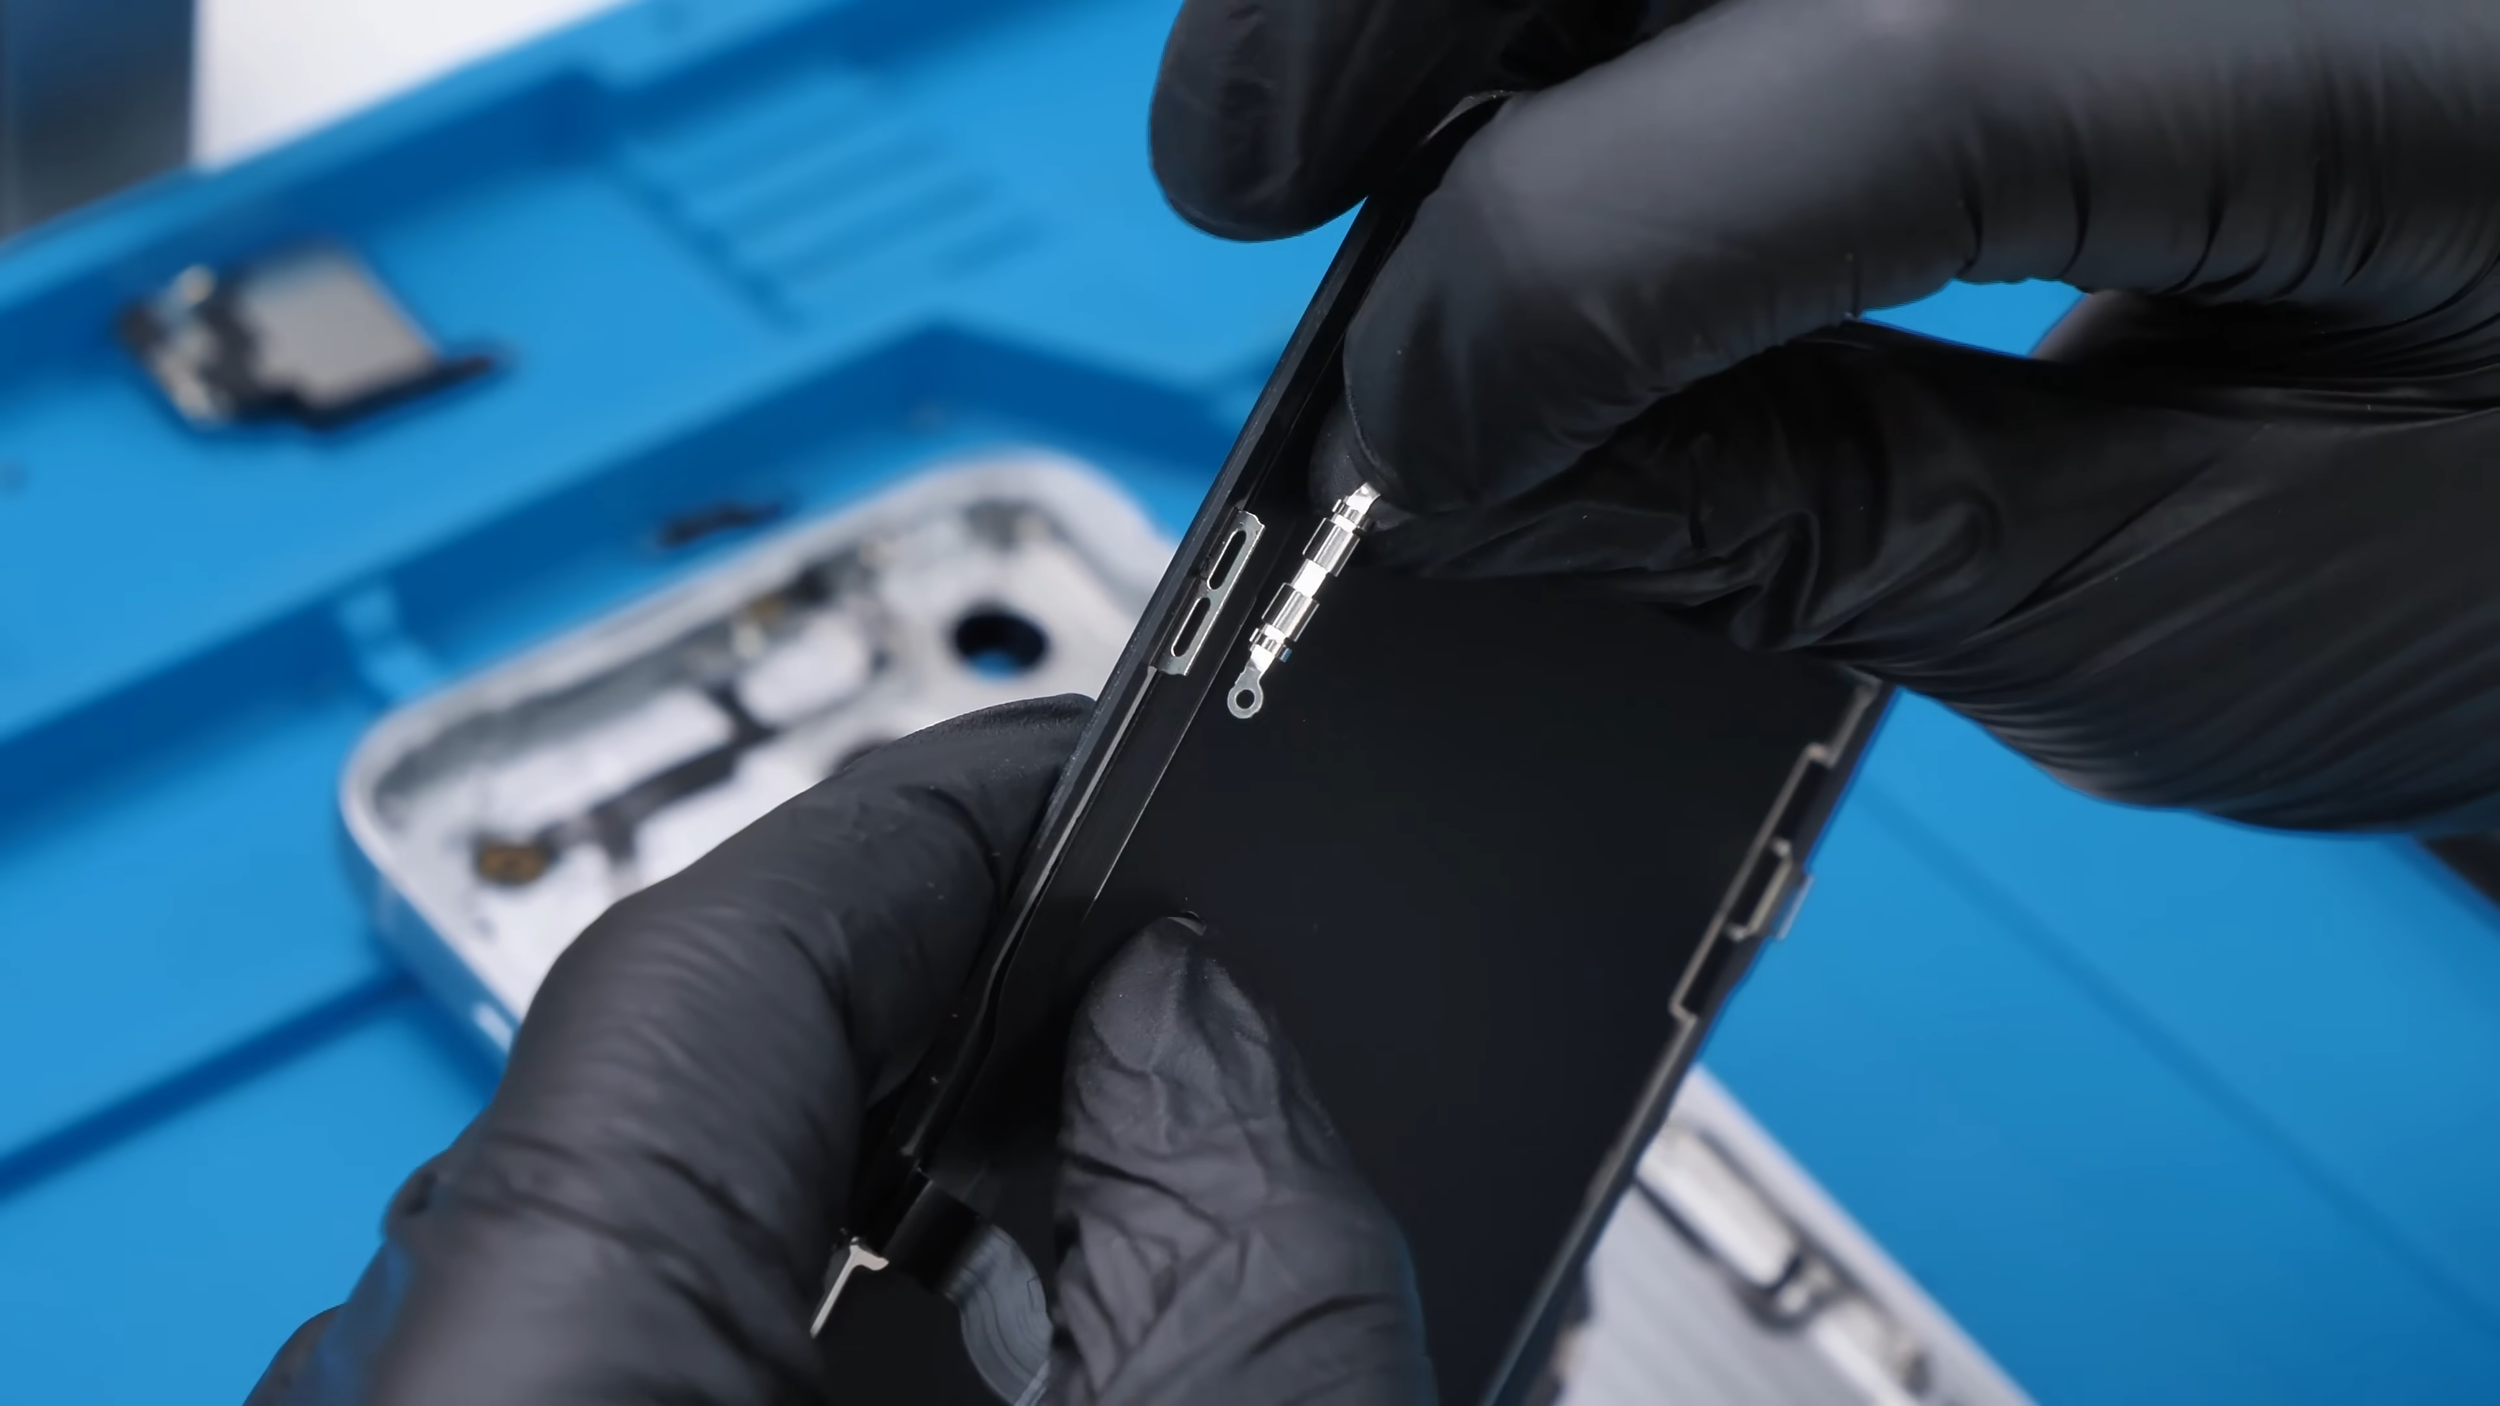
Each mesh was placed into the new frame and secured with a tiny amount of glue, just enough to hold it in place without blocking the speaker openings. Once those were installed, the side clips went in next. These clips are what help the display lock into the frame, so they had to be installed before the phone could be closed properly later.
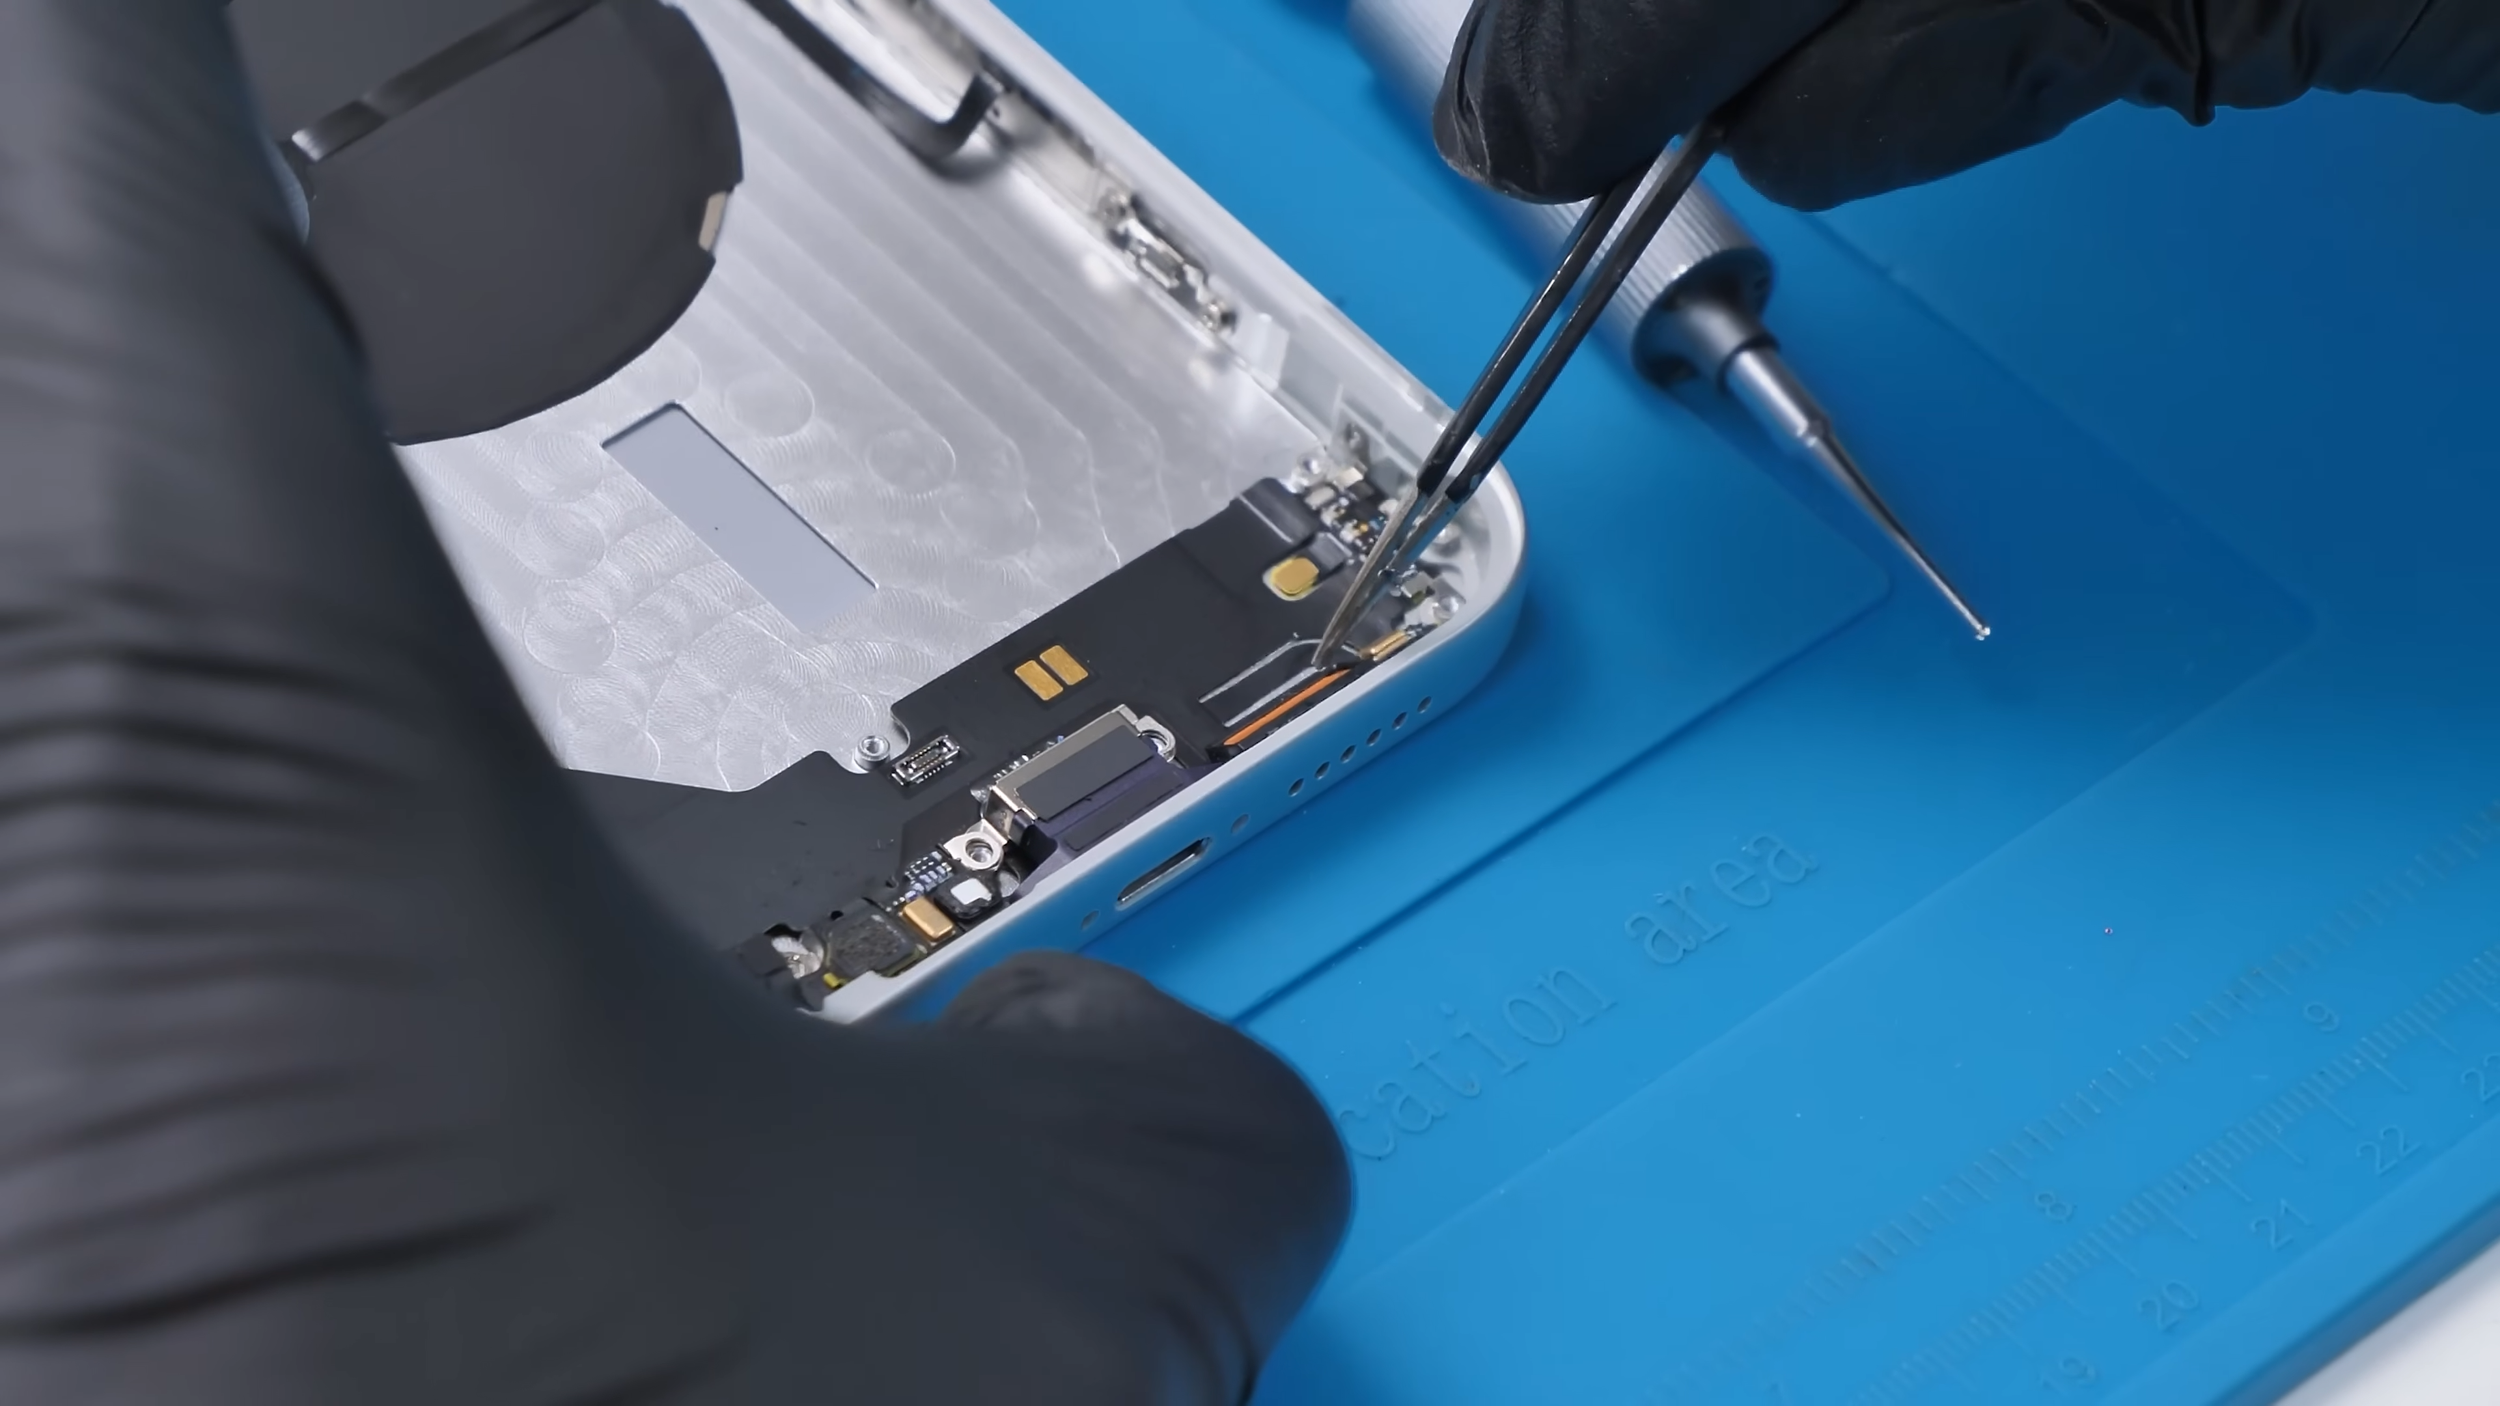
After that, the charging port assembly could finally go in. This was one of the more annoying parts of the build because the charging port has so many screws, brackets, and pieces attached to it.
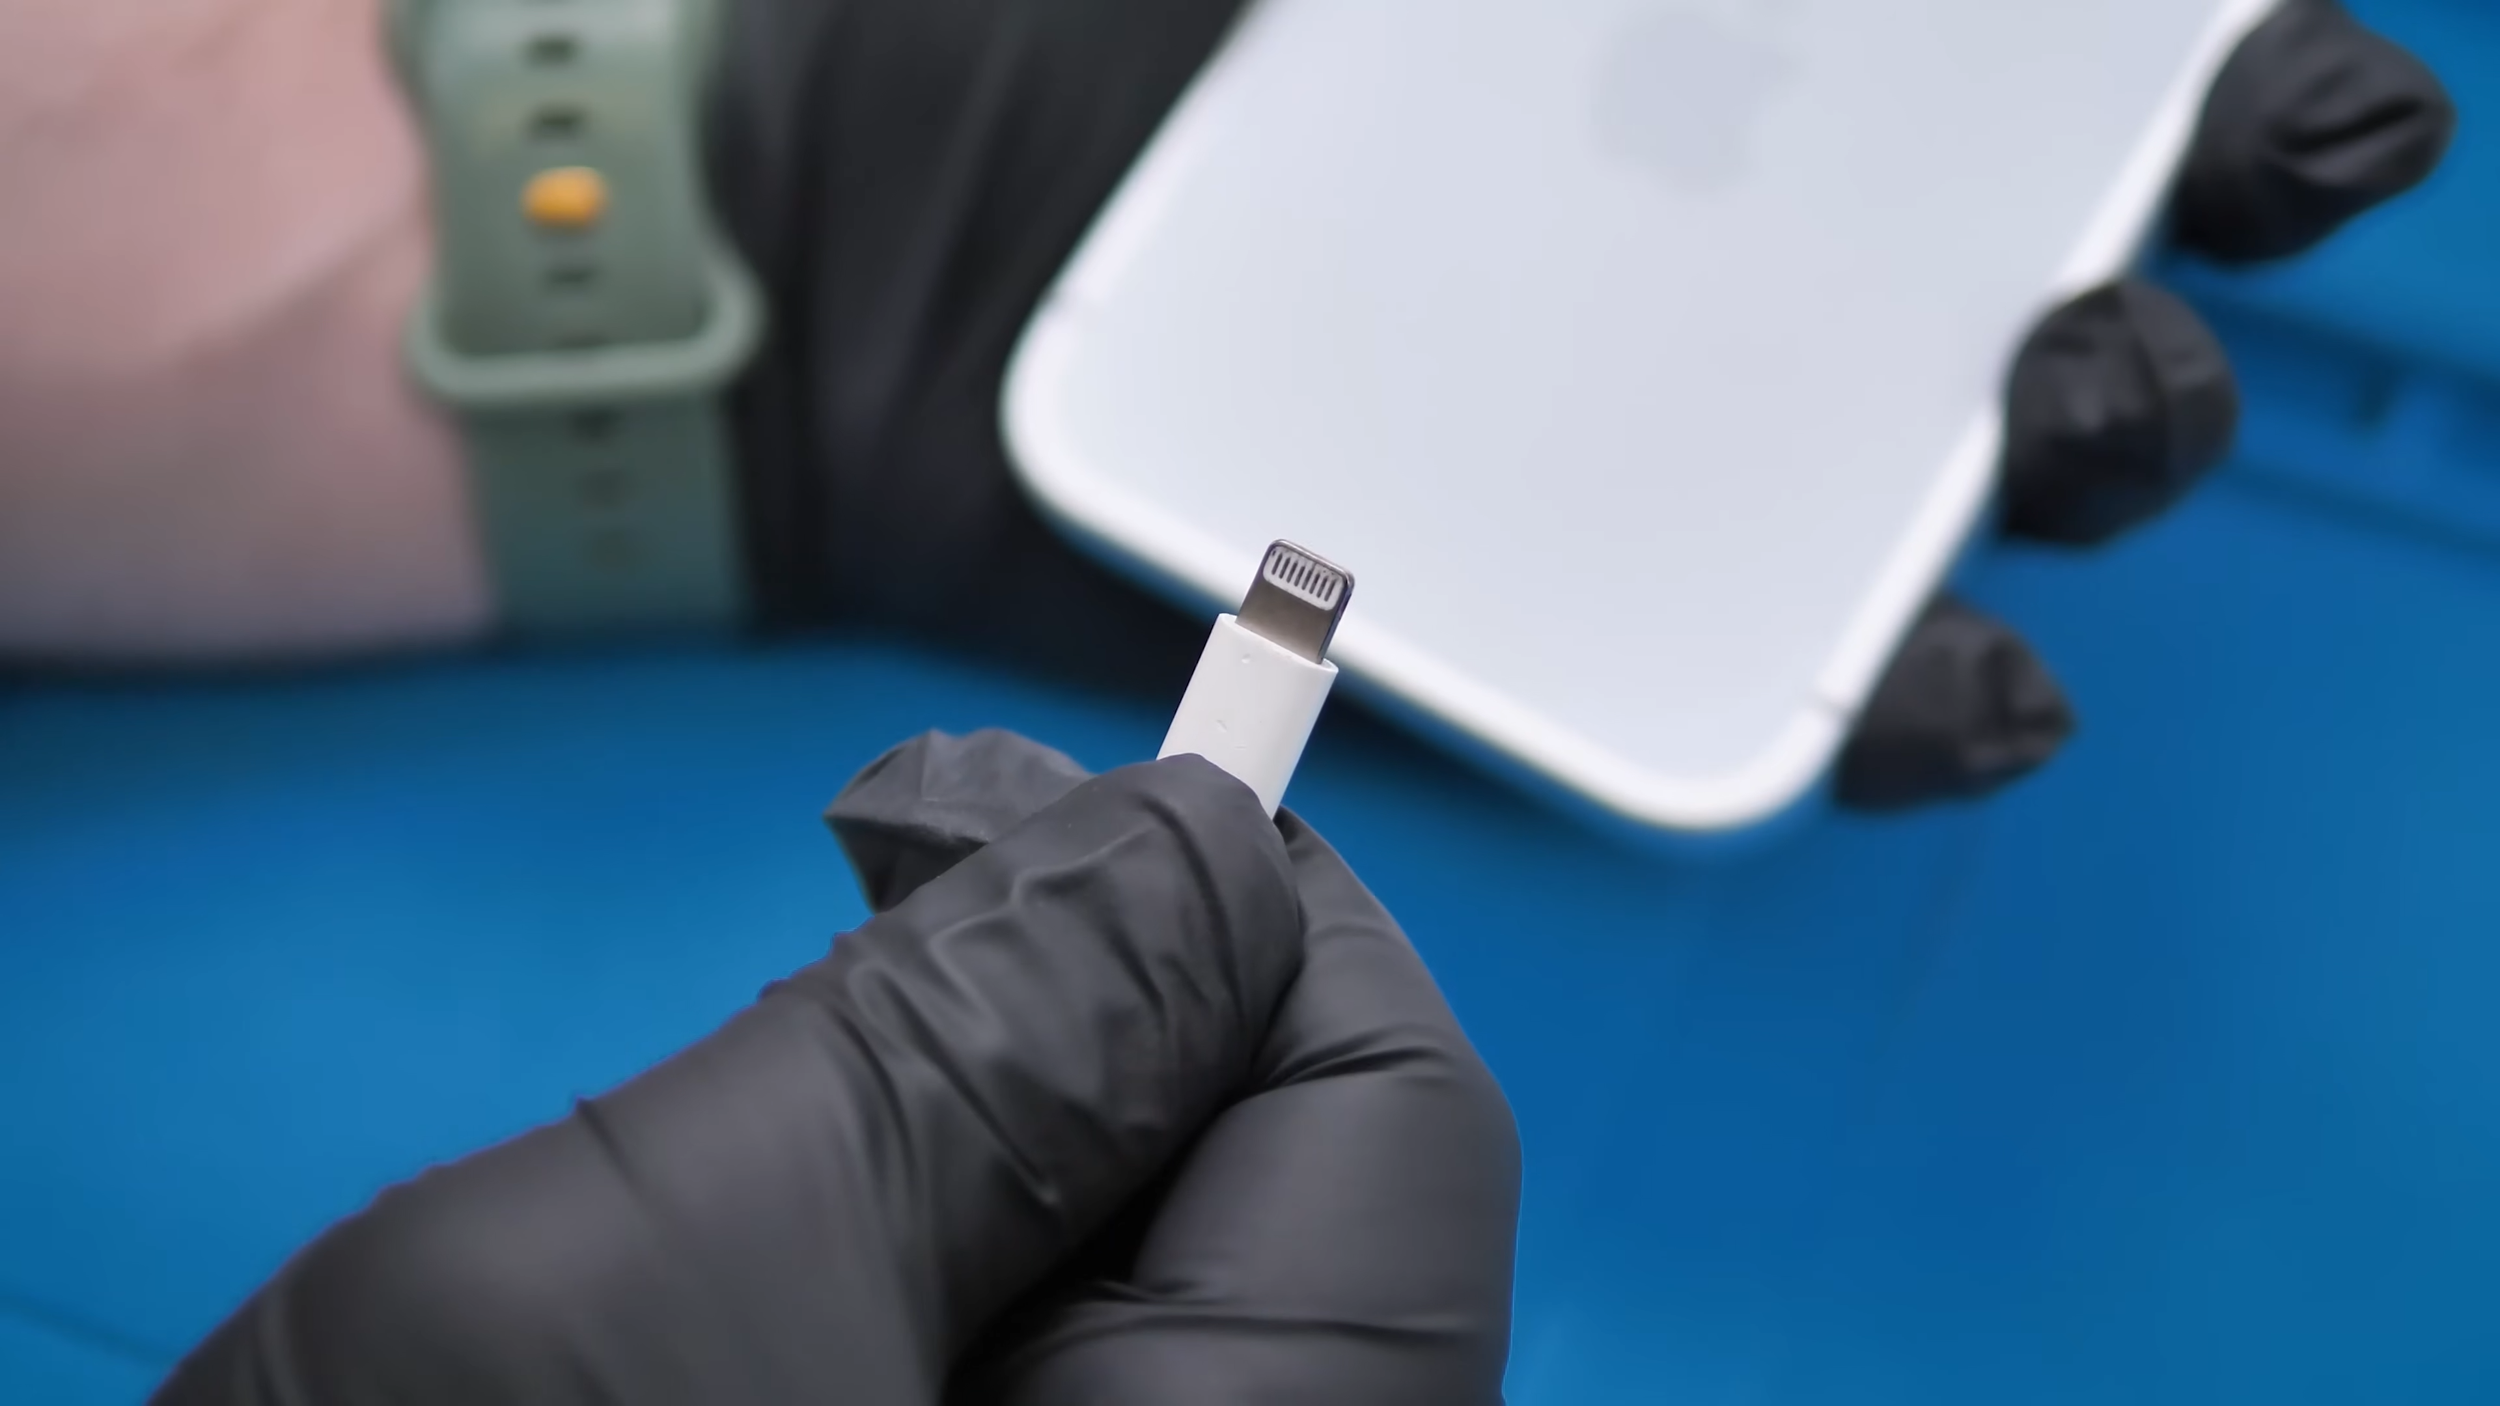
The rubber gasket was also reinstalled to help with water resistance, although this phone was never going to be as sealed as it was from the factory. And even though the outside now looked newer, the port was still Lightning, not USB-C.

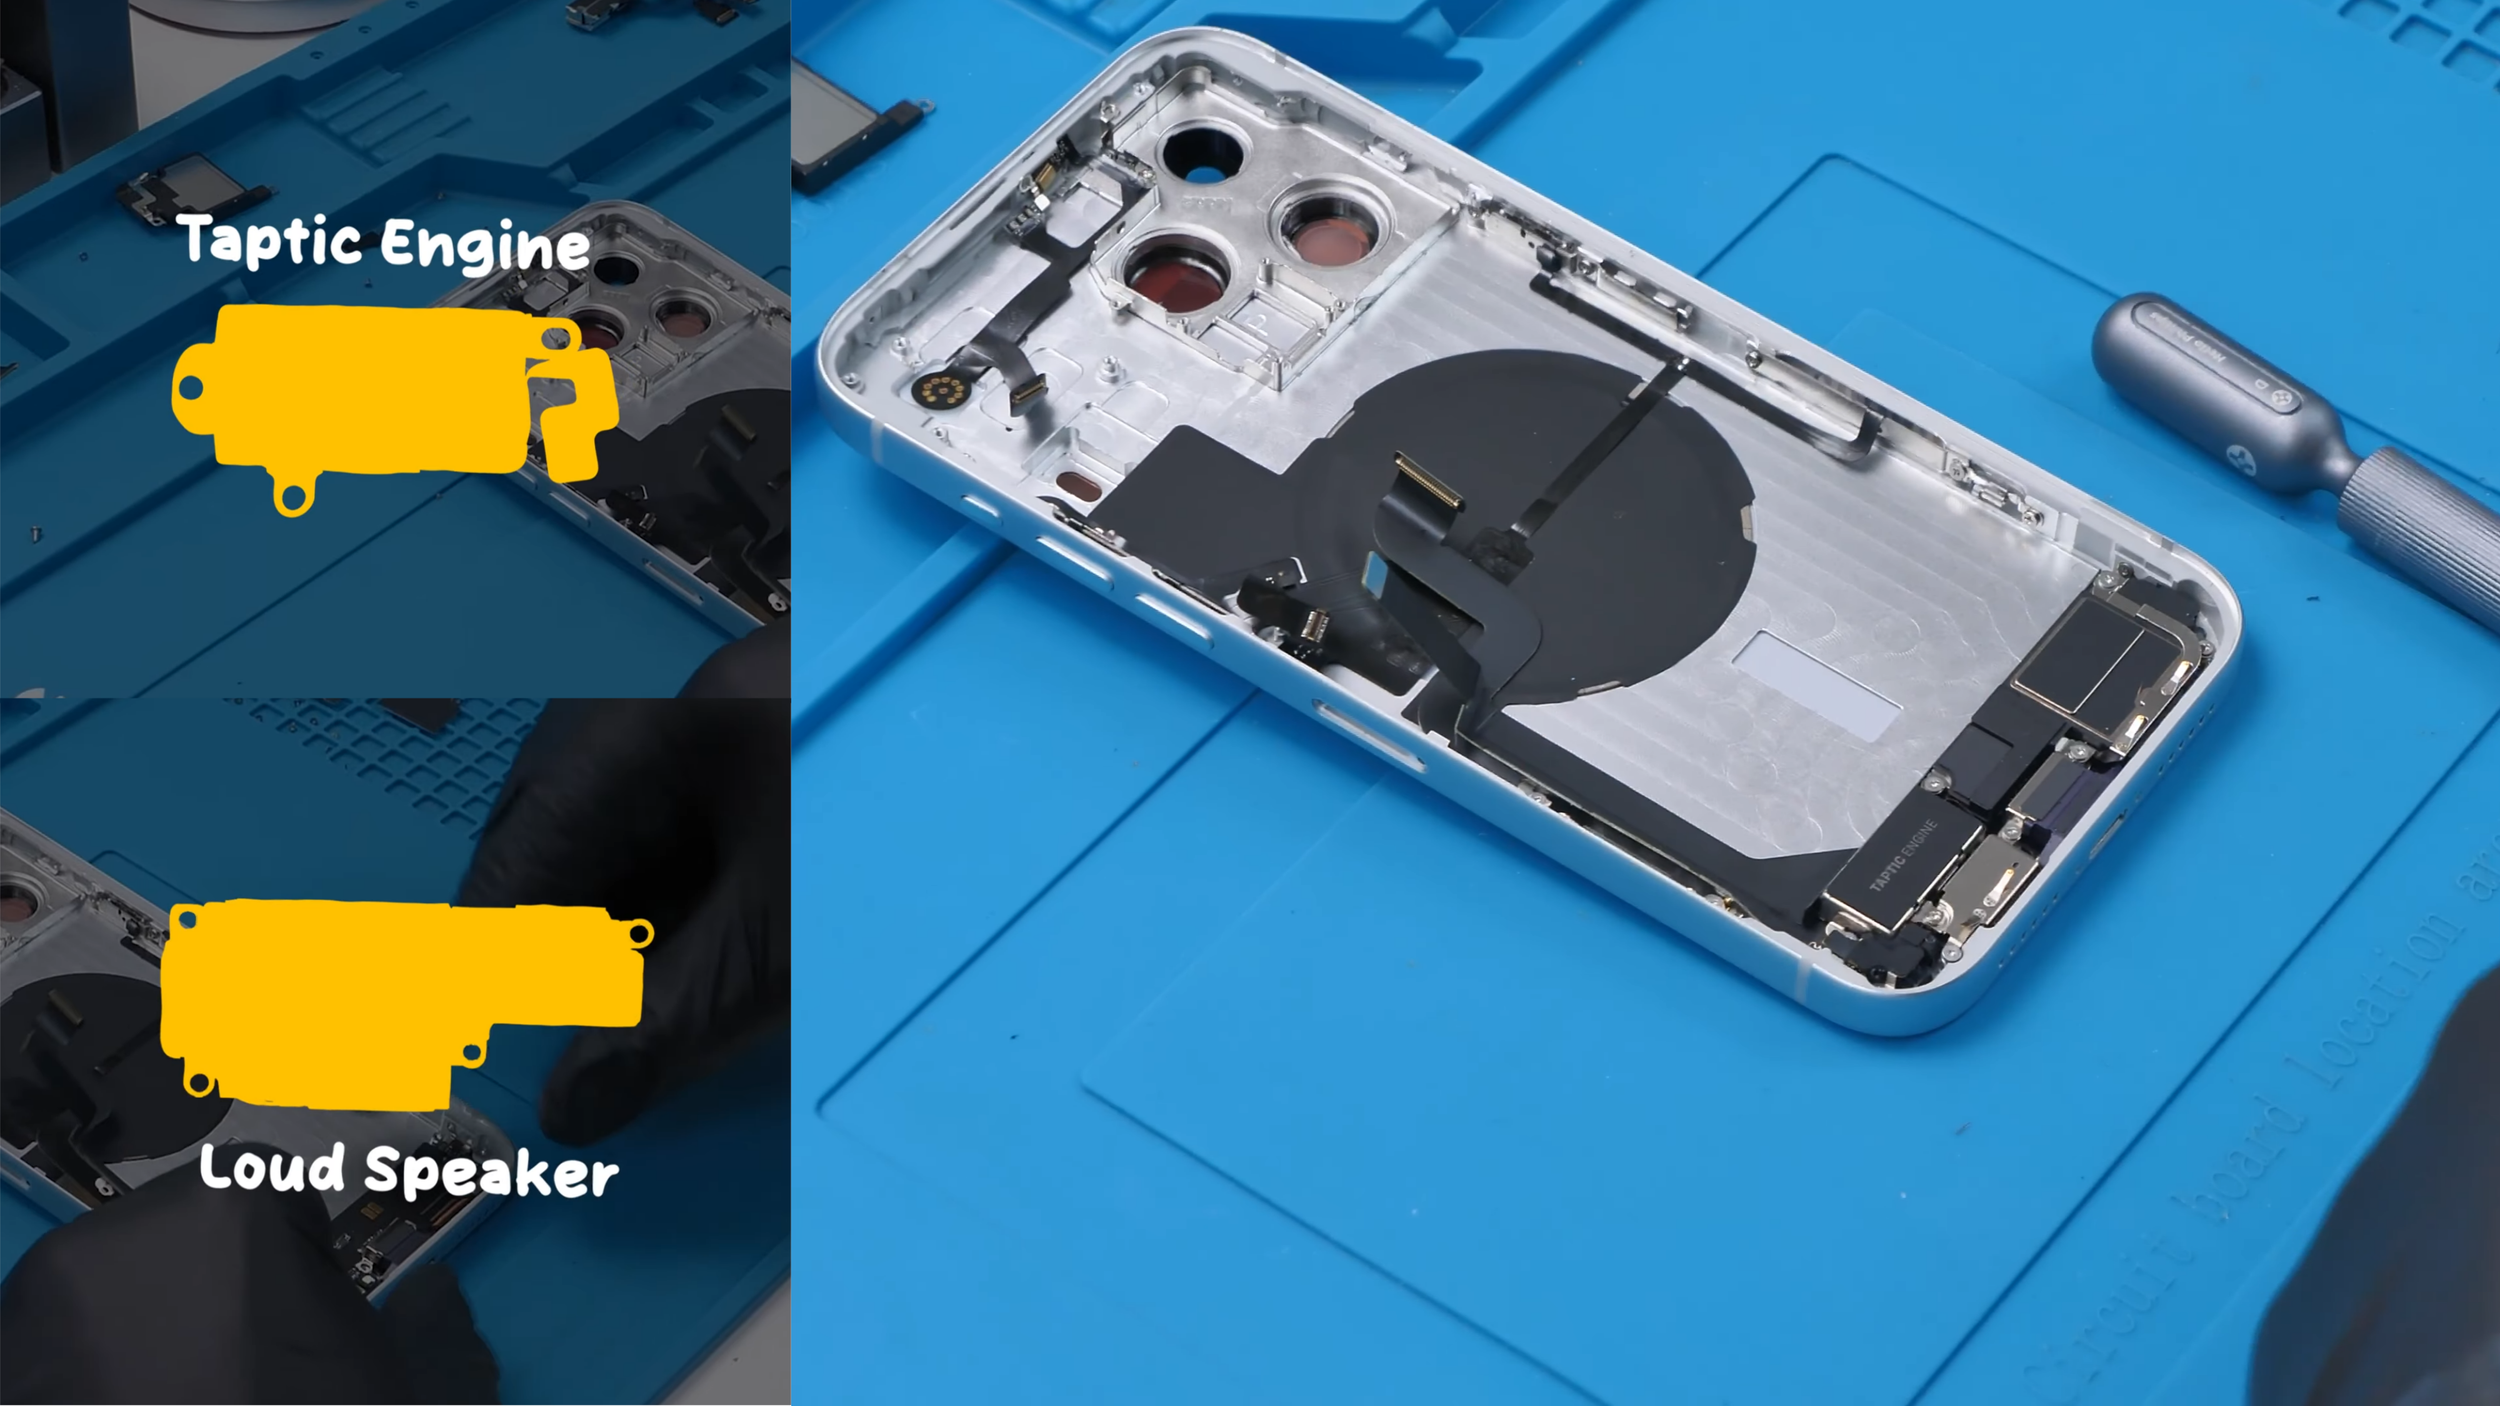
From there, more of the lower assembly was rebuilt around it, including the loudspeaker, Taptic Engine, and the parts attached around the charging port.
This is where the rebuild started to feel more like a real iPhone again, but the constant screwdriver changes made the process slower than it looked.
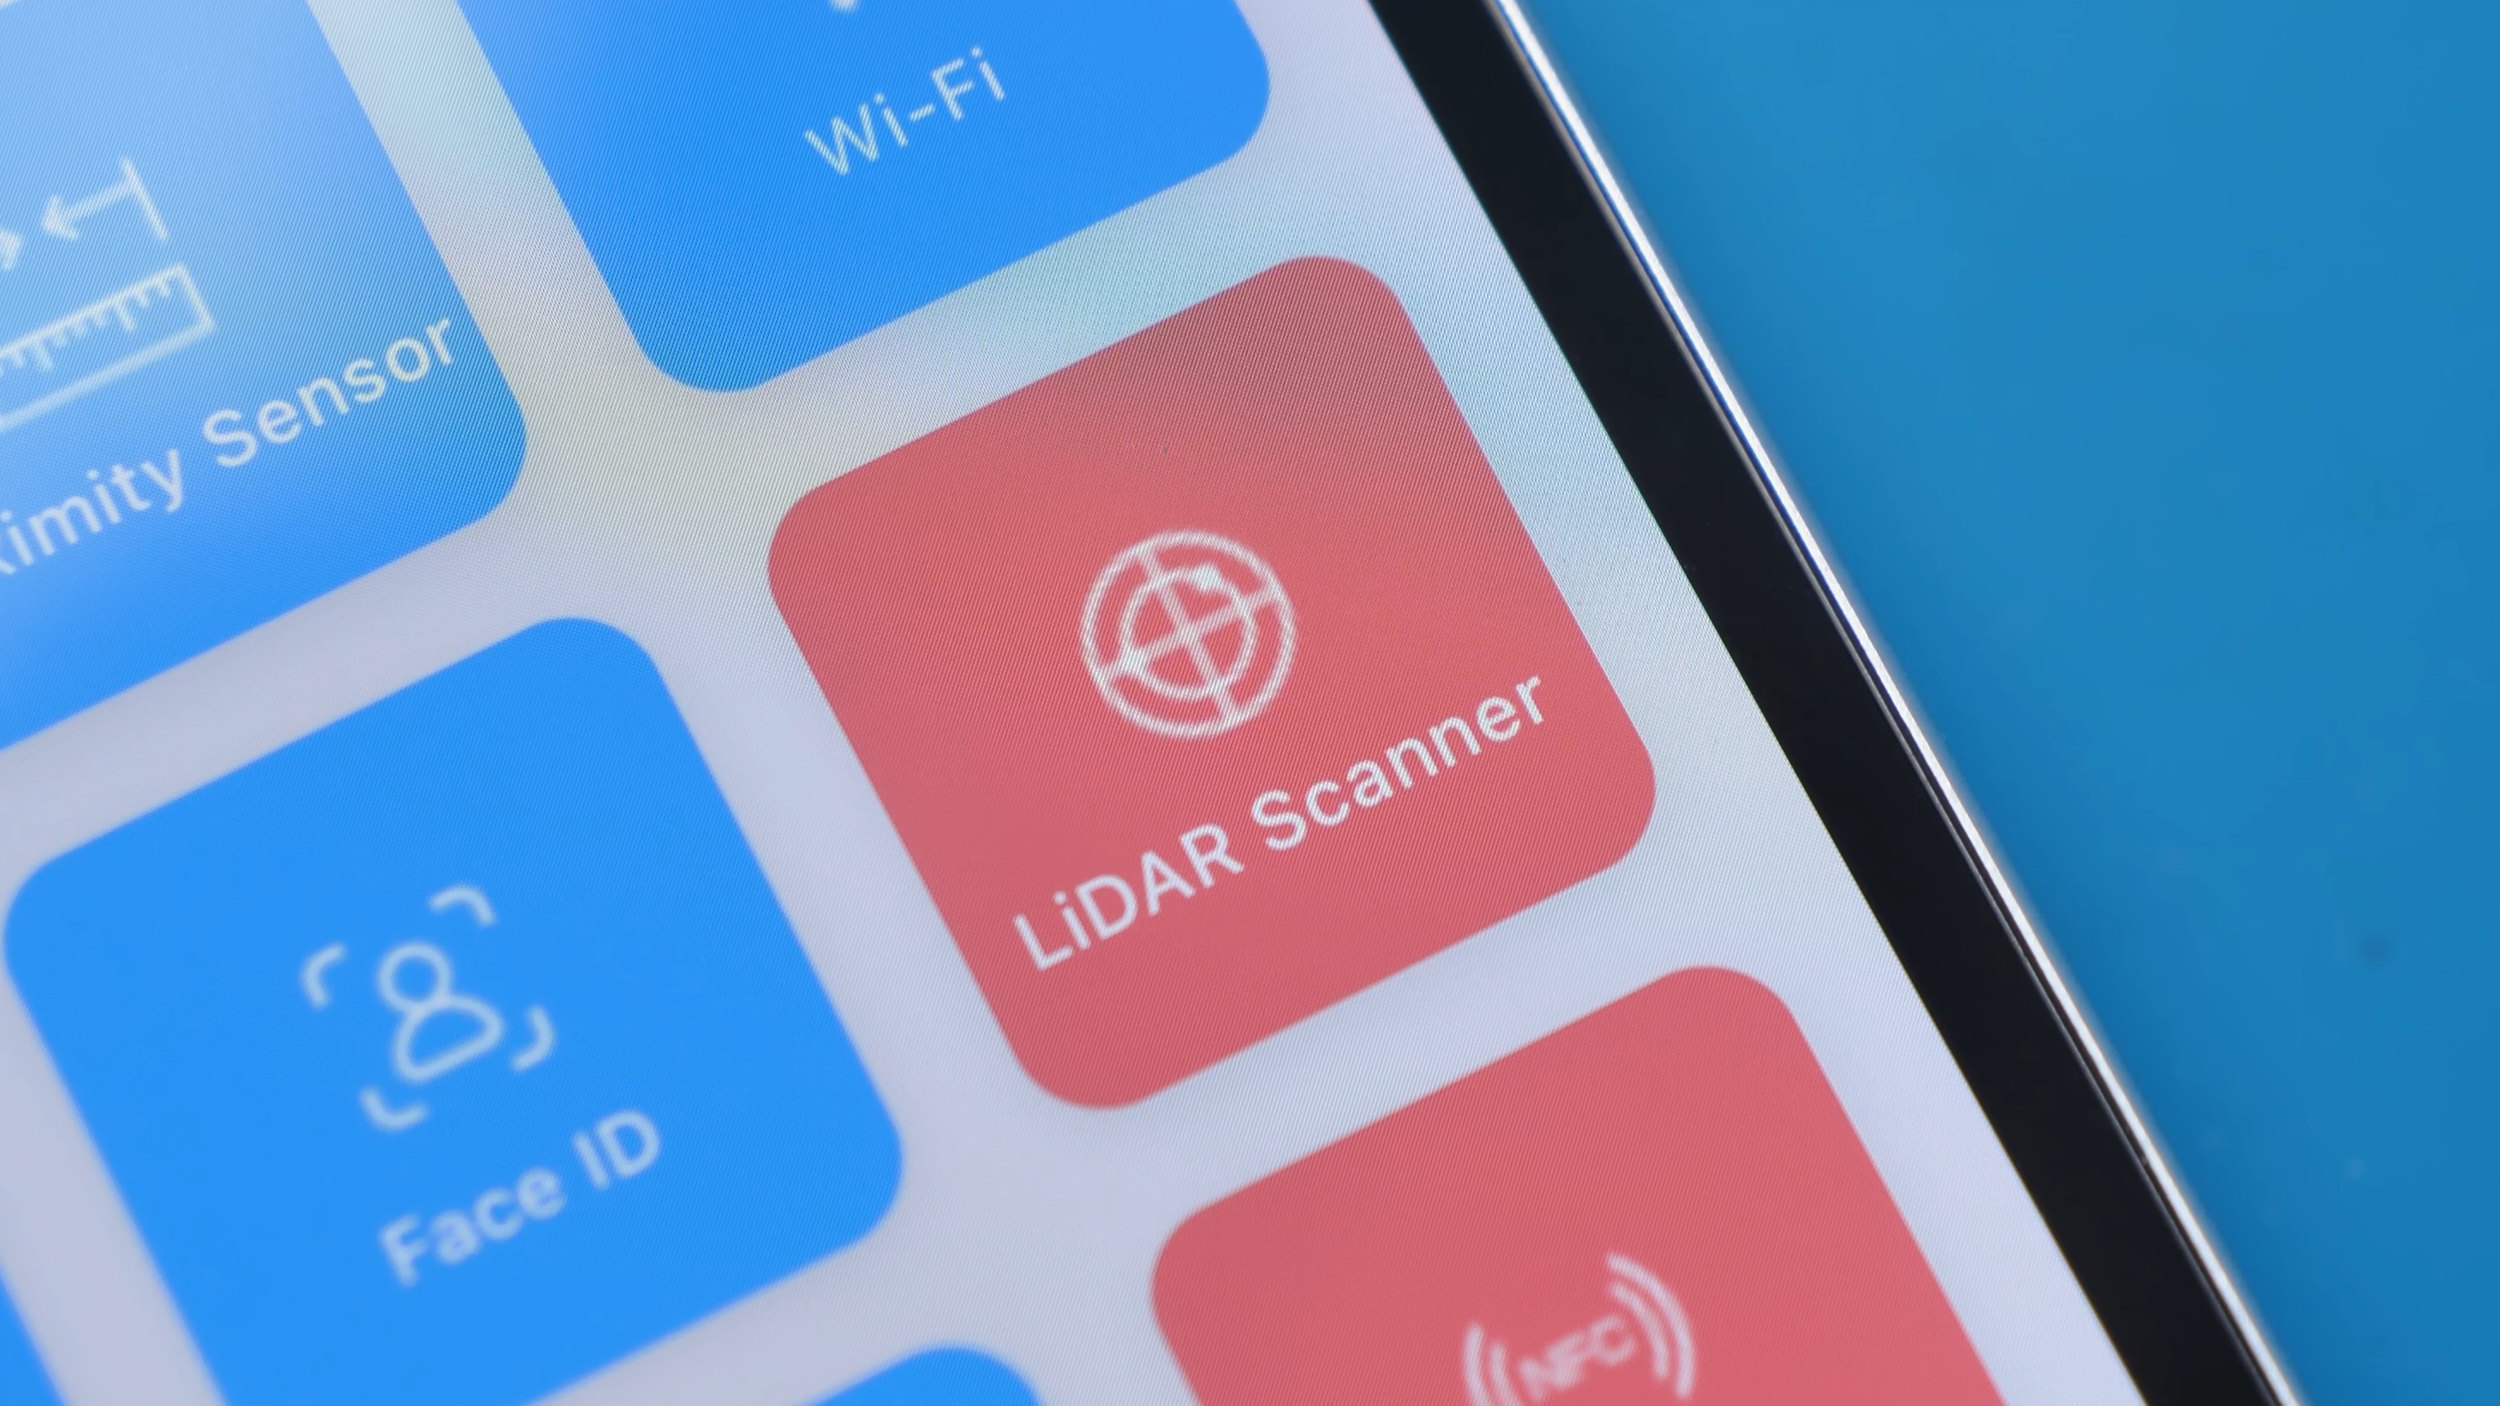
The LiDAR sensor came next, and that was the strangest part of the entire transfer. In the original iPhone 14 Pro Max housing, the LiDAR sits in a different position. In this conversion housing, it had to move to match the iPhone 17 Pro Max-style layout. The kit included a SIM tray and an extension cable that appeared to be for the LiDAR, but there were no instructions, so routing it came down to trial and error.
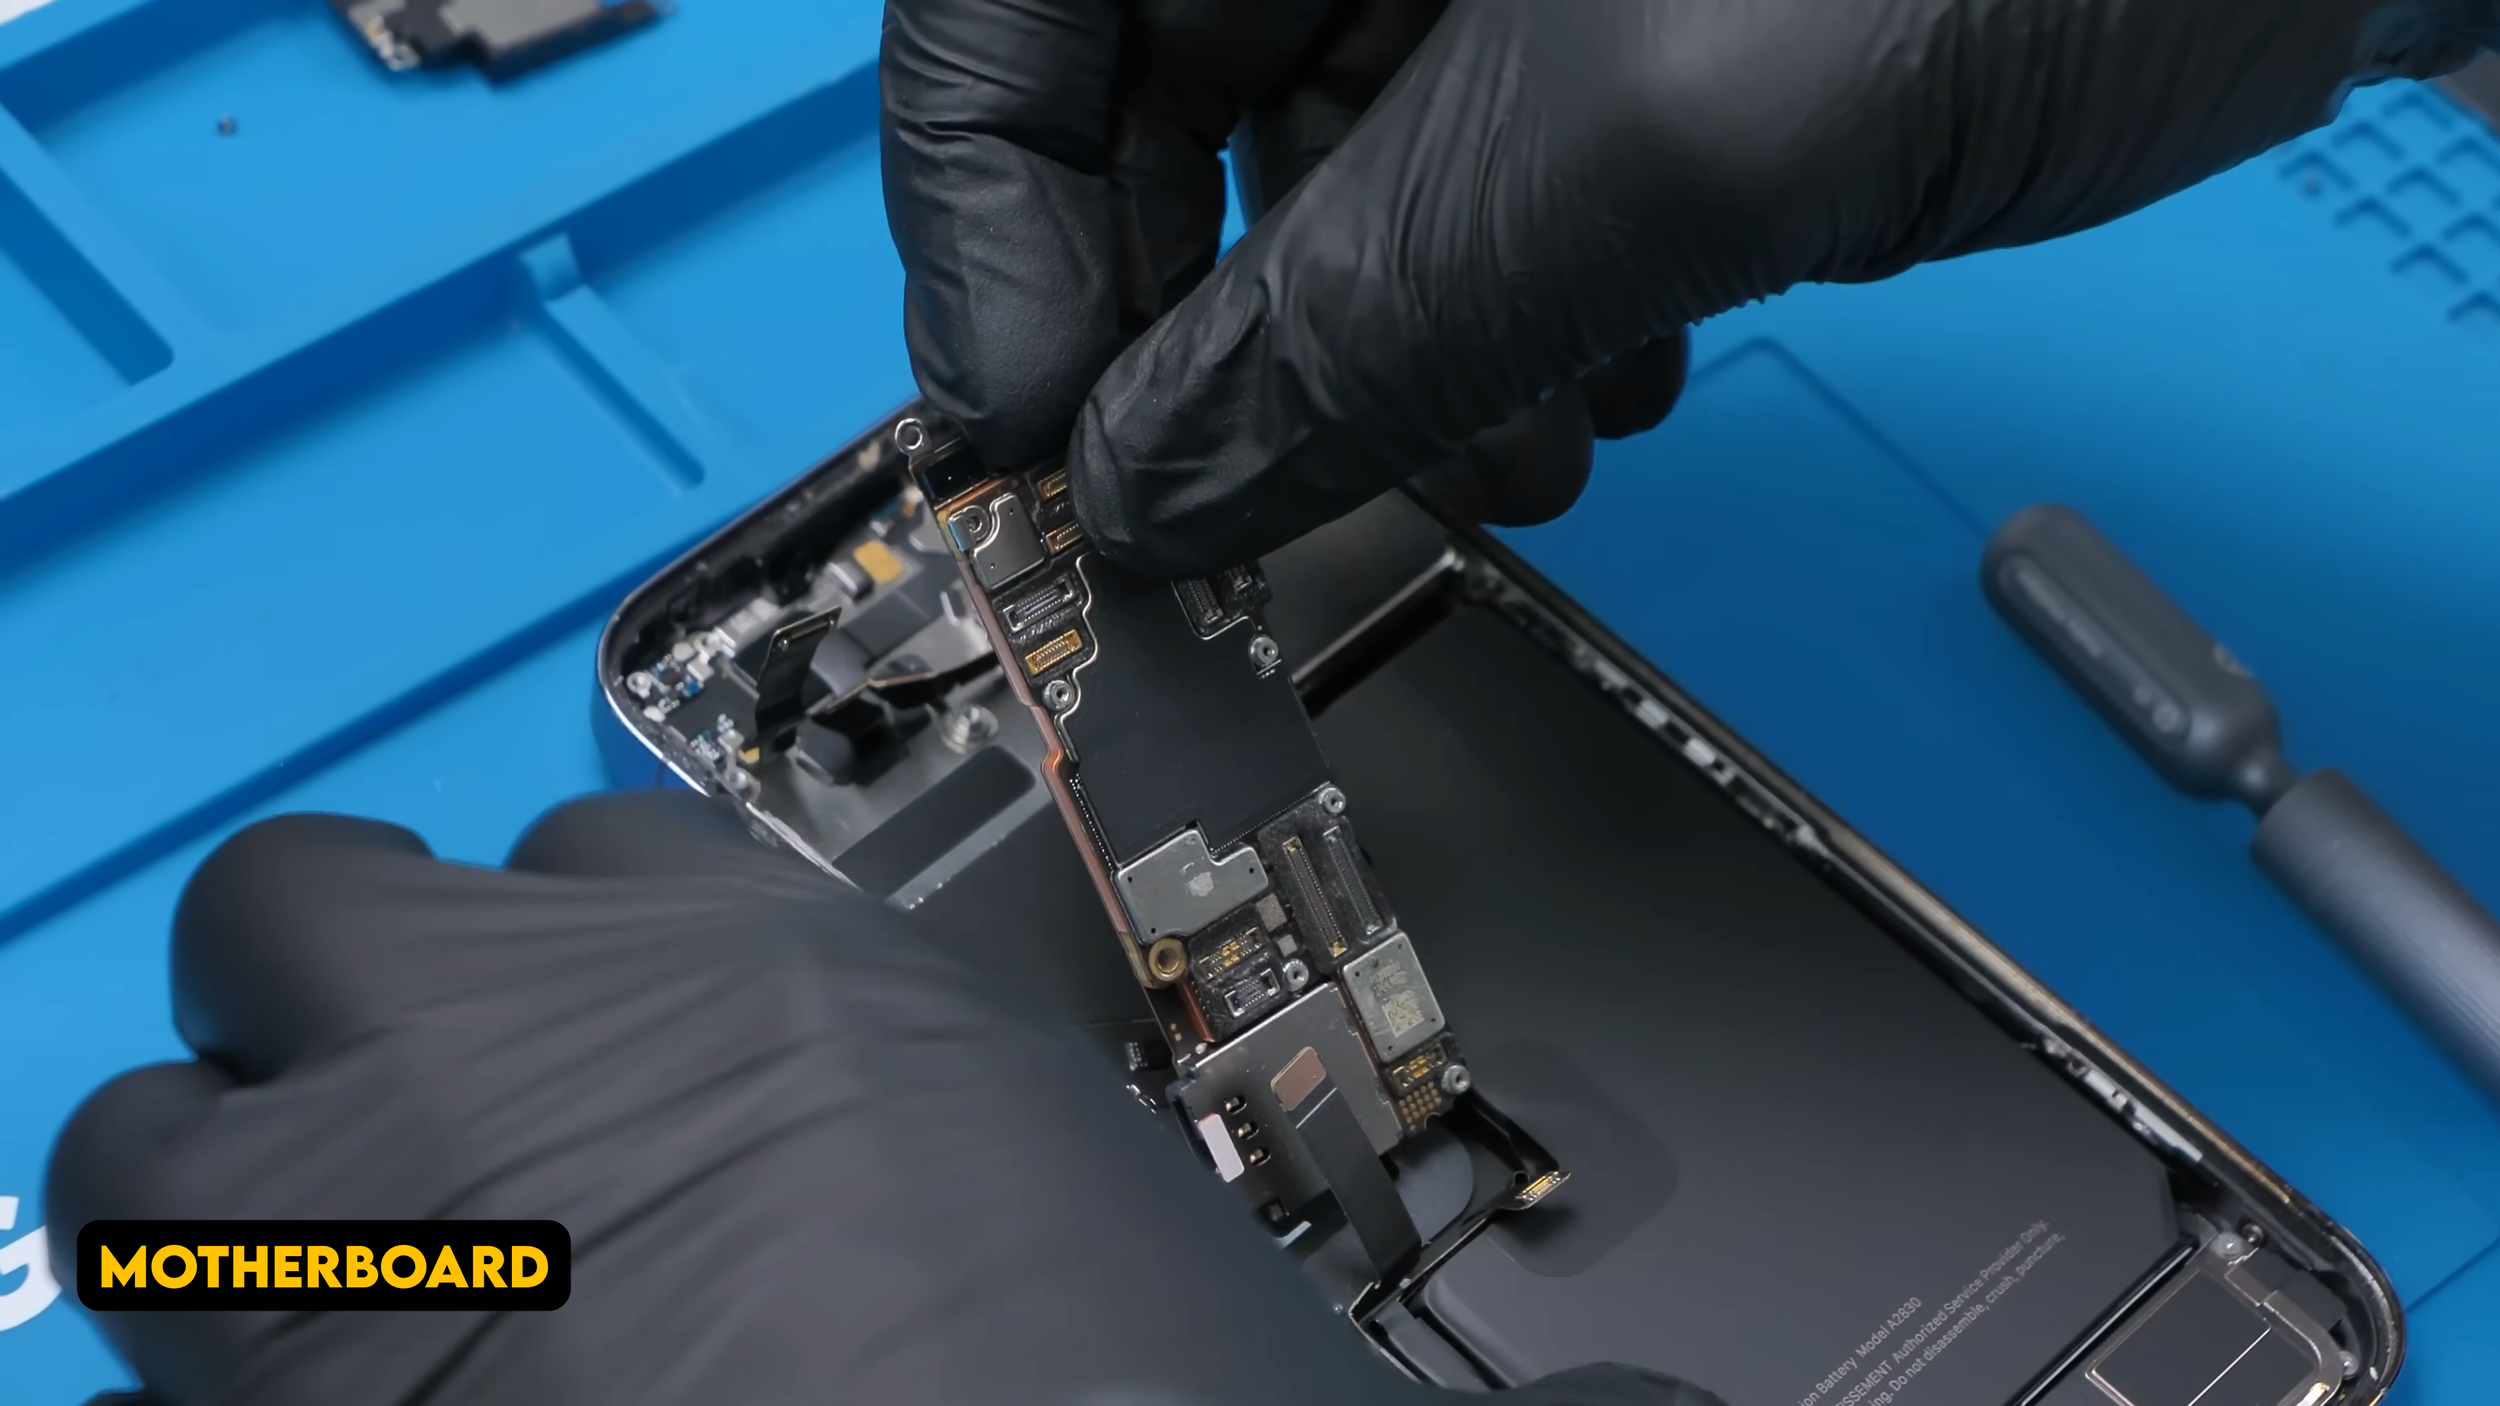
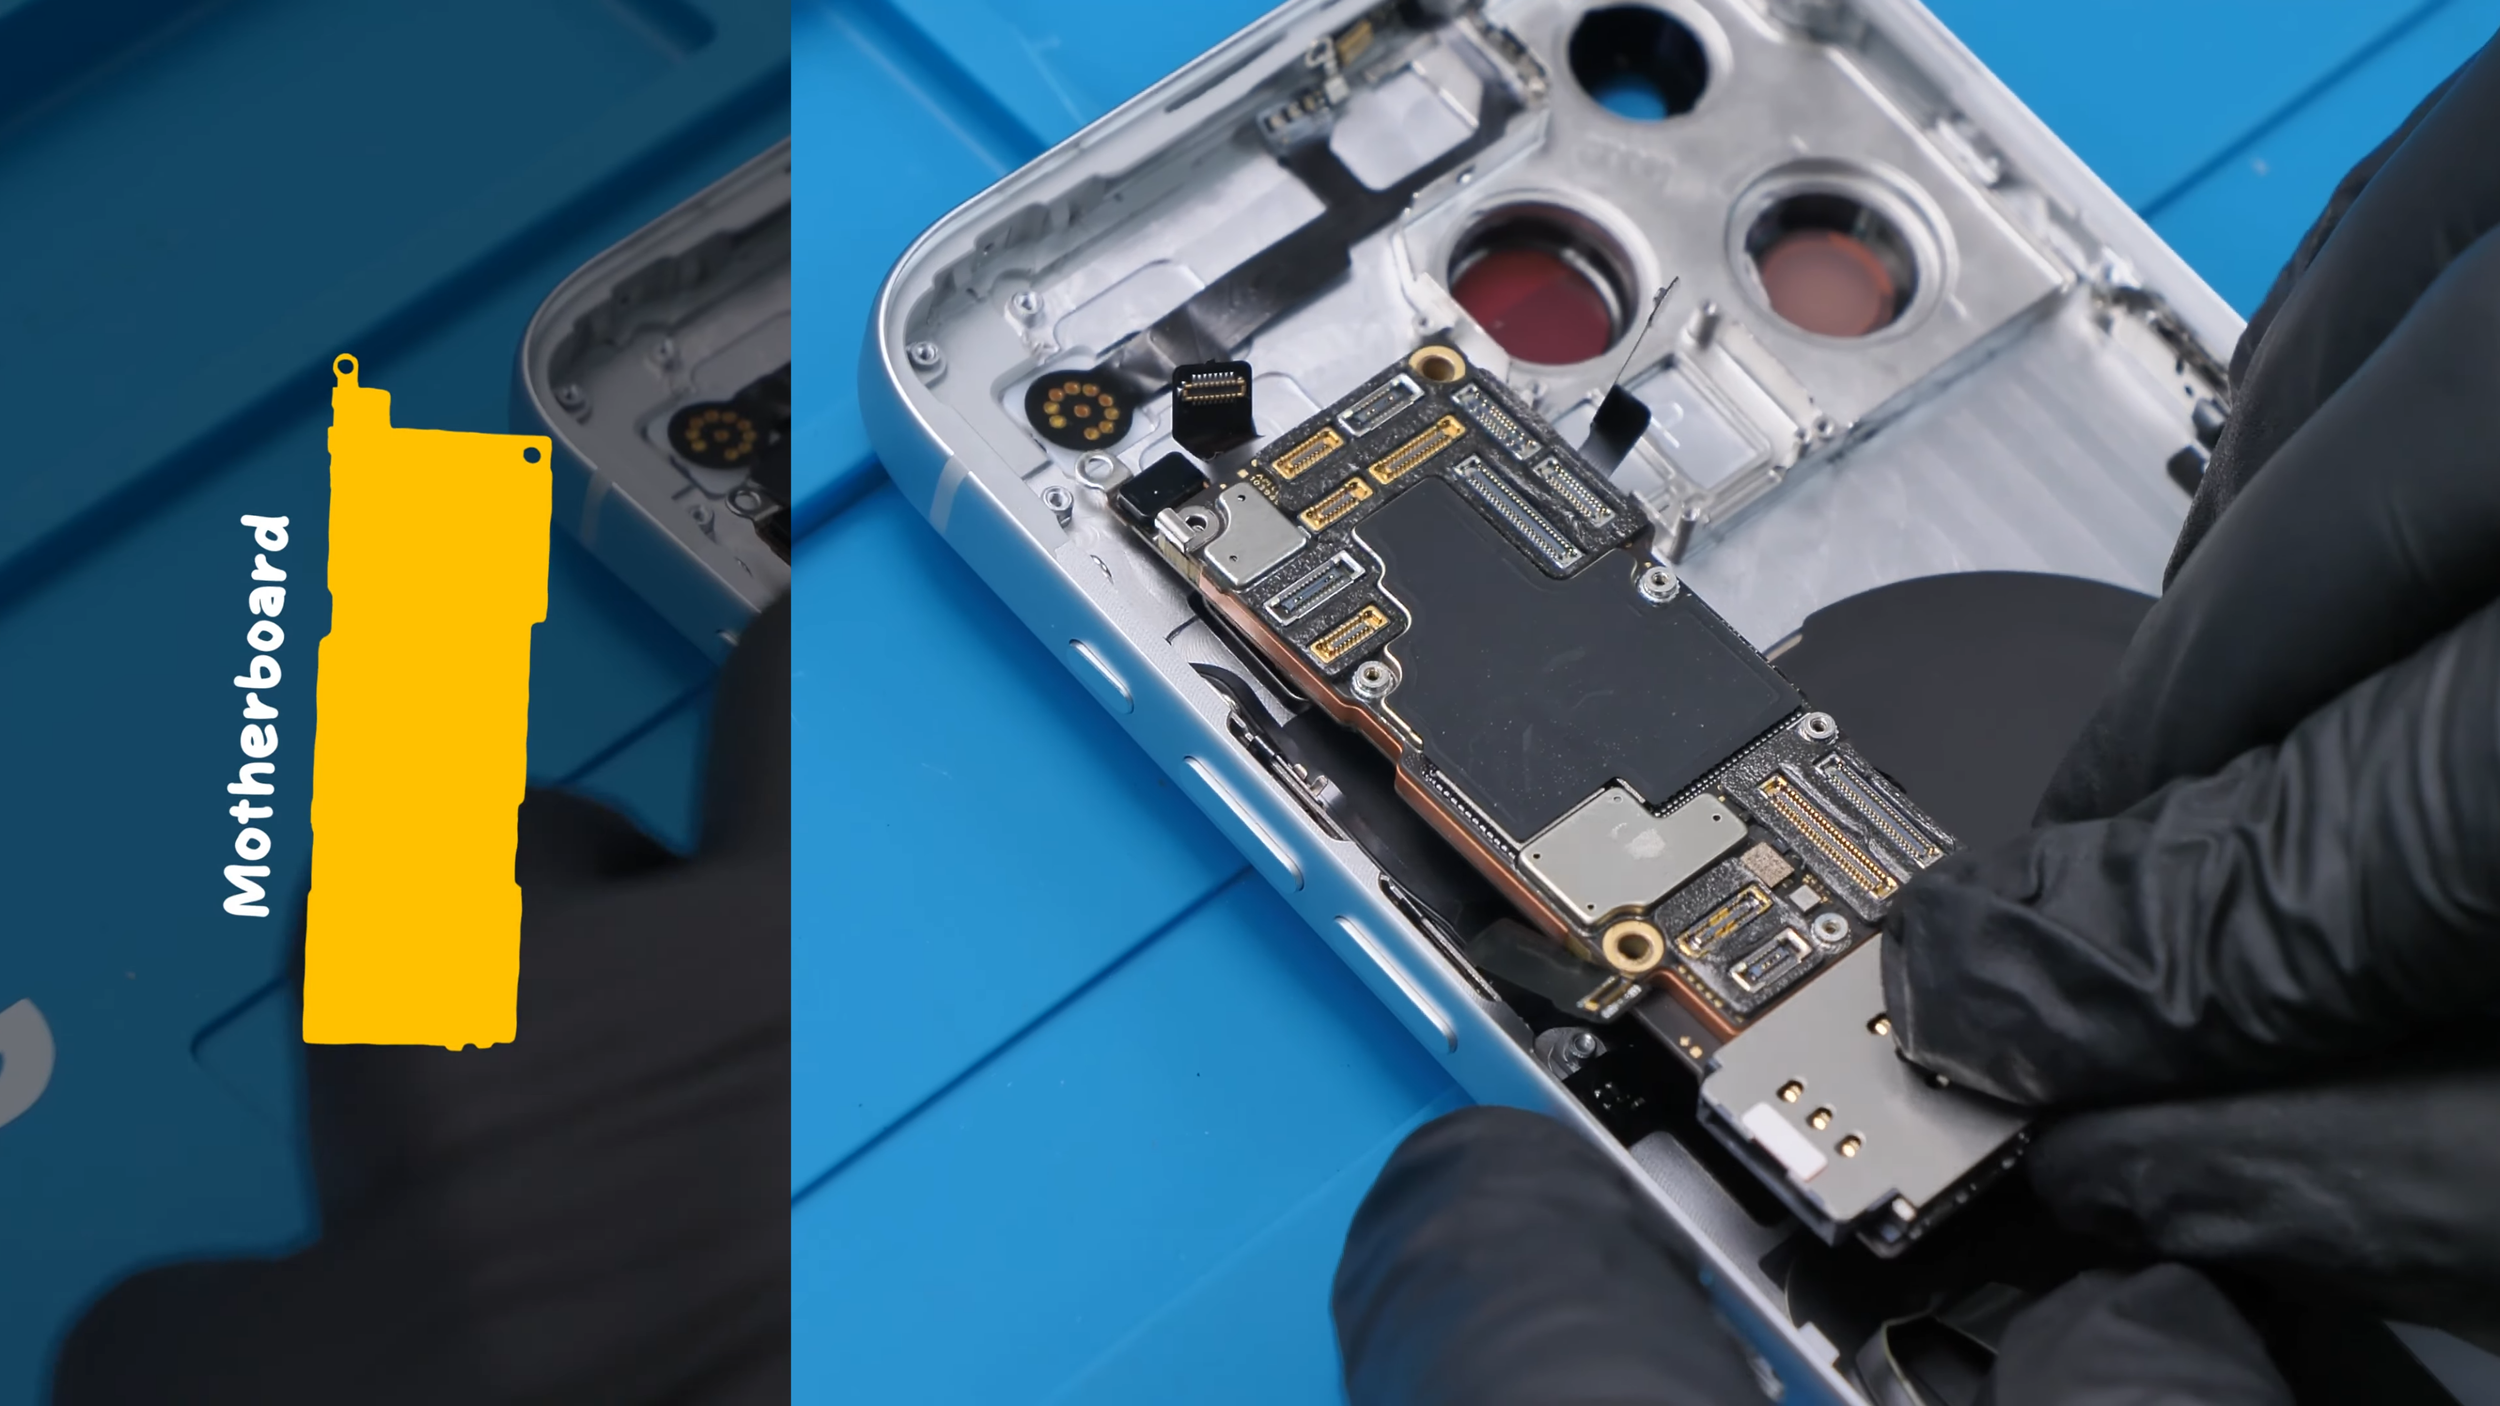
To figure it out, the motherboard had to be test-fitted into place. That revealed how tight the upper section was going to be. The LiDAR now sat underneath the motherboard, and the extension cable had to fold in a very specific way to reach the connector without popping loose. It did eventually connect, but it wasn't a clean fit.
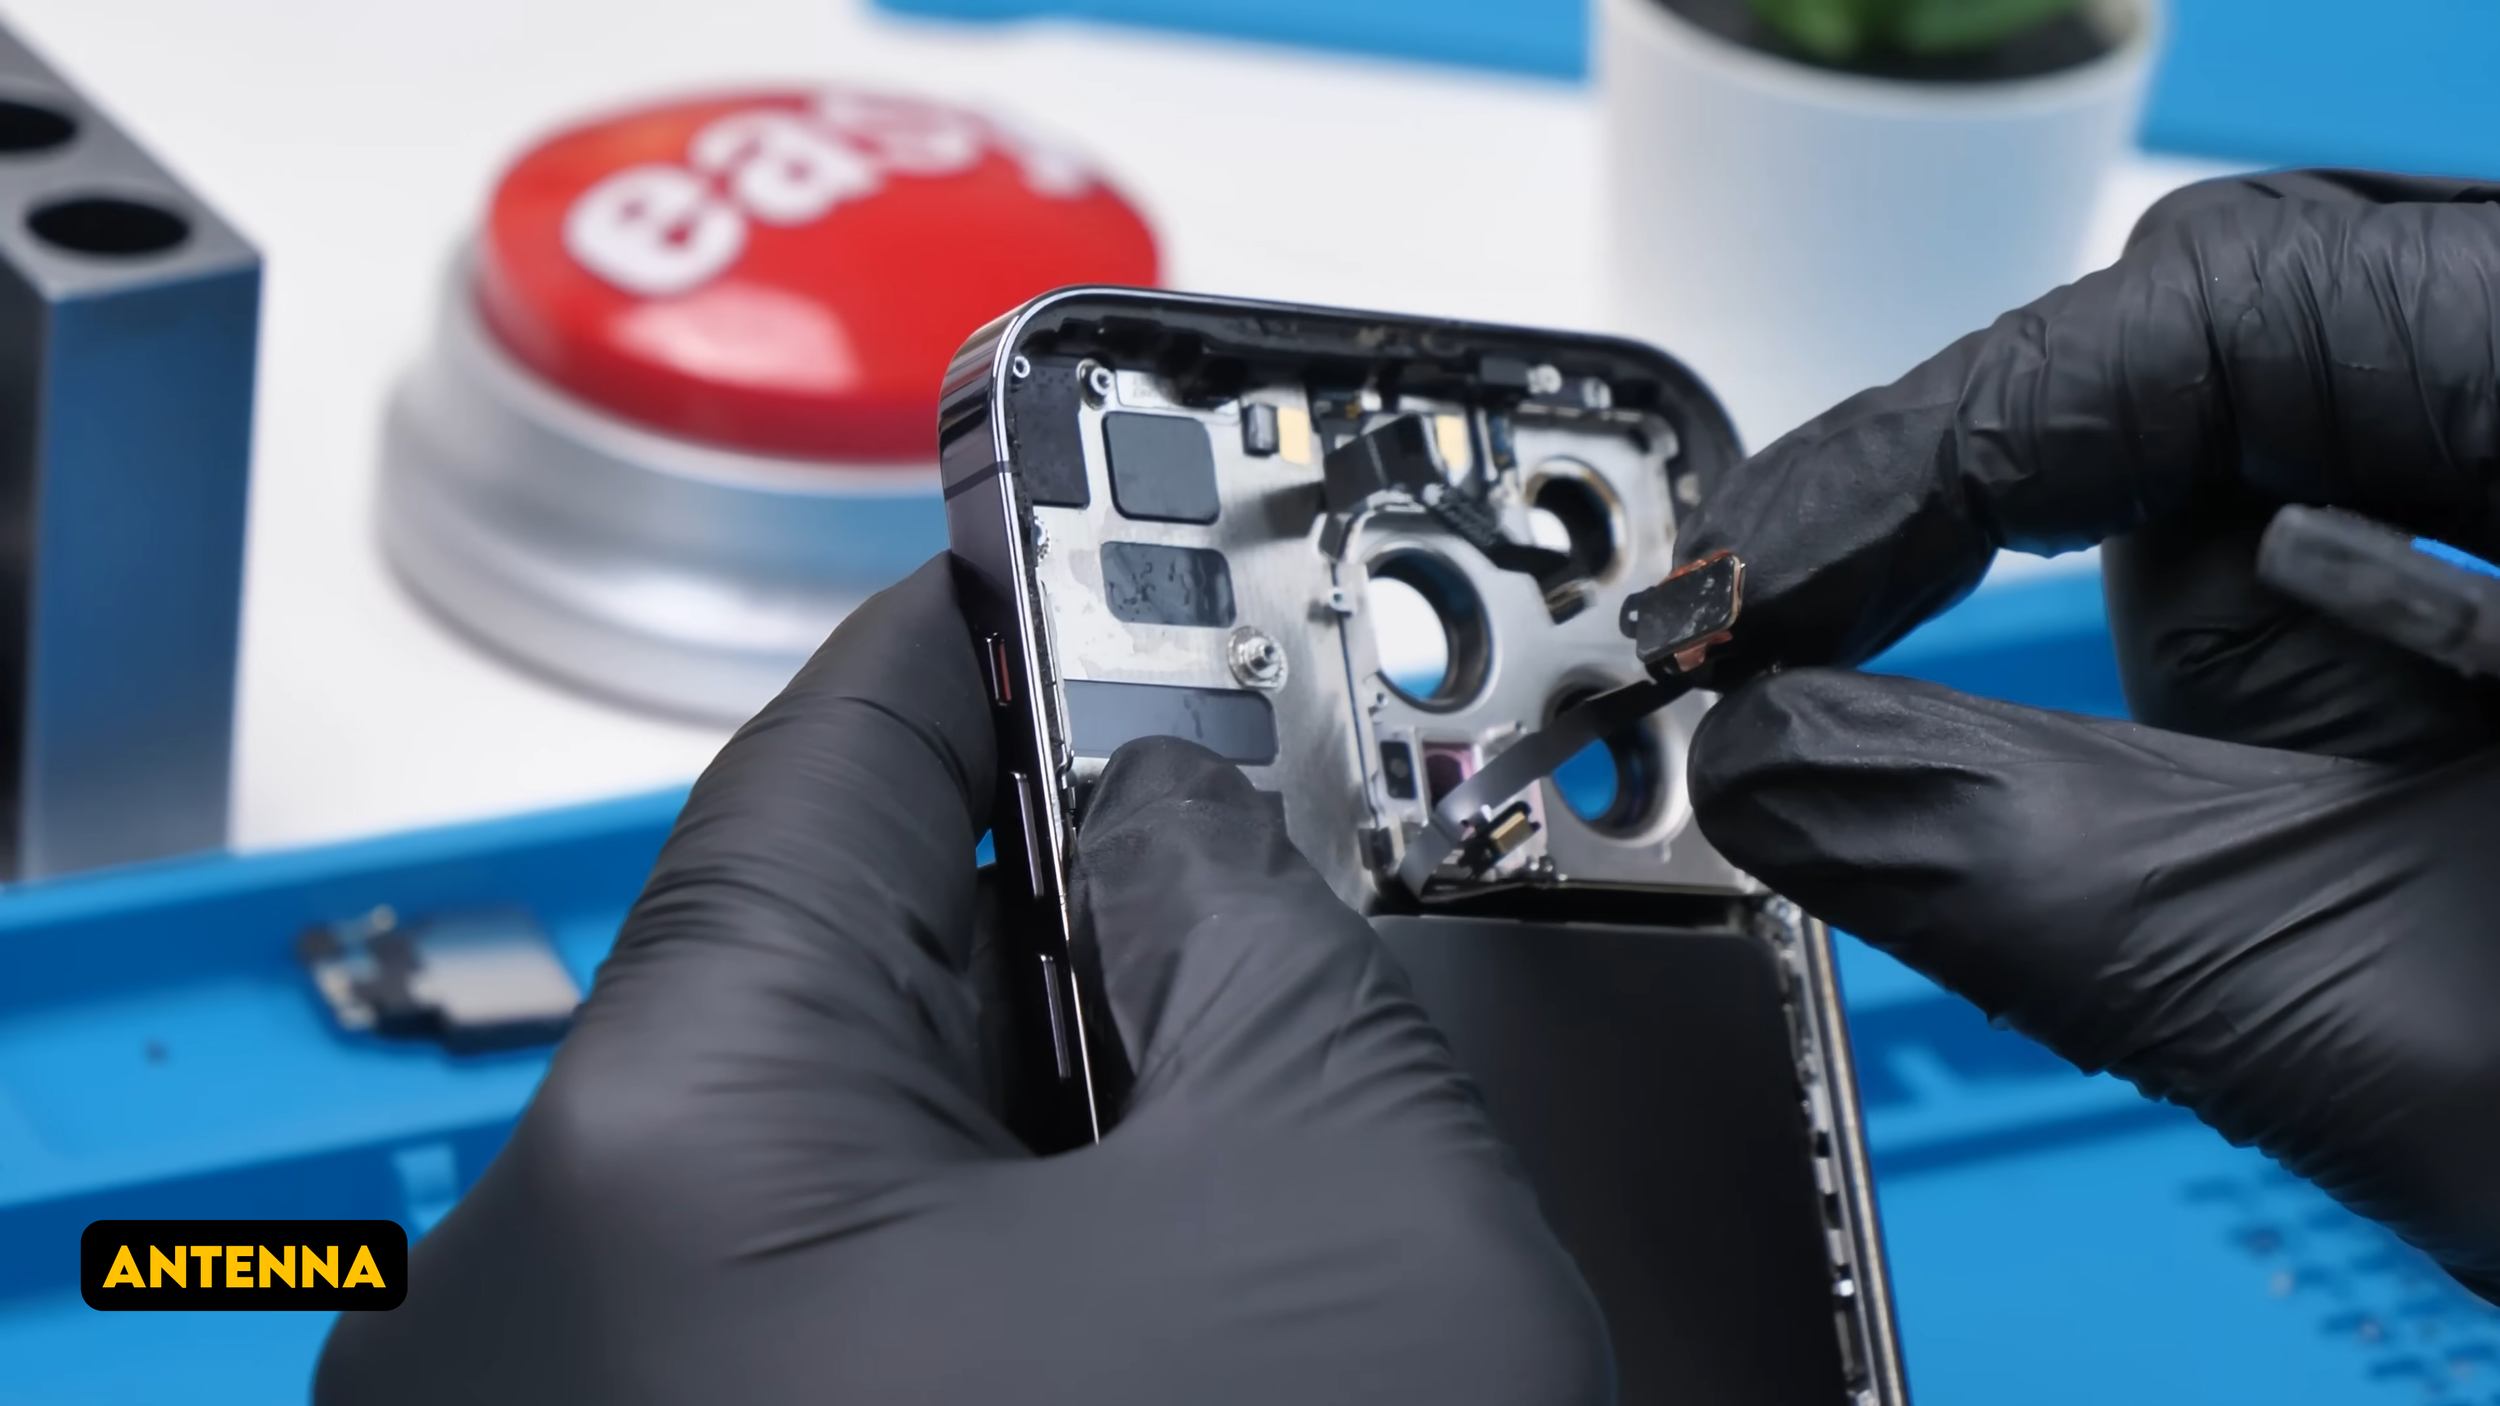
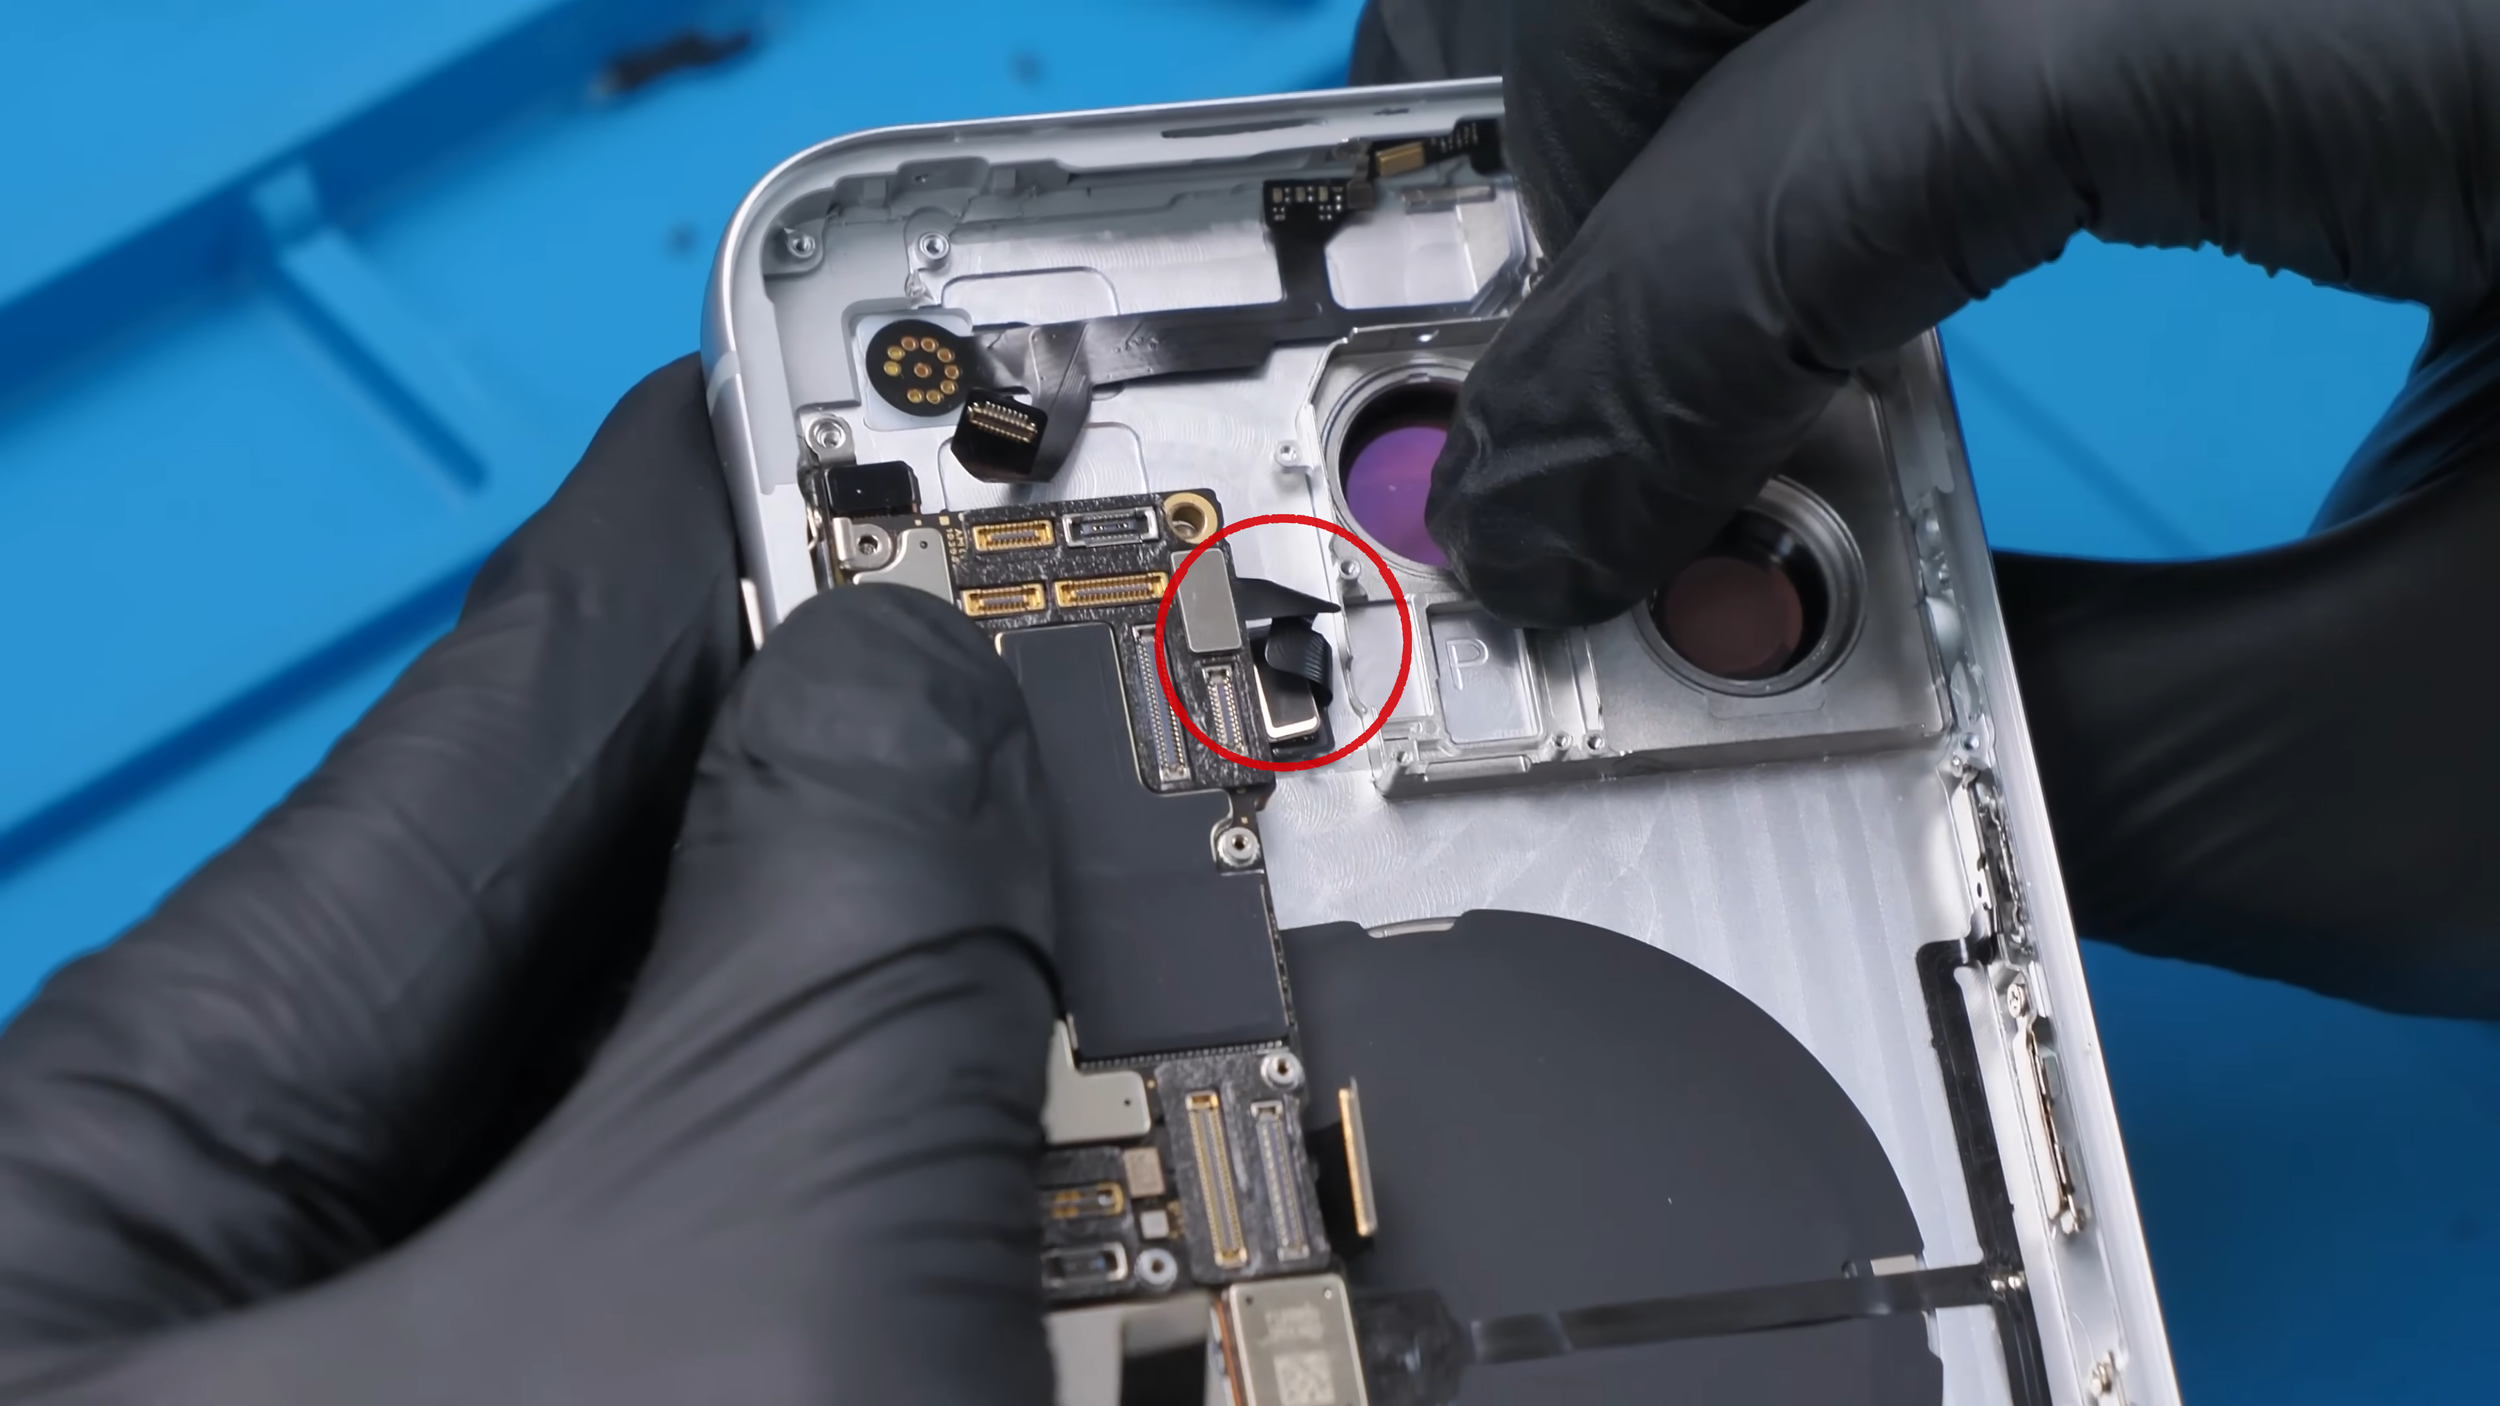
That also exposed one of the first real compromises. One cable from the original phone had both an antenna and a microphone attached to it, but the new housing didn't give that microphone the proper hole or position. The antenna also ended up sitting against aluminum instead of glass, which raised concerns before the phone was even finished.

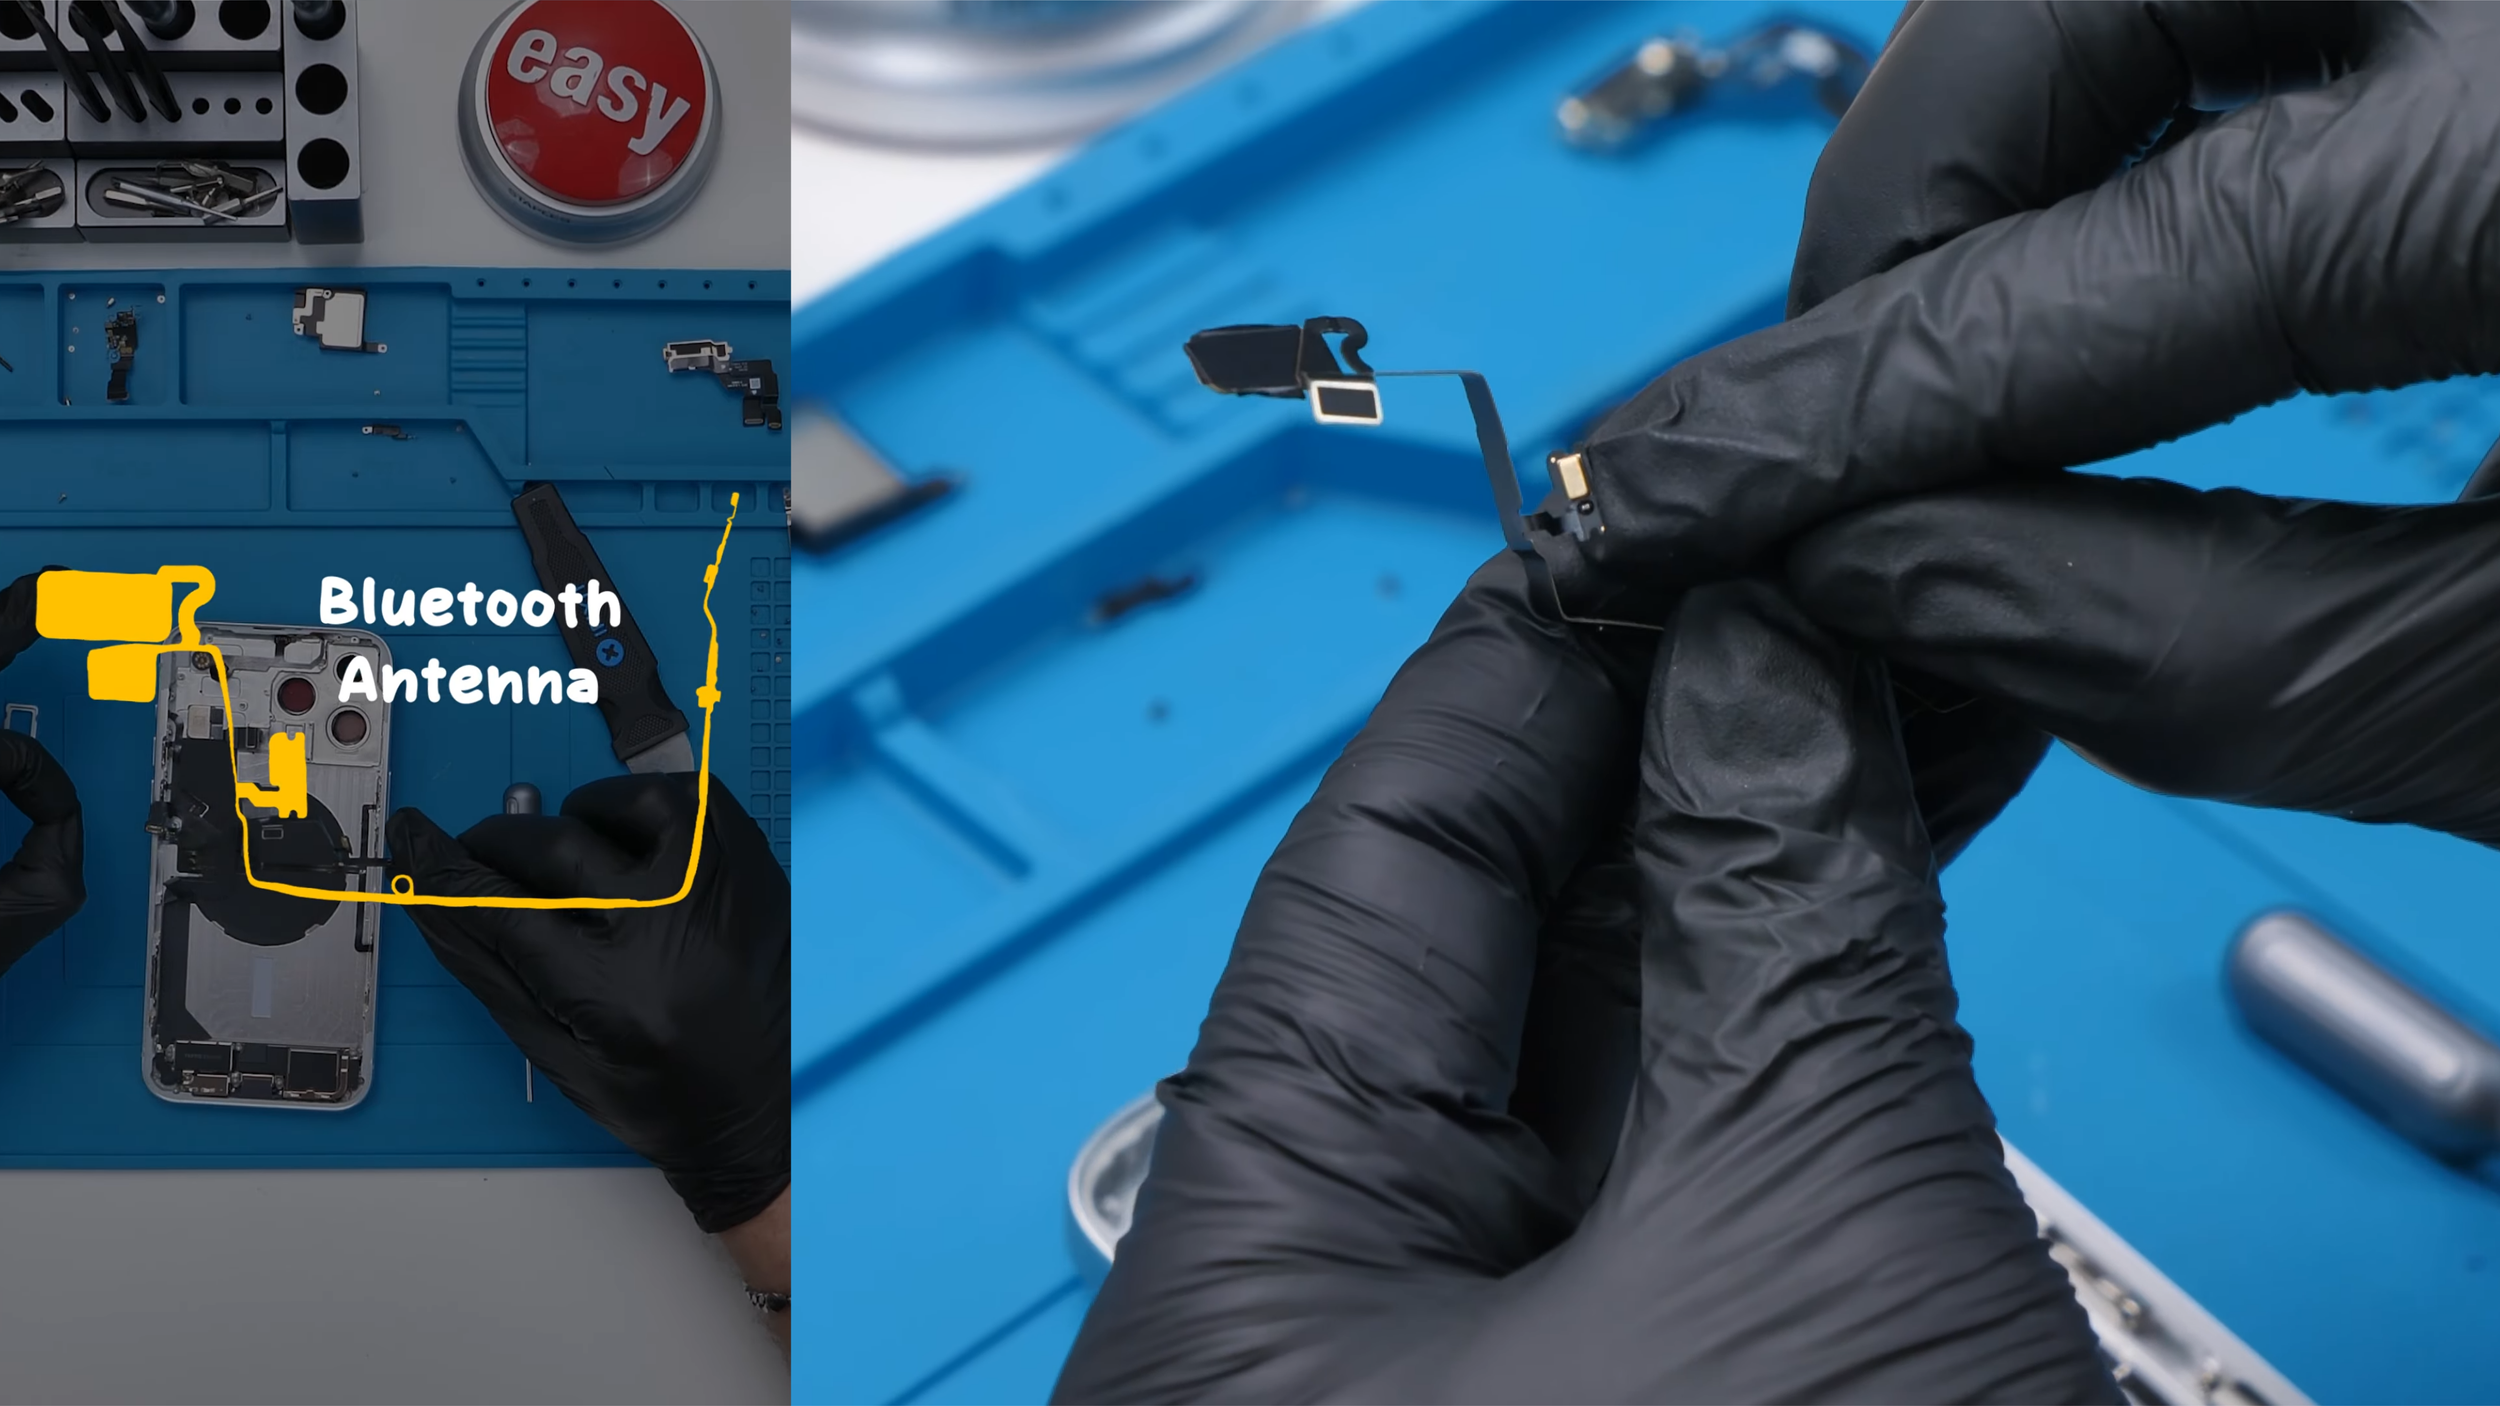
Once that was as good as it was going to get, the motherboard was properly installed. The connectors were attached around it to help keep everything in place, and the SIM tray was inserted to help hold the board steady. A separate antenna was then installed above the flash, followed by the small black piece that channels audio through the earpiece area.
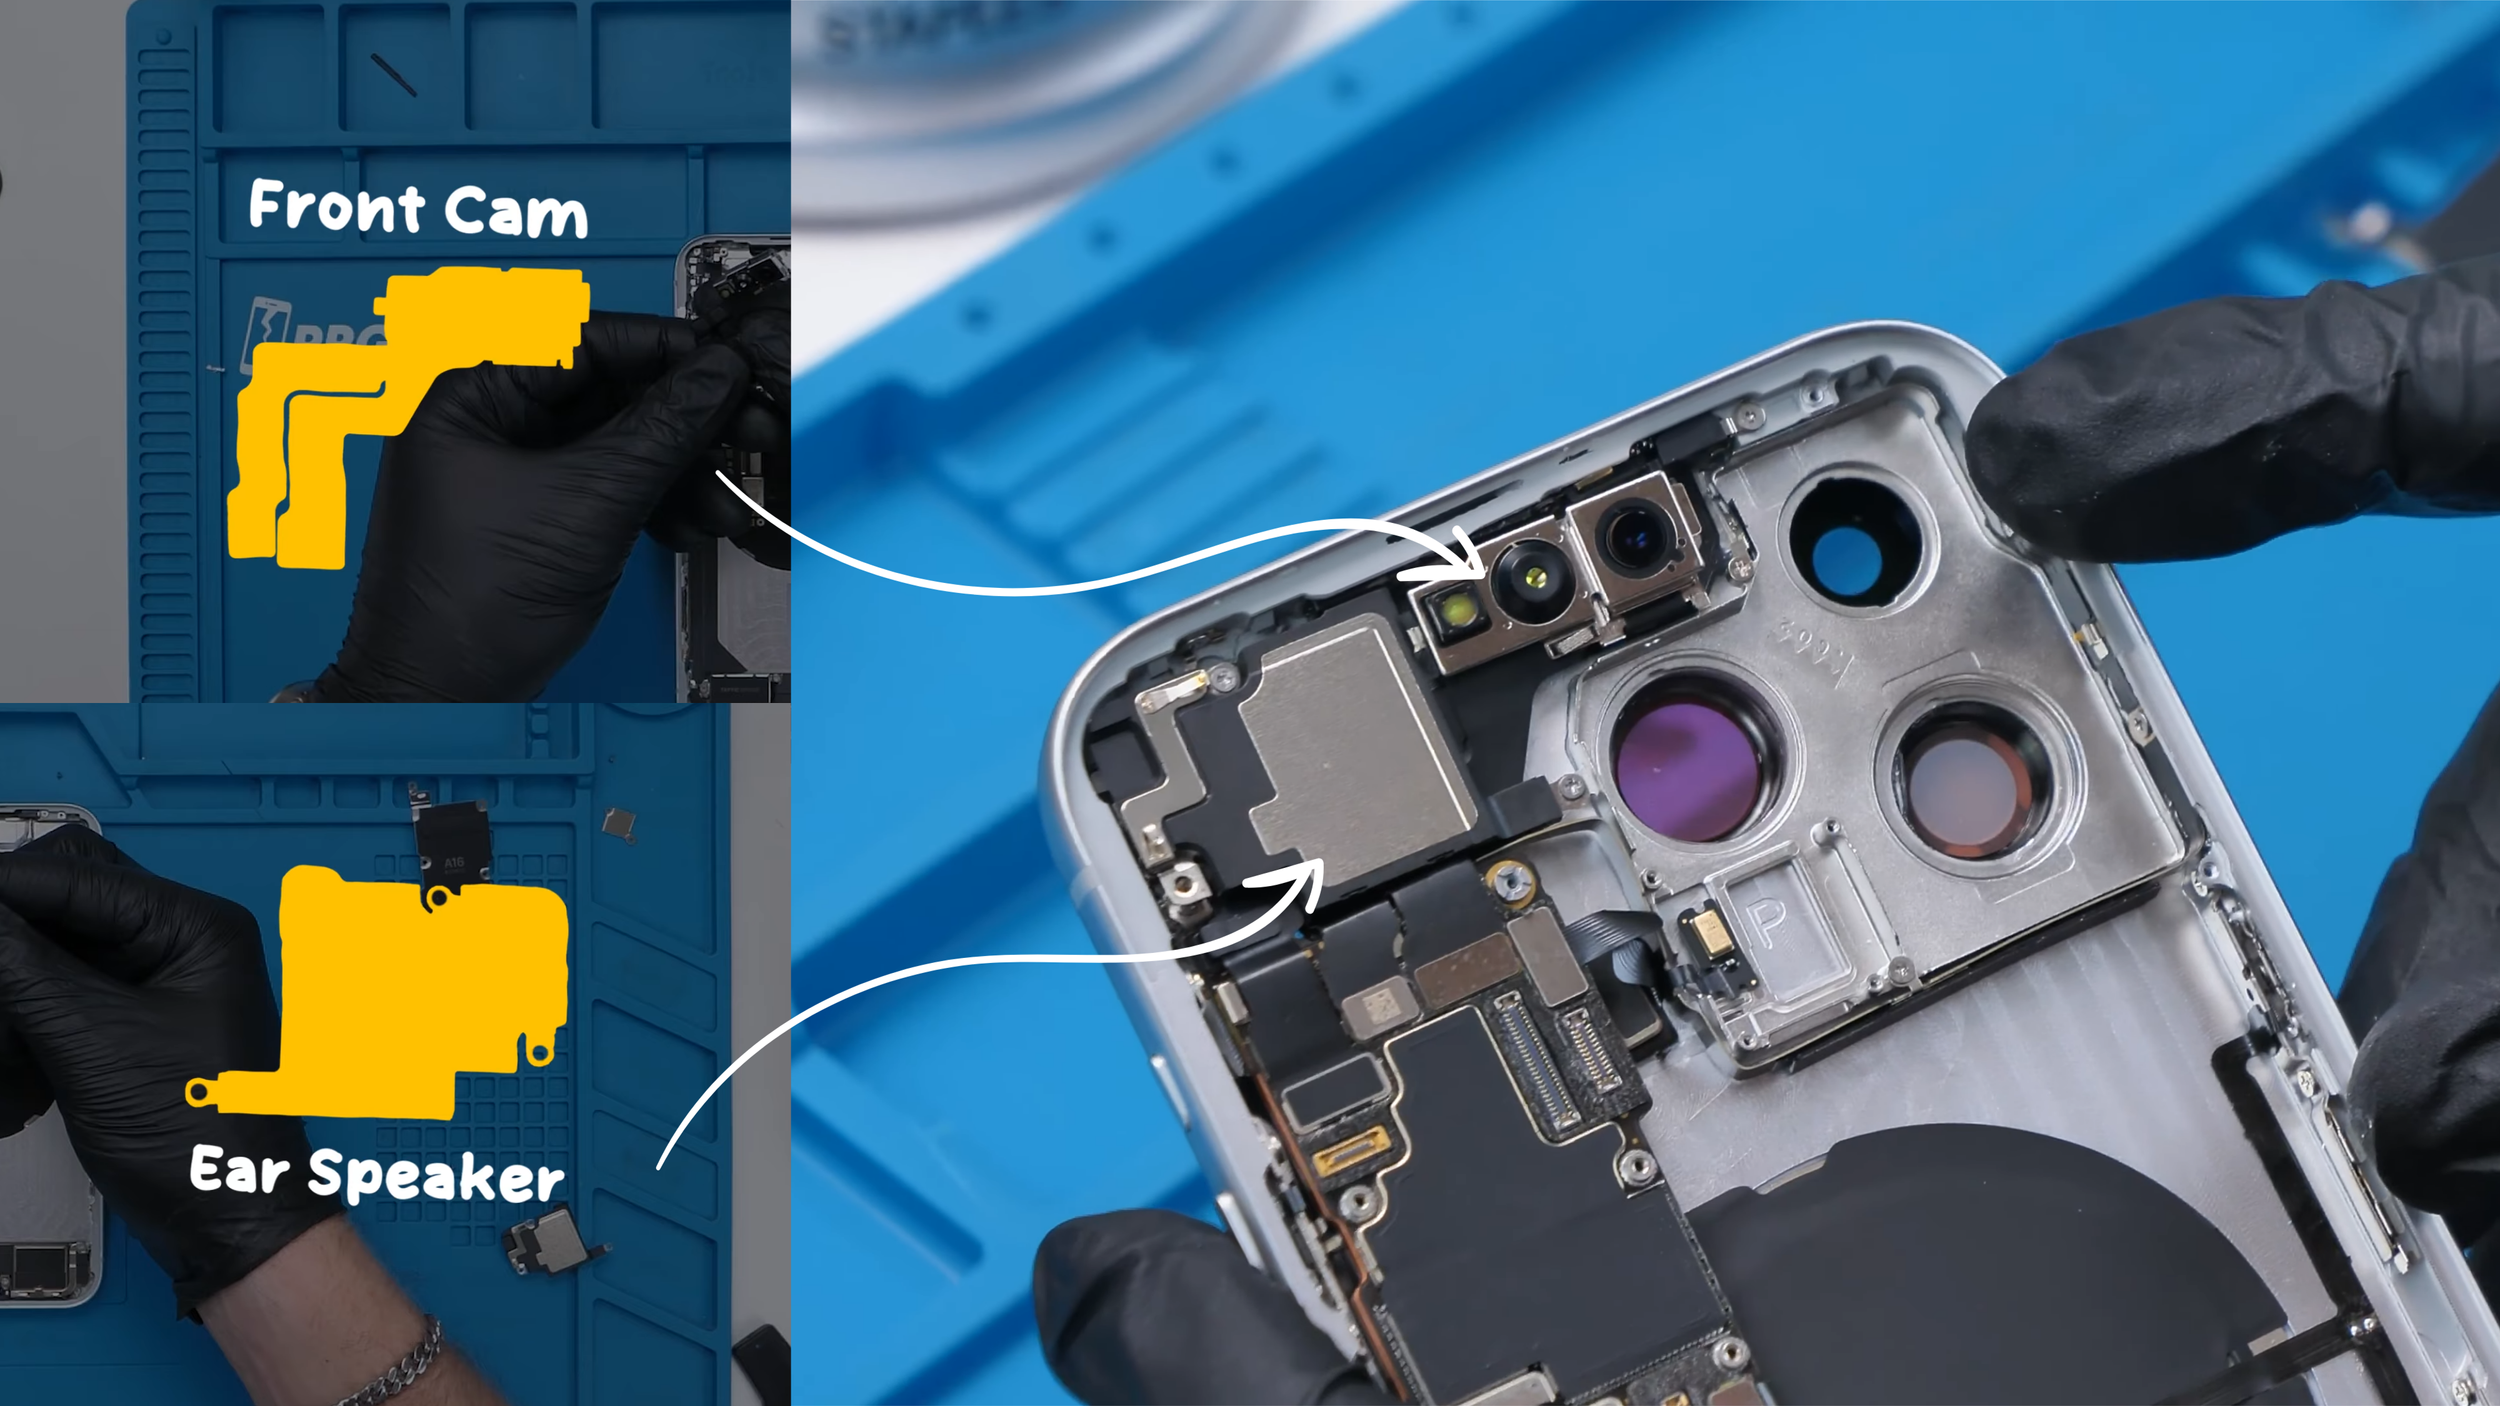
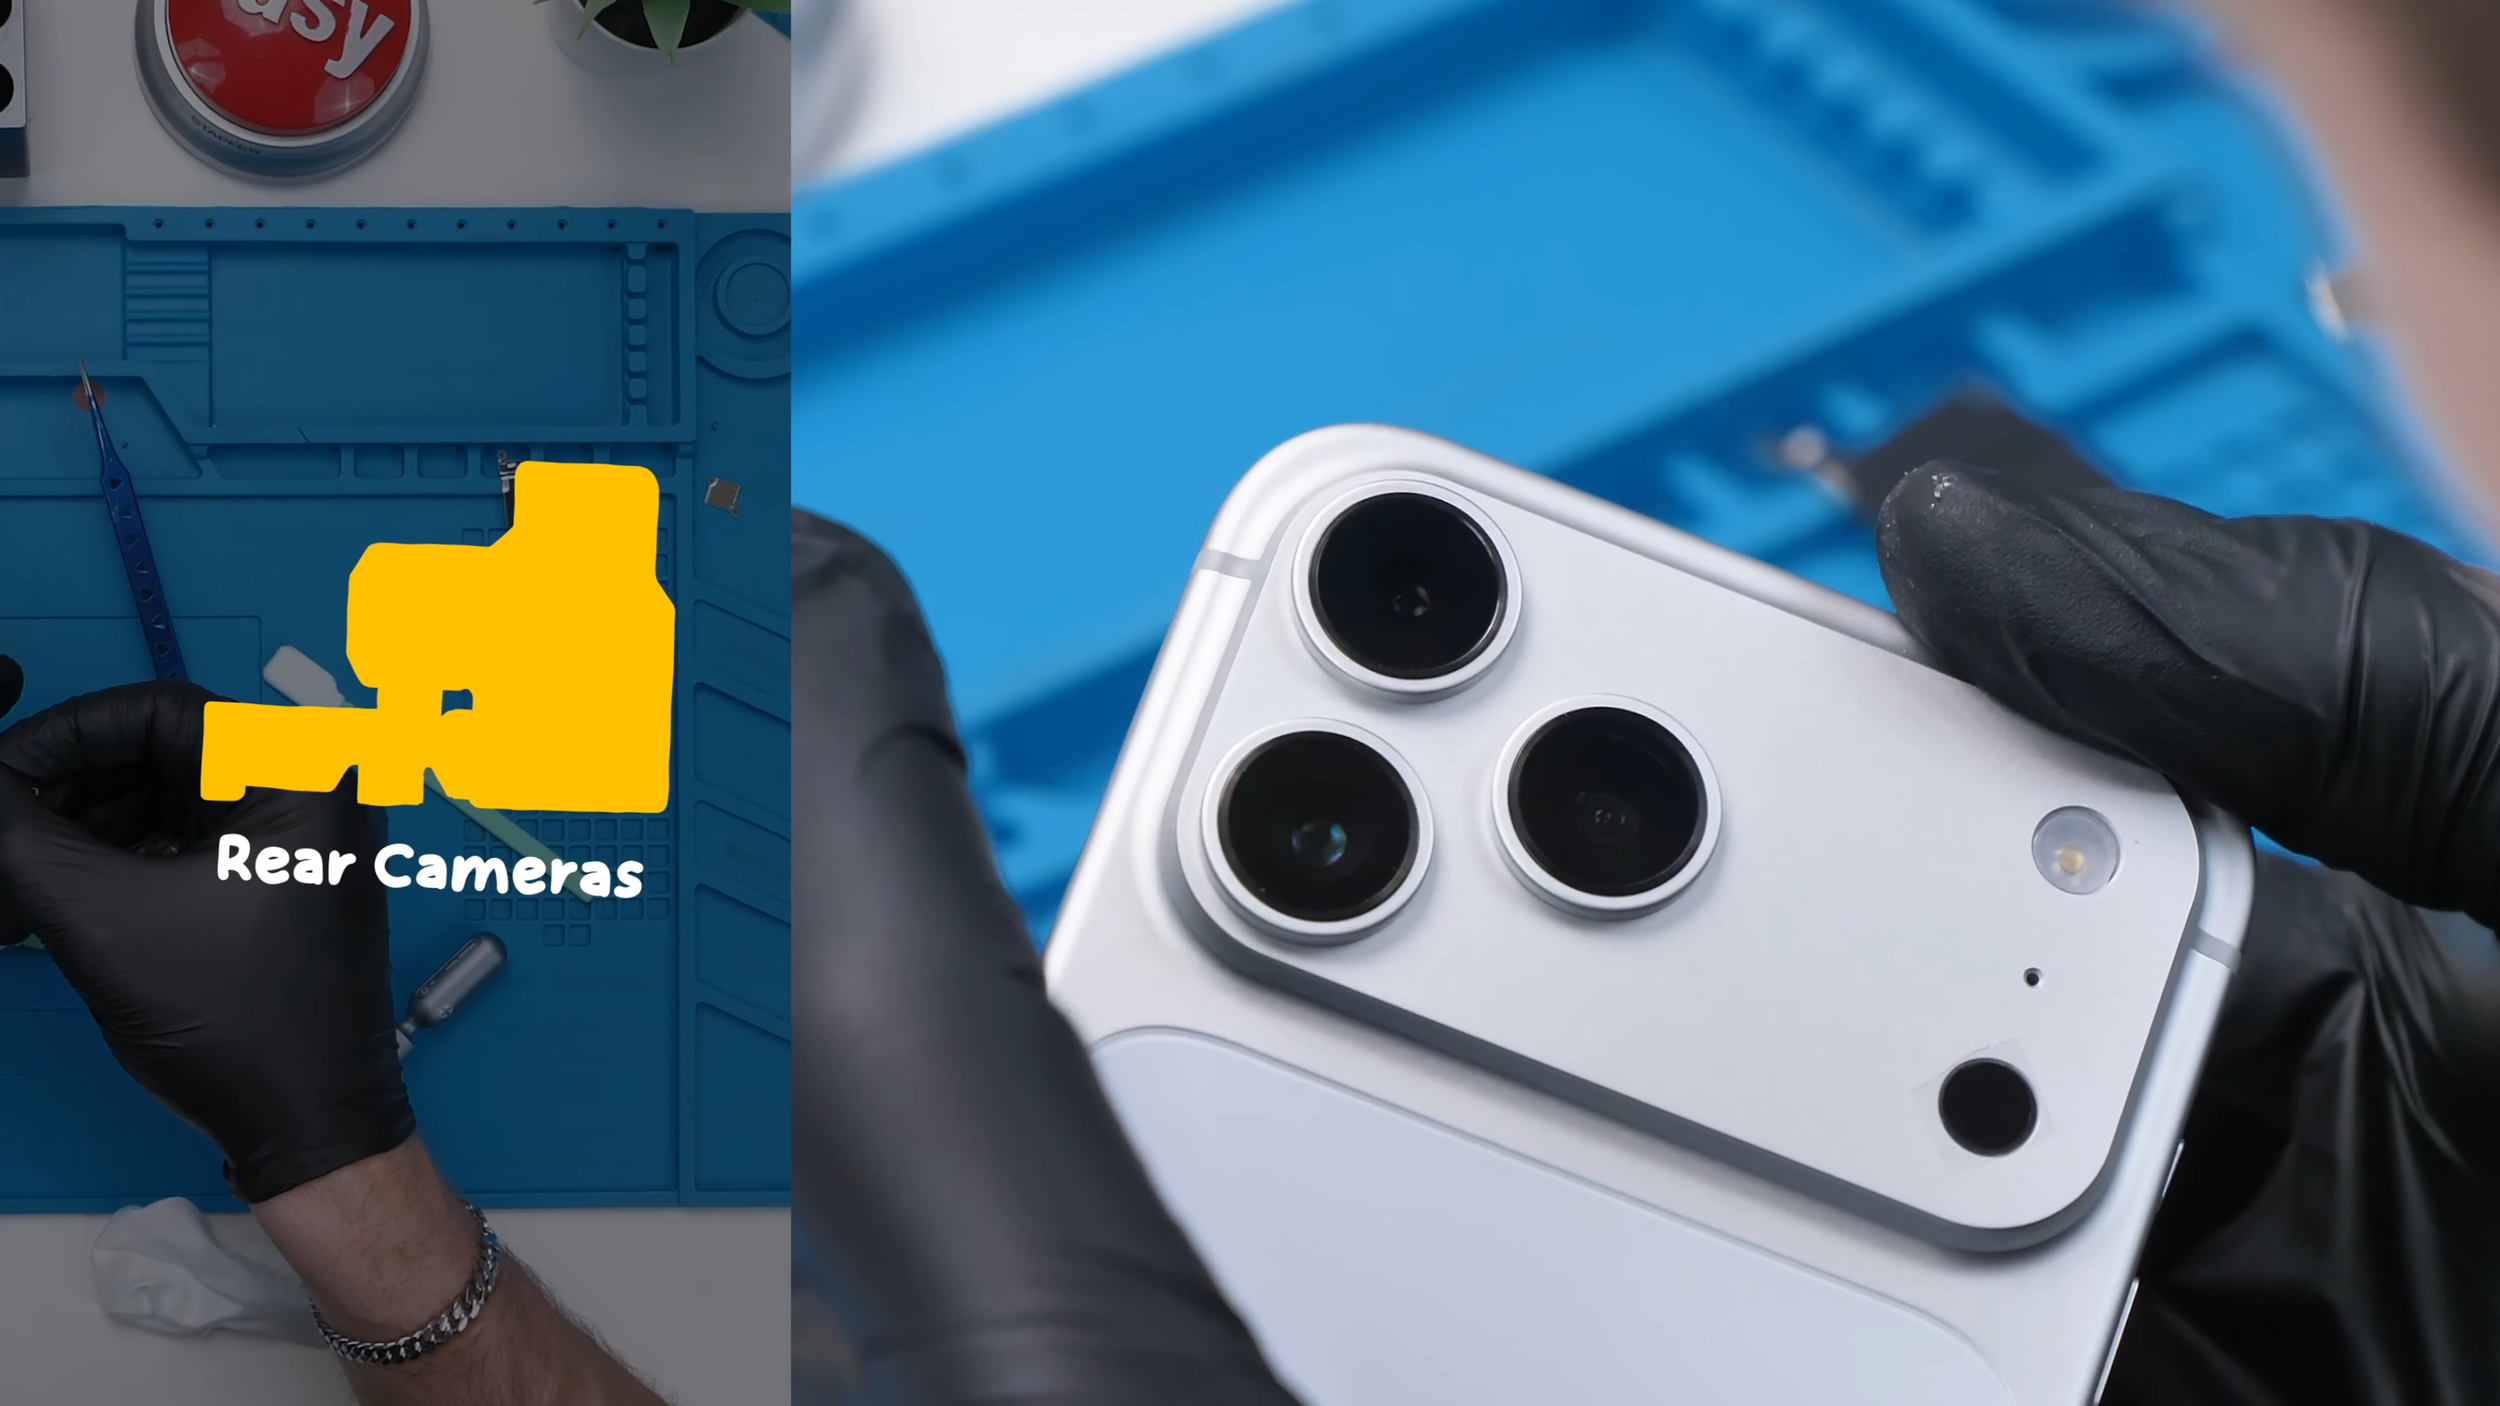
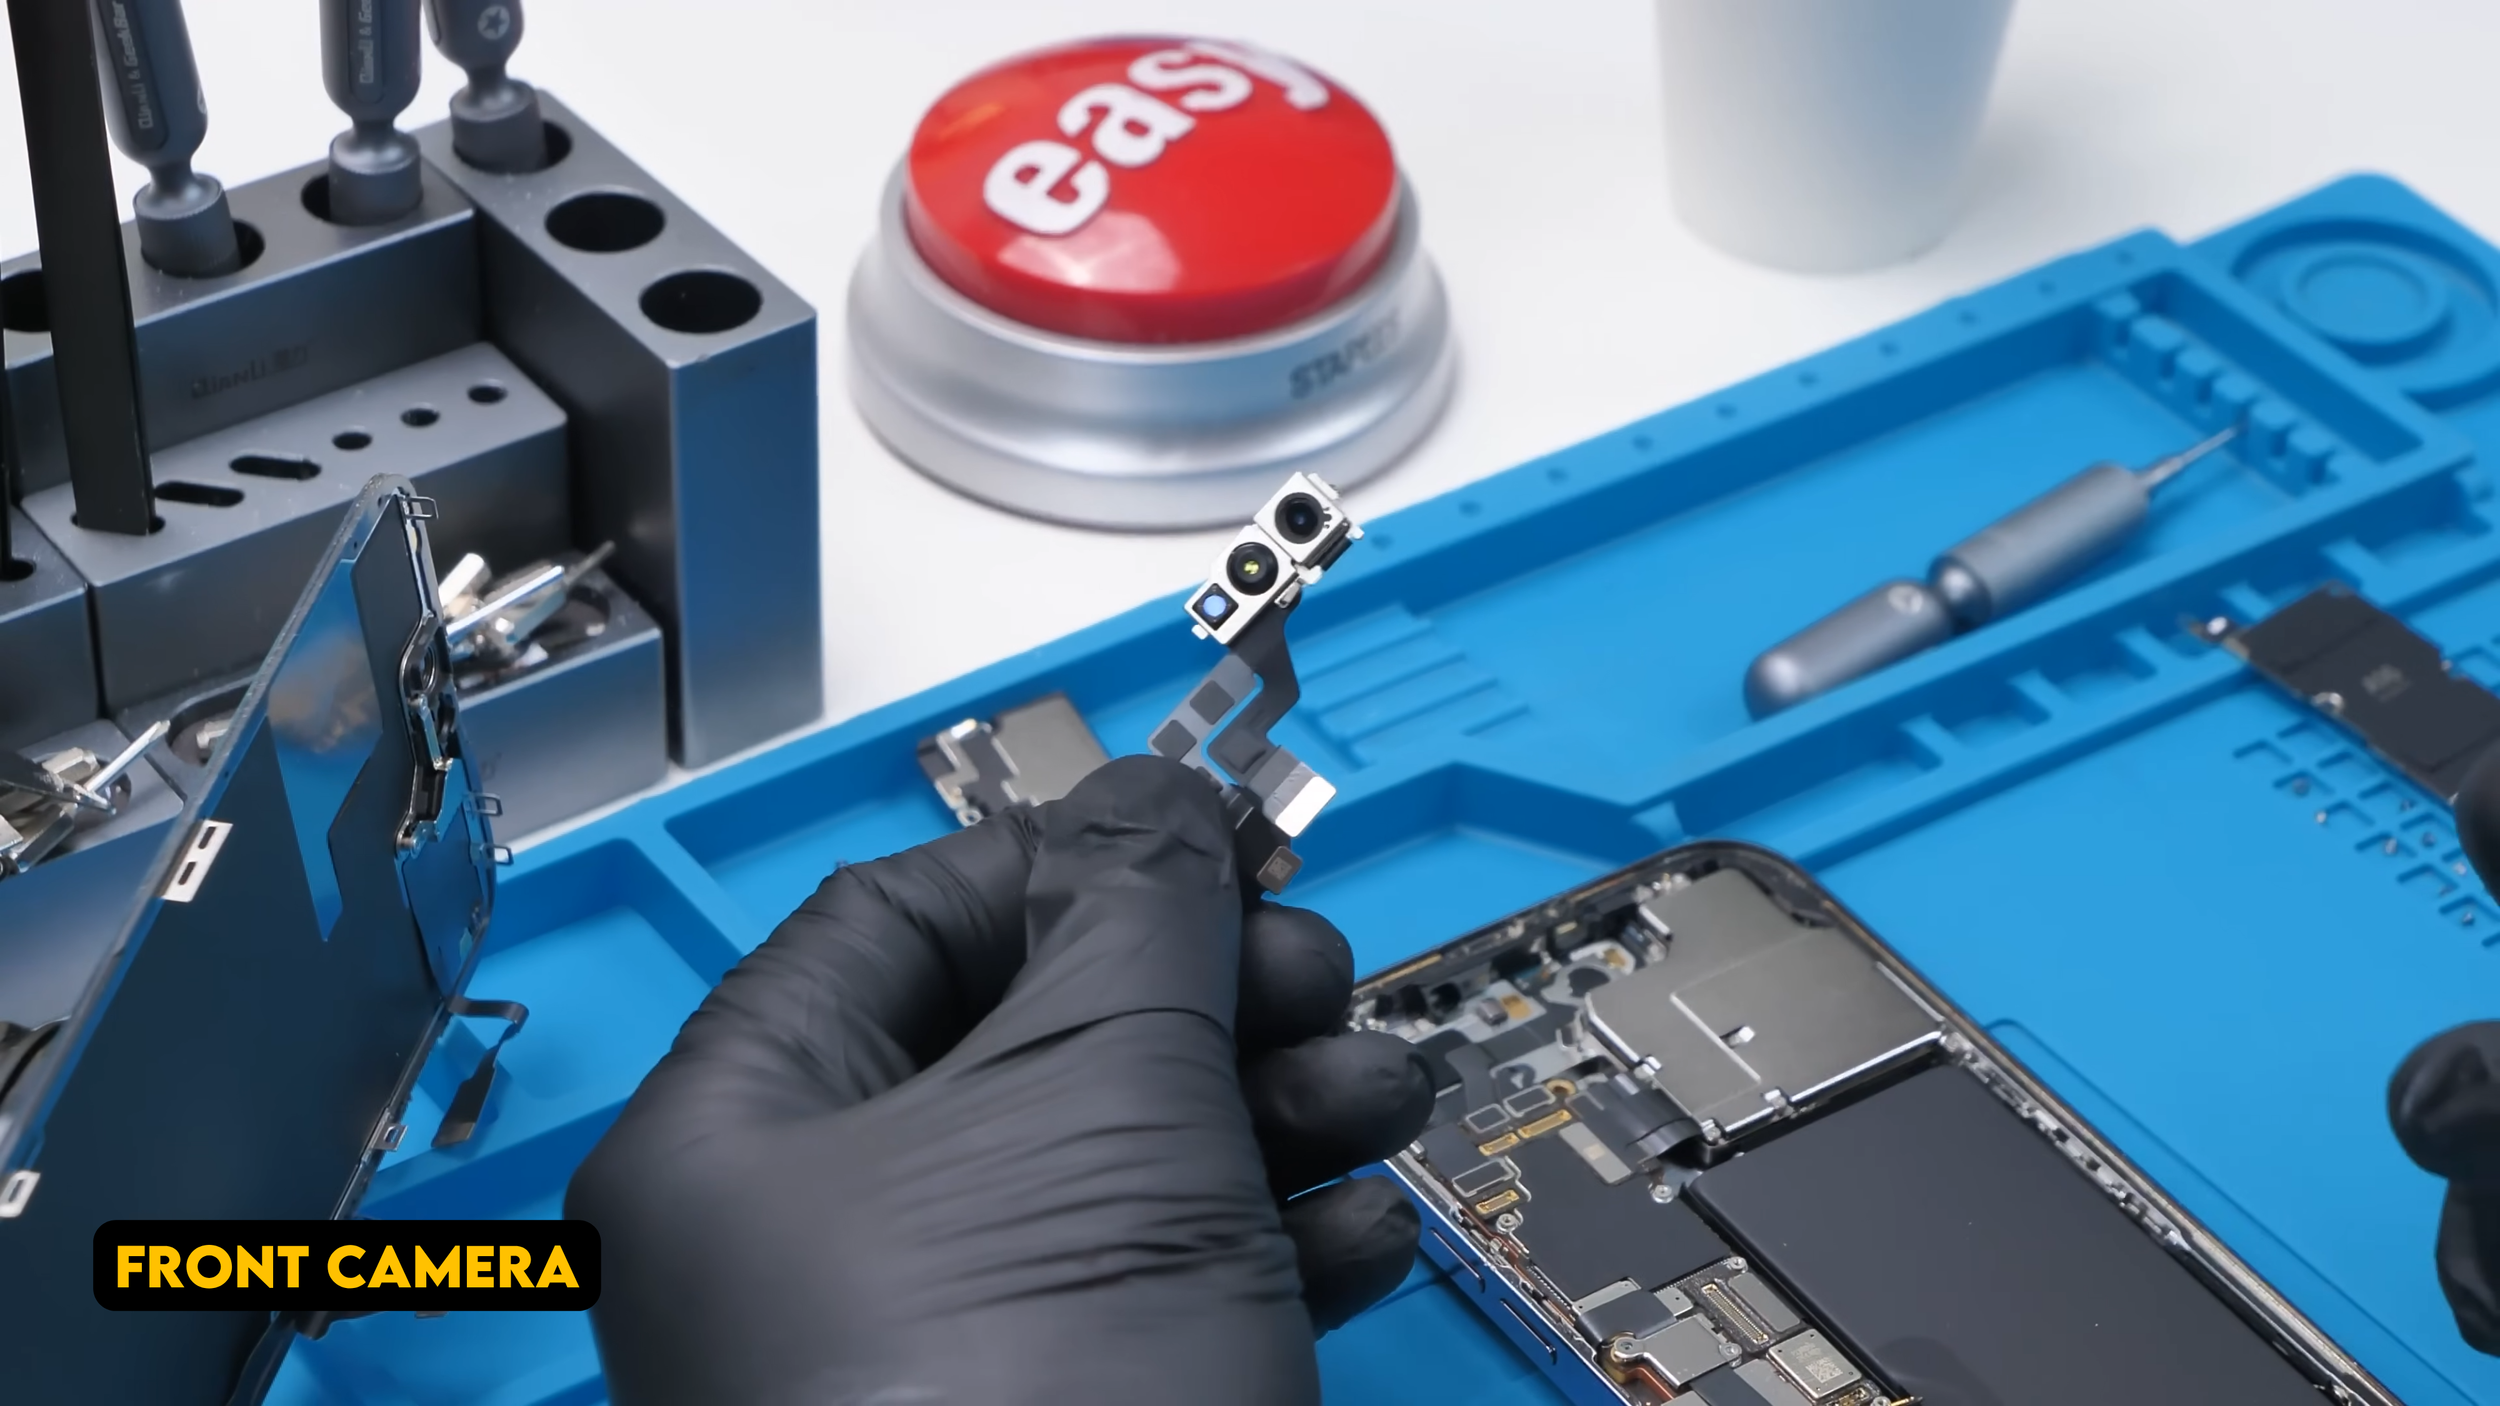
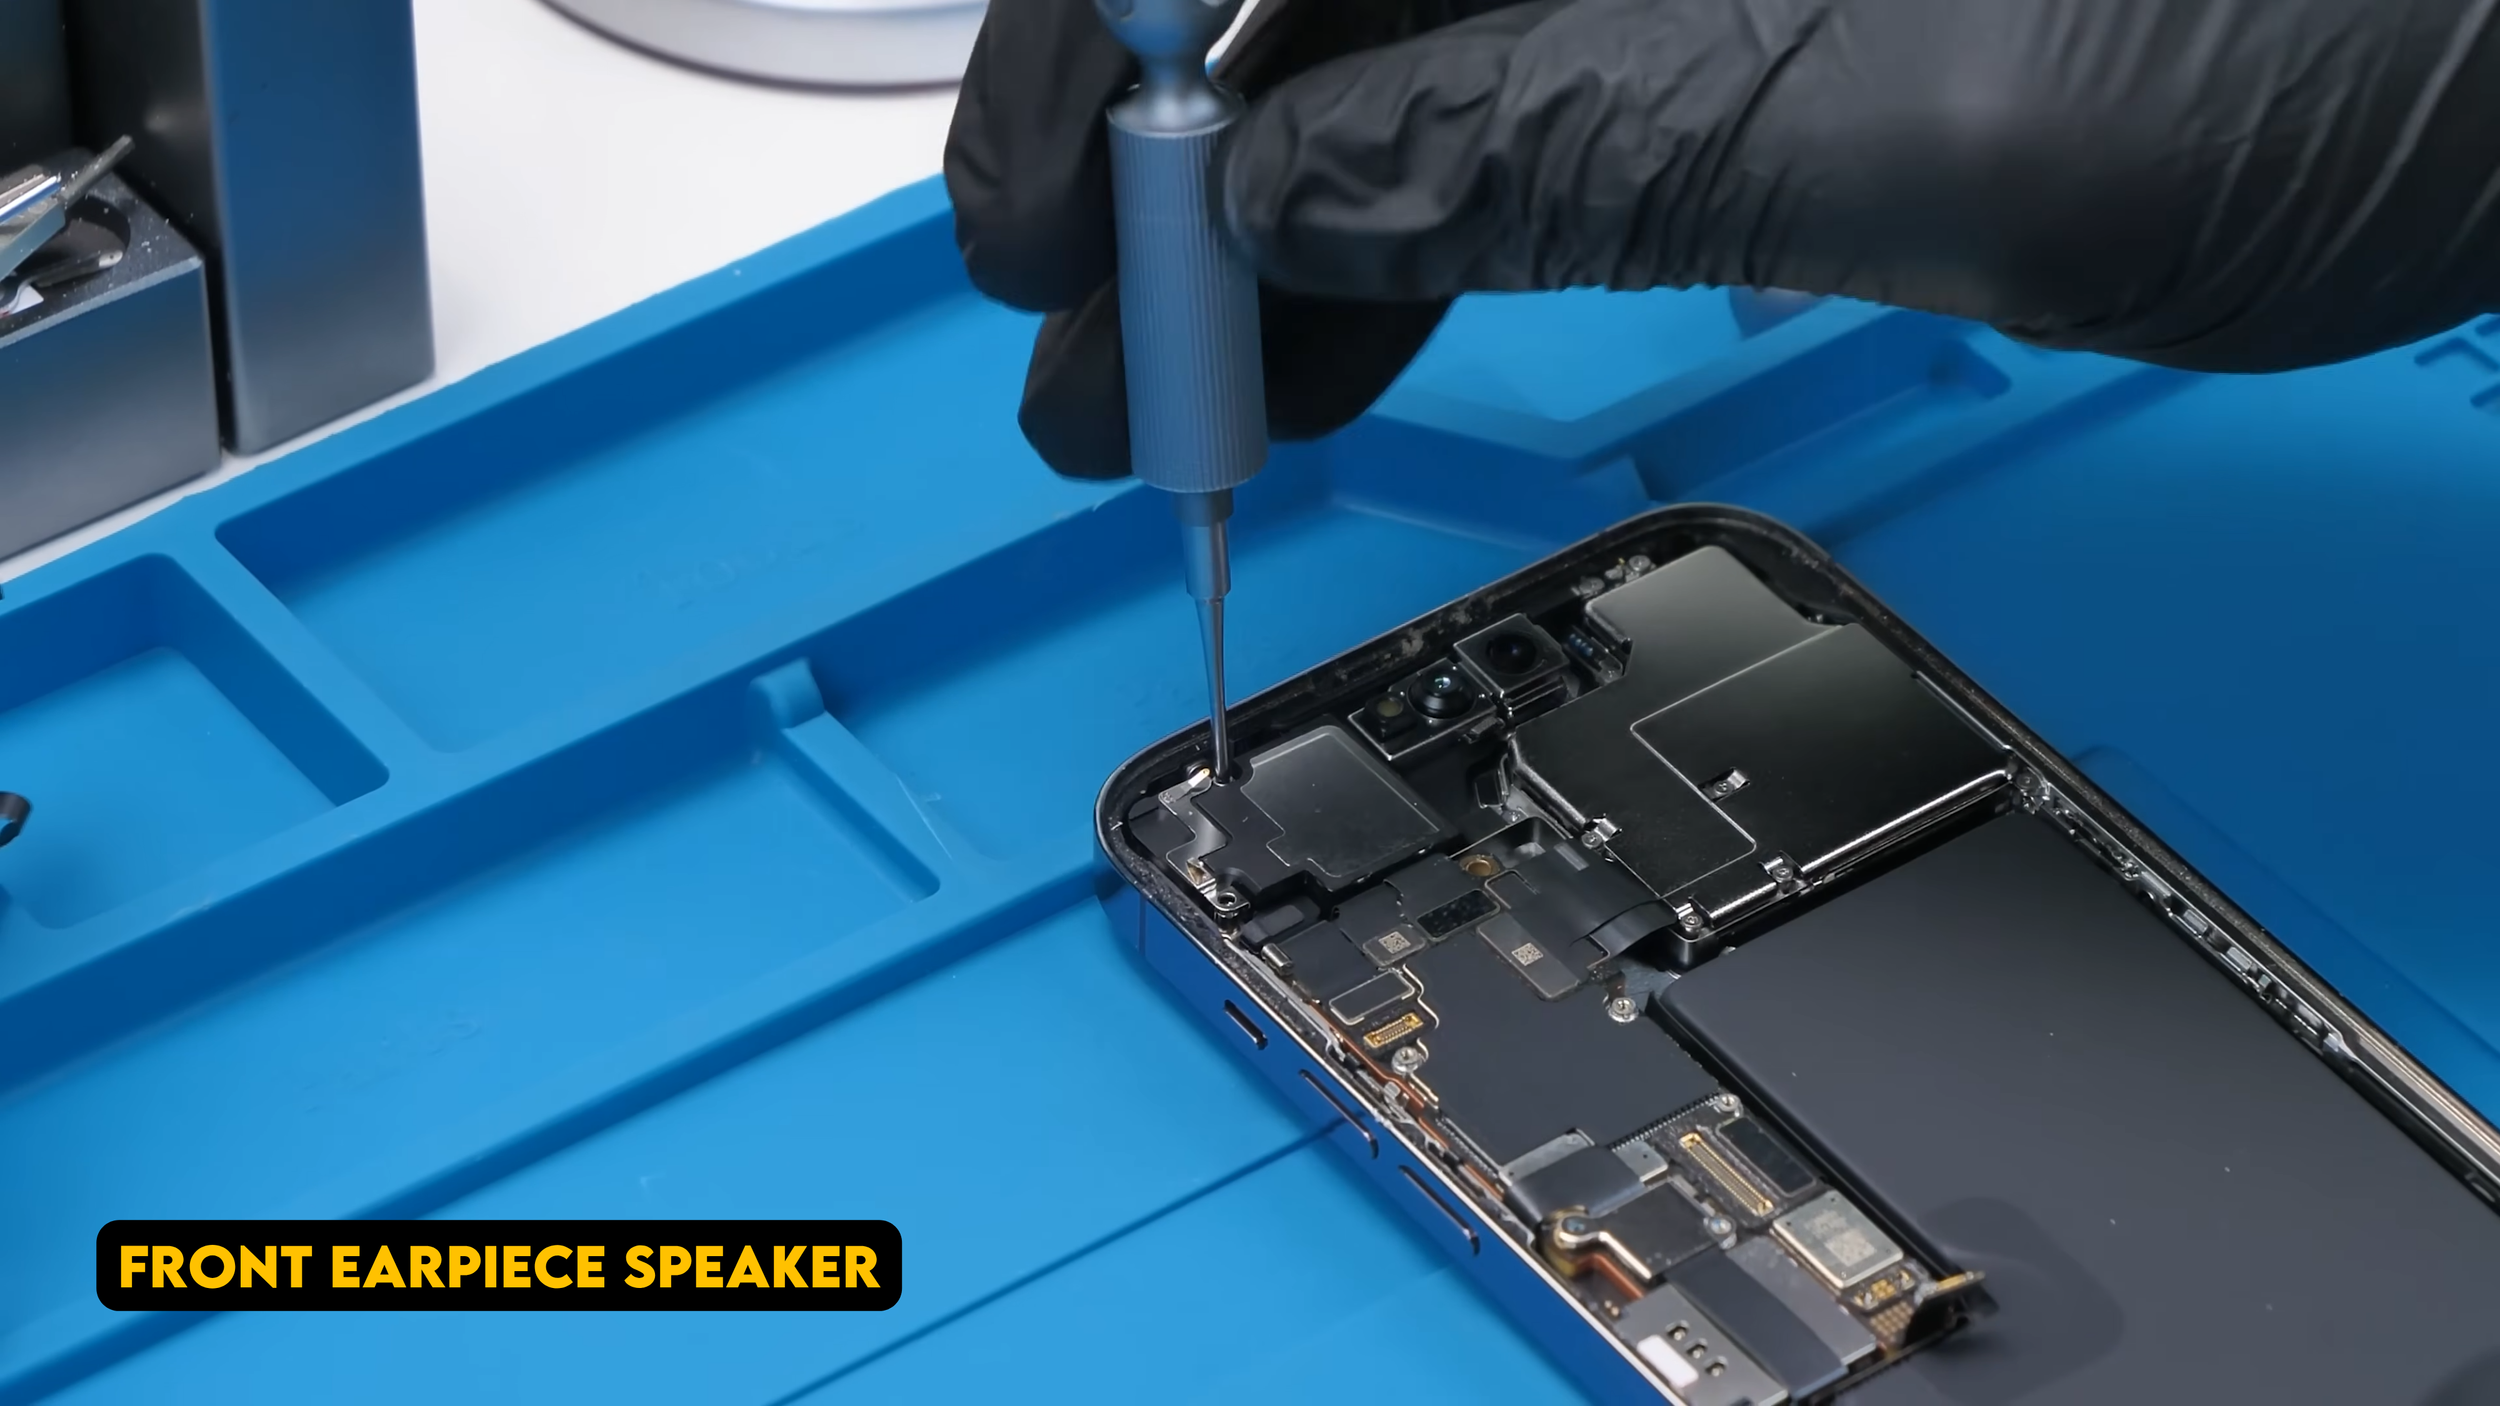
After that, the front earpiece speaker and front camera/proximity components could be placed back in. Then came the rear camera assembly. Two of the rear lenses still had protective film on them, so those were peeled off before the cameras were installed and secured with the camera shield. From the outside, this was the point where the mod started looking almost impossible to tell apart from the newer design.
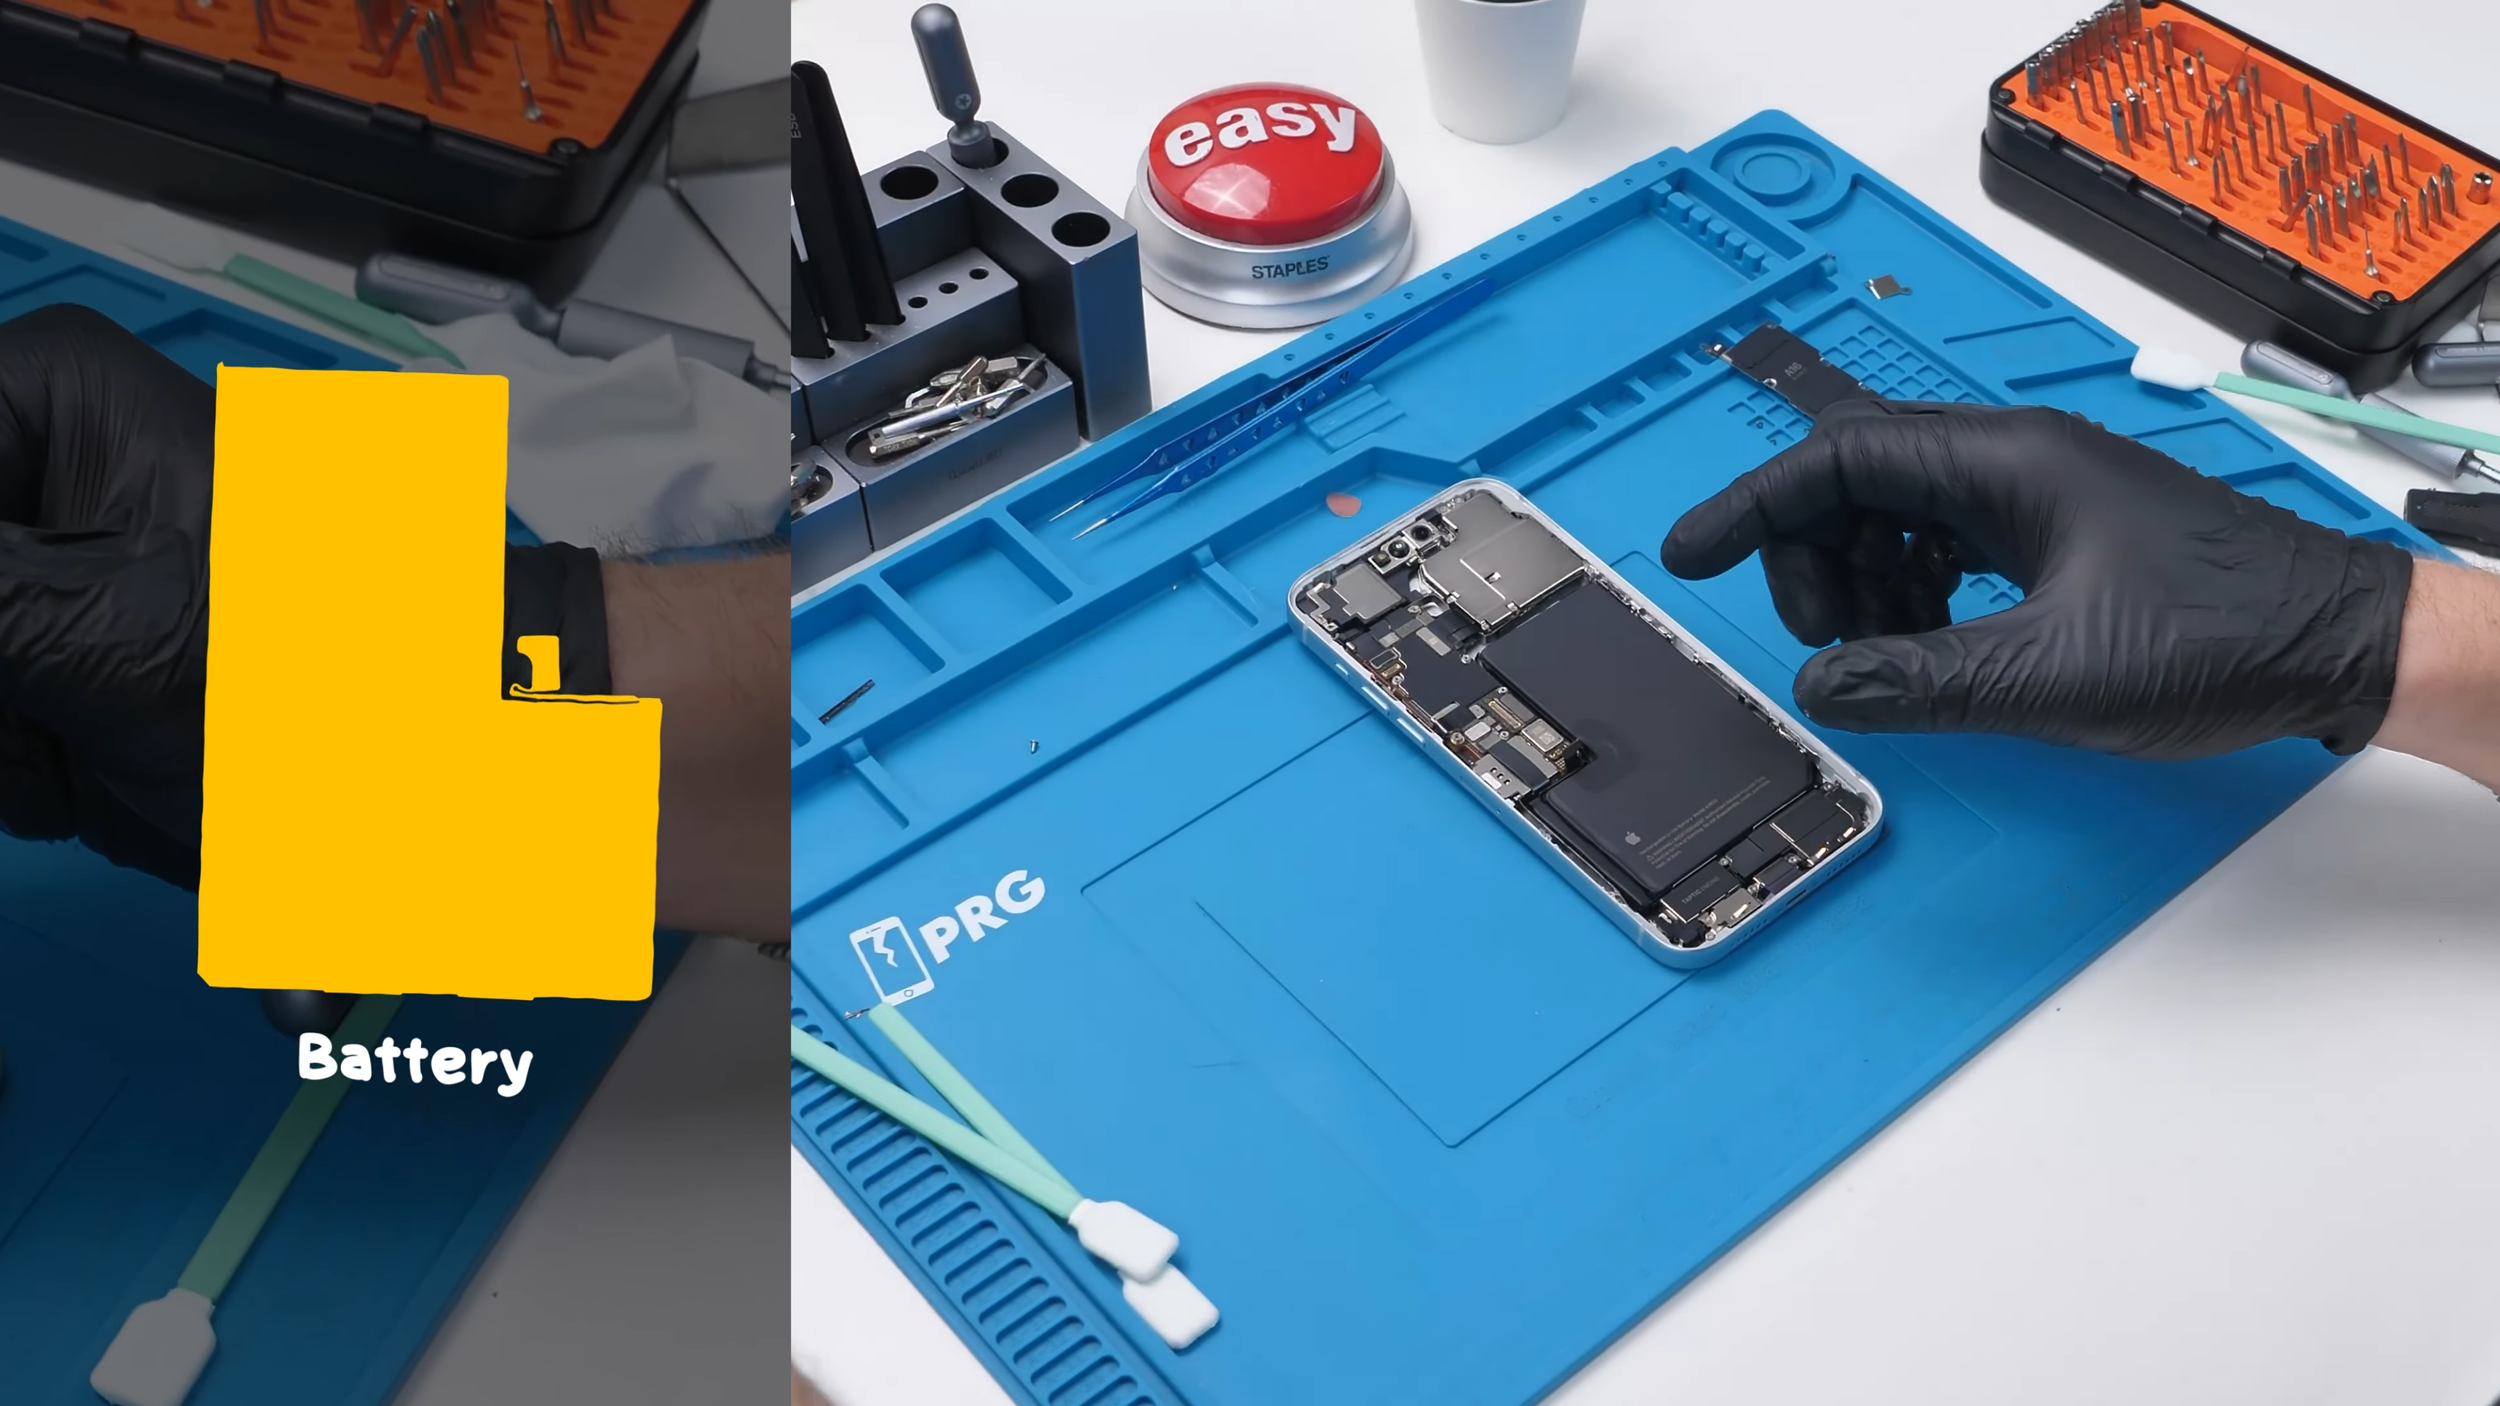
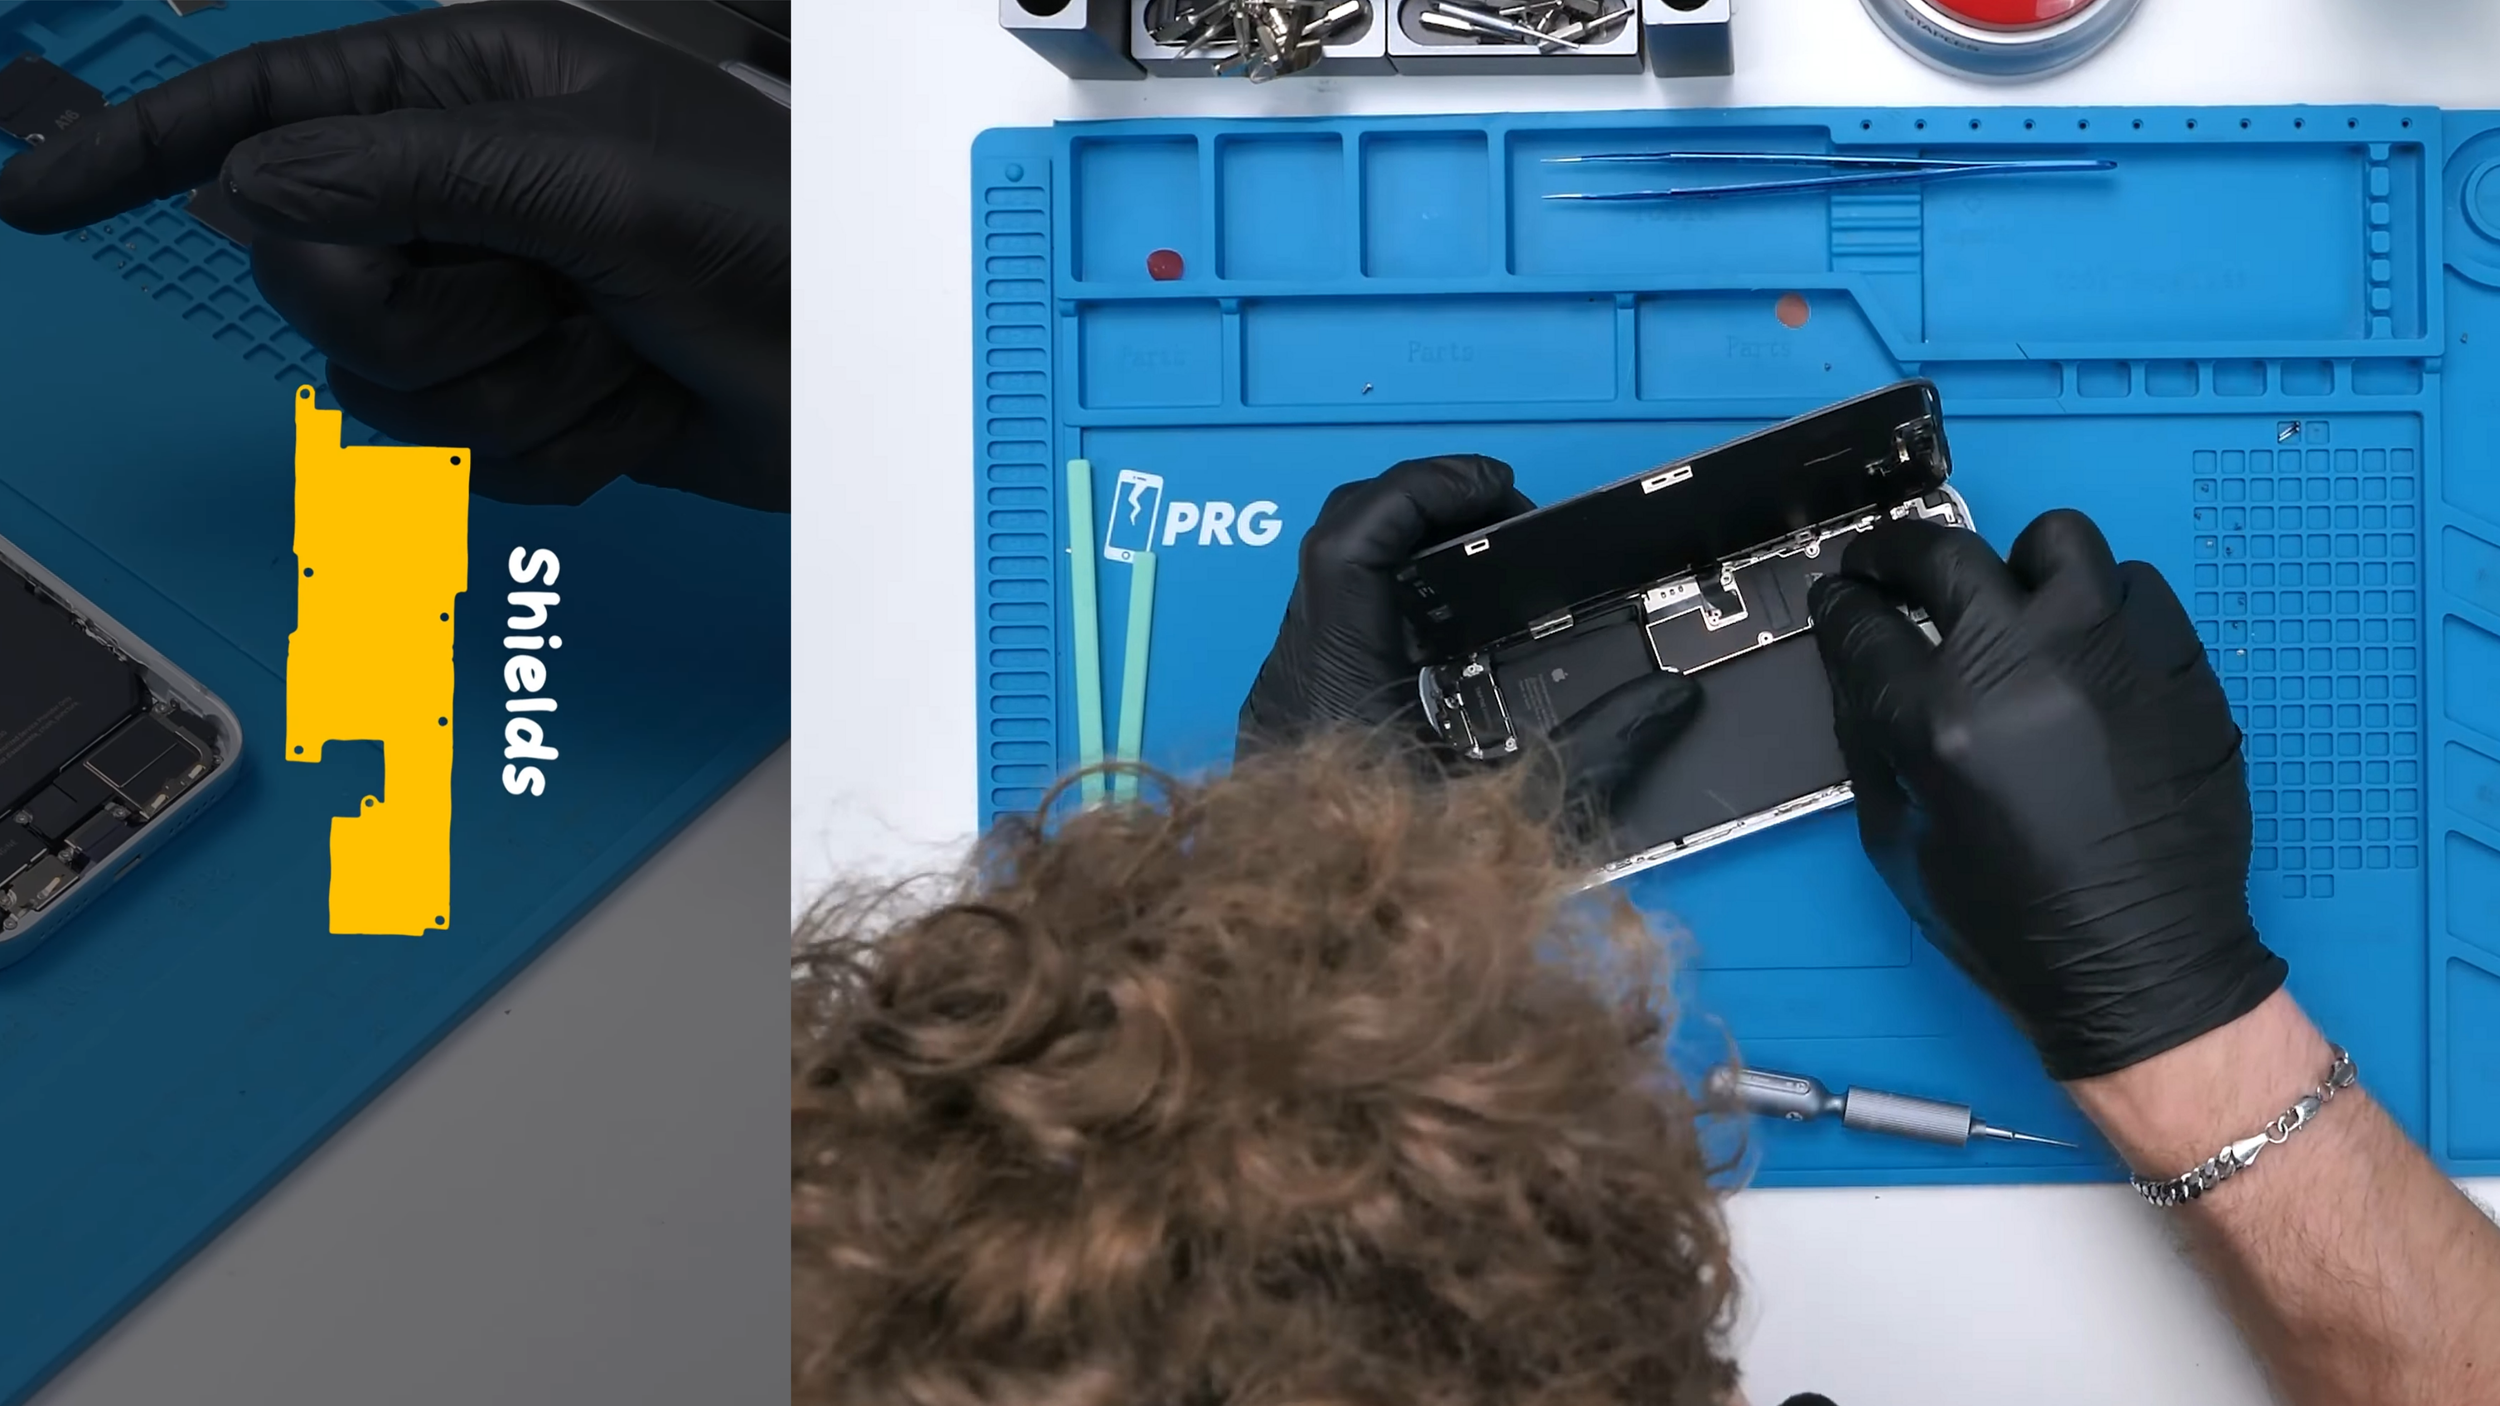
The battery went in near the end. Since the original pull tabs had already been removed, the replacement pull tabs included with the kit were installed first. The battery was connected before being pressed down so it could be aligned properly, then the remaining shields and earpiece mesh were added.
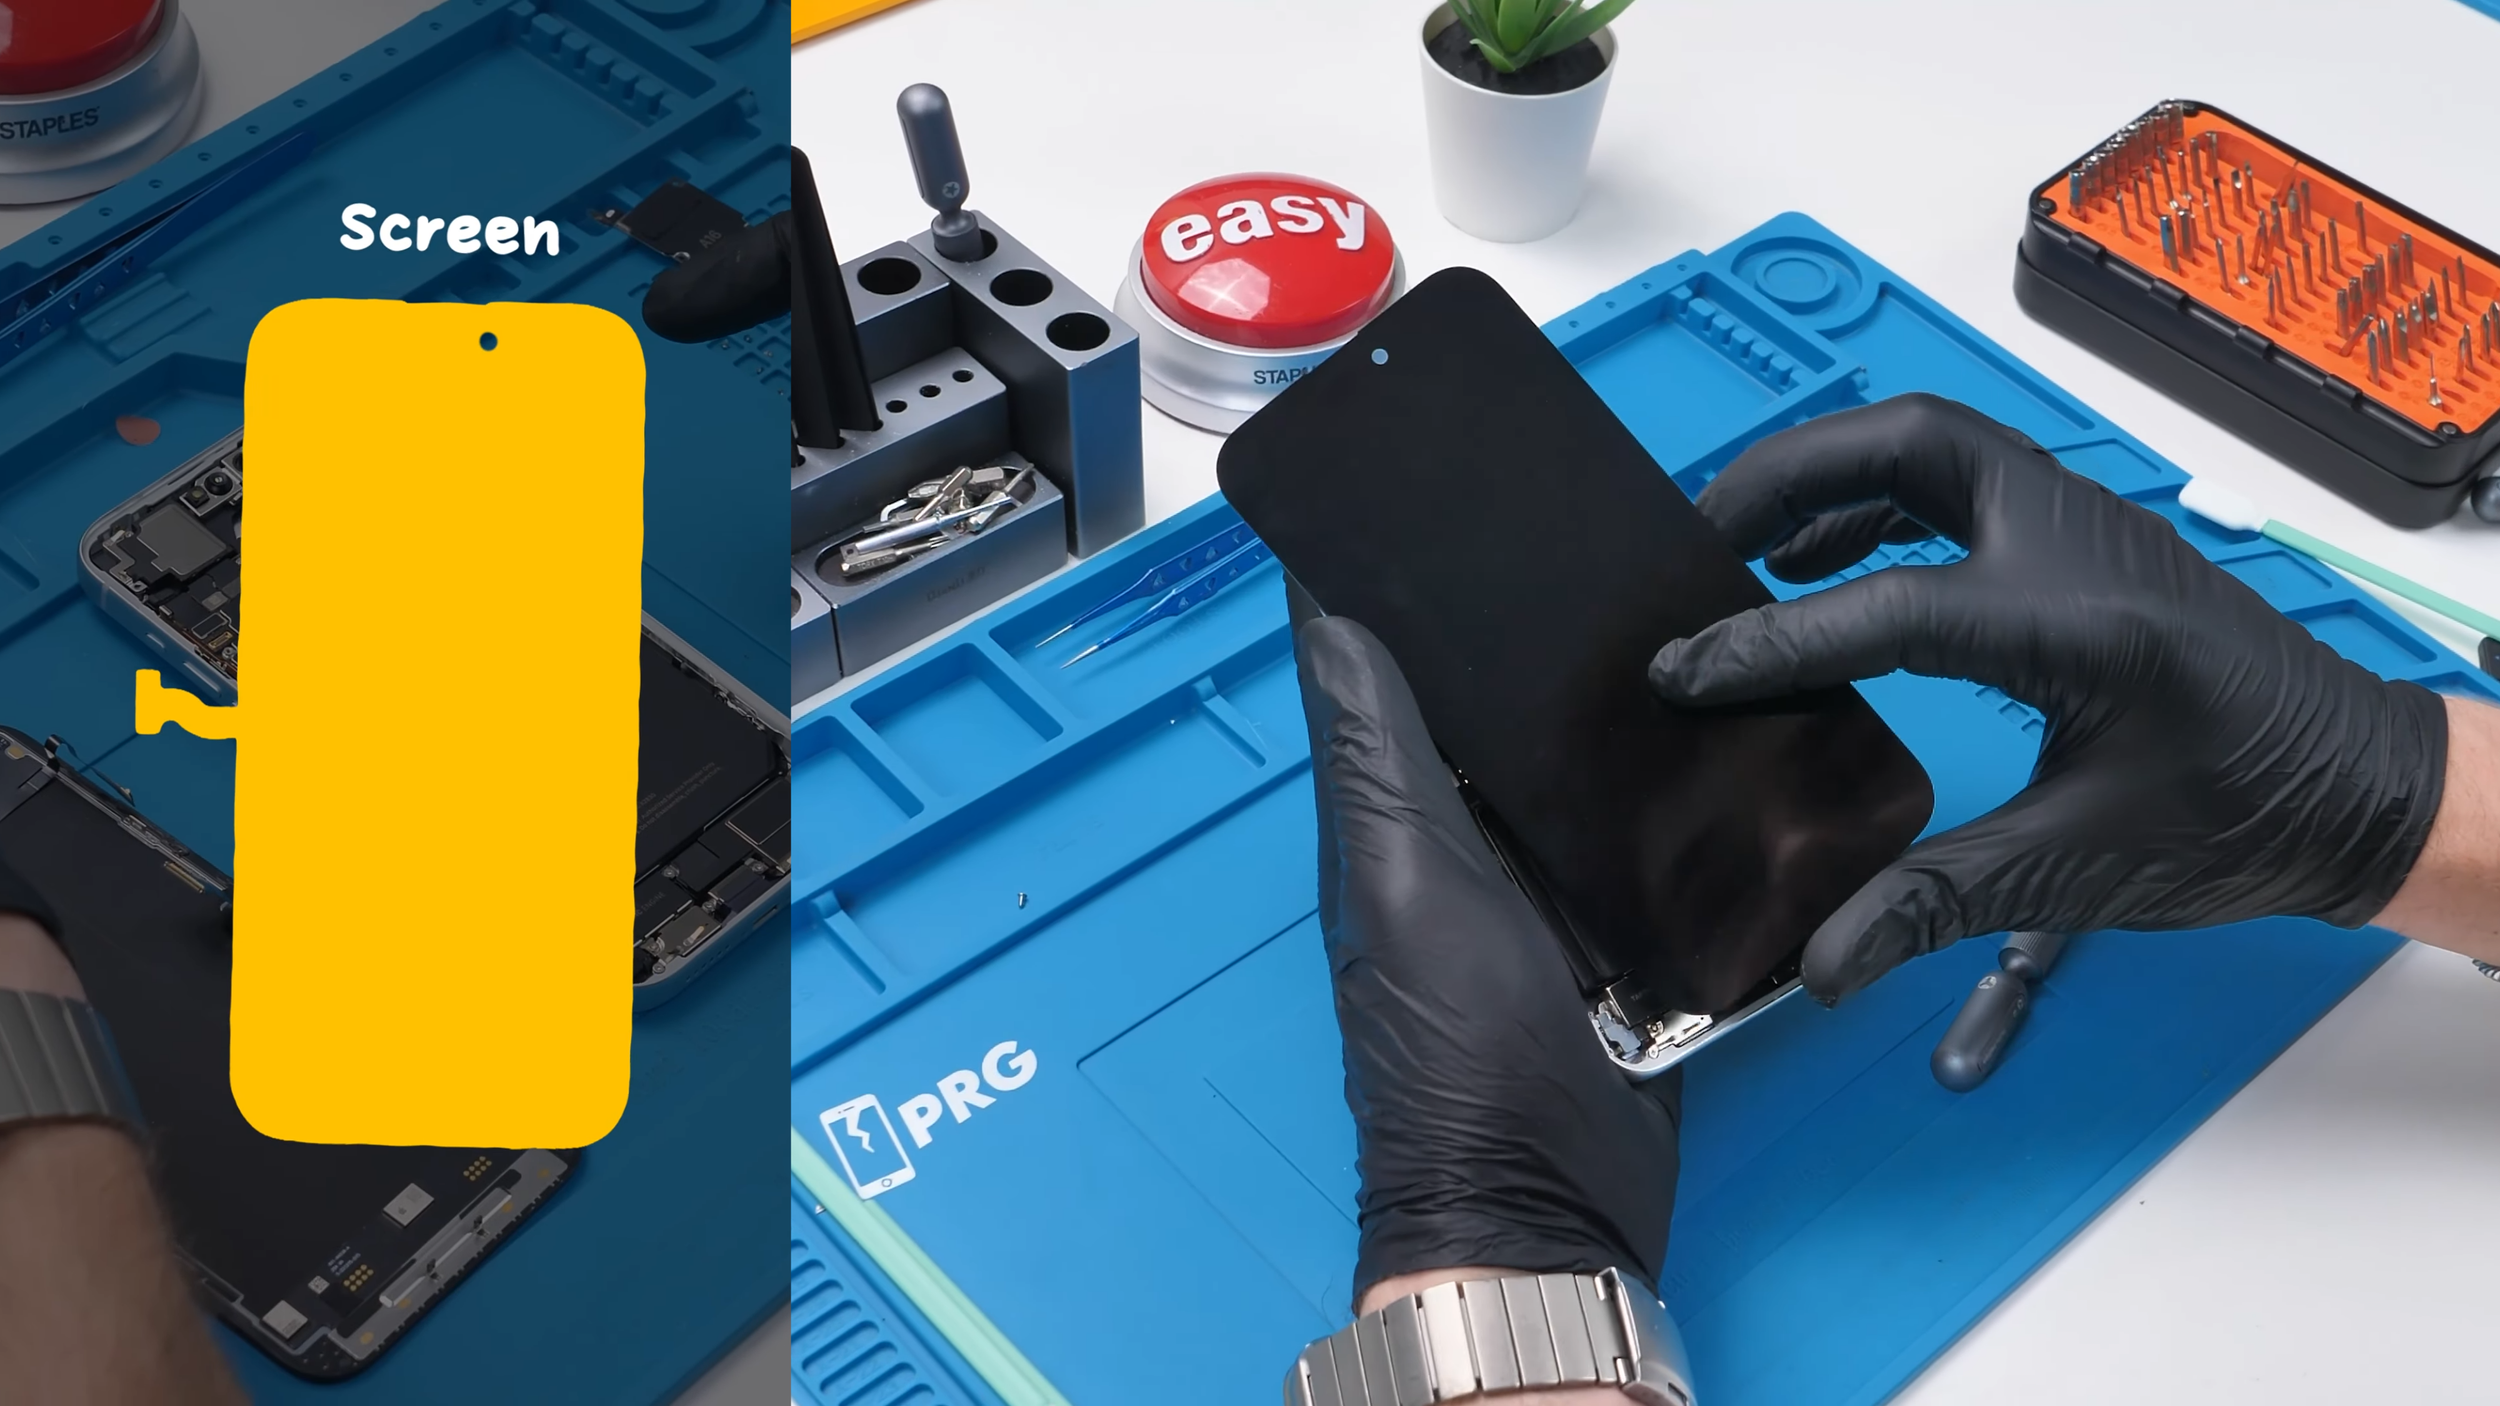
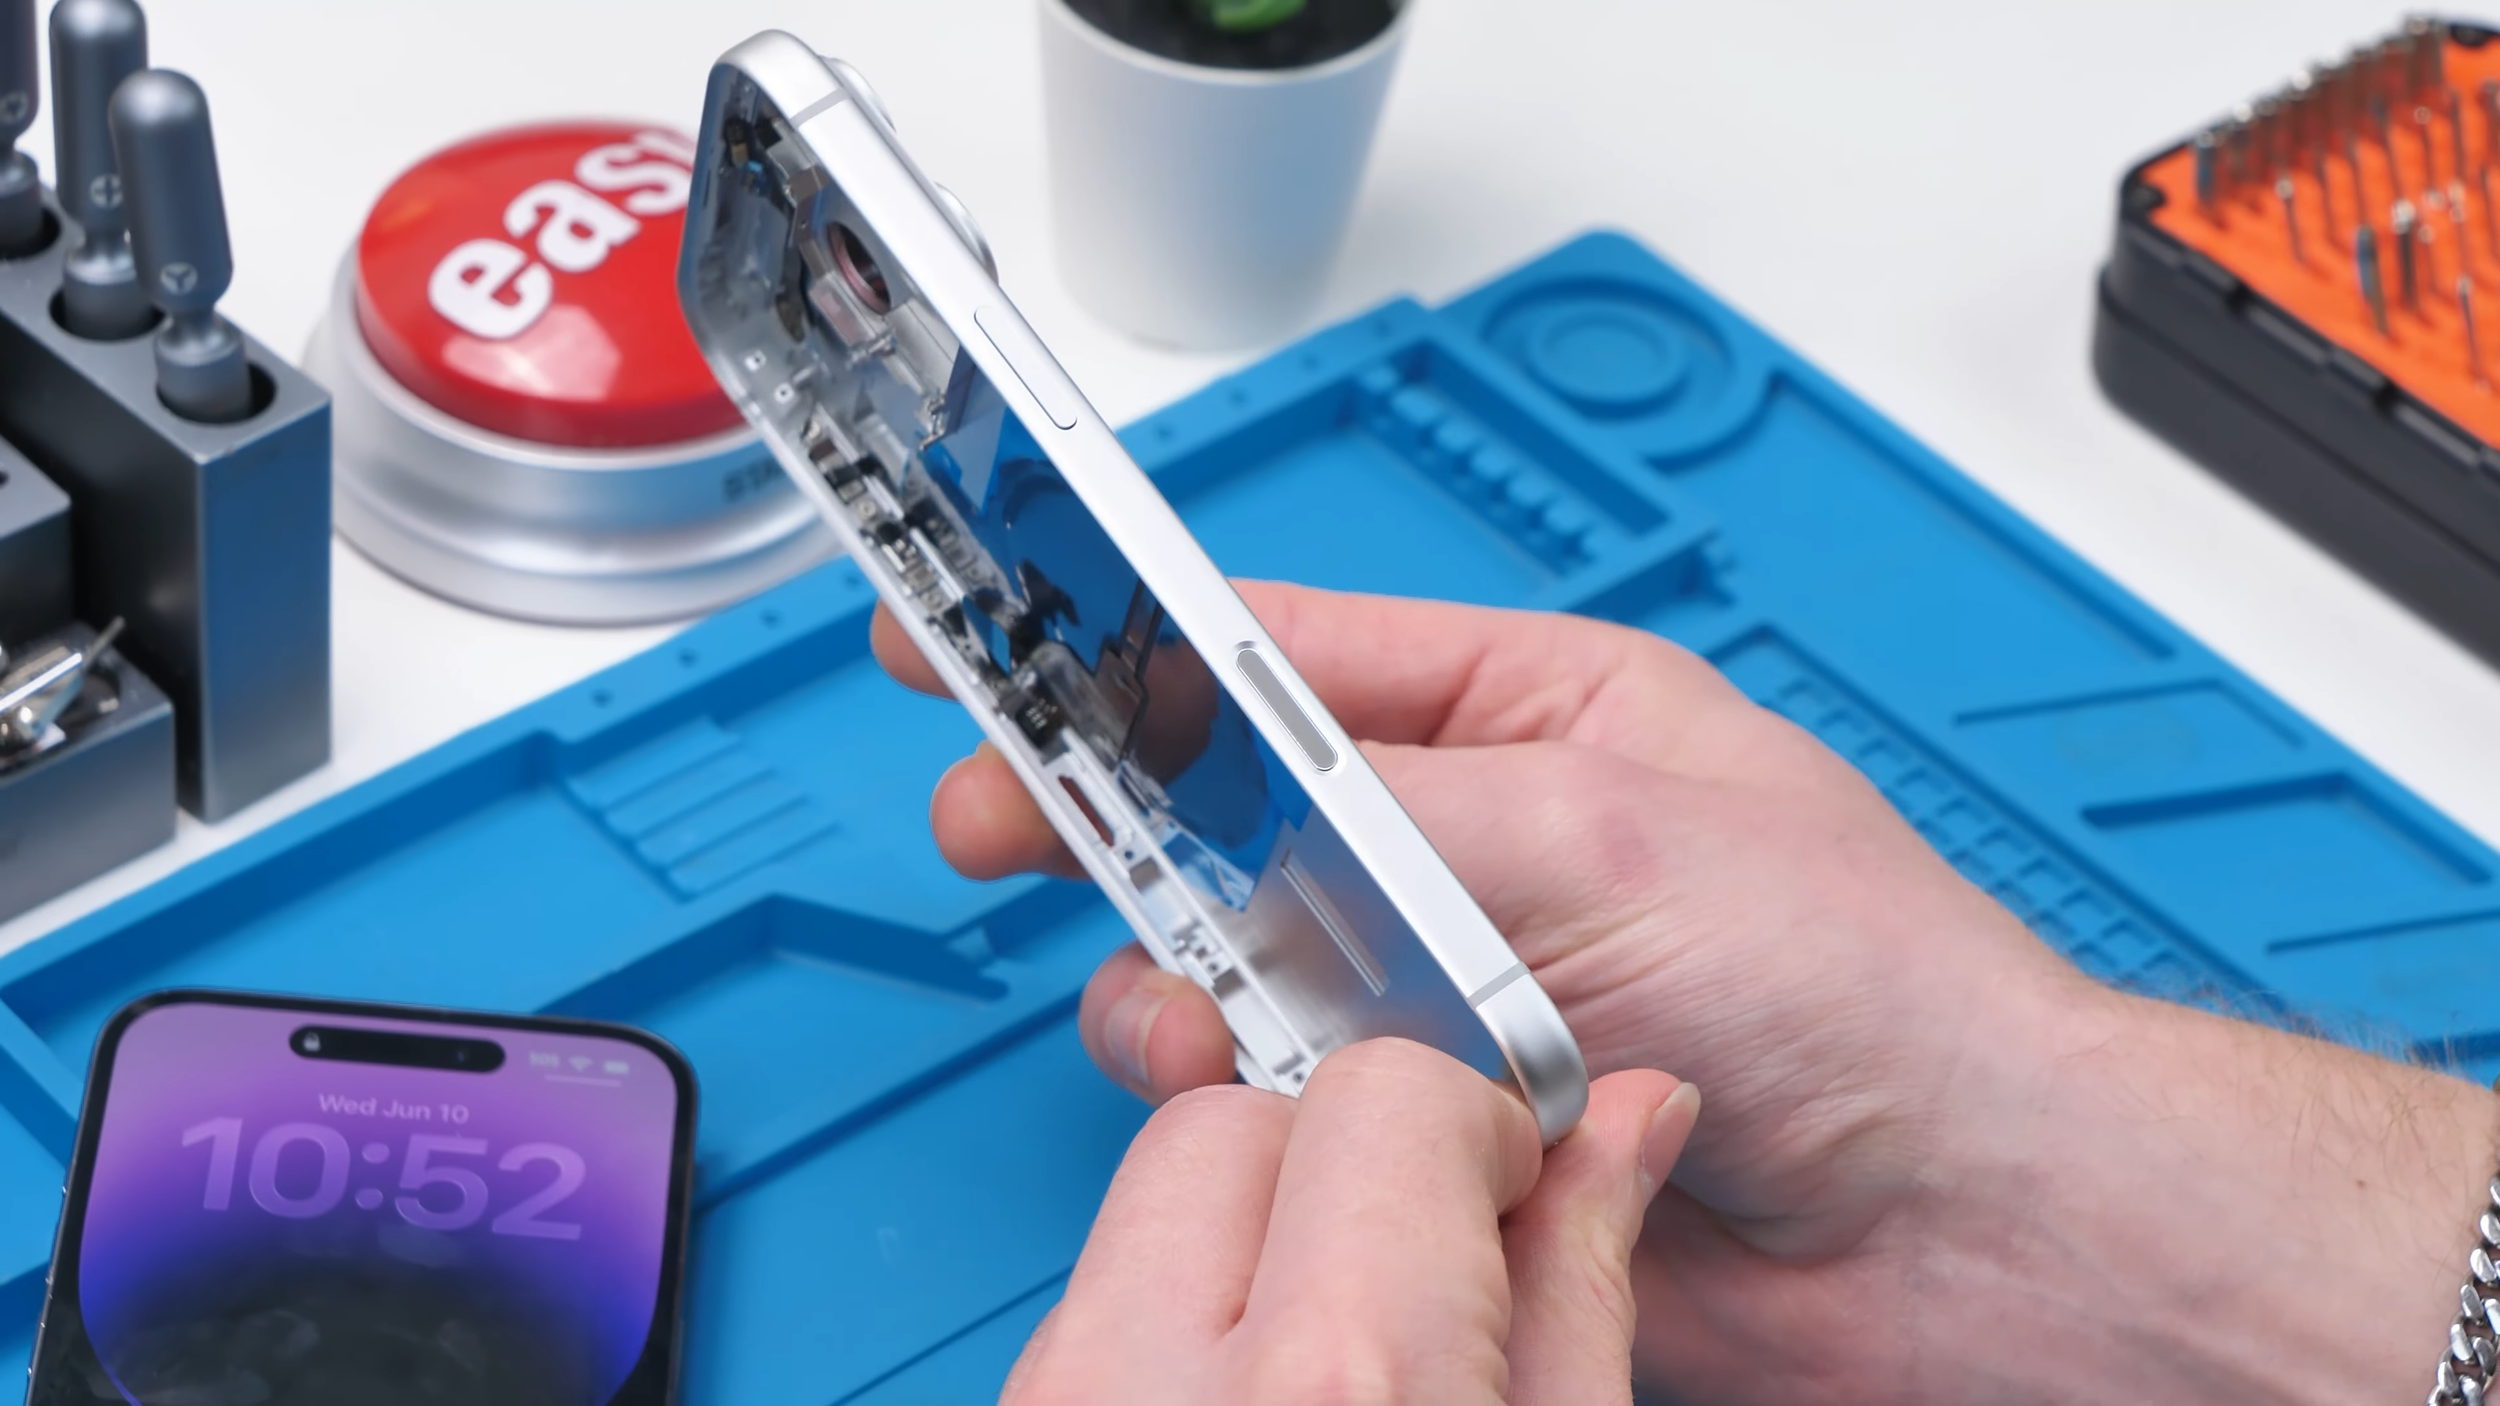
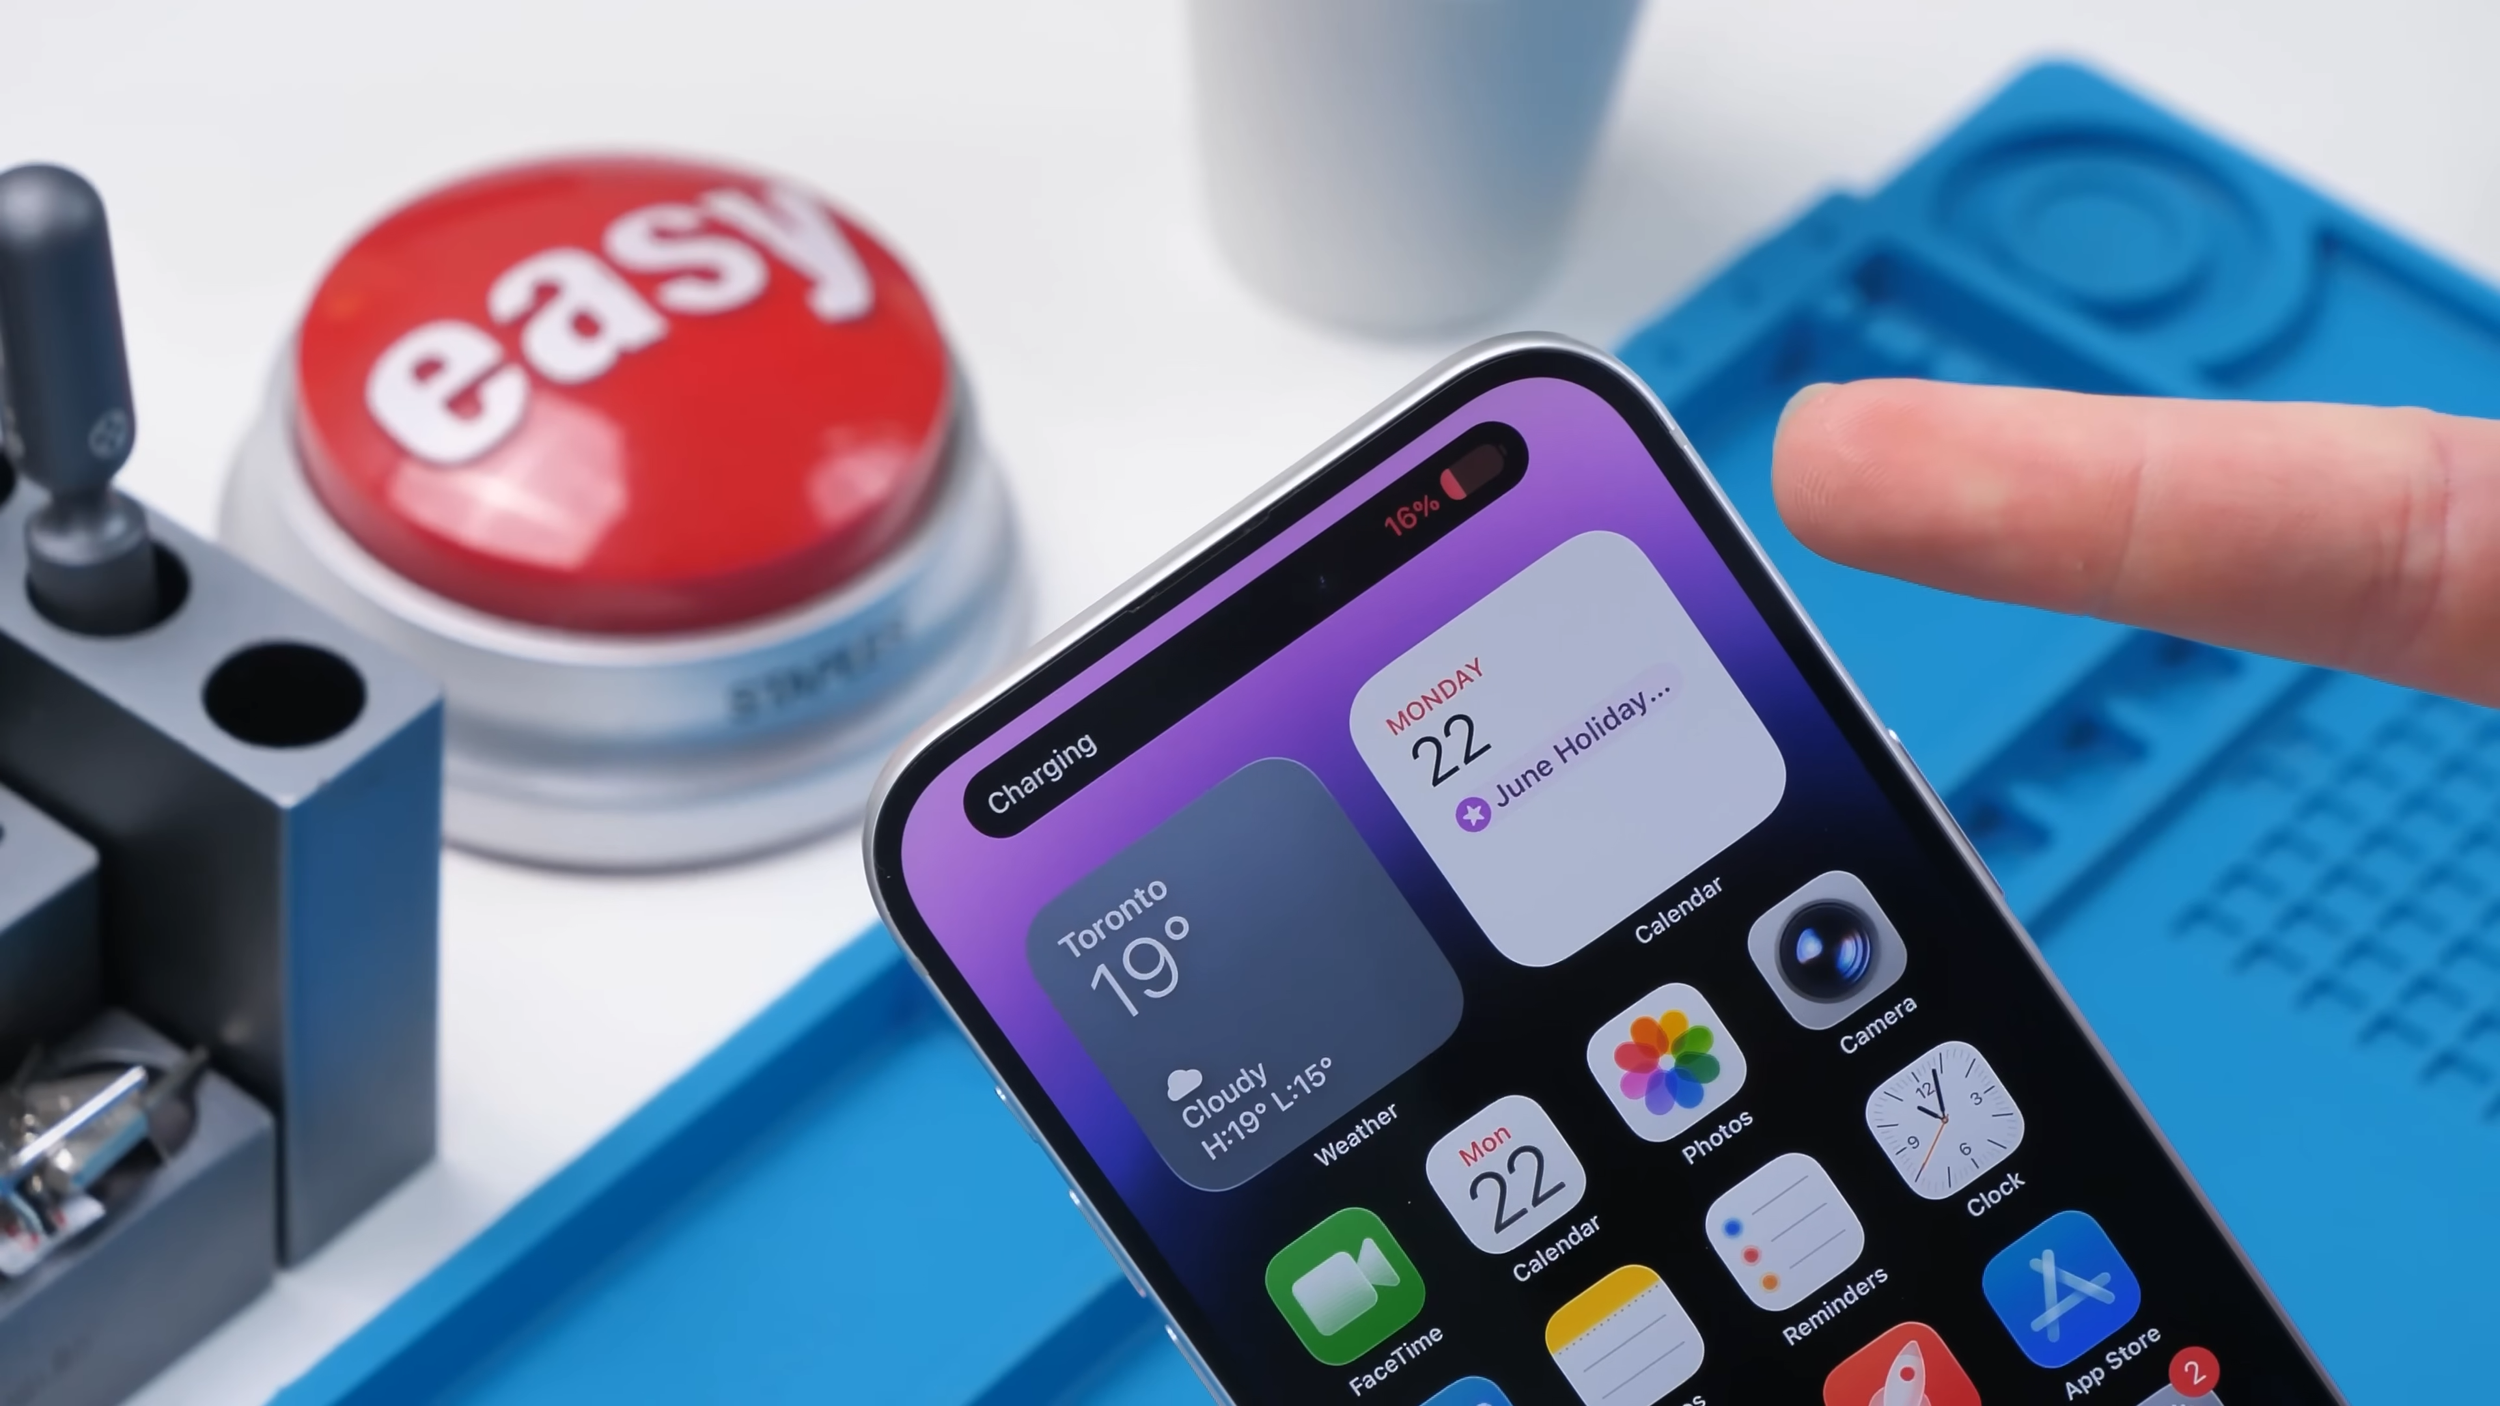
Finally, with the internals rebuilt and everything sitting as cleanly as possible, the display was pressed back into place. That was the real moment of truth. The phone no longer looked like a 14 Pro Max with a new shell. It looked like a full conversion, and now it was time to see what still worked.
The Moment Of Truth
Looking convincing is one thing. Functioning like a real phone is another and this is where many conversion kits begin to fall apart.
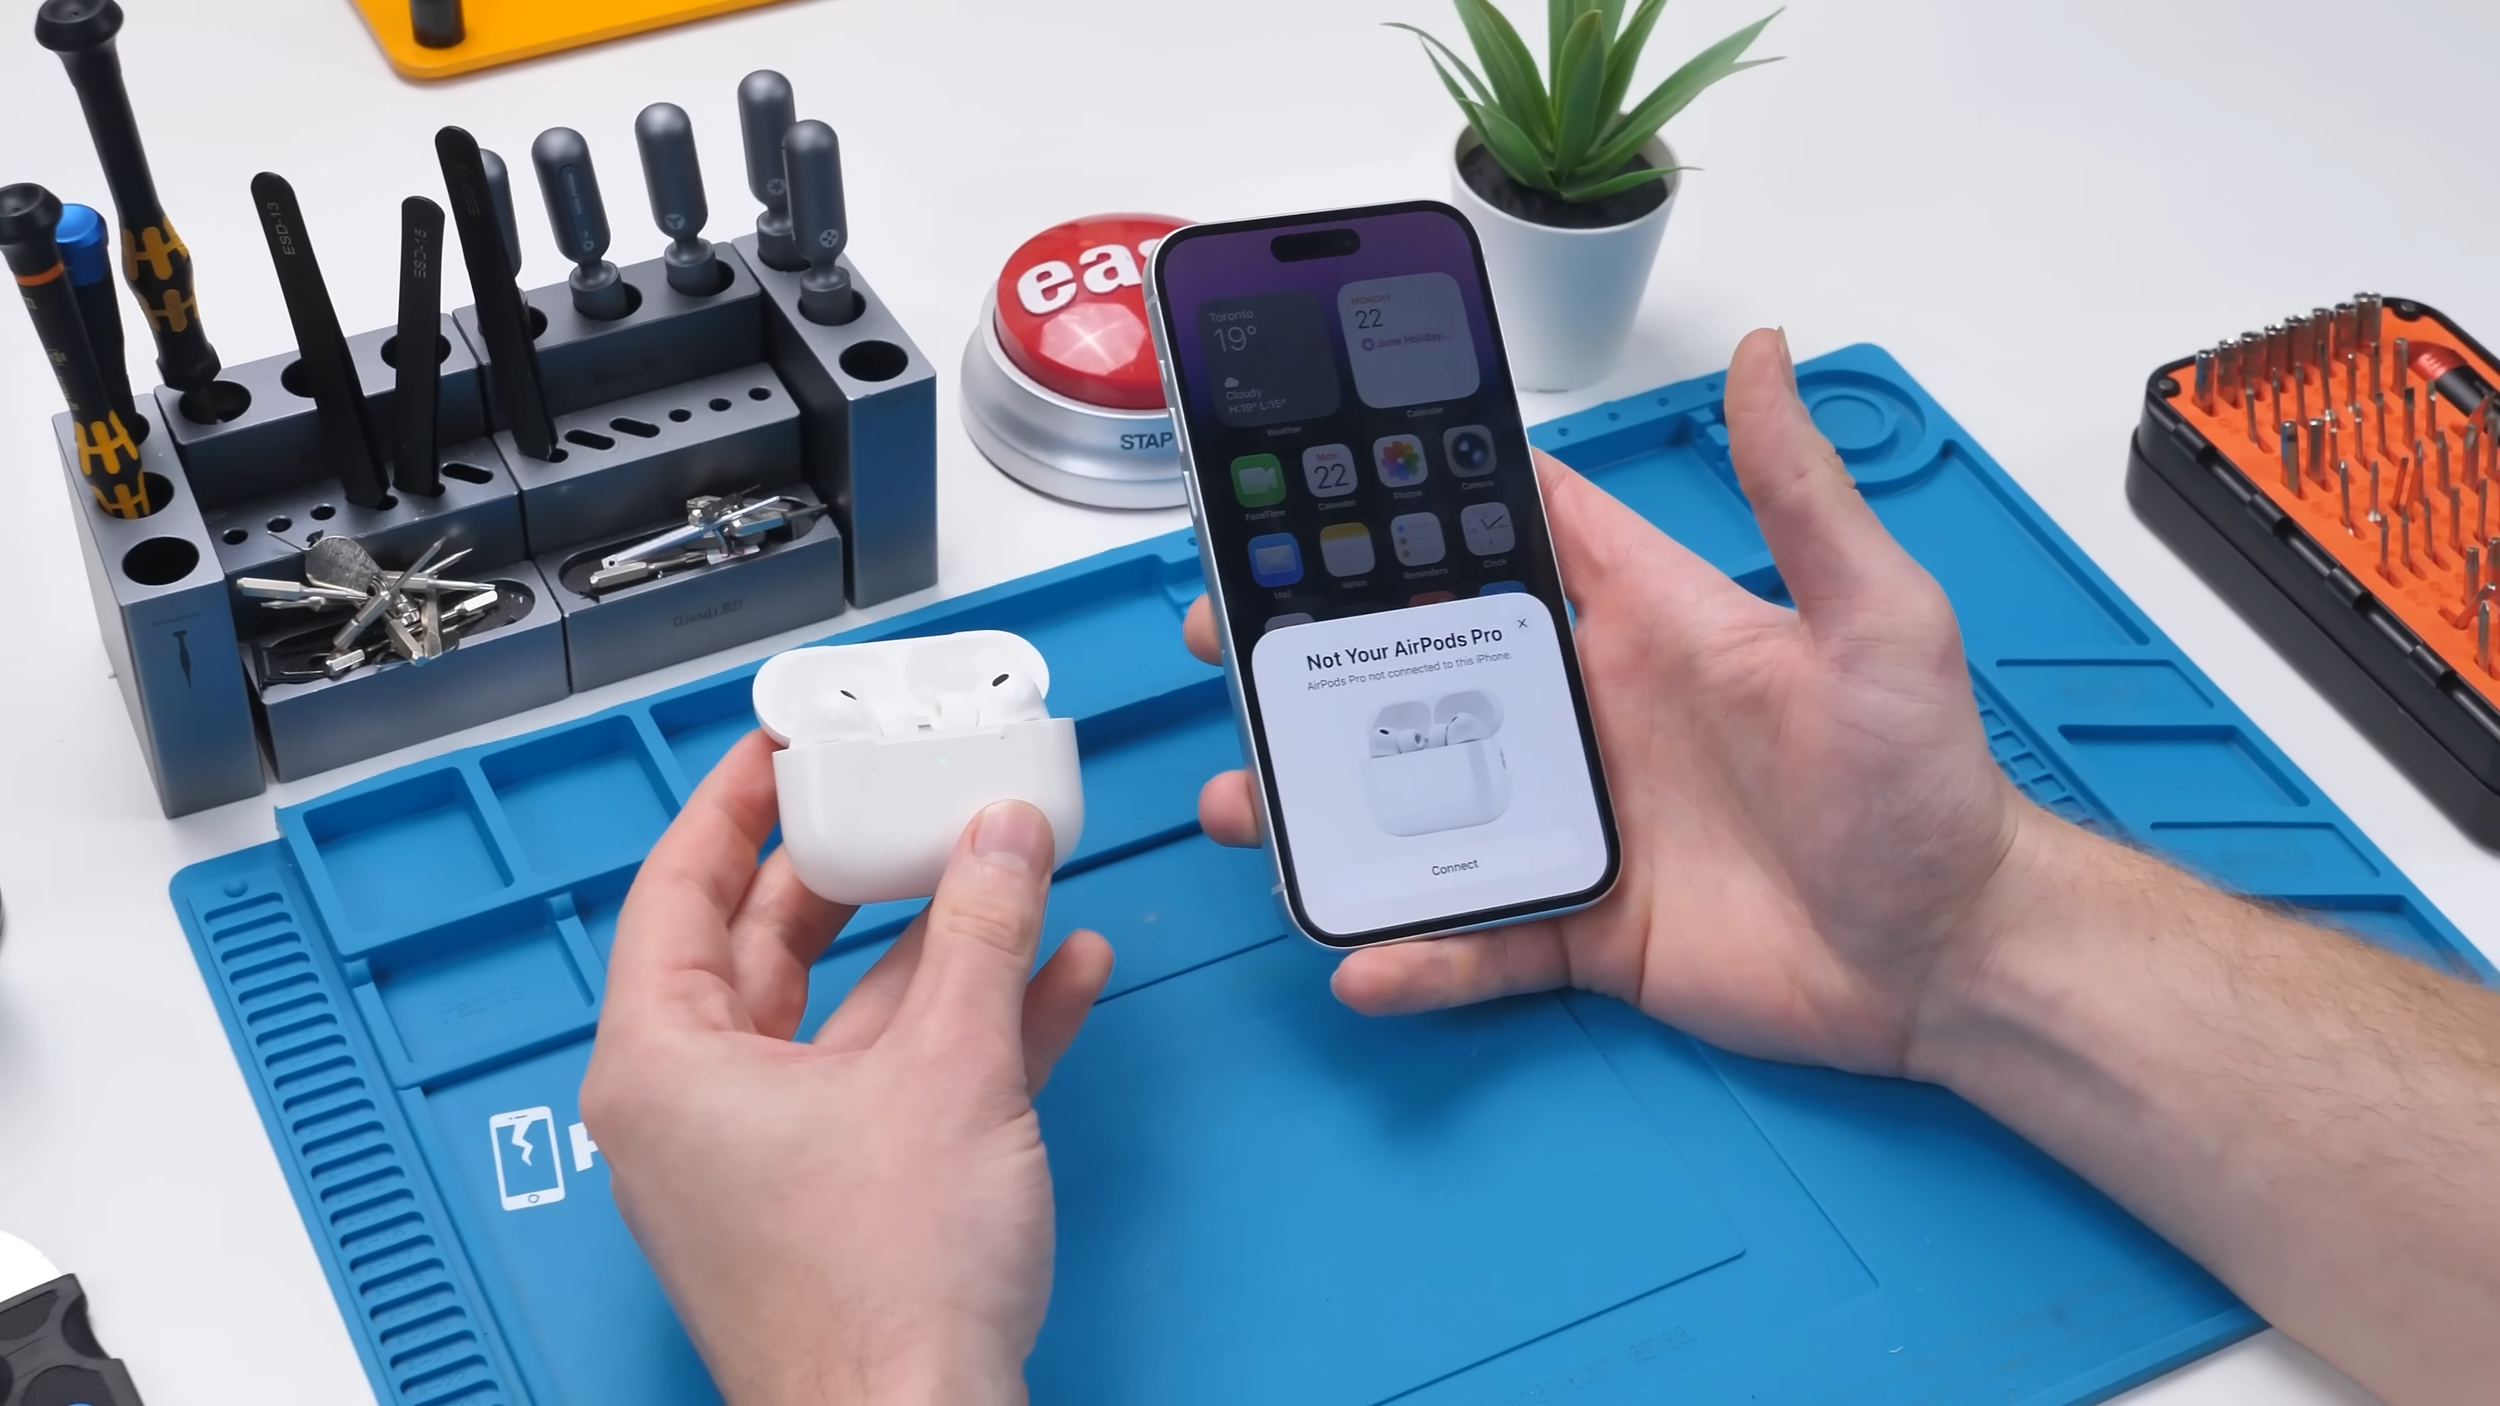
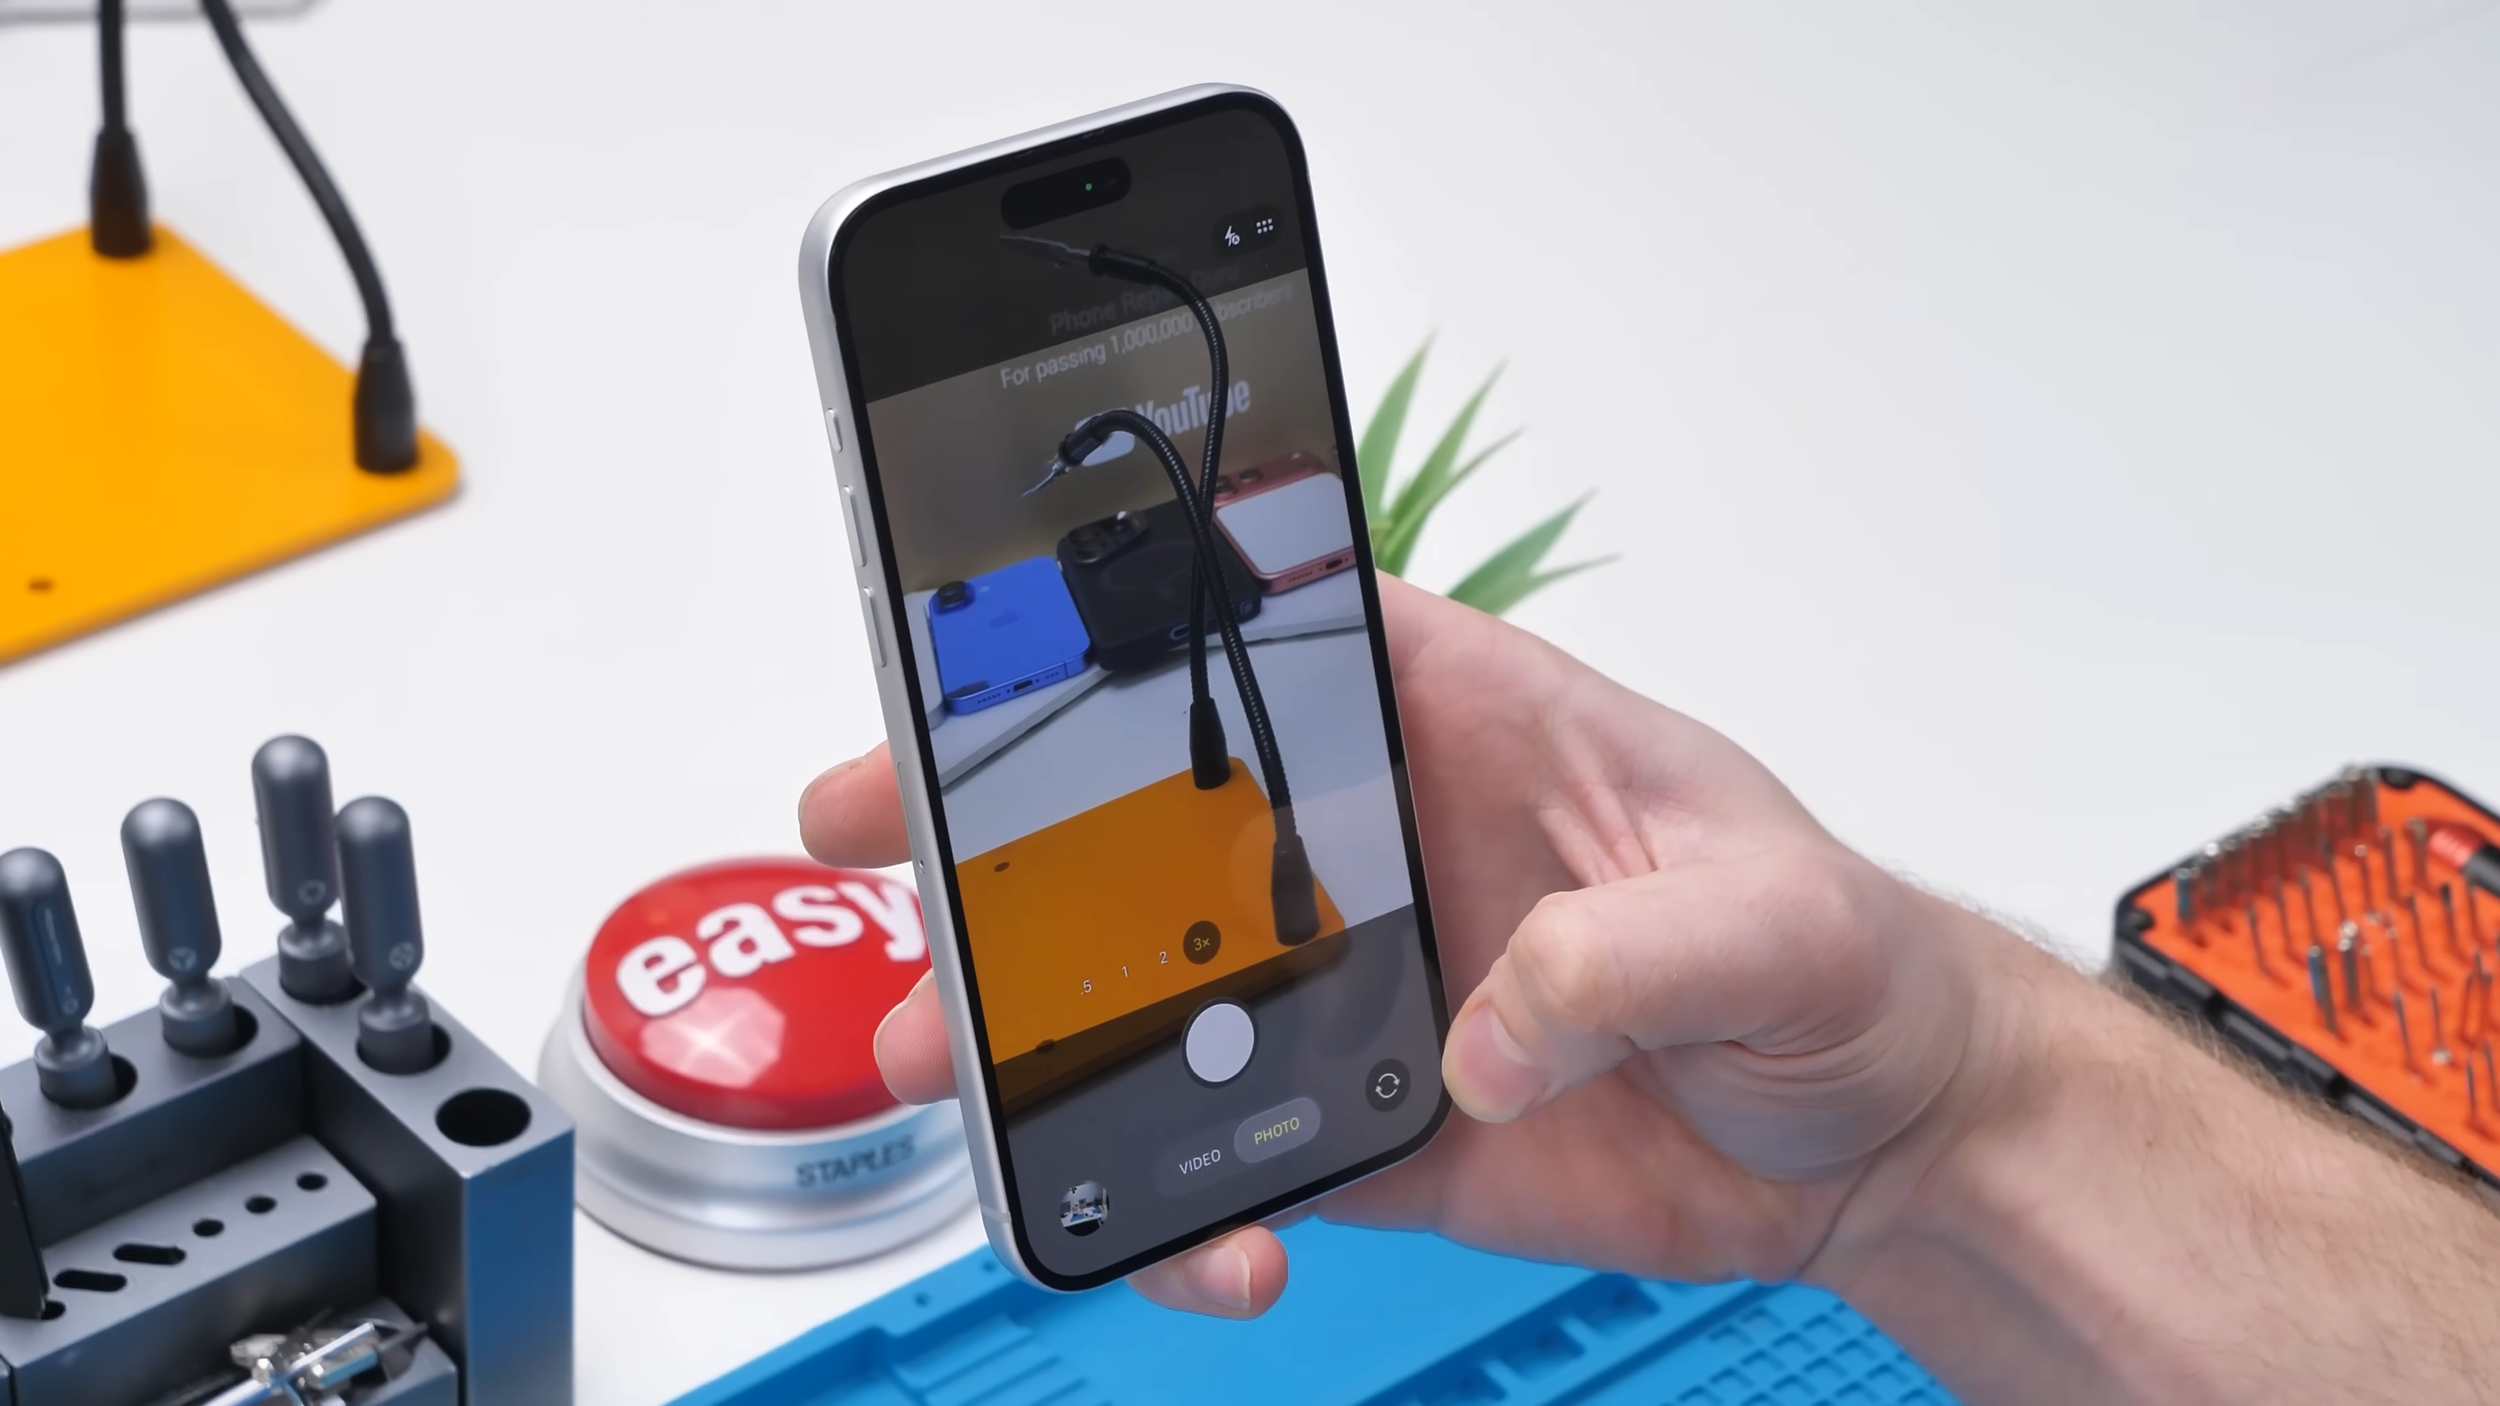
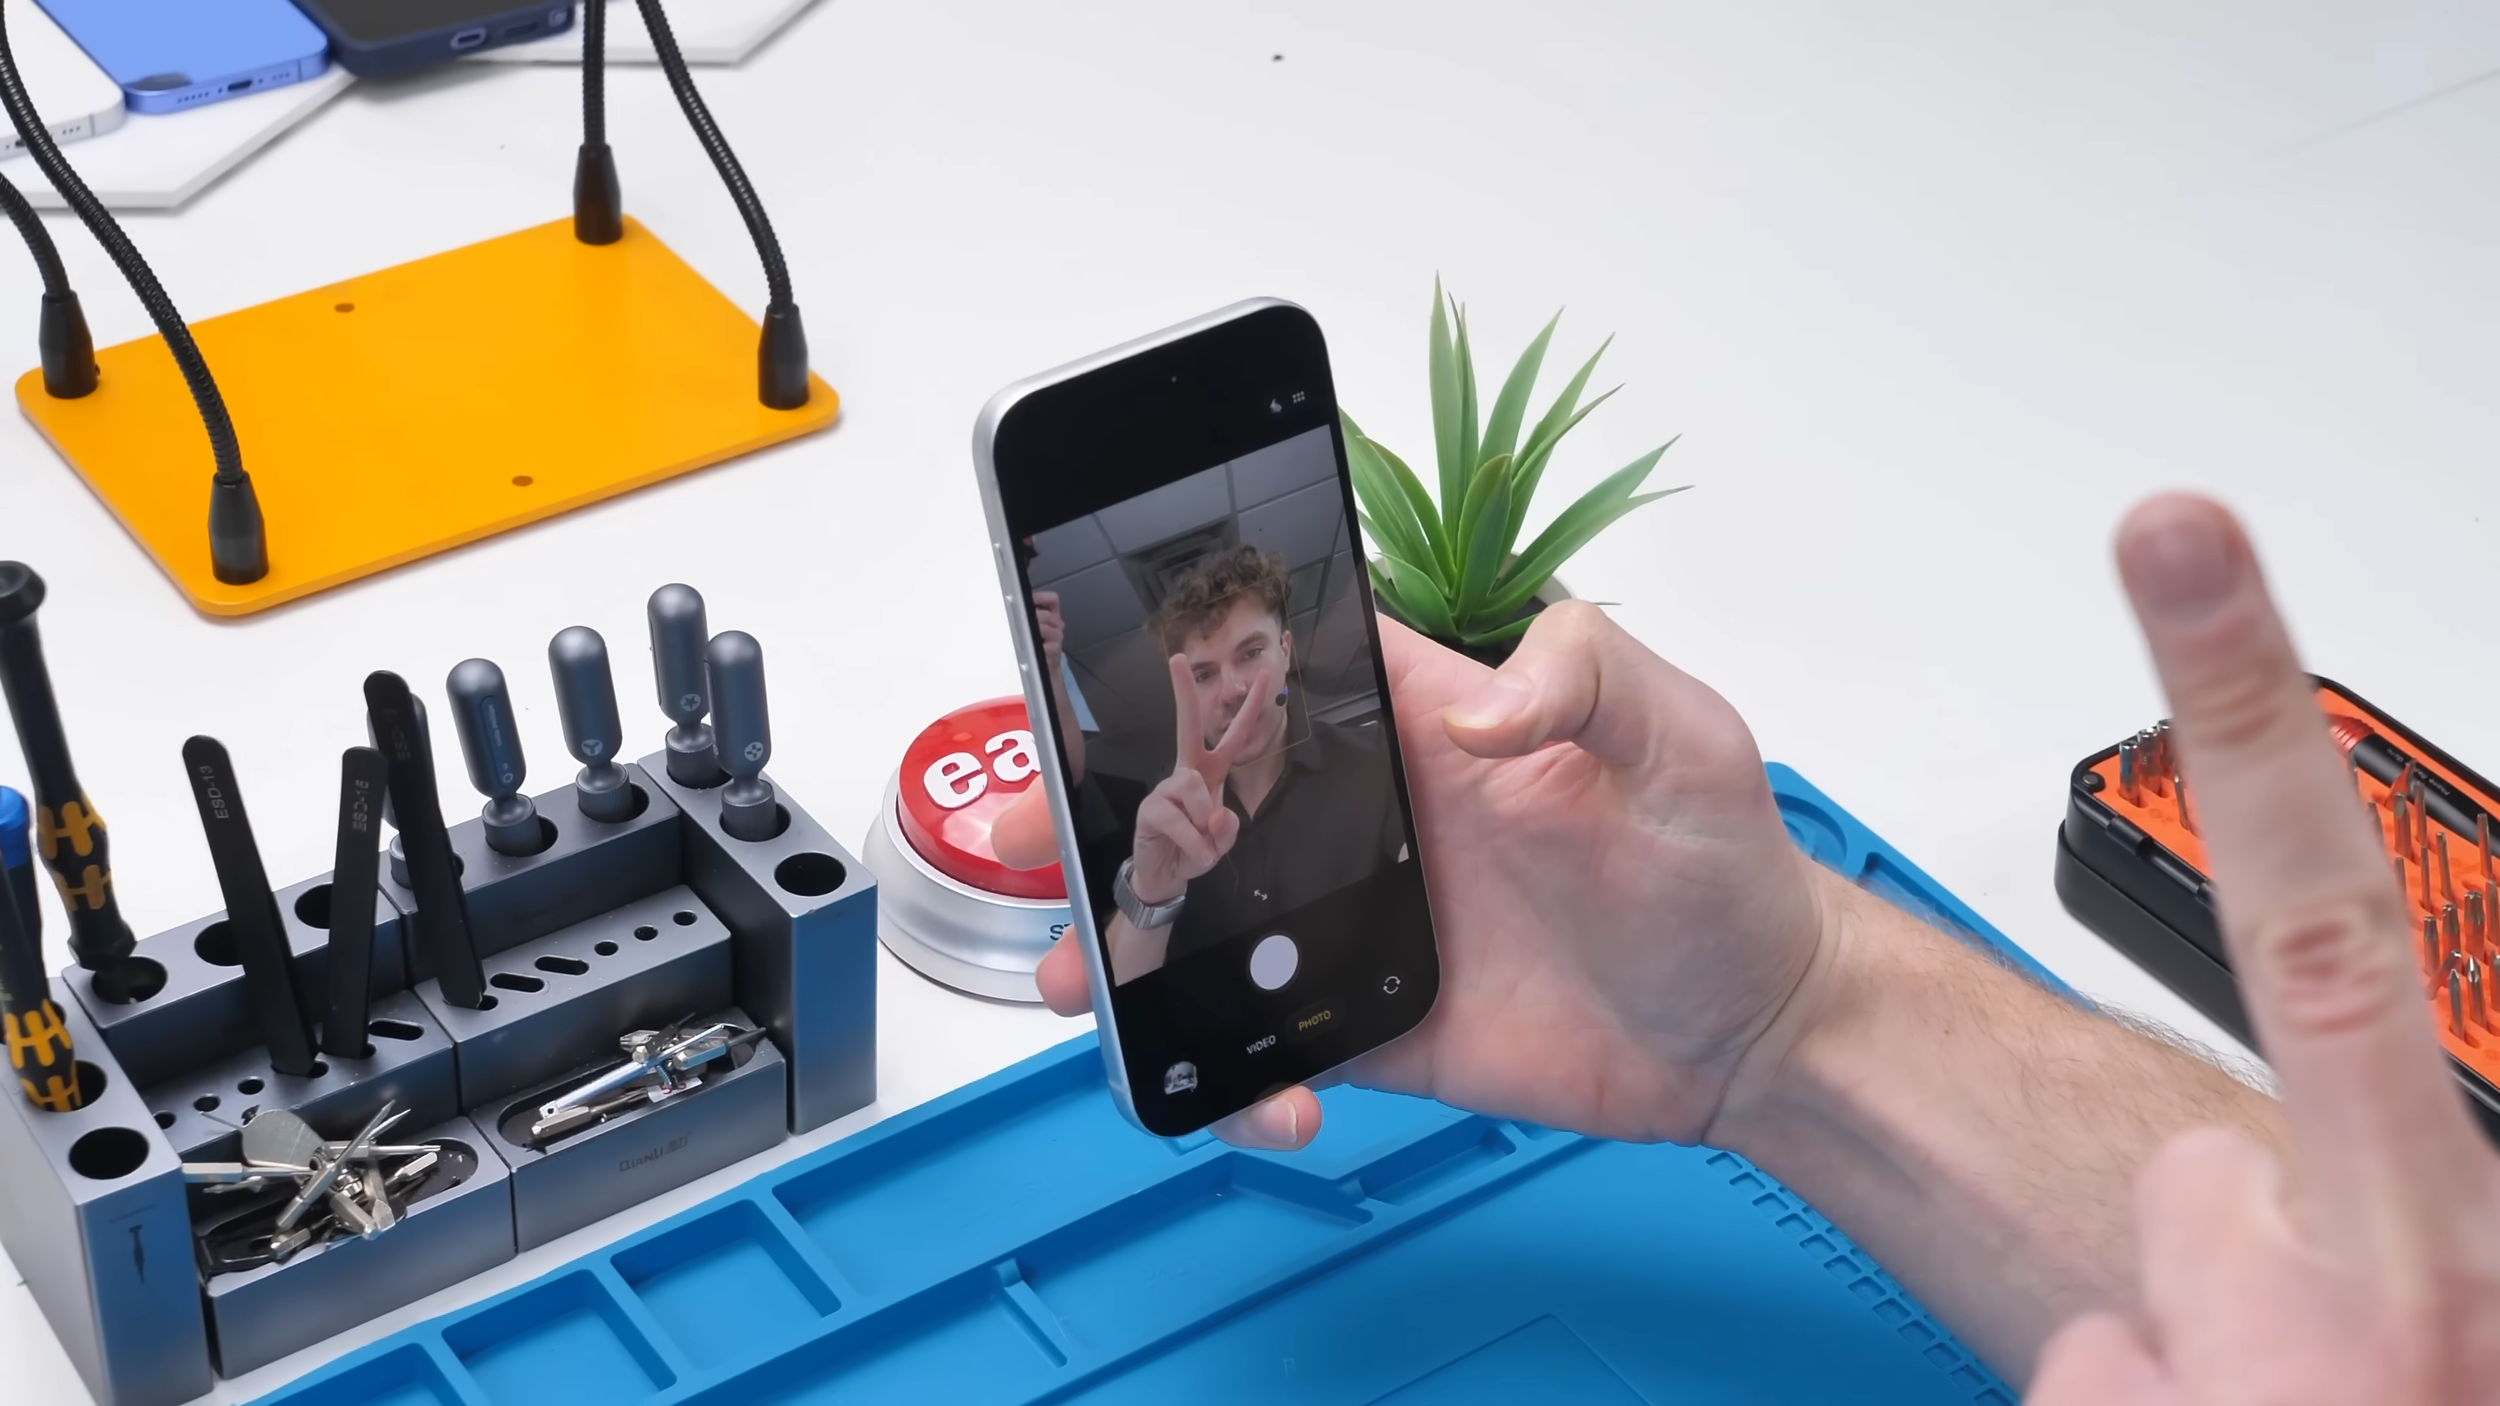
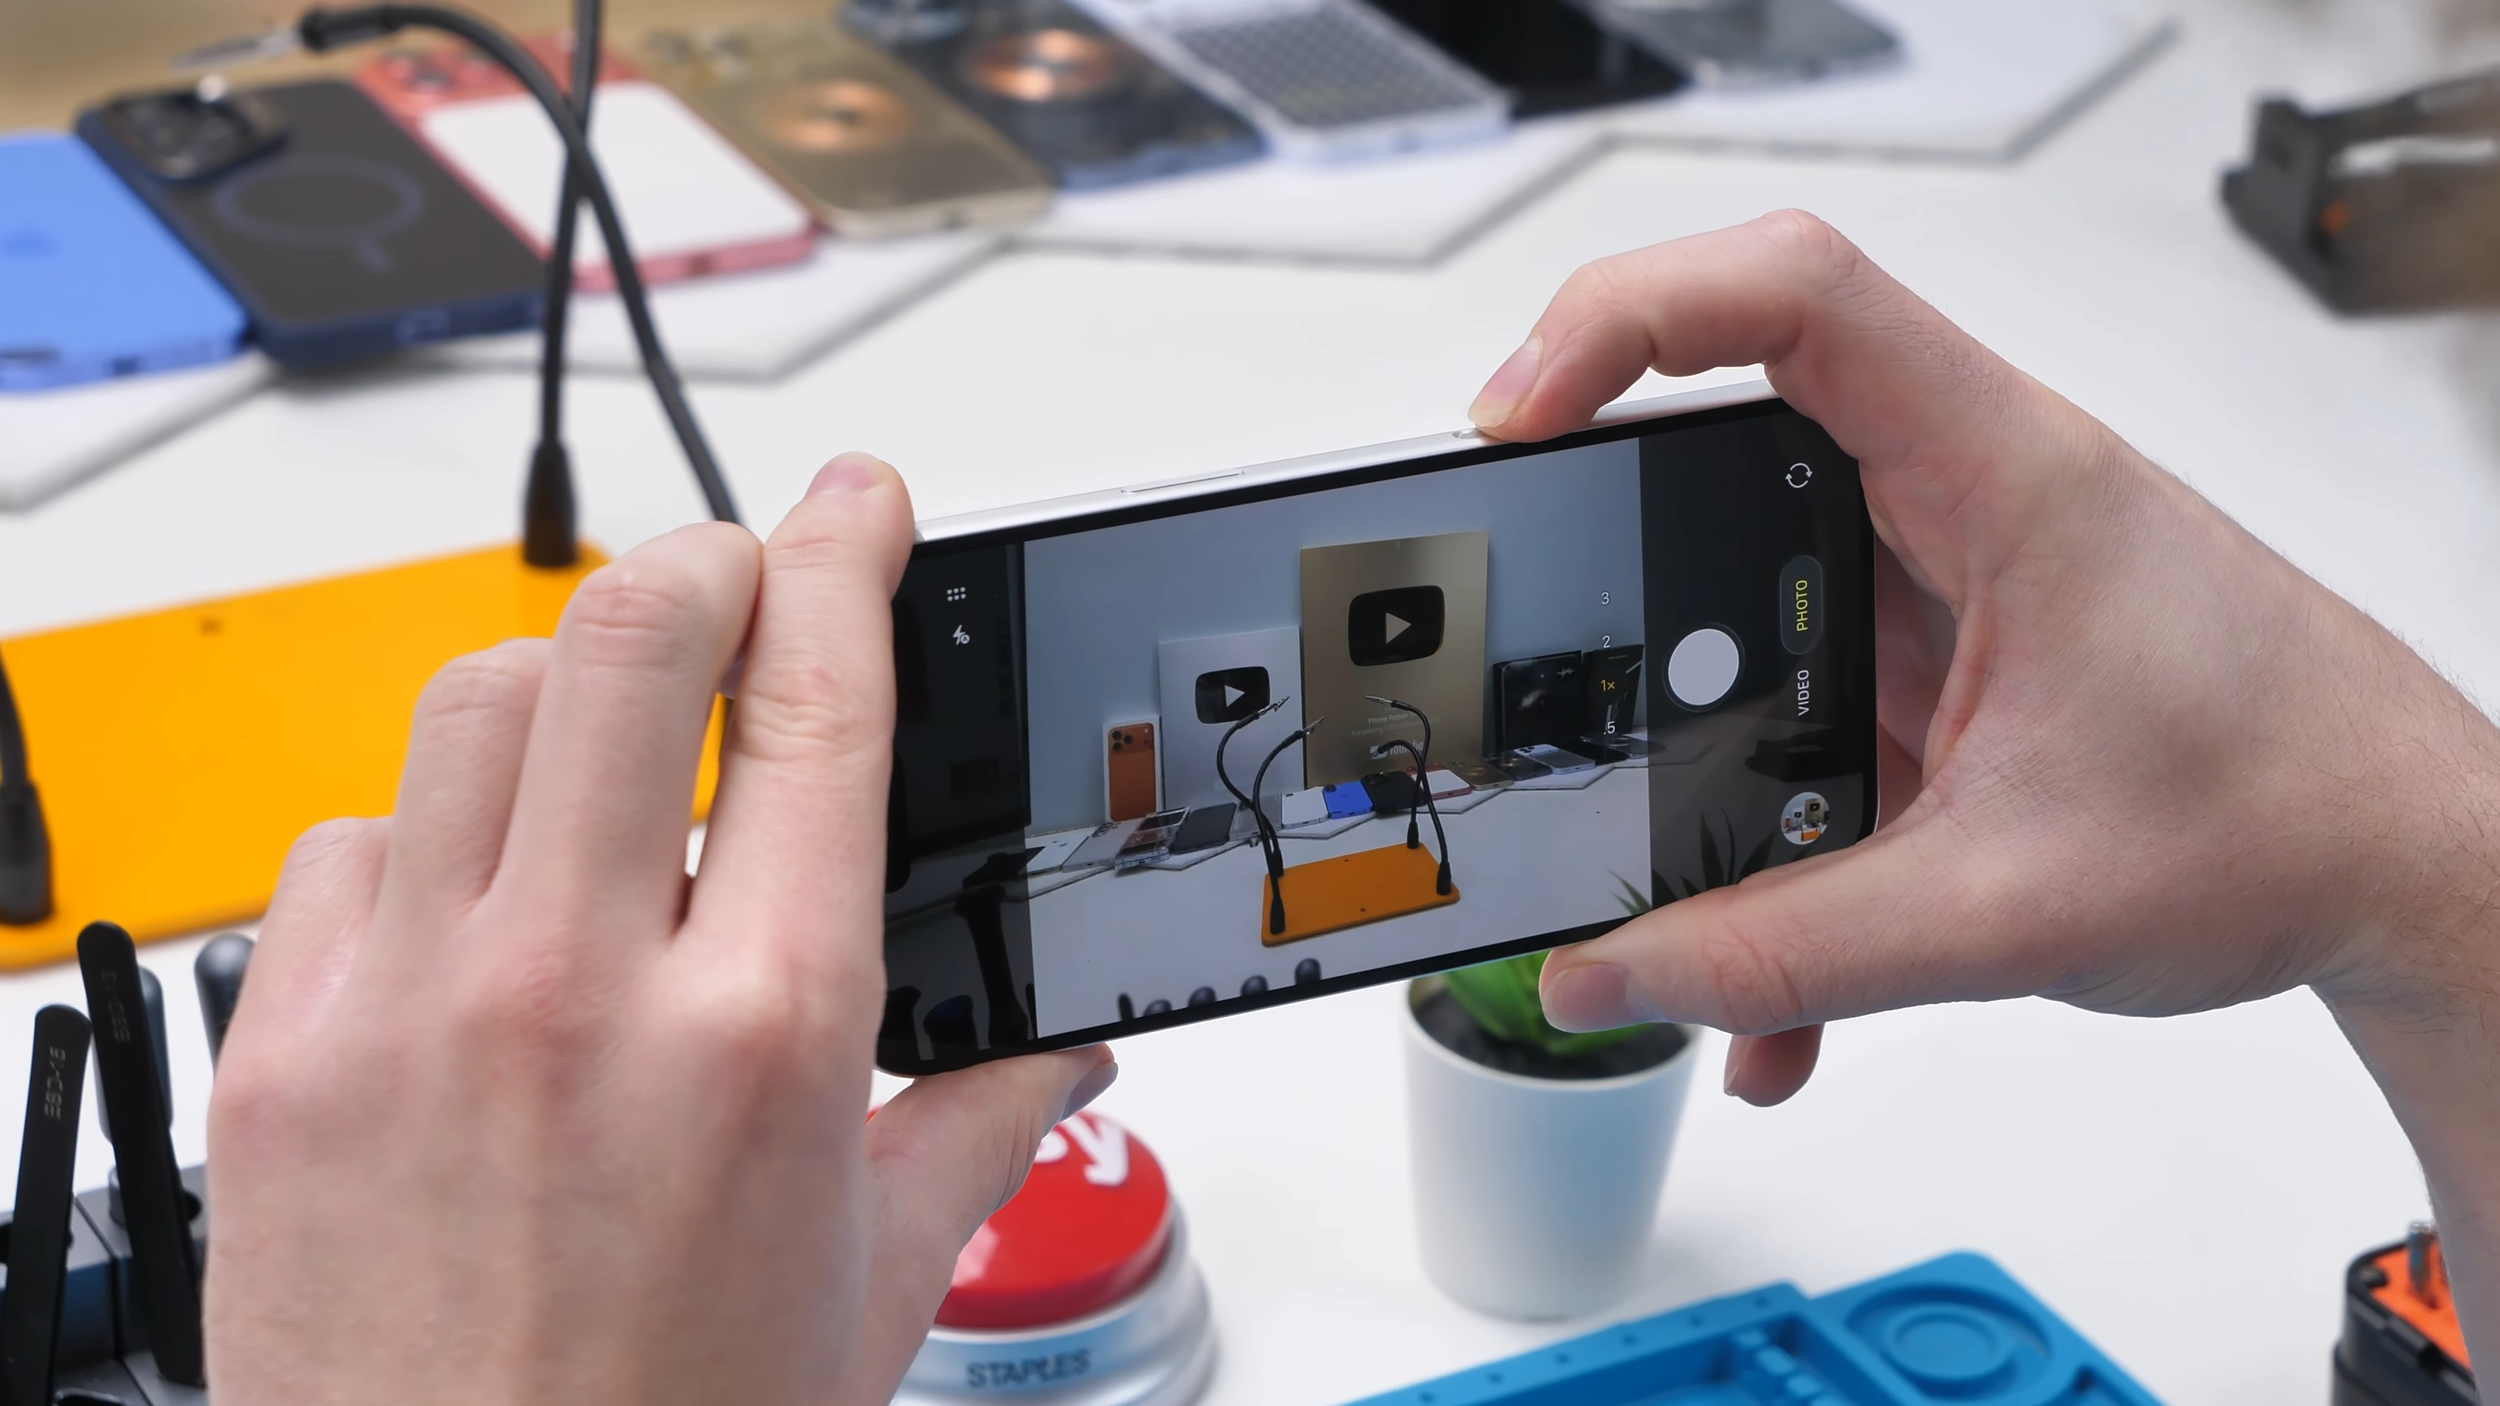
Fortunately, most of the original hardware survived the rebuild. Charging, wireless charging, Bluetooth, every camera, the volume buttons, the power button, and even the new Camera Control button all continued to work.
For a moment, it looked like the conversion had pulled it off. Then the testing uncovered a few compromises.
The Camera Control button only functioned as a basic shutter button rather than supporting Apple's touch-sensitive controls. The Action Button also behaved like the traditional Ring/Silent switch instead of offering the customization found on newer iPhones.
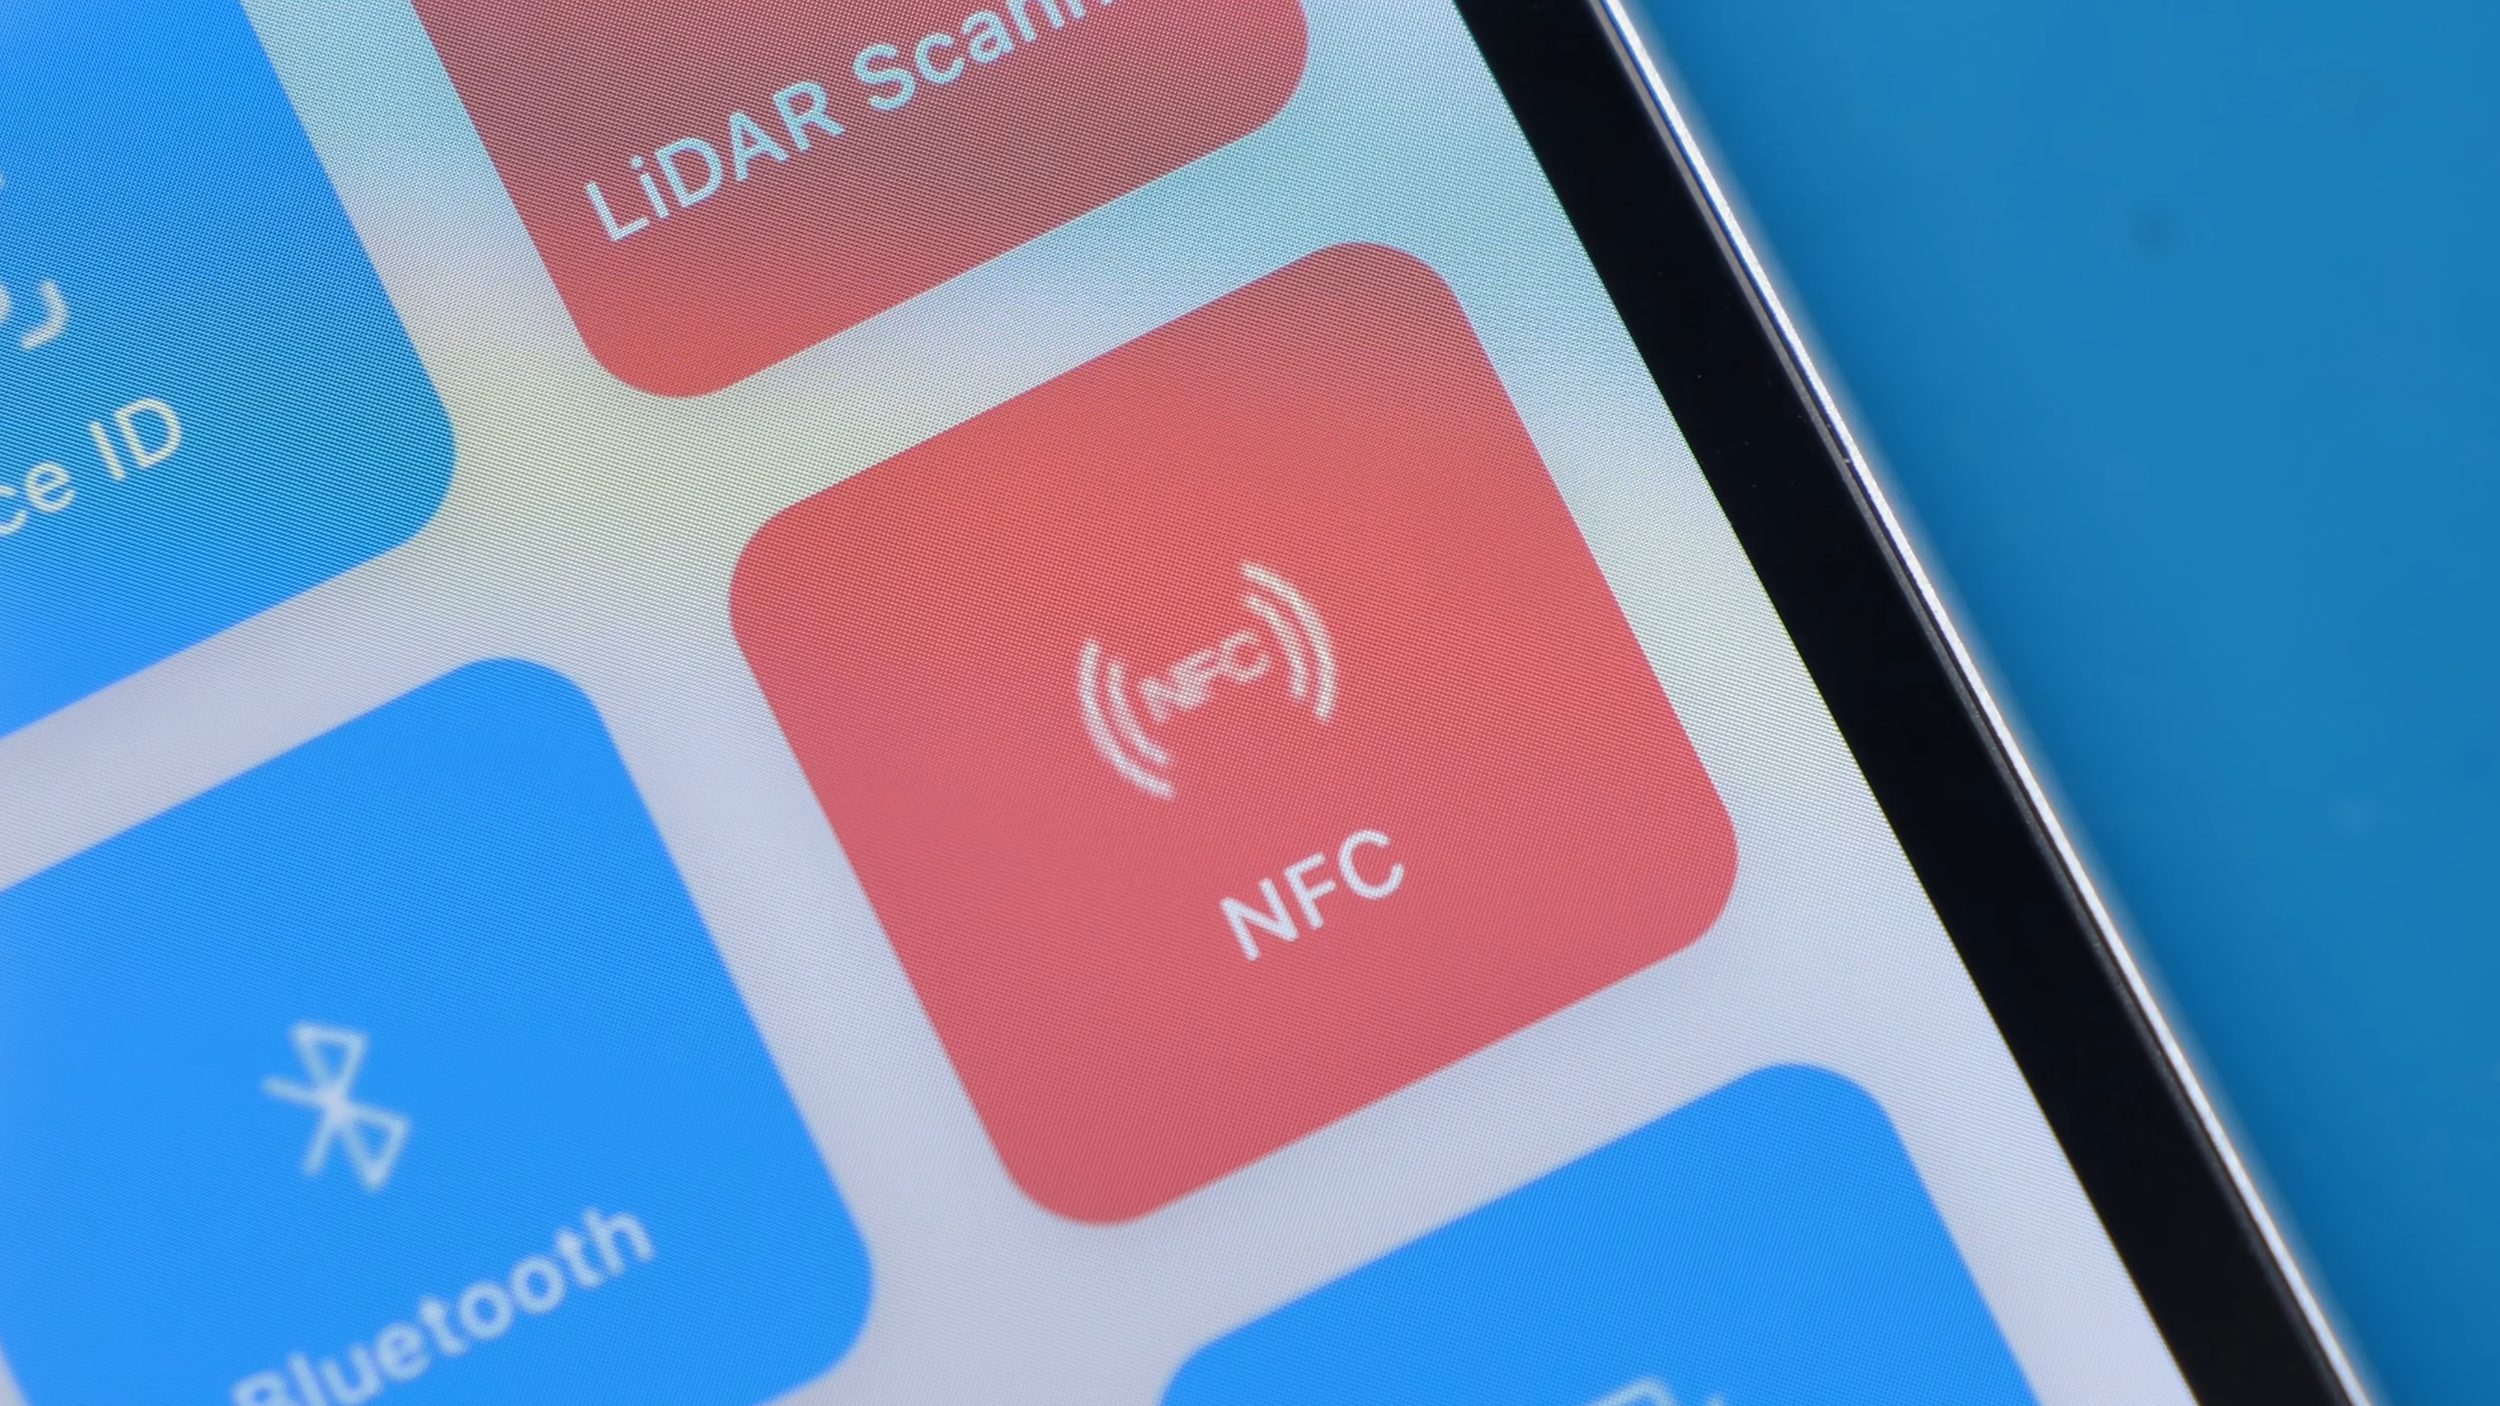
Two of the biggest disappointments were features many people wouldn't immediately think to test. Despite all the work involved in relocating it, the LiDAR sensor didn't work after the conversion. NFC also failed, meaning features such as Apple Pay were no longer available.
The phone also continued using Lightning because, underneath the redesigned housing, it was still an iPhone 14 Pro Max.
None of those issues take away from how impressive the project is, but they do remind you that this is still a conversion kit rather than a genuine iPhone 17 Pro Max.
Final Thoughts
This isn't a real iPhone 17 Pro Max, nor is it trying to be.
What makes this conversion impressive isn't that it perfectly replicates Apple's latest flagship. It's how close it comes. From the build quality to the overall design, it's clear that far more thought went into this kit than a typical housing swap.
It's also a reminder that not every conversion kit is created equal. Plenty promise the same transformation, but very few deliver this level of fit, finish, and attention to detail.
If you're interested in trying this conversion kit yourself, we've included a couple of links below. These listings are frequently taken down and relisted, so if one isn't working, try the other. If neither link is available anymore, let us know in the comments and we'll update them when new listings appear.
https://s.click.aliexpress.com/e/_c3fiU0Bx
https://s.click.aliexpress.com/e/_c414UDhF
See you in the next article!